
To control bead size in acrylic application, you should focus on applying consistent pressure and maintaining a steady speed with your brush or nozzle. Avoid overloading, which creates larger beads, or using too little, resulting in patchy coverage. Adjust your angle and pressure based on the surface and bead size you want. Keep your tools clean and calibrated for better control. For more detailed tips, you’ll discover even better techniques below.

Get beauty and skincare favorites delivered free with Prime
- Fast, free delivery on millions of items
- Prime Video, Amazon Music and more included
- Member-only deals all year
Key Takeaways
- Adjust the amount of acrylic loaded onto the tool to control bead size.
- Maintain consistent pressure and a steady speed during application.
- Calibrate and keep your equipment clean for uniform bead formation.
- Modify application angle and pressure based on bead size needs.
- Practice steady hand movements and regularly inspect to refine control.
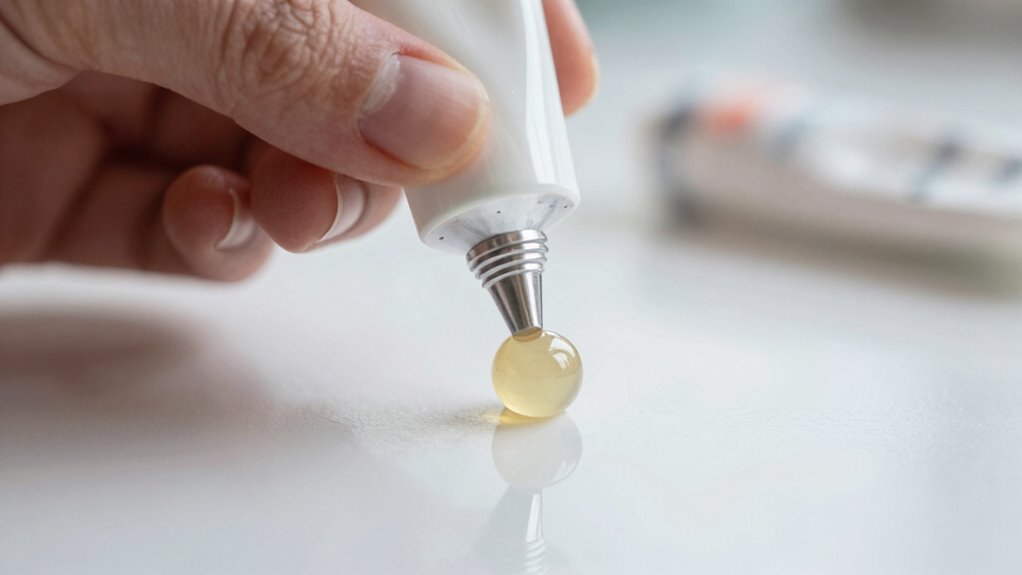
Ever wondered how to achieve the perfect bead size in your acrylic applications? Mastering this skill involves understanding a few key factors, especially when it comes to maintaining color consistency and surface smoothness. The size of your bead influences not only the appearance but also the durability of your work, so it’s worth paying close attention to your technique.
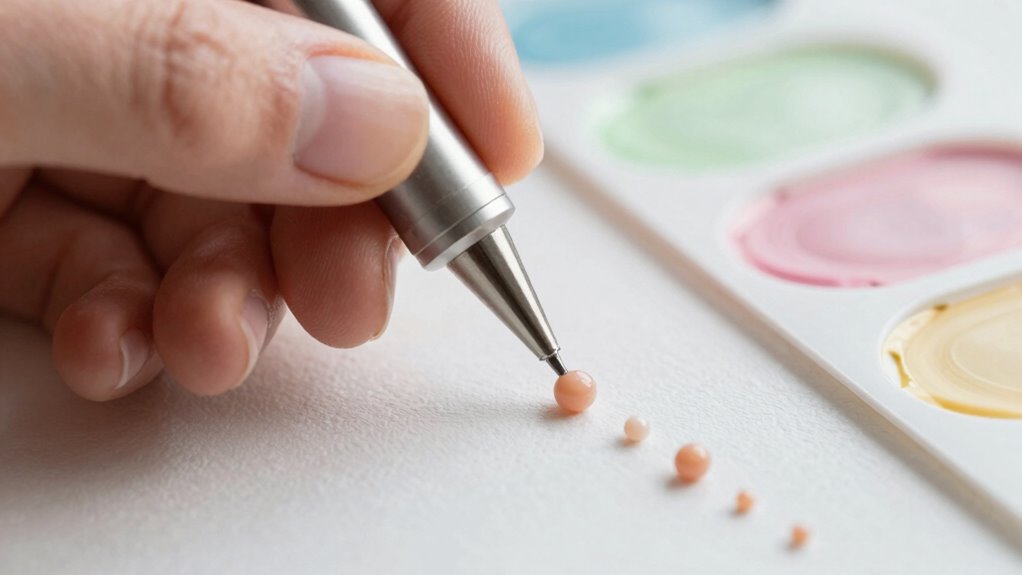
To start, the consistency of your bead depends largely on the amount of acrylic you apply and how you control it. You want each bead to be uniform, which means practicing your application to develop a steady hand. When you load your brush or nozzle, aim for a balanced amount—not too much, not too little. Too much acrylic can cause larger, uneven beads, while too little can result in weak, patchy coverage. Consistency in your pressure and speed ensures each bead flows smoothly from your tool, creating a uniform size that enhances color consistency across your project. If your beads vary in size, it’s often a sign that your technique needs adjustment or your application equipment needs cleaning or calibration. Additionally, understanding the properties of your acrylic, such as viscosity and drying time, can help you better control your bead formation.
Consistent bead size depends on applying the right amount of acrylic with steady pressure and speed.
Surface smoothness is another critical aspect of controlling bead size. When your beads are the right size, they tend to settle into a smooth, even surface. If your beads are too large, they may form lumps or ridges, disrupting the surface smoothness. Conversely, if they’re too small, the application might appear patchy or uneven. To improve surface smoothness, focus on applying your beads in a steady, controlled manner. Use a consistent speed, and if you’re working on a vertical or inclined surface, angle your tool to keep the beads flowing evenly. Properly prepared surfaces also make a difference; ensure the substrate is clean, dry, and free of dust or oils before applying acrylic. This helps the beads adhere better and settle into a smooth finish. Additionally, understanding the dog breeds and their specific needs can guide you in selecting the right tools and techniques for optimal results. Incorporating application techniques that promote even bead distribution can further enhance the surface quality.
Adjusting your application technique can help you control both bead size and surface quality. For example, if you notice your beads are too large, try reducing the pressure on your applicator and slowing down your movement. If they’re too small or uneven, increase pressure slightly or adjust your angle. Regularly inspecting your work and making small adjustments as needed will enhance your control. Paying attention to application consistency and maintaining a clean work environment can also significantly impact the final outcome. Remember, practicing and refining your technique will lead to greater precision over time. Ultimately, achieving the perfect bead size involves a combination of proper preparation, consistent technique, and attention to detail. Focus on keeping your application smooth and your beads uniform, and you’ll see your acrylic projects turn out with both excellent color fidelity and a flawless surface finish.
As an affiliate, we earn on qualifying purchases.
Frequently Asked Questions
Can Environmental Factors Affect Bead Size During Acrylic Application?
Environmental conditions definitely impact bead size during acrylic application. Changes in temperature and humidity can influence how the acrylic flows and dries, leading to inconsistent bead sizes. Airflow effects, such as drafts or fans, can cause the acrylic to dry unevenly or spread differently, altering bead shape and size. To maintain control, guarantee a stable environment with minimal airflow disruptions and consistent temperature and humidity levels.
Does the Type of Acrylic Product Influence Bead Size Control?
Yes, the type of acrylic product influences bead size control because different acrylic formulations impact bead consistency. Some products have thicker or thinner formulas, which affect how easily you can control bead size during application. You should choose an acrylic that suits your specific project needs, and always follow the manufacturer’s guidelines to achieve the desired bead consistency. Experimenting with different formulations helps you master better bead size control.
How Does Humidity Impact Bead Formation in Acrylic Nails?
Humidity effects on acrylic nails are like trying to paint in the rain—you’ll struggle with bead formation. High humidity causes nails to absorb more moisture, leading to softer, more fluid acrylic that creates larger beads. Conversely, low humidity helps the acrylic set faster, resulting in smaller, more controlled beads. To maintain proper nail hydration and bead size, work in a controlled environment, and adjust your monomer and powder ratios accordingly.
Are There Specific Tools Recommended for Precise Bead Size Control?
You should choose tools like a well-shaped acrylic brush and a precision bead applicator for precise bead size control. These tools help you apply the right amount of acrylic with better accuracy. Focus on application techniques such as gentle, consistent pressure and proper positioning to guarantee uniform beads. Tools selection and mastering application techniques work together to give you better control over bead size, resulting in a more professional acrylic nail finish.
Can Bead Size Be Adjusted After Initial Application?
Did you know that over 60% of acrylic artists struggle with bead consistency? You can adjust bead size after initial application by carefully smoothing or reshaping the bead with a brush or tool while it’s still wet. Using proper application techniques helps refine the bead’s size and shape, ensuring a more uniform look. Just work quickly, and keep your tools clean to achieve the perfect bead size every time.
precision acrylic brush for bead control
As an affiliate, we earn on qualifying purchases.
As an affiliate, we earn on qualifying purchases.
Conclusion
By mastering the art of controlling bead size in acrylic application, you’re wielding a painter’s brush, shaping your masterpiece with precision and passion. Think of each bead as a brushstroke, adding depth and emotion to your work. When you fine-tune your technique, you’ll craft designs that flow seamlessly, like a melody etched into canvas. So, embrace the process, and let your skills blossom into a symphony of beautiful, controlled expressions.
acrylic application calibration tools
As an affiliate, we earn on qualifying purchases.
As an affiliate, we earn on qualifying purchases.
professional acrylic bead size control kit
As an affiliate, we earn on qualifying purchases.
As an affiliate, we earn on qualifying purchases.
Halloween Picks
halloween
As an affiliate, we earn on qualifying purchases.