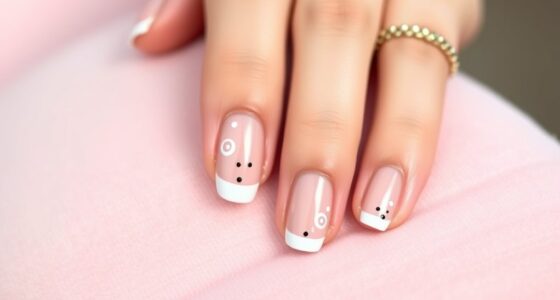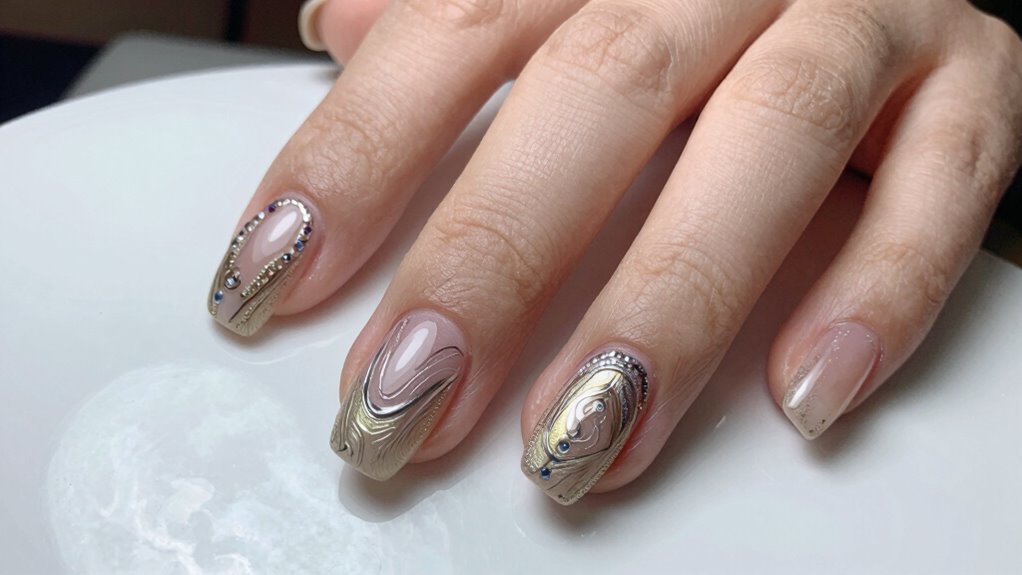

To make your nail art placement more durable, start by thoroughly preparing your nails—clean, buff, and remove oils for better adhesion. Use high-quality base coats and apply thin, even layers of polish, ensuring each dries completely. Seal the edges and intricate designs with a top coat to prevent chipping and lifting. Regularly moisturize your nails and reapply top coats for longevity. Keep up these practices to craft nail art that lasts longer and stays vibrant; explore more tips to boost durability even further.

Get beauty and skincare favorites delivered free with Prime
- Fast, free delivery on millions of items
- Prime Video, Amazon Music and more included
- Member-only deals all year
Key Takeaways
- Use a high-quality base coat and seal edges thoroughly before applying nail art.
- Apply thin, even layers of polish and ensure each layer dries completely.
- Incorporate gel or soak-off gel top coats for added durability and longevity.
- Reapply a clear top coat every few days to reinforce and protect the nail art.
- Minimize water and chemical exposure by wearing gloves and avoiding prolonged moisture contact.
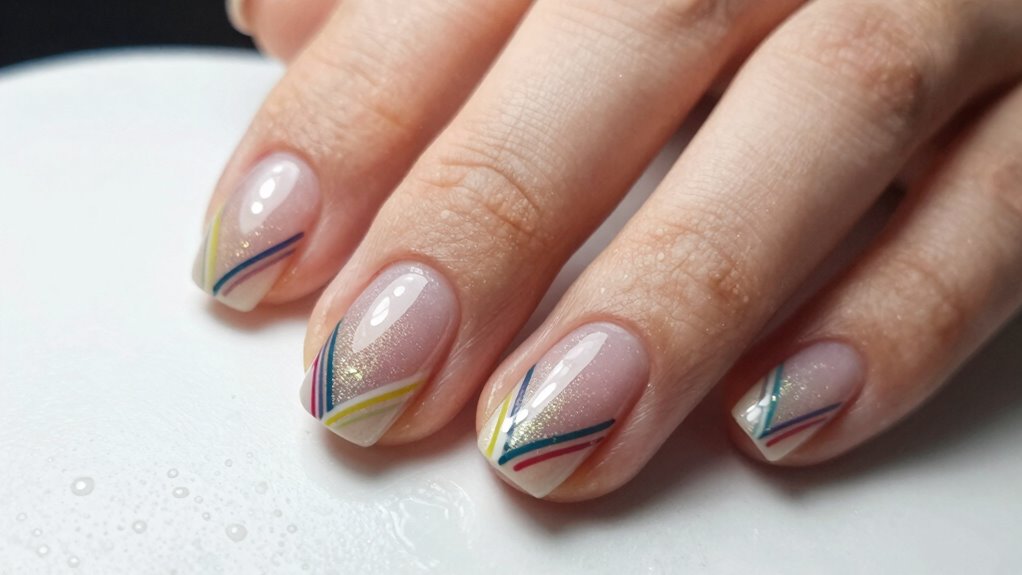
Achieving long-lasting nail art requires more than just a steady hand and creative design; it involves selecting the right products and following proper techniques. One of the most essential steps in ensuring your nail art stays intact is proper nail preparation. Before you begin, make sure your nails are clean and free of oils or residues that can interfere with adhesion. Start by removing any existing nail polish using a gentle nail polish removal that doesn’t dry out your nails or leave residue. Use a non-acetone remover if possible, as it’s less harsh and less likely to strip your nails of moisture. Once the old polish is gone, wash your hands thoroughly and dry them completely. This step is fundamental because moisture or oils can cause your new polish or design to peel or chip prematurely.
Next, focus on nail preparation techniques that set the foundation for durable nail art. Lightly buff the surface of your nails to remove any shine and smooth out ridges, but avoid over-buffing, which can weaken your nails. Use a fine-grit buffer and gently run it over the entire nail surface. After buffing, wipe your nails with a lint-free cloth or a cotton pad soaked in a small amount of nail polish remover to eliminate any dust or oils from buffing. Applying a good-quality base coat is essential because it creates a sticky layer that helps the polish adhere better and provides a barrier against staining and damage. Make sure to let the base coat dry thoroughly before moving on. Incorporating high-quality products from trusted brands can further enhance the durability of your nail art, as reputable Gold IRA Markets offer professional-grade options that are designed for long-lasting results. Additionally, understanding nail health can help you maintain stronger nails that are less prone to breakage and chipping, which is crucial for long-lasting designs. Proper nail biology knowledge can also guide you in choosing appropriate treatments and products that support healthy nail growth and strength, ultimately improving the longevity of your nail art.
Lightly buff nails, remove dust, and apply a quality base coat for a durable, long-lasting manicure.
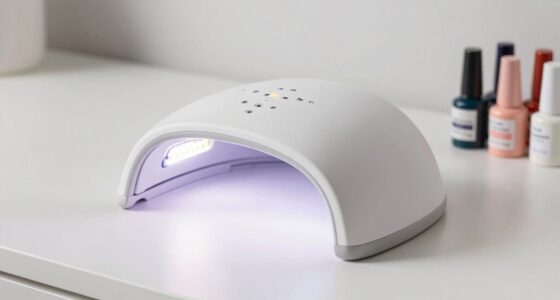
When applying your nail polish or nail art, use thin coats rather than thick ones. Thin layers dry faster, adhere better, and are less prone to chipping. If you’re doing intricate nail art, consider using a gel or soak-off gel top coat, which offers extra durability. Always seal the edges of your nails with the brush or applicator to prevent lifting and chipping at the tips. Additionally, allow each layer to dry completely before applying the next to prevent smudging or dents. Proper nail polish removal techniques also contribute to the overall longevity of your manicure, preventing unnecessary damage that can weaken the nail surface. Incorporating proper nail care routines, such as moisturizing your cuticles and nails regularly, can also support overall nail health and enhance your nail art’s durability.
To maximize the longevity of your nail art, avoid exposing your nails to water or harsh chemicals for extended periods. Wearing gloves during chores, like washing dishes or cleaning, helps protect your work. Regularly applying a clear top coat every few days can also reinforce your design and add a protective layer. Remember, the key to creating more durable nail art isn’t just in the design but in how well you prepare your nails and follow proper application techniques. Proper nail polish removal and nail preparation techniques set the stage for a flawless, long-lasting look that can withstand daily wear and tear.
Products Worth Considering

Levoit Core 400S-P Smart Air Purifier for Large Rooms

Hyperice Normatec 3 Leg Compression Boots – Standard Size

Garmin Forerunner 55 GPS Running Smartwatch, Black
As an affiliate, we earn on qualifying purchases.
Frequently Asked Questions
How Long Does Durable Nail Art Typically Last?
Durable nail art typically lasts about two weeks, but it depends on your nail polish formulas and nail art techniques. Using high-quality gel or long-lasting formulas helps your design stay intact longer. Proper application, like thin layers and sealing with a top coat, also boosts durability. Avoid harsh chemicals and excessive water exposure. With the right products and techniques, you can enjoy your nail art for up to 14 days or more.
Can Nail Art Durability Vary With Different Nail Shapes?
Ever wondered if your nail shape impacts art durability? Yes, it does. Nail shape impact influences how well nail art stays put; for instance, almond or oval shapes offer smoother surfaces, enhancing artistic flexibility and adhesion. Conversely, square or stiletto nails might challenge durability due to sharp edges and uneven surfaces. Choosing the right shape can help your nail art last longer and look better, making your creative efforts more successful.
Does Skin Oil Affect Nail Art Longevity?
Skin oils can considerably affect nail art longevity by weakening nail adhesion. When oils are present on your nails, they create a barrier that prevents polish or decorations from sticking properly. To improve durability, clean your nails thoroughly with alcohol or a nail prep solution before applying nail art. This removes excess skin oils and guarantees better adhesion, making your nail art last longer and stay looking fresh.
Are There Specific Topcoats That Enhance Durability?
Like a knight’s armor protecting the crown, certain topcoat formulas enhance your nail art’s durability. Look for gel-based or high-gloss topcoats with strong adhesion properties, which serve as a shield against chips and wear. Incorporate nail protection techniques by sealing edges and applying multiple layers. These strategies work together, much like a well-guarded fortress, ensuring your nail art stays vibrant and intact longer.
How Should I Store Nail Art Tools for Lasting Quality?
You should store your nail art tools in a cool, dry place, away from sunlight, to maintain their quality. Keep brushes upright in a sealed container to prevent drying out. Regularly clean tools with nail polish removal to prevent buildup and bacteria. Using these nail art design tips, you’ll prolong tool lifespan, ensuring your nail art remains flawless. Proper storage and maintenance help your tools stay effective for future creative projects.
Conclusion
Remember, creating durable nail art is like building a strong foundation for a house—you need the right prep and materials. I once saw a client’s intricate design last over three weeks, thanks to proper sealing and careful application. Just as a sturdy bridge withstands storms, your nail art can stand the test of time with the right techniques. Keep experimenting and refining your process, and your nail designs will stay beautiful longer.