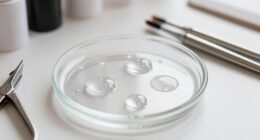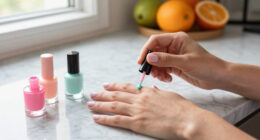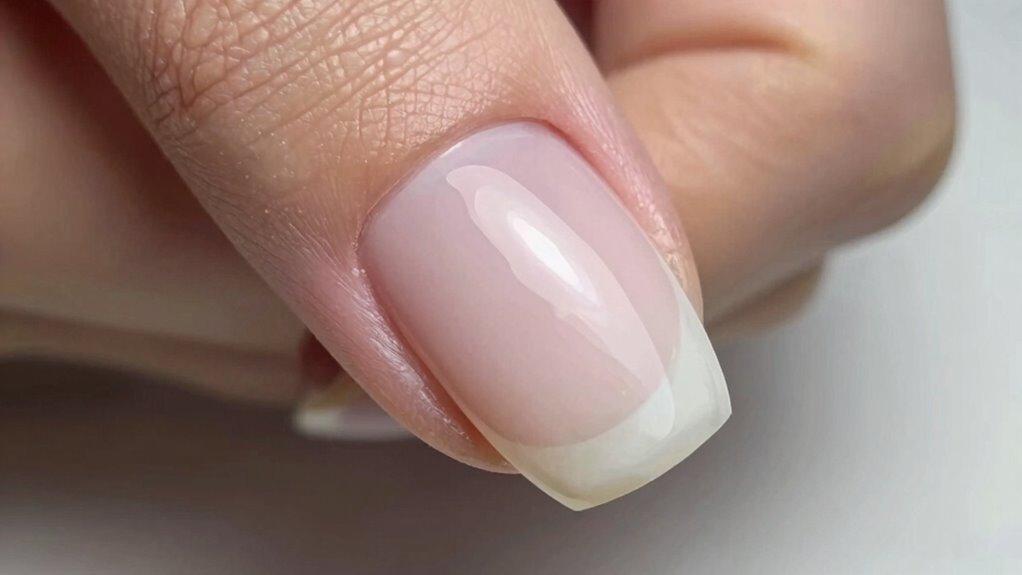

To create a structured gel overlay on flat nails, start by thoroughly cleaning and buffing your nails to create a smooth, rough surface for better adhesion. Use high-quality gel products, including a strong base layer, building the overlay in thin layers with controlled curing after each. Finish with a durable topcoat for a high-gloss look. Proper preparation and technique are essential for long-lasting results—keep going to discover more tips for perfection.
Key Takeaways
- Properly clean and buff nails to create a smooth, adhesion-friendly surface before applying gel overlay.
- Use high-quality gel base and topcoat, ensuring compatibility and durability for flat nails.
- Apply thin gel layers, capping the free edge, and cure thoroughly between layers for a strong structure.
- Create a controlled, even structure by building with small gel amounts, avoiding thick layers.
- Finish with a high-gloss topcoat, cure properly, and wipe with cleanser for a smooth, long-lasting result.
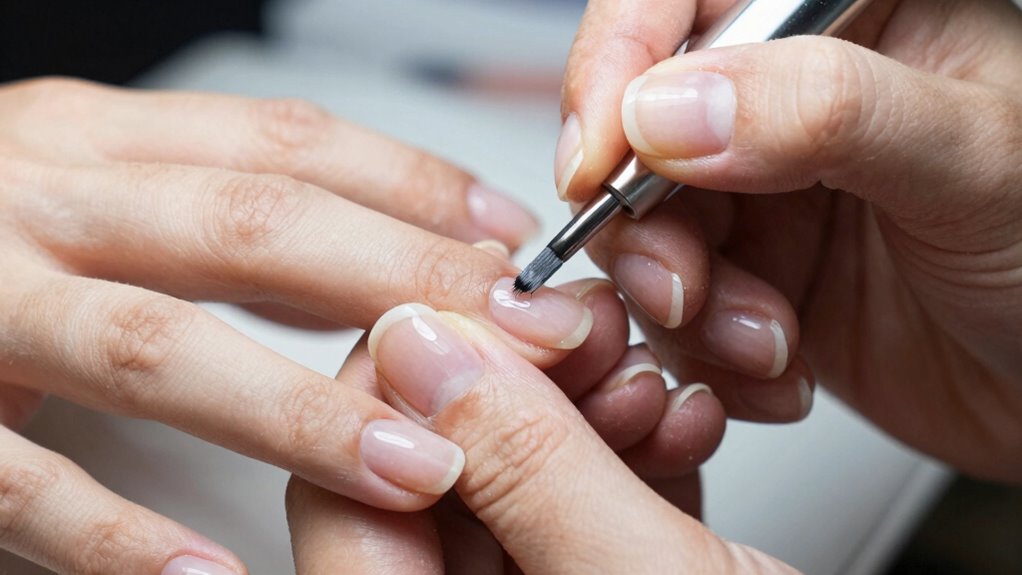
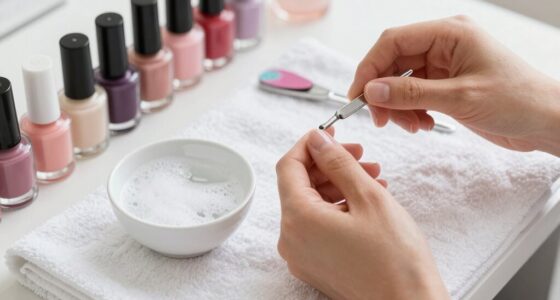
Are you struggling to achieve a smooth, durable gel overlay on flat nails? If so, the key lies in proper nail prep and careful product selection. When working with flat nails, you need to guarantee the surface is perfectly prepared for the gel to adhere properly, preventing lifting or chipping down the line. Start by cleaning your nails thoroughly with a gentle, non-oily cleanser to remove any dirt, oils, or residue. Follow up with a gentle nail buff to smooth out the surface, paying close attention to areas where the nail may have ridges or unevenness. Proper nail prep is crucial because it creates a clean, rough surface that enhances adhesion and prolongs the longevity of your gel overlay. Additionally, ensure proper airflow around your workspace, as air purifier maintenance can help keep the environment dust-free, which is essential for a flawless finish. Good workspace organization can also minimize contamination, ensuring your application remains pristine. Maintaining a clean environment is particularly important because dust particles can interfere with the adhesion process.
Next, focus on product selection. Not all gels are created equal, especially when it comes to flat nails, which require specific formulations for maximum adhesion and flexibility. Choose a high-quality gel base that offers strong adhesion properties and works well on flat surfaces. A good gel base will help fill in minor imperfections, creating a uniform surface for your overlay. When selecting a gel topcoat, opt for one that delivers a high-gloss finish and excellent durability, so your manicure stays intact longer. Additionally, consider using a primer or bonding agent if your gel system recommends it, as this can further improve adhesion. Be sure to pick products compatible with each other to avoid compatibility issues, which could compromise your overlay. Proper product selection is essential for achieving a professional finish and ensuring your gel overlay lasts.
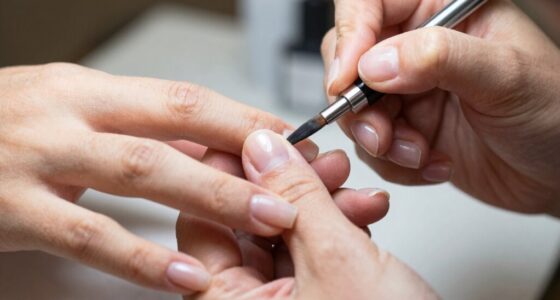
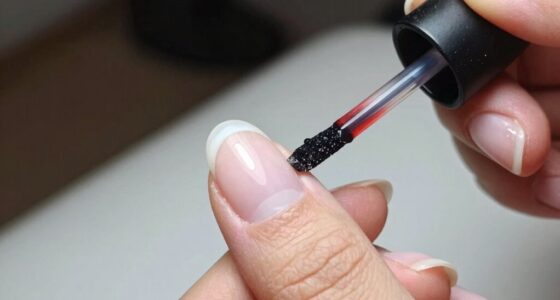
Once your nails are prepped and your products are selected, apply a thin layer of gel base, making sure to cap the free edge for added strength. Cure it under a UV or LED lamp according to the manufacturer’s instructions. Avoid applying thick layers, as they can cause uneven curing or bubbles, especially on flat nails. After the base is cured, proceed with building your gel overlay. Use small, controlled amounts of gel to sculpt the nail, applying more layers if needed for structure and reinforcement. Remember to cure each layer thoroughly before adding the next to ensure a durable finish. Finish with a high-quality gel topcoat, curing it properly, and then wipe with a cleanser to remove any sticky residue. With proper nail prep and careful product selection, your flat nails will have a smooth, long-lasting gel overlay that looks professional and feels sturdy.
As an affiliate, we earn on qualifying purchases.
Frequently Asked Questions
Can I Do This at Home Without Professional Training?
Yes, you can do a gel overlay at home, but it’s important to follow DIY tips and safety precautions. Make sure you have the right tools, like a UV or LED lamp, gel polish, and a good primer. Watch tutorials carefully, work in a well-ventilated area, and wear gloves if needed. Take your time, and if you’re unsure, consider a professional to avoid mishaps or damage to your nails.
How Long Does a Structured Gel Overlay Typically Last?
A structured gel overlay lasts like a well-built house—usually around 2 to 3 weeks with proper care. Nail durability depends on your daily activities and how well you follow maintenance tips. To extend its lifespan, avoid harsh chemicals, wear gloves during chores, and keep your nails moisturized. Regular touch-ups and gentle filing also help maintain your nails’ strength and appearance, ensuring your manicure stays beautiful longer.
What Products Are Essential for the Overlay Process?
You’ll need essential products like a nail prep solution to guarantee proper adhesion and a high-quality gel for application. Start with a good nail primer or dehydrator to clean and prepare the nails. Then, use a builder gel or structured gel specifically designed for overlays. Don’t forget a gel brush for smooth application, and a UV or LED lamp to cure the gel thoroughly. These products are crucial for a long-lasting, professional-looking overlay.
Is This Method Suitable for All Nail Types?
Think of this method as a tailored suit—it might not fit everyone perfectly. While a structured gel overlay suits many nail types, you should consider nail health and compatibility concerns first. If your nails are brittle or damaged, this overlay might do more harm than good. Always assess your nails’ condition, and consult with a professional if you’re unsure. Proper application guarantees your nails stay healthy and beautiful.
How Do I Remove the Gel Overlay Safely?
To remove the gel overlay safely, start by soaking a cotton ball in acetone and placing it on your nail. Wrap it with foil to keep it in place, and wait about 10-15 minutes. Use gentle removal tools like a cuticle pusher to lift the gel without damaging your nail health. Avoid forceful scraping, as it can cause nail damage. Always prioritize gentle techniques for safe removal.
As an affiliate, we earn on qualifying purchases.
Conclusion
Now that you’ve mastered the art of the structured gel overlay, you might think flat nails are a lost cause. But here’s the irony: with just a little patience and the right technique, even the flattest nails can become stunning works of art. So go ahead, defy expectations, and turn those flat nails into a masterpiece. Who knew that the secret to fabulous nails was simply a gel overlay? Now, go rock those flat nails with confidence!
As an affiliate, we earn on qualifying purchases.
As an affiliate, we earn on qualifying purchases.