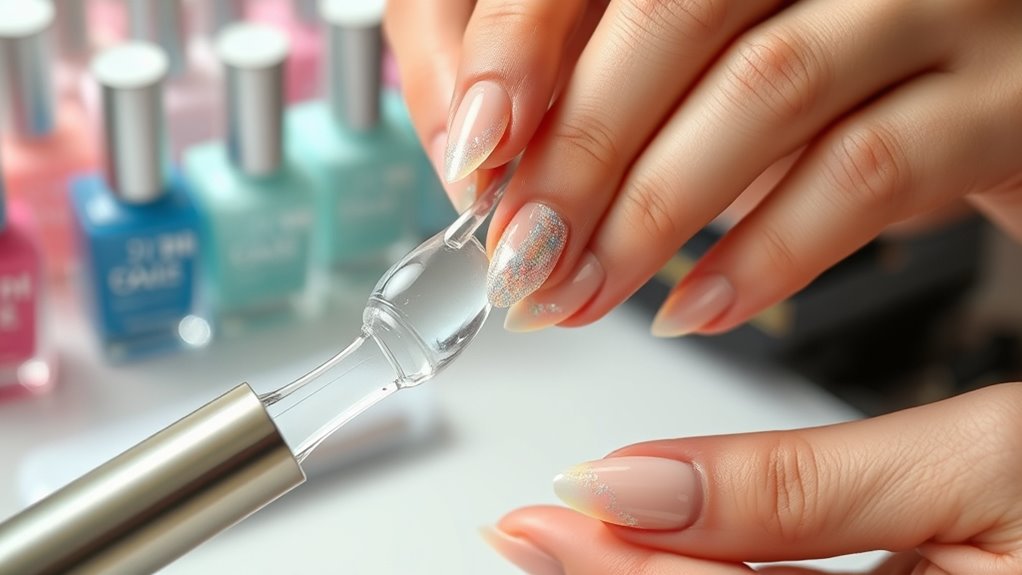

To address lifting acrylic enhancements, start by ensuring proper application techniques like thorough nail prep, dehydration, and priming to promote better adhesion. If lifting occurs, gently soak your nails in acetone or use foil wraps to soften the acrylic, then carefully lift or remove it without damaging your natural nails. Maintain good nail care habits and seek professional help if issues persist. Keep going to discover detailed tips for prevention, removal, and long-term solutions.
Key Takeaways
- Ensure thorough nail preparation, including cleaning, buffing, dehydrating, and priming, to promote better acrylic adhesion.
- Use high-quality products and proper application techniques, avoiding thick layers and rushing during the initial set.
- Regularly maintain nails every 2-3 weeks through professional fills and proper removal to prevent lifting.
- Remove lifting acrylic gently with acetone-soaked wraps, avoiding forceful peeling to protect natural nails.
- Seek professional assistance if lifting worsens, causes discomfort, or damages persist beyond home repair efforts.

SAVILAND Acrylic Nail Remover Kit 2 Pcs: Powerful Rapid Dissolution Acrylic Remover with Cuticle Oil & Nail File Tools, No Soaking No Wrapping, Gentle Professional Set for Home Use
Powerful Rapid Dissolution, Save Your Precious Time: Specifically developed for acrylic nails, this professional acrylic remover features a…
As an affiliate, we earn on qualifying purchases.
As an affiliate, we earn on qualifying purchases.
Identifying the Causes of Acrylic Lifting
Acrylic lifting often occurs when the bond between the enhancement and natural nail weakens or breaks down. One common cause is acrylic adhesion issues, which can stem from improper prep work or contaminants like oil, dirt, or moisture on the nail surface. Environmental factors also play a significant role; exposure to water, heat, or harsh chemicals can weaken the acrylic over time. If you don’t properly dehydrate and etch the natural nail, the acrylic won’t adhere well, leading to lifting. Additionally, poor application techniques, such as applying acrylic too thick or rushing the process, can contribute to bond failure. Understanding these causes helps you identify why your acrylic lifts, so you can adjust your technique and environment to improve adhesion and extend the life of your enhancements. Regularly using proper nail preparation protocols can significantly reduce the risk of lifting and improve overall durability. Incorporating proper curing techniques is also essential to ensure a strong, lasting bond.

MIILYE Nail Polish Remover Foil Wraps for Acrylic/Dip Powder/UV/Gel/Polish Varnish Soak-off Removal, with Pre-attached Lint Free Pad (100x Gel Nail Polish Remover Wraps)
100pcs professional quality gel nail polish remover foil wraps bulk with a pre-attached lint free pads for gel…
As an affiliate, we earn on qualifying purchases.
As an affiliate, we earn on qualifying purchases.
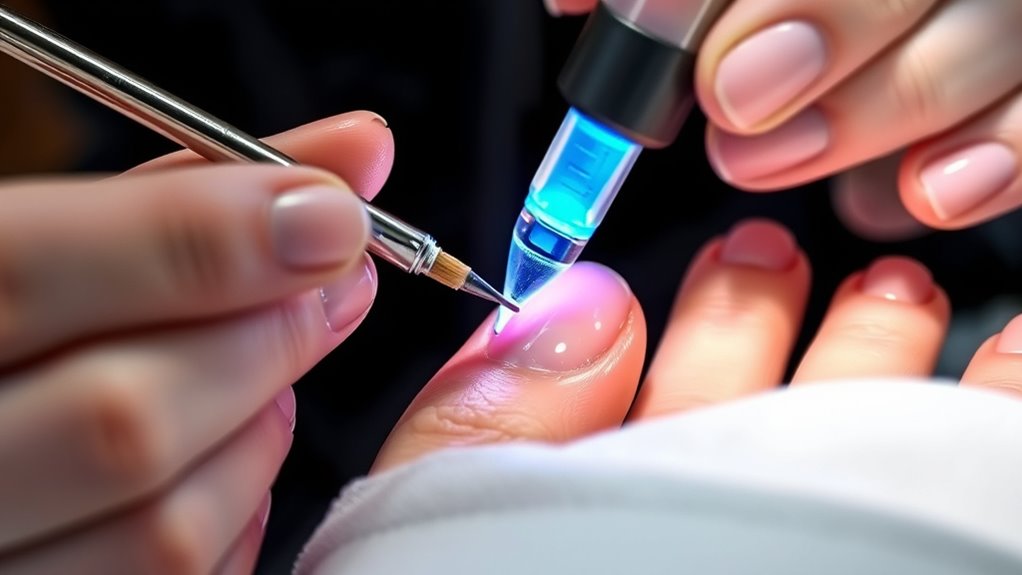
Professional Removal Techniques for Acrylic Nails

When it’s time to remove acrylic enhancements, using proper techniques guarantees safety for both your client and natural nails. Understanding acrylic chemistry helps you choose the right products and avoid damage. Start by softening the acrylic with acetone, ensuring it penetrates the layers without harming the nail bed. Proper removal also preserves nail art integration, preventing unnecessary lifting or chipping. Being aware of client preferences and user consent management can help ensure a smooth process by respecting client preferences and privacy considerations. To make the process efficient, consider these tips: – Use aluminum foil wraps soaked in acetone for effective lifting – Gently file the surface to break the seal without over-filing – Avoid forceful lifting to prevent nail damage. Incorporating proper removal techniques helps maintain healthy natural nails and reduces the risk of complications. Employing professional removal techniques ensures a safe, damage-free process that respects the integrity of natural nails and maintains the quality of nail art. Additionally, utilizing safe removal practices minimizes the risk of allergic reactions or skin irritation during the process.

Morovan Professional Natural Nail Prep Dehydrate and Acid-Free Primer, Dehydrator for Acrylic and Gel Nail Polish, Non Acid Primer for UV Gels Fast Dry Superior Bonding Agent Gift Box Set
GET STRONG ADHESION – This kit includes nail dehydrator and primer. It is important to pre-treat your nail…
As an affiliate, we earn on qualifying purchases.
As an affiliate, we earn on qualifying purchases.
Step-by-Step Guide to Safe Acrylic Lift-Off at Home
To start lifting your acrylics safely at home, gather all the supplies you’ll need, like acetone, cotton balls, and a buffer. Next, you’ll want to soften the adhesive properly by soaking your nails in acetone, which makes removal easier. Using gentle techniques, such as carefully lifting the edges with a cuticle stick, can help minimize damage to your natural nails. Additionally, understanding the adhesive properties of acrylics can assist in choosing the most effective removal methods. Being aware of the relationship dynamics involved in acrylic application can also guide you in handling your nails with care during removal to prevent unnecessary stress or damage. Finally, ensure you follow proper safety protocols during the removal process to protect your skin and nails.
Gather Necessary Supplies
Before starting the acrylic lift-off process, gathering all necessary supplies guarantees a smooth and safe removal. You’ll need these key items to ensure the process goes smoothly without damaging your natural nails or ruining your nail art and acrylic colors. First, get a quality acetone-based remover or acetone wraps to soften the acrylic. Next, have a nail file and buffer on hand to gently lift the edges. Additionally, proper safety precautions help prevent unnecessary damage or irritation during the removal process. It’s also helpful to understand personal finance management principles to budget for quality supplies and avoid unnecessary expenses. Proper GMC tuning techniques can be applied to customize your vehicle and improve its performance, similar to how choosing the right supplies can optimize your nail removal process. Finally, gather cuticle oil and a small brush to help with cleanup and hydration afterward. Necessary cookies help ensure the safety and functionality of your tools during the process. Having these supplies ready keeps the process efficient and minimizes damage, especially when working carefully around nail art and acrylic colors.
Soften Adhesive Properly
Gently softening the adhesive is crucial to safely lifting acrylic enhancements without damaging your natural nails. Understanding the adhesive properties helps you choose the right method and avoid unnecessary harm. Start by soaking a cotton ball or pad in acetone, then place it onto your nail, covering the entire nail surface. Allow it to sit for several minutes, enabling the acetone to penetrate and weaken the adhesive bonds. This process softens the adhesive, making it easier to lift without excessive force. Be patient and avoid prying or forcing the enhancement off, as this can damage your nail surface. Properly softening the adhesive ensures a safer, more controlled removal process, reducing the risk of nail damage or pain. Additionally, knowing about appliance safety can help prevent accidents during removal procedures. Remember that utilizing the appropriate safety precautions when working with chemicals like acetone can further protect you from potential hazards.
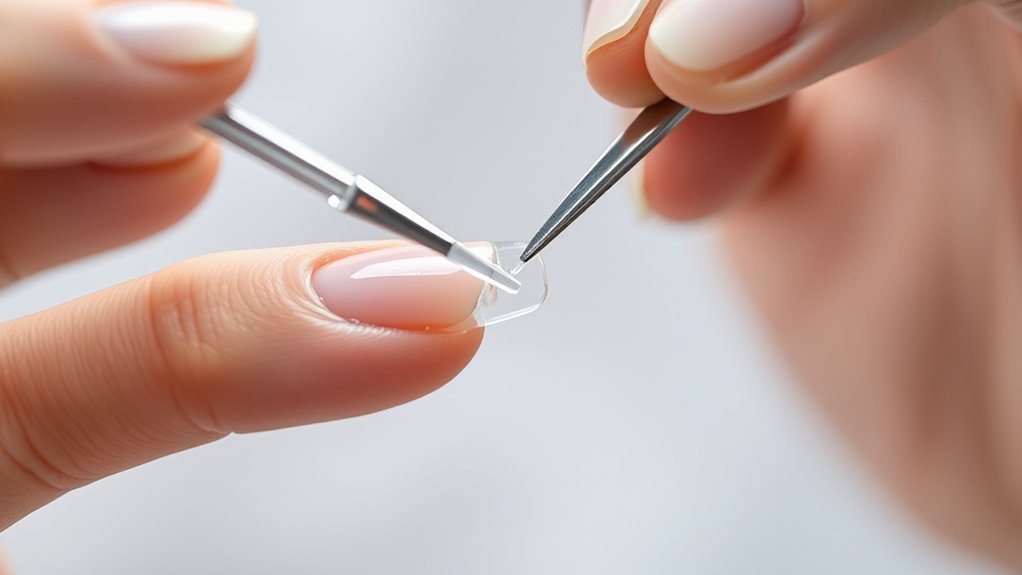
Gentle Removal Techniques
When removing acrylic enhancements at home, it’s important to follow a gentle, step-by-step approach to avoid damaging your natural nails. Start by softening the adhesive with acetone and wrapping your nails in aluminum foil. Focus on maintaining proper cuticle care throughout to prevent dryness and irritation. Remember, keeping your nails hydrated before and after removal helps prevent breakage. Using proper removal techniques ensures a safer and more effective process. Incorporating nail health practices such as nourishing oils and hydration can further support your nails’ recovery post-removal. Additionally, understanding the importance of hydration can significantly contribute to maintaining nail strength during this process. – Use a gentle nail file to lift the edges carefully – Avoid forcing or peeling the acrylic to prevent nail damage – Apply cuticle oil after removal to restore moisture – Incorporating sound healing science principles, such as gentle vibrations during filing, can promote relaxation and reduce stress during the process.
Taking your time ensures a safe lift-off process. Be patient, and prioritize nail hydration and cuticle care to keep your natural nails healthy and strong.

3 Pcs Nail Art Sculpture Pen, Dual Tipped Silicone Nail Tools, Silicone Head Acrylic Handle Nail Art Brushes, Rhinestone Nail Polish Carving Pen, Nail Art Tools for Home Salon(White, Pink, Orange)
【Dual-Head Design】The innovative dual-head design of this silicone nail tools, one end is used for precise outlining and…
As an affiliate, we earn on qualifying purchases.
As an affiliate, we earn on qualifying purchases.
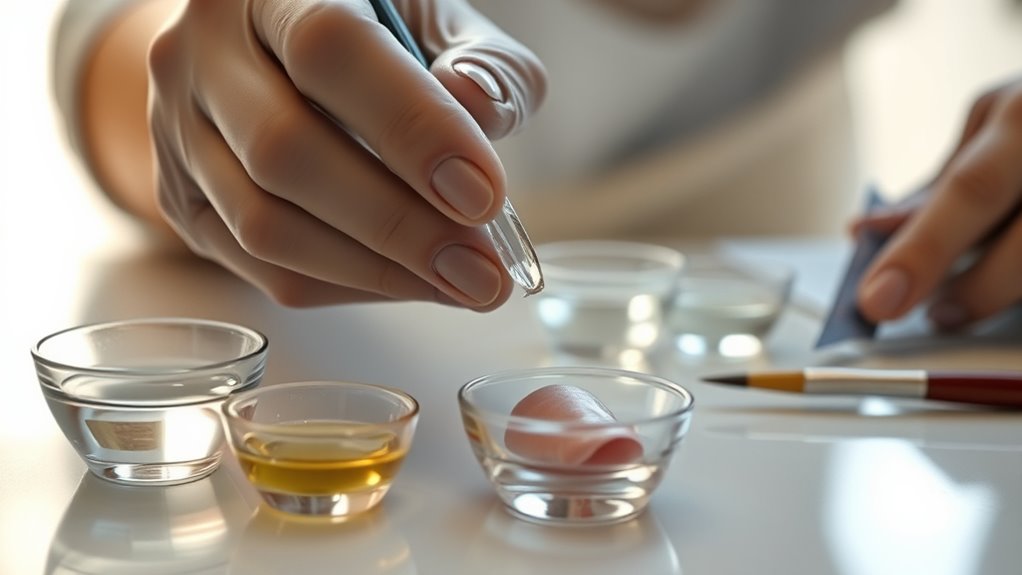
Using Soaking Solutions for Effective Acrylic Removal

Choosing the right soaking solution is vital for gentle, effective acrylic removal. You’ll want to take into account safe options like acetone or acetone-free formulas, depending on your needs. Always follow safety tips to protect your skin and nails during the process. Be aware that selecting a proper removal method can also help prevent damage to your natural nails. Incorporating glycolic acid products into your skincare routine can assist in maintaining healthy skin around your nails, reducing irritation during removal.
Choosing the Right Solution
Selecting the right soaking solution is essential for effectively removing acrylic enhancements without damaging the natural nail. Understanding acrylic chemistry helps you choose solutions that break down the acrylic while preserving nail health. Using the wrong product can cause unnecessary damage or weaken your nails. To ensure safe removal, consider these factors:
- Compatibility with your nail type and any sensitivities
- Ingredients that effectively dissolve acrylic without harsh chemicals
- Ease of use and minimal odor during application
Choosing an appropriate soaking solution safeguards nail health and minimizes damage. Always read labels carefully and opt for gentle, acetone-based options when possible. Remember, the goal is to remove the acrylic efficiently while keeping your natural nails strong and healthy. Proper selection makes the process smoother and safer, preventing unnecessary stress on your nails.
Application and Safety Tips
To guarantee safe and effective acrylic removal, it’s important to follow proper application techniques when using soaking solutions. Always wear gloves and work in a well-ventilated area. Use acetone-based solutions for thorough removal, but be cautious with acrylic color options to prevent staining. Keep nails submerged for 10-15 minutes, checking frequently. For nail art techniques, gently lift the acrylic to avoid damage. Consider this table for tips:
| Tip | Technique | Safety Reminder |
|---|---|---|
| Use acetone carefully | Soak nails completely | Avoid skin contact |
| Protect surrounding skin | Apply petroleum jelly around nails | Prevent irritation |
| Limit soaking time | Remove acrylic promptly | Prevent nail dehydration |
| Keep nails moisturized | After removal, hydrate nails | Maintain nail health |
| Handle with care | Gently lift acrylic after soaking | Prevent nail damage |
Tips for Preventing Lifting During Manicures
Lifting during manicures often happens when the acrylic isn’t properly adhered to the natural nail, which can be caused by several preventable factors. To improve nail health and meet esthetic considerations, focus on proper prep and application. Ensuring the natural nail is clean, dry, and free of oils is essential. Also, avoid over-buffing, which can weaken the nail, and use the right primer to enhance adhesion.
Proper prep and application prevent lifting and keep nails healthy and beautiful.
Remember these key tips:
- Use a dehydrator to remove excess oils before applying acrylic
- Avoid filing the natural nail too aggressively
- Select quality products that promote better adhesion
Following these practices helps prevent lifting, extends the life of your enhancements, and maintains healthy, attractive nails.
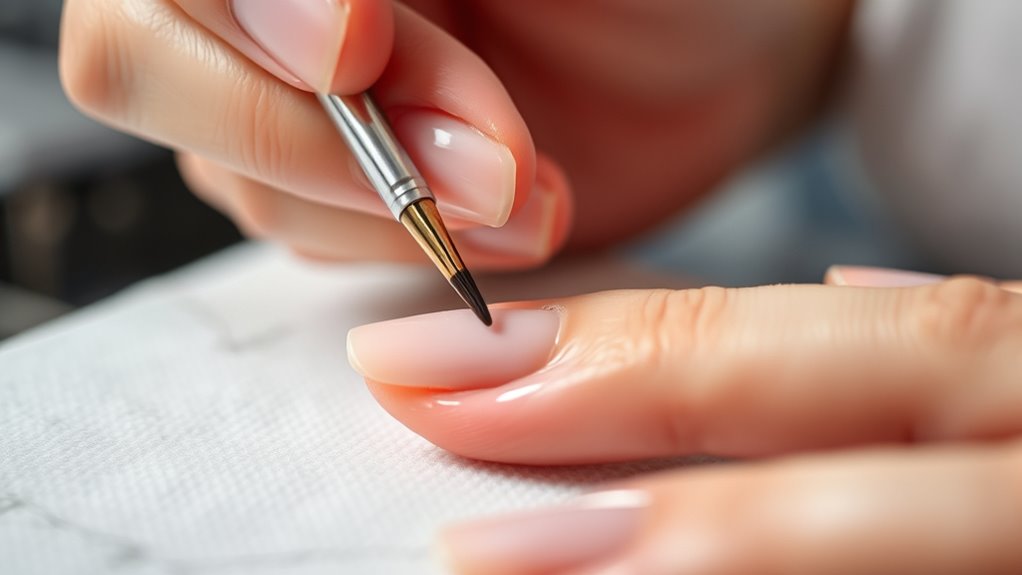
Proper Nail Preparation Before Applying Acrylics
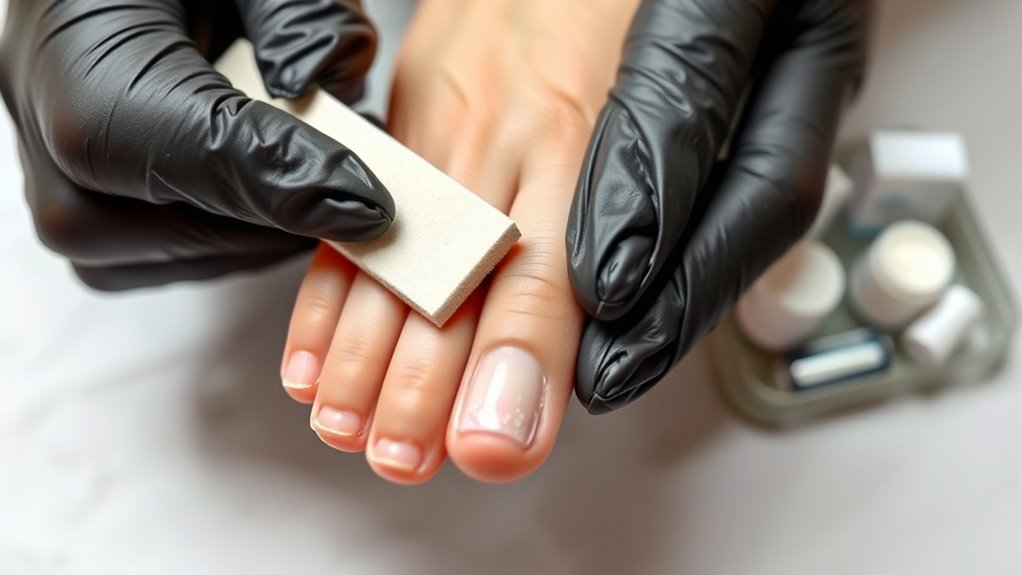
Before applying acrylics, make sure you clean the nail surface thoroughly to remove oils and debris. Buff the nails to create a smooth, even texture, and then dehydrate them to eliminate any remaining moisture. Proper preparation guarantees a strong bond and helps prevent lifting.
Clean Nail Surface Thoroughly
Ensuring the nail surface is thoroughly cleaned is essential for a strong acrylic application. Proper cleaning removes oils, dirt, and residue that can cause lifting or adhesion failure. Start by gently pushing back cuticle care to expose the nail plate, then wipe the surface with a lint-free wipe soaked in an alcohol-based solution. This step guarantees nail hydration and removes any lingering oils or debris. Be meticulous to prevent anything from interfering with adhesion.
- Remove excess cuticle buildup for better contact
- Use alcohol or nail cleanser to eliminate oils
- Ensure nails are dry and free of moisture before applying acrylics
Buff for Smoothness
To achieve a smooth and even acrylic application, you need to buff the nail surface thoroughly. Proper buffing techniques help remove any ridges or imperfections, ensuring surface smoothing for maximum adhesion. Use a fine-grit buffer and gently work across the nail in one direction, avoiding excessive pressure that could damage the nail. Focus on creating a matte finish, which indicates the surface is properly prepared. This step helps remove oils and debris, promoting better bonding between the natural nail and acrylic. Be careful not to over-buff, as this can weaken the nail structure. Consistent surface smoothing through effective buffing ensures your acrylics adhere smoothly, reducing the risk of lifting and ensuring a long-lasting, professional-looking finish.
Dehydrate Natural Nails
Dehydrating natural nails is a crucial step in preparing them for acrylic application, as it removes excess oils and moisture that can interfere with adhesion. Using a nail dehydrator ensures your nails are thoroughly dry, promoting better bonding. After dehydrating, apply an acrylic primer to enhance adhesion and reduce the risk of lifting. Proper nail preparation creates a clean surface, which is essential for long-lasting enhancements.
- Use a high-quality nail dehydrator before applying acrylics
- Avoid oily or greasy products on natural nails
- Follow with an acrylic primer for excellent adhesion
Skipping this step can lead to lifting or premature failure of your acrylic enhancements. Always ensure your nails are properly dehydrated and primed for the best results.
Best Practices for Maintaining Acrylic Enhancements
Maintaining acrylic enhancements requires consistent care to keep them looking their best and prevent damage. To do this, avoid harsh chemicals and wear gloves during cleaning. Regularly inspect your nails for any signs of lifting or cracks. When it comes to acrylic color blending, choose shades that complement each other to create seamless shifts and reduce chipping. Protect your nail art by applying a top coat every few days, which helps preserve designs and prevents fading. Keep nails hydrated with cuticle oil to prevent dryness and brittleness. Be gentle when filing or buffing, and always use proper tools to avoid damaging the acrylic surface. These practices ensure your enhancements stay beautiful, vibrant, and durable for as long as possible.
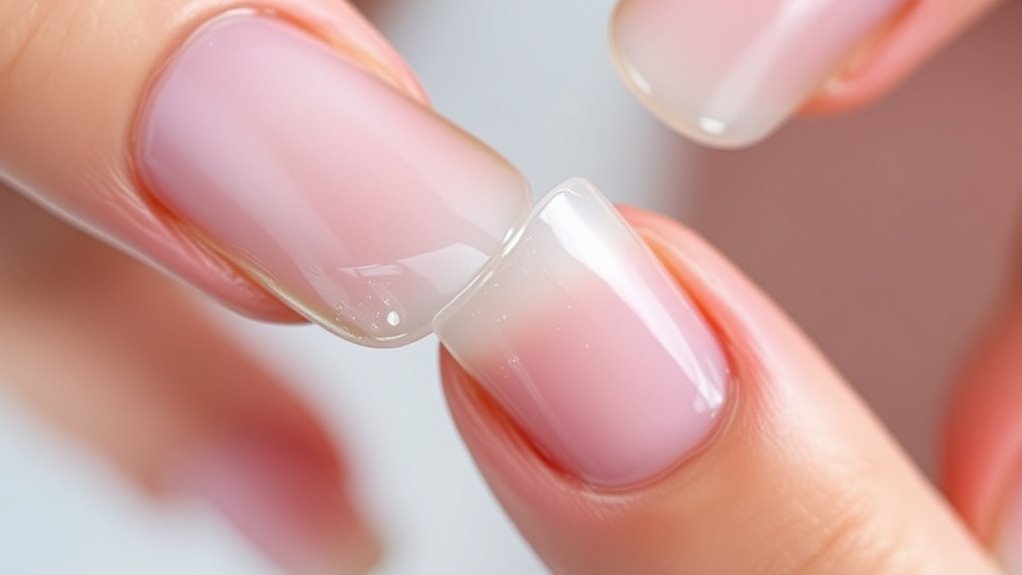
Dealing With Lifted Nails Without Damage
When you notice a nail lifting, it’s important to address the issue carefully to prevent further damage. Gently lift the lifted edge without prying or force, which could harm your cuticle health. Focus on maintaining nail hydration to keep the natural nail strong and flexible. Avoid aggressive removal that may cause peeling or breakage.
To manage the lift effectively, consider these tips:
- Use a cuticle oil or nail moisturizer daily to improve hydration and promote healthy nail growth.
- Avoid picking at the lifted area to prevent infection or damage.
- Keep your nails clean and dry, reducing the risk of debris accumulation that can worsen lifting.
When to Seek Professional Help for Lifting Issues
While gentle at-home care can often manage minor lifting, certain signs indicate it’s time to consult a professional. If you notice persistent lifting that worsens despite your DIY tips, or if the lift is causing discomfort or pain, seek salon services promptly. Attempting to address major lifting issues yourself can sometimes worsen the damage or lead to infections. Professional nail technicians have the expertise and proper tools to safely remove or repair the acrylic. Additionally, if your enhancements lift frequently or seem loose, it’s a sign that professional intervention is needed to assess underlying issues. Don’t ignore these signs—consult a salon expert to ensure your nails stay healthy and to avoid further damage. Prioritizing professional help now can save you time and trouble later.
Long-Term Solutions for Stronger, More Durable Acrylics
Achieving stronger, more durable acrylic nails requires adopting long-term strategies that reinforce your enhancements. You should focus on proper application techniques and maintenance to prevent lifting and breakage. Using high-quality acrylic products and selecting the right acrylic color options can improve adhesion and durability. Incorporate nail art designs carefully, avoiding excessive layering that weakens the structure. Regularly moisturize your cuticles and avoid harsh chemicals to keep your nails healthy. Additionally, schedule professional fills every 2-3 weeks to maintain strength and prevent lifting issues.
Long-term strategies like proper application, quality products, and regular maintenance strengthen acrylic nails.
- Choose high-quality acrylic and nail art tools
- Opt for lighter, flexible acrylic color options
- Follow a consistent maintenance routine to minimize lifting
Frequently Asked Questions
Can Homemade Remedies Prevent Acrylic Lifting Effectively?
You might wonder if homemade remedies can prevent acrylic lifting effectively. While DIY remedies and home prevention tips can sometimes help maintain your nails, they’re not always reliable for preventing lifting long-term. Proper application by a professional, good nail prep, and avoiding water or harsh chemicals are the best ways to prevent lifting. Relying solely on home prevention might not be enough; consider professional advice for lasting results.
What Are the Risks of Removing Acrylic Nails at Home?
Thinking about removing acrylic nails at home is like peeling back a disguise—you might uncover more than you bargained for. Home removal risks include damaging your natural nails, causing pain, or even infections. Acrylic removal dangers aren’t worth risking your nail health. You could weaken your nails or leave adhesive residue behind. For safety and best results, it’s smarter to visit a professional rather than risking these home removal dangers.
How Often Should Acrylic Nails Be Professionally Maintained?
You should schedule acrylic maintenance every two to three weeks to guarantee nail longevity and keep them looking their best. Regular professional care helps prevent lifting, chipping, and other damage. During maintenance, your technician will fill in gaps, reshape, and reinforce your nails. Consistent appointments help maintain the health of your natural nails and extend the lifespan of your acrylics, so staying on schedule is key to beautiful, long-lasting nails.
Are There Specific Products to Strengthen Lifted Acrylics?
When dealing with lifted acrylics, you should look for products that focus on acrylic bonding and nail reinforcement. These products help strengthen your nails and improve adhesion, reducing future lifting. Use a high-quality nail bonding agent before applying new acrylic or reinforcement treatments. Regularly maintaining your nails with these products will keep your enhancements secure and long-lasting, preventing further lifting and ensuring healthier, stronger acrylics.
How Does Nail Health Affect Acrylic Adhesion and Longevity?
Your nail health plays a vital role in acrylic adhesion and longevity. If your nails produce excess natural oils, it can cause lifting and reduce how long your enhancements last. Proper nail prep, including thoroughly cleaning and de-oiling the nails, helps remove these oils. Maintaining healthy nails with good nutrition and avoiding damage ensures better adhesion, making your acrylics stay intact longer and look their best.
Conclusion
Now that you know the secrets to lifting acrylics safely and effectively, imagine what you could achieve with the right techniques and care. But what if a stubborn lift or unexpected damage still surprises you? Stay vigilant, follow these tips, and don’t hesitate to seek professional help when needed. The key to long-lasting, beautiful nails is within your grasp—are you ready to open their full potential? The next step could change everything.