
If your acrylic nail breaks unexpectedly, stay calm and assess the damage carefully. Smooth any jagged edges with a fine nail file to prevent further tearing. Apply a small amount of nail glue to the break for a quick fix, but remember it’s only temporary. Protect the nail by wearing gloves during chores and avoid stressing it further. For a lasting solution, schedule a professional repair—more tips to help you handle this situation await.
Key Takeaways
- Stay calm, assess the break, and smooth jagged edges with a fine nail file.
- Use sterilized nail glue to temporarily fix the break, following application instructions carefully.
- Protect the damaged nail by wearing gloves during chores and avoiding activities that cause stress.
- Schedule a professional repair promptly to ensure proper reinforcement and prevent further damage.
- Maintain nail health with nourishing oils and gentle handling to minimize future breakage risks.
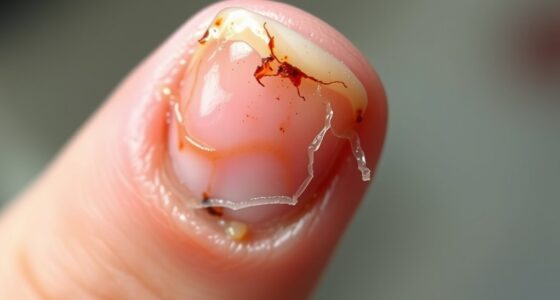
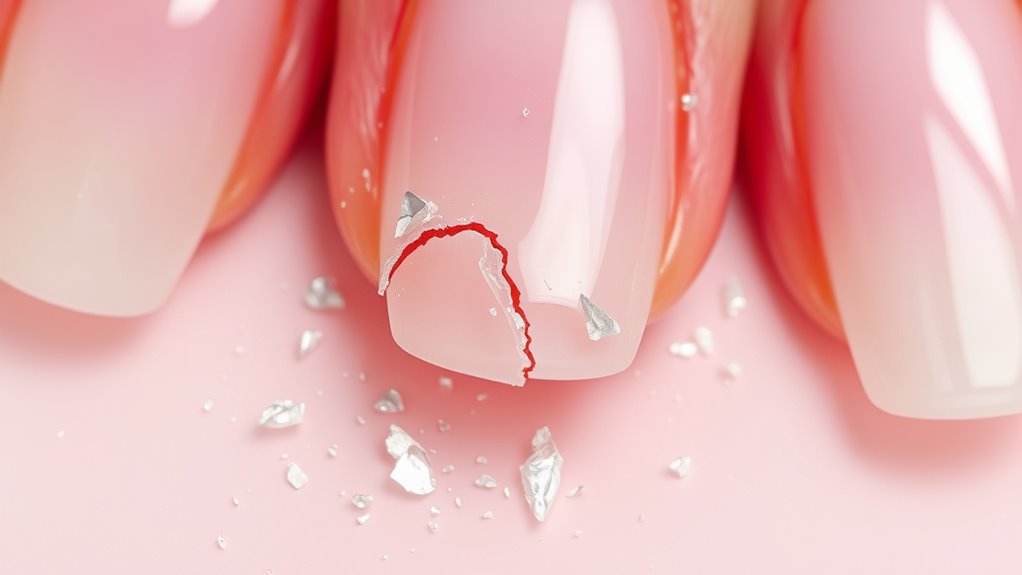
Have you ever experienced the frustration of a broken acrylic nail at the worst moment? It’s a sudden inconvenience that can ruin your day, especially if you’re heading to an important event or need to look polished. First, it’s essential to remember that your nail health should always come first. Ignoring damage or attempting risky DIY fixes can lead to infections or further breakage. When a nail breaks unexpectedly, staying calm and evaluating the situation is key. If the break is sharp or jagged, it can cause discomfort or even injure your skin. To prevent this, gently smooth the rough edges with a fine nail file, but do so carefully to avoid damaging the surrounding nail or skin. This step isn’t just about aesthetics; it’s also about maintaining your nail health and reducing the risk of infection.
A broken acrylic nail? Stay calm, smooth jagged edges, and prioritize your nail health before fixing.
When considering DIY safety, avoid rushing to fix your acrylic nails without the proper tools or knowledge. Using unsterilized tools or improper glues can introduce bacteria or cause allergic reactions. If you’re experienced and have the necessary supplies, you might be able to do a quick emergency patch. For instance, applying a small amount of nail glue to the break and pressing the nail together can buy you some time. Just make sure to follow the instructions carefully and avoid overusing the glue, as excess can damage your natural nail or create a weak repair. Keep in mind, however, that such fixes are temporary and best suited for emergencies. They shouldn’t replace a professional repair, especially since improper DIY repairs can compromise your nail health over time.
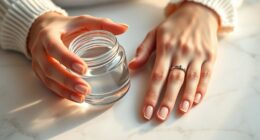
In addition to fixing the break, it’s wise to take steps to protect your nails until you can visit a professional. Wearing gloves when doing chores or avoiding activities that put strain on your nails can prevent further damage. Also, consider applying a nourishing cuticle oil or strengthening nail treatment to help your natural nails recover and stay healthy. Remember, your nails are delicate and require gentle care, particularly after damage. While a quick fix might solve your immediate problem, it’s always best to schedule a professional repair as soon as possible. A trained technician can properly evaluate the damage, reinforce your acrylics, or replace them if needed, ensuring your nail health isn’t compromised in the long run. Incorporating protective styling techniques can also help minimize future damage and keep your nails in better shape.
Ultimately, handling a broken acrylic nail with care, patience, and proper safety measures can save you from bigger problems. Stay calm, avoid risky DIY procedures, and prioritize your nail health by seeking expert help when necessary. This way, you’ll keep your nails looking great and healthy, even after an unexpected break.
Frequently Asked Questions
Can I Fix a Broken Acrylic Nail at Home Safely?
You can fix a broken acrylic nail at home safely if you’re careful. Make sure to clean the nail thoroughly to maintain acrylic adhesion and prevent infection. Use a small amount of nail glue to reattach the broken piece and press gently until it’s secure. Avoid damaging your nail health by not over-filing or using harsh chemicals. With patience, you can do a quick repair while protecting your nails’ overall health.
How Long Does a DIY Acrylic Nail Repair Last?
When you DIY an acrylic nail repair, expect it to last around a week or two, depending on your nail care routine. The repair’s durability varies based on how well you prep and apply the materials, as well as your daily activities. To maximize nail longevity, avoid harsh chemicals and rough handling. Keep the repair clean and dry, and you’ll get the most out of your DIY fix before it needs a professional touch.
Will Repairing a Broken Acrylic Nail Cause Infection?
Repairing a broken acrylic nail can carry an infection risk if you don’t follow proper sterilization practices. If you use clean tools and disinfect surfaces, you lower the chance of bacteria entering your nail. Avoid touching unsterilized items and always wash your hands before starting. Proper sterilization practices guarantee your repair is safe, reducing infection risks and helping your nail heal without complications.
Is It Better to Visit a Professional or Try Repairing Myself?
Did you know that 65% of nail repairs done DIY can result in further damage or infection? When choosing between DIY vs. professional repair, consider safety and quality. DIY might save money short-term, but mistakes could cost more later. Professionals use sterilized tools and proper techniques, ensuring better results and fewer risks. For a lasting fix and peace of mind, visiting a salon is usually the smarter, safer choice.
What Tools Are Essential for Emergency Acrylic Nail Repair?
When repairing your acrylic nail in an emergency, you need essential tools like nail glue and cuticle scissors. Nail glue quickly bonds the broken piece back in place, preventing further damage. Cuticle scissors help trim any jagged edges or loose bits for a smooth finish. Keep these tools handy for quick fixes, but remember, for a lasting repair, visiting a professional is always the best option.
Conclusion
So, next time your acrylic nail shatters into a thousand tiny pieces, don’t panic like it’s the end of the world. With these quick repair tips, you’ll be back to fabulous faster than you can say “nail emergency.” Think of it as your superhero move—saving your manicure from total catastrophe! Remember, a little quick fix can turn a nail disaster into a minor hiccup. You’ve got this—your nails will be fabulous again in no time!