To avoid streaky nail polish and achieve a smooth finish, start by prepping your nails thoroughly, cleaning and buffing for a clean base. Use thin, even coats with a high-quality, flat brush and apply gentle, light strokes from base to tip. Let each layer dry completely before adding the next, and finish with a shiny top coat. Keep tools clean and mistakes quick to correct for professional-looking nails—stay tuned to learn more tips for perfect results.
Key Takeaways
- Apply thin, even coats of polish, allowing each layer to fully dry before adding the next.
- Use a high-quality, flat brush with controlled, gentle strokes from base to tip.
- Maintain proper polish consistency by wiping excess off the brush before application.
- Incorporate quick-dry sprays or fans to prevent the polish from smudging or streaking.
- Ensure nails are clean, dry, and free of oils by using acetone or polish remover before applying polish.

CHEMAILON 12Pcs Nail Art Brush Set, Professional Gel Nail Brush Kit with Liner, Flat & Detail Brushes for Nail Art Design, Salon & DIY Manicure Tools
- Complete Nail Art Brush Set: 12 specialized brushes for various designs
- Premium Metal Handles: Durable, sleek, non-slip grip for control
- High-Quality Nylon Bristles: Soft, firm, resists shedding for precise application
As an affiliate, we earn on qualifying purchases.
As an affiliate, we earn on qualifying purchases.
Choose the Right Nail Polish and Base Coat
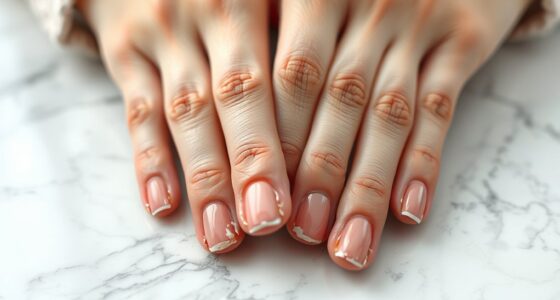
Choosing the right nail polish and base coat is essential for a smooth, streak-free finish. When choosing color, opt for high-quality formulas that glide easily and provide even coverage. Look for polishes with better pigmentation and a smooth consistency, which help prevent brush strokes. For nail art techniques, select polishes that are versatile and easy to work with, especially if you’re creating intricate designs. A good base coat also plays a crucial role, as it creates a smooth surface, enhances adhesion, and prevents staining. Clear, thin layers of the right base coat help achieve a flawless look and make your polish last longer. Additionally, selecting polishes with professional-grade formulas can significantly improve application results. By choosing the appropriate color and quality base coat, you set a solid foundation for a professional-looking manicure free of streaks.

Sally Hansen Insta-Dri®, Dries Instantly Top Coat, Quick Dry, Long Lasting, Streak-Free Shine, Clear Nail Polish
- Easy to Use: Apply one coat for a shiny finish
- Glass-Like Finish: Resists chipping and scratching
- Fast Drying: No smudges or streaks
As an affiliate, we earn on qualifying purchases.
As an affiliate, we earn on qualifying purchases.
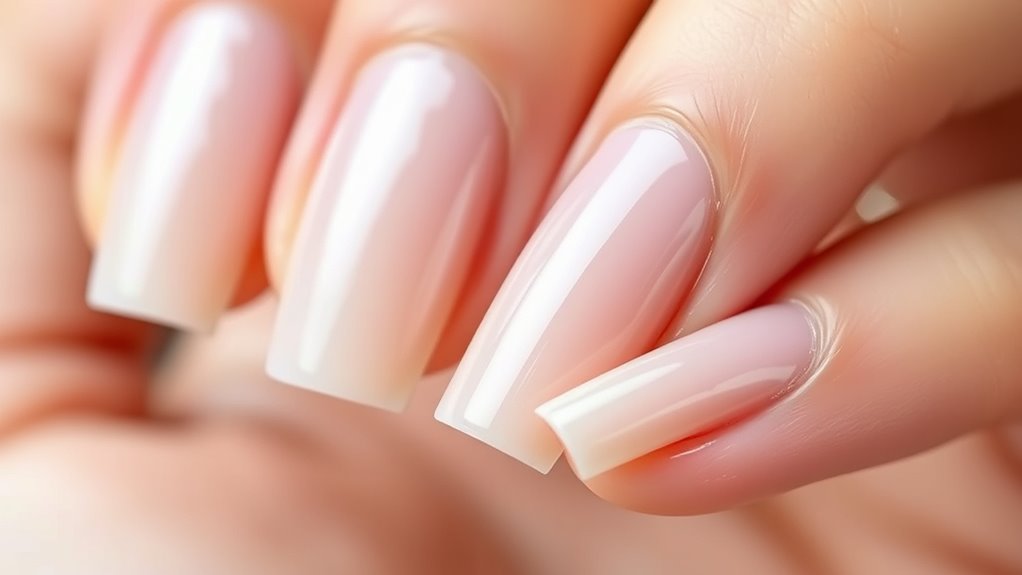
Prep Your Nails Properly Before Applying Polish
Start by cleaning and drying your nails thoroughly to remove any oils or residue. Then, buff the surface lightly to create a smooth base for your polish. Finish with a base coat to help the polish go on evenly and prevent brush strokes. Additionally, using a top-quality nail preparation product can help improve adhesion and smoothness, resulting in a more flawless finish.
Clean and Dry Nails
Before applying nail polish, it’s essential to make sure your nails are clean and dry. Proper nail prep involves removing any oils, dirt, or residue that can cause uneven application. Use a gentle nail polish remover or acetone to thoroughly cleanse your nails. This guarantees a smooth surface and helps the polish adhere better. Additionally, pay attention to cuticle care—softening and gently pushing back cuticles creates a cleaner, more polished look and prevents any debris from interfering with the polish. Make sure your nails are completely dry before painting, as moisture can cause streaks and bubbles. Ensuring your nails are free of oils and moisture improves adherence and reduces the chances of brush strokes showing through your polish. Taking these steps assures a flawless finish and reduces the chances of brush strokes showing through your polish.
Buff for Smooth Surface
To guarantee a flawless nail polish application, buff your nails to create a smooth surface. Nail buffing removes ridges and imperfections, ensuring the polish adheres evenly. Use a gentle nail buffer to perform surface polishing, focusing on the entire nail surface. Avoid over-buffing, which can weaken your nails, and stick to light, even strokes. This process not only preps your nails but also enhances their natural shine. A well-buffed surface reduces the likelihood of brush strokes and streaks, giving you a professional-looking finish. Remember, the goal is a smooth, even canvas that allows your polish to glide on effortlessly. Incorporate nail buffing into your prep routine for the best results and a polished, streak-free appearance. Additionally, proper nail preparation is essential for achieving a lasting, flawless finish.
Use a Base Coat
Applying a base coat is an essential step to prepare your nails for a flawless polish application. It creates a smooth foundation, helps prevent staining, and enhances the longevity of your nail art. A good base coat fills in ridges and uneven surfaces, making your manicure tips look professional. For example, imagine:
| Before Base Coat | After Base Coat |
|---|---|
| Slight ridges | Smooth surface |
| Staining from polish | Clear, protected nails |
| Uneven color | Consistent base |
Using a base coat guarantees your polish applies evenly without brush strokes, giving you a sleek, streak-free finish. It’s a simple trick that makes a big difference when trying to achieve a professional look, whether for nail art or everyday manicures. Proper nail preparation is key to achieving the best results.

OPI Natural Nail Base Coat | Nail Polish Base Coat | Protects Nails & Prevents Discoloration
- Foundation Base Coat: Extends nail polish wear and prevents discoloration
- Long-lasting Formula: Up to 7 days of chip-resistant wear
- Pro-wide Brush: Provides smooth, even coverage without streaks
As an affiliate, we earn on qualifying purchases.
As an affiliate, we earn on qualifying purchases.
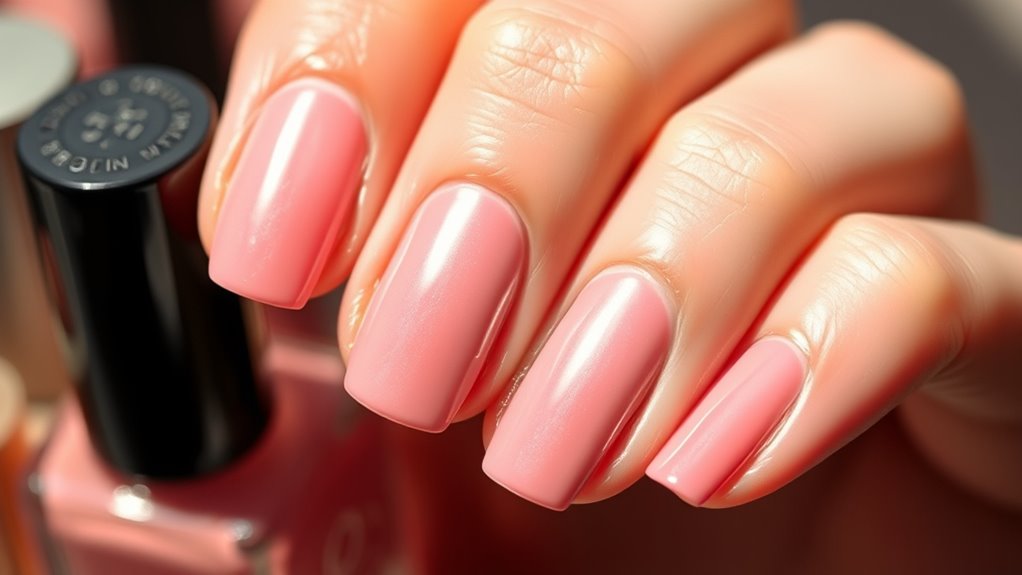
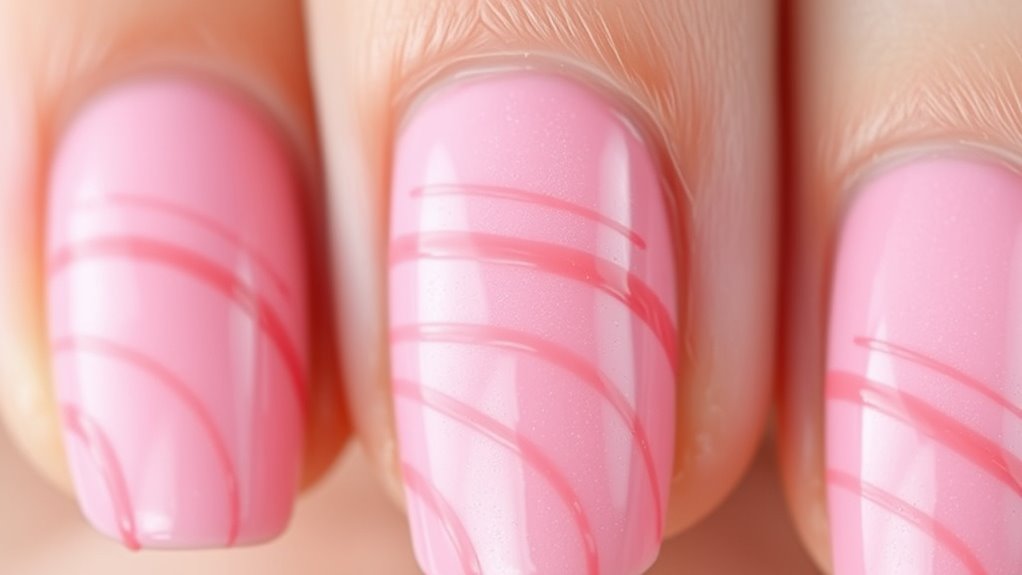
Use Thin, Even Coats for a Flawless Finish
Achieving a smooth, flawless nail polish finish starts with applying thin, even coats. A proper brush technique ensures you distribute the polish smoothly without streaks or brush marks. Hold your brush lightly and use gentle, controlled strokes, starting from the base of the nail and moving outward. Consistent polish is key—if your polish is too thick or runny, it’s harder to apply evenly. Thin coats allow each layer to dry faster and help prevent streaks caused by uneven application. Dip your brush just once for each coat to avoid excess product, and wipe off any excess before applying. By focusing on a steady hand and maintaining the right polish consistency, you’ll create a sleek, streak-free finish every time.

4 Way Nail Buffer Block (4 Pcs), Nail Shine Buffers Blocks Files for Natural and Acrylic Nails Smoother Buffing Block Polisher Fingernail File Buffer 120/240/600/3000 Grit for Buffing Shinning
- Multi-Side Nail Buffer: Shapes, smooths, buffs, and polishes nails
- Suitable for Natural & Acrylic Nails: Provides flawless shine on all nail types
- Premium EVA Foam Material: Ensures gentle, effective buffing and polishing
As an affiliate, we earn on qualifying purchases.
As an affiliate, we earn on qualifying purchases.
Allow Each Layer to Dry Completely Before Applying the Next

Waiting for each layer of nail polish to dry completely is essential for a smooth, professional-looking finish. Rushing the process can cause smudging, uneven texture, or brush strokes. Proper layer drying ensures that the polish layering is even and prevents streaks. While it may take a few extra minutes, patience pays off with a flawless look. To speed up drying, use a quick-dry spray or fan, but avoid touching the nails until fully dry. Keep in mind that thicker coats need more time to dry thoroughly. Incorporating digital literacy techniques, such as using a fan or quick-dry spray, can help optimize the drying process and achieve a perfect finish.
Use a High-Quality, Flat Brush for Application
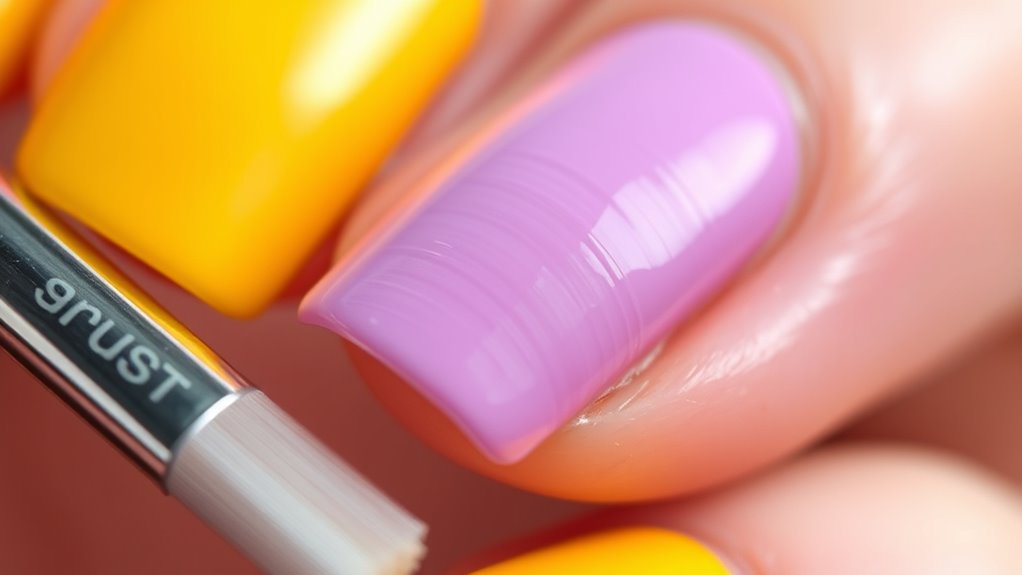
Using a high-quality, flat brush can make a significant difference in how smoothly your nail polish applies. A flat brush provides even coverage and helps you achieve a sleek, streak-free finish. When you choose a good-quality polish, pairing it with a well-designed flat brush guarantees better control and minimizes brush strokes. The flat shape distributes the polish more evenly across the nail surface, reducing the need for multiple strokes. Investing in a high-quality brush also means bristles are less likely to fray or shed, which can cause uneven application. Additionally, choosing professional-grade tools can further improve your manicure results. With a flat brush and good-quality polish, you’ll find it easier to create a smooth, professional-looking manicure that’s free of streaks and brush marks.
Avoid Overloading Your Brush With Polish
To prevent brush strokes, don’t overload your brush with polish. Use thin coats and dip lightly to control the amount of product on each stroke. Avoid excess polish to keep your application smooth and even. Additionally, applying multiple thin layers instead of one thick coat can help achieve a more professional-looking finish.
Use Thin Coats
Applying thick coats of nail polish can lead to uneven textures and visible brush strokes. Instead, focus on applying thin coats. This improves your brush technique and guarantees even coverage. When your polish consistency is right, it flows smoothly and spreads evenly. Use a light hand to avoid overload, and don’t scoop too much polish onto your brush. To help you visualize, here’s a simple comparison:
| Thick Coats | Thin Coats |
|---|---|
| More likely to streak | Smooth, even finish |
| Longer drying time | Faster drying, fewer bubbles |
| Heavy texture | Lightweight, flexible finish |
| Risk of unevenness | Consistent application |
Additionally, incorporating proper drying techniques can help achieve a flawless look.
Dip Brush Lightly
Even if your brush looks empty, resist the temptation to dip it back into the polish multiple times. Overloading your brush causes excess polish and makes it harder to control the application, leading to streaks. Always dip the brush lightly, picking up just enough polish for a smooth, even coat. Pay attention to the nail polish consistency; a slightly thick polish may require a gentle wipe on the bottle’s neck to remove excess. When you load your brush properly, you prevent pooling and uneven strokes. This small step helps you achieve a more uniform finish and reduces brush marks. Remember, less is more—using a light dip ensures better control and a flawless, streak-free manicure.
Avoid Excess Polish
Overloading your brush with too much polish is a common mistake that can lead to messy, uneven nails. When you use too much polish, it’s harder to control your brush techniques, resulting in streaks and clumps. To prevent this, always wipe excess polish off the brush before applying. Pay attention to polish consistency—thicker polish tends to be trickier to work with, so thin it out if needed. Using just the right amount of polish allows for smoother, more even coats.
- Feel the confidence of a flawless finish with every stroke
- Experience the satisfaction of perfectly smooth nails
- Say goodbye to frustrating streaks and uneven layers
- Enjoy professional-looking results every time you polish
Smooth Out Brush Strokes With Light, Gentle Strokes
To achieve a smooth finish and minimize visible brush strokes, use light, gentle strokes when applying each coat of polish. Avoid harsh pressure, which can create streaks and uneven texture. Instead, let the brush glide smoothly over your nail surface, applying thin, even layers. Focus on steady, controlled movements to prevent excess polish from pooling or creating ridges. Starting from the base of the nail and working toward the tip helps distribute the polish evenly. Remember, patience is key—rushing can cause uneven application and more noticeable strokes. Consistently using light, gentle strokes ensures a more professional-looking finish and helps you avoid brush marks that can ruin an otherwise flawless manicure.
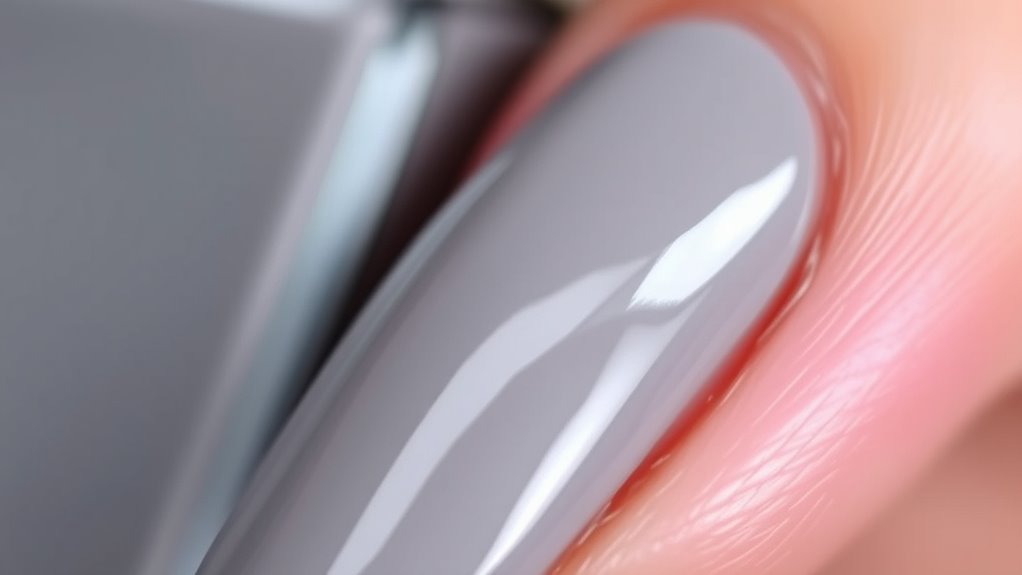
Apply a Top Coat for Shine and Extra Smoothness

Once you’ve applied your nail polish with smooth, gentle strokes, finishing with a top coat can make a significant difference. A good top coat adds a stunning shiny finish, making your manicure look freshly done. It also seals in the color, enhancing durability and preventing chipping. To get the best results, choose a high-quality top coat and apply it in thin, even layers. This helps avoid streaks and promotes a smooth, flawless surface. Remember, the right top coat not only boosts shine but also provides extra protection, extending the life of your manicure.
- Feel confident with a mirror-like shine that turns heads
- Protect your nails from everyday damage
- Achieve a salon-quality look at home
- Enjoy longer-lasting, chip-free nails
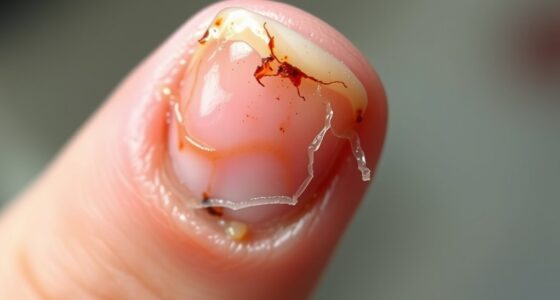
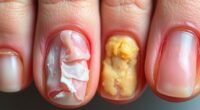
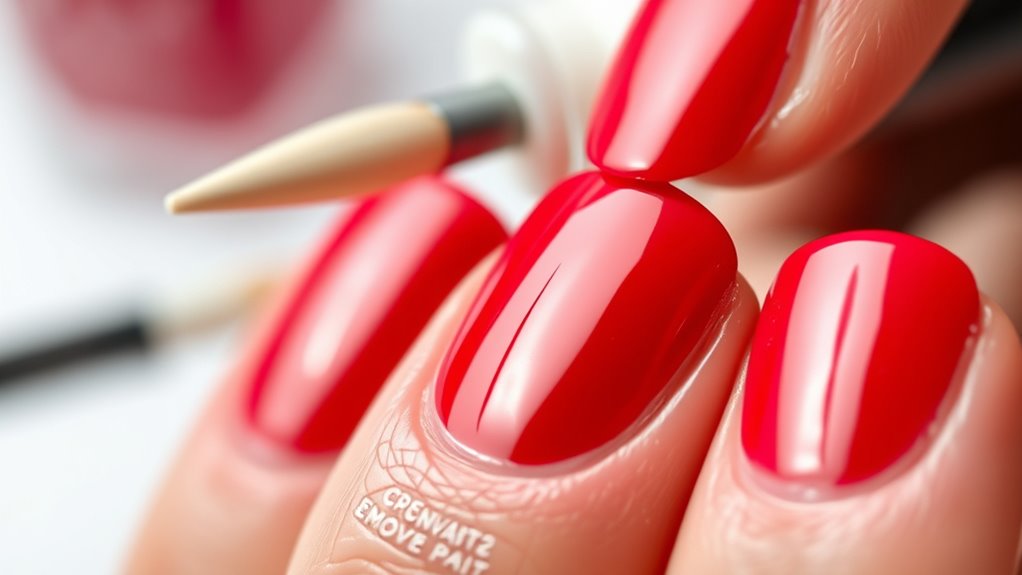
Correct Mistakes Immediately With a Brush and Nail Polish Remover
When you notice a mistake, act quickly to fix it with a brush dipped in nail polish remover. Use the appropriate remover for your polish type to avoid damage, and gently clean up the error. Afterward, reapply thin coats to ensure a smooth, even finish.
Act Quickly After Mistake
If you notice a mistake in your nail polish, act quickly to fix it before it dries completely. Fast action guarantees a smooth finish and prevents smudges. Use a small brush dipped in nail polish remover to carefully correct the error, allowing you to achieve a perfect look with minimal effort. This quick correction is essential for good nail maintenance and helps you avoid uneven patches or streaks. When you catch mistakes early, you control the outcome and save time later. Remember, patience and swift action are your best tools for flawless nails. Don’t let mistakes ruin your manicure—tackle them immediately for a professional finish. Your attentive nail maintenance now will save you frustration and effort in the long run.
- Feel confident knowing you’re in control of your manicure
- Prevent small errors from turning into big problems
- Enjoy the satisfaction of a perfectly smooth nail surface
- Save time and effort with quick correction techniques
Use Appropriate Remover
Using the right nail polish remover is essential for correcting mistakes quickly and effectively. An effective remover with a gentle formula helps you clean up errors without damaging your nails or polish. Choose a remover designed for delicate use to prevent streaks or roughness. Keep a small brush and remover close during application to fix smudges instantly.
| Step | Tip | Benefit |
|---|---|---|
| Use the right remover | Opt for an effective, gentle formula | Protects nails and polish |
| Correct mistakes | Dip a small brush into remover and clean up | Precise correction without damage |
| Clean immediately | Fix errors right after applying polish | Prevents streaks and smudges |
Reapply Thin Coats
To correct mistakes and avoid brush strokes, reapplying thin coats of polish is key. Using proper layering techniques ensures each coat dries smoothly, preventing streaks. Keep your polish consistency ideal—neither too thick nor too runny—to achieve an even finish. If you notice imperfections, gently correct them with a brush dipped in remover before adding another layer. This prevents buildup and uneven texture. Remember, patience is essential: thin coats dry faster and reduce the risk of streaks. Regularly evaluating your work helps catch mistakes early. When reapplying, use smooth, controlled strokes to maintain a flawless surface.
- Feel confident as you perfect each layer
- Enjoy the satisfaction of a smooth, streak-free finish
- Master the art of layering for flawless nails
- Celebrate your polished, professional look
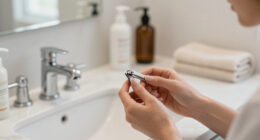
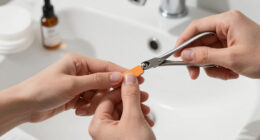
Keep Your Nails and Tools Clean for Best Results
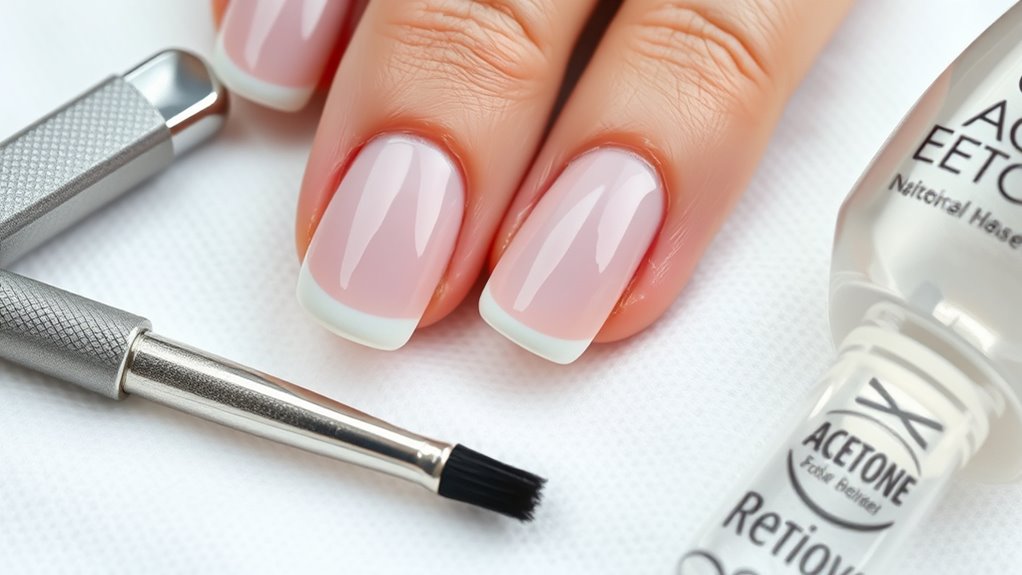
Keeping your nails and tools clean is essential for achieving a smooth, professional-looking manicure. Sanitizing tools regularly prevents bacteria and fungus from spreading, which can compromise nail hygiene and cause infections. Before you start, wash your hands thoroughly and disinfect your nail tools with alcohol or a sterilizing solution. Clean your nails with gentle soap and a nail brush to remove dirt and oils, ensuring the polish adheres evenly. Using clean brushes and tools prevents old polish or debris from causing streaks or uneven application. Maintaining good nail hygiene also helps you spot any issues early, like hangnails or infections, that could affect your manicure. Prioritize cleanliness throughout your process to get the best results and enjoy a flawless, long-lasting finish.
Frequently Asked Questions
How Can I Prevent Streaks When Using Dark Nail Polish?
To prevent streaks with dark nail polish, start with good nail prep—clean and buff your nails thoroughly. Choose a high-quality, smooth formula that’s less likely to streak. Apply thin, even coats, allowing each to dry completely before adding the next. Using a good brush and steady hand helps. These steps ensure a flawless, streak-free finish and make your dark manicure look polished and professional.
What Are the Best Techniques for Preventing Brush Marks?
Imagine a gentle breeze smoothing ripples on water—that’s how brush stroke techniques should feel. To prevent marks, use thin layers of polish, allowing each to dry before applying the next. Focus on even, light strokes, starting from the cuticle and working outward. Proper polish layering creates a seamless finish, reducing visible brush marks. Keep your strokes steady, and you’ll achieve a flawlessly smooth, streak-free manicure every time.
How Do Temperature and Humidity Affect Nail Polish Application?
Temperature and humidity critically impact your nail polish application. When climate control isn’t maintained, high humidity can cause polish to bubble or take longer to dry, while cold temperatures make it thick and harder to apply smoothly. Keep your environment at the ideal application temperature—around 70°F (21°C)—to prevent streaks and achieve a flawless finish. Proper climate control ensures your polish flows evenly and dries properly, giving you professional-looking nails.
Can Applying Multiple Coats Cause Uneven Texture?
Applying multiple coats can cause uneven texture if you don’t layer thin coats and allow sufficient drying time between each. Thick layers tend to dry unevenly, leading to bumps or streaks. To achieve a smooth finish, apply thin coats, wait for each layer to dry completely before adding the next, and avoid rushing the process. Proper layering and patience help create a flawless, even nail polish application.
What Are Common Mistakes That Lead to a Streaky Finish?
You often get a streaky finish when you don’t watch your brush stroke causes or polish consistency. Applying thick or uneven layers can lead to visible brush strokes, especially if the polish isn’t smooth. To avoid this, keep your brush well-loaded but not overloaded, work in thin coats, and use smooth, even strokes. Ensuring your polish is of consistent texture helps achieve a streak-free, glossy finish.
Conclusion
By following these tips, you’ll achieve a flawless, streak-free manicure every time. Many believe that thicker coats hide imperfections, but in reality, thin layers and proper technique result in a smoother finish. Remember, patience and quality tools make all the difference. So, take your time, prep well, and embrace the process. With consistency, you’ll find your nails looking professionally polished without the streaks—proving that good technique truly outshines shortcuts.