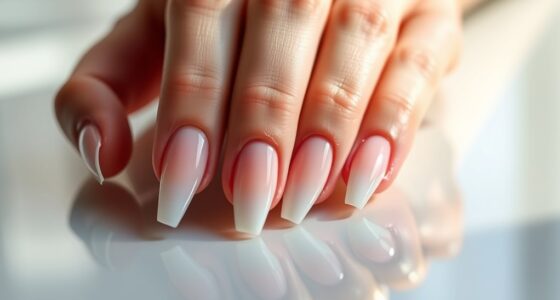

To safely remove gel polish at home, gather supplies like a nail file, acetone, cotton balls, foil wraps, and cuticle oil. Start by gently filing the shiny top layer, then soak cotton in acetone and secure it on your nails with foil. Wait 10-15 minutes for the gel to loosen, then carefully lift it with a wooden stick or cuticle pusher. For detailed steps to protect your nails and skin, keep exploring the process.
Key Takeaways
- Gently file the gel’s top layer with a fine grit nail file to avoid damaging natural nails.
- Protect skin and cuticles with petroleum jelly or gloves to prevent irritation from acetone.
- Soak cotton balls in acetone, then wrap nails with foil for 10-15 minutes to soften gel effectively.
- Carefully lift softened gel with a wooden stick, working from the edges to prevent nail damage.
- Moisturize nails and cuticles after removal to restore hydration and promote healthy nail recovery.
Gather Your Supplies and Prepare Your Workspace
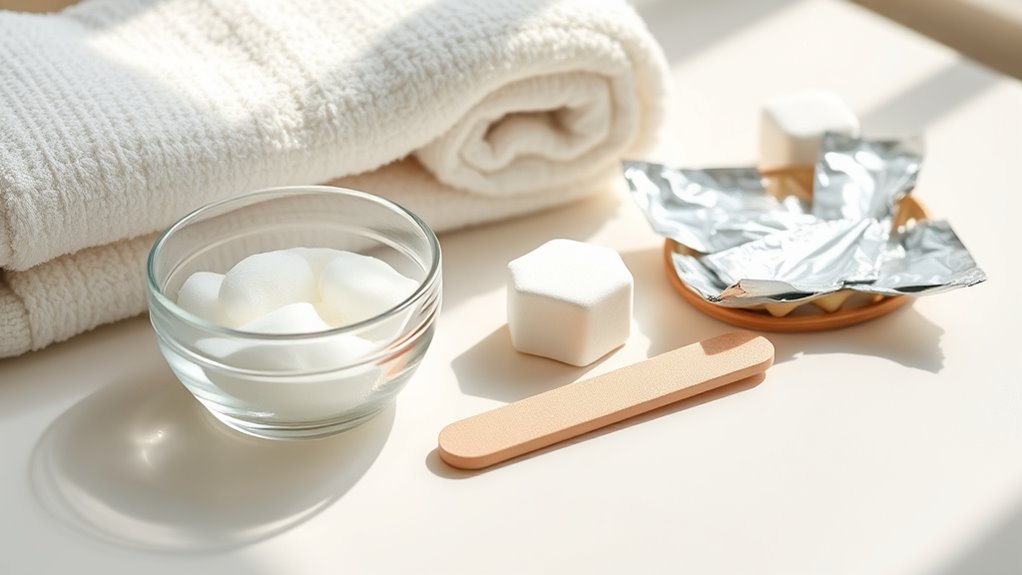
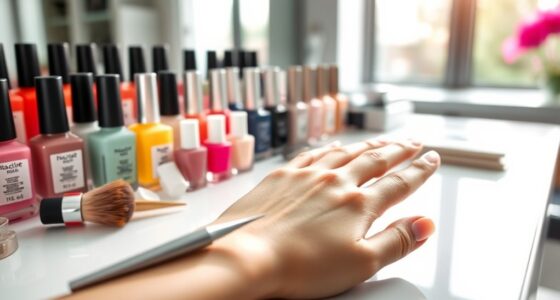
Before you begin removing old gel polish, gather all the necessary supplies and set up a clean, organized workspace. You’ll need nail files, a buffer, cotton balls or pads, foil wraps, and gel polish remover. If you want to refresh your nail art or switch up your polish colors, having everything ready makes the process smoother. Choose a well-lit area with plenty of space to work comfortably. Keep your tools within reach and lay down paper towels or a towel to catch any spills. Having your supplies prepared helps prevent frustration and ensures you don’t forget anything. Additionally, understanding proper projector calibration techniques can help ensure your workspace remains organized and optimized for other beauty or home improvement projects. Proper nail care practices can also extend the lifespan of your new polish or nail treatment. Being familiar with regional legal resources can be helpful if you need professional assistance during your beauty routines or in case of accidental damage. Incorporating proper hygiene practices can help prevent infections and keep your nails healthy during removal. With your workspace ready, you can focus on safely and efficiently removing the gel polish and preparing for your next nail art or new polish colors.
Protect Your Skin and Surrounding Areas

As you prepare to remove your gel polish, it’s important to protect your skin and the areas around your nails. Start by applying a thin layer of petroleum jelly or cuticle oil around your nails to create a barrier, preventing harsh chemicals from irritating your skin. This skin protection keeps your cuticles and surrounding skin safe from acetone and other removal agents. Be gentle when handling your cuticles—avoid pulling or cutting them, as this can cause damage. Wearing gloves while working with acetone can also help shield your skin from dryness and irritation. Taking these steps ensures your skin stays healthy and intact during removal, making the process safer and more comfortable. Proper care now can prevent unnecessary discomfort later. Regular use of protective barriers can also minimize the risk of irritation caused by Glycolic Acid in skincare routines. Additionally, understanding the potential for silly tantrums or pets to disrupt photoshoots can help you prepare for unpredictable situations, ensuring a smooth experience. Being mindful of chemical exposure during removal further protects your skin from potential irritation or damage. Incorporating knowledge about AI-driven solutions can also inspire innovative approaches to skincare and nail care routines.
Gently File the Shine Off Your Gel Polish

Pick a fine grit file to gently remove the shine from your gel polish. Apply light pressure as you file, avoiding any harsh scrapes that could damage your nails. Taking your time guarantees a safe and effective removal process. Additionally, using proper filing techniques can prevent nail damage and ensure a smoother finish. Proper filing techniques can make all the difference in maintaining healthy nails during gel polish removal. Being mindful of automation in business can help you approach the process more efficiently and with less risk of damage. Incorporating device compatibility knowledge ensures you select the right tools and techniques for your specific nail type and equipment. Furthermore, understanding environmental considerations encourages eco-friendly practices during your at-home removal.
Use Fine Grit Files
Gently filing the shine off your gel polish helps break the seal without damaging your natural nails. Use a fine grit file, typically around 180 to 240 grit, to avoid unnecessary abrasion. Light, even strokes are key—don’t press too hard. As you file, pay attention to the nail texture, ensuring you’re removing the glossy top layer without thinning your nails. This step makes the gel easier to lift and peel away safely later. A fine grit file provides gentle abrasion, reducing the risk of nail damage or splits. Keep the file moving smoothly across the surface, focusing on the gel layer and avoiding the cuticles or skin. Properly using a fine grit file ensures a safe, effective removal process while maintaining healthy nails.
Apply Gentle Pressure
To safely remove gel polish, it’s important to apply gentle pressure while filing. Using a light touch prevents damage to your natural nails and reduces discomfort. Focus on maintaining a consistent, gentle pressure application as you file. Avoid pressing too hard, which can cause peeling or harm. For better control, consider the following table:
| Step | Technique | Tip |
|---|---|---|
| 1 | Use a fine grit file | Light, even strokes |
| 2 | Maintain gentle touch | Avoid excessive pressure |
| 3 | File in one direction | Prevent nail damage |
| 4 | Cover entire surface | Ensure even removal |
| 5 | Stop if discomfort occurs | Prevent injury |
Being aware of personal debt forgiveness bills can also help you manage your finances better, especially if you’re considering cost-saving methods during nail care or other expenses. Additionally, choosing appropriate filing techniques can minimize nail damage and promote healthier natural nails over time. Incorporating proper nail care practices ensures your nails stay healthy and resilient after gel polish removal. Recognizing the importance of consistent technique can further enhance your safety and results during removal.
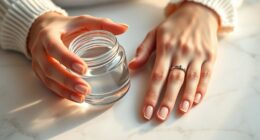
Soak Cotton Balls in Acetone and Apply to Nails

Before removing gel polish, you should soak cotton balls in acetone until they are thoroughly saturated. This guarantees they hold enough acetone to break down the gel effectively. Place a soaked cotton ball on each nail, making sure it covers the entire surface. Applying gentle pressure, press the cotton ball onto your nail to keep it in contact. The acetone will start dissolving the gel polish, making removal easier. Be sure to use enough acetone so the cotton ball remains moist throughout the process. Avoid reusing dry cotton balls, as they won’t work efficiently. Keep the acetone-soaked cotton in place for several minutes, allowing it to penetrate the gel. This step is vital for a safe, effective gel polish removal at home, especially since innovative materials enhance the effectiveness of removal methods. Incorporating proper technique can further prevent damage and ensure a smoother removal experience. Additionally, maintaining proper nail health during removal can reduce damage and promote stronger nails afterward. Using quality acetone can also make the process more efficient and less damaging to your nails.
Wrap Nails With Aluminum Foil for Effective Removal

Wrapping your nails with aluminum foil helps trap heat and acetone, speeding up the gel removal process. This DIY manicure step ensures the acetone penetrates the gel more effectively, making removal safer and quicker. To get the best results, consider these tips:
- Use small squares of aluminum foil, enough to cover each nail securely.
- Wrap tightly but comfortably to prevent air from entering, which can slow the process.
- Keep your nails in the foil for 10-15 minutes, allowing the gel to loosen without damaging your nail health.
- For optimal results, choose a HEPA-filtered acetone remover to reduce airborne contaminants during the process.
This method minimizes damage and promotes healthy nails post-removal. Remember, proper wrapping is key to a safe, effective gel removal session at home, aligning with good nail health tips.
Wait Patiently for the Gel to Loosen

Once you’ve wrapped your nails with foil and acetone, it’s important to be patient and give the solution time to work. Waiting patiently allows the gel to loosen appreciably, making removal easier and safer. During this period, avoid the temptation to check or peel the polish prematurely, as this can damage your natural nails. Typically, waiting for about 10-15 minutes is enough for the gel to loosen significantly. You’ll notice the edges starting to lift or the polish becoming slightly soft. Remember, patience is key for effective gel loosening. Rushing the process can lead to unnecessary nail damage or discomfort. Use this time to relax and keep the nails undisturbed, ensuring the gel has enough time to break down fully.
Carefully Remove the Gel Polish Using a Wooden Stick or Cuticle Pusher
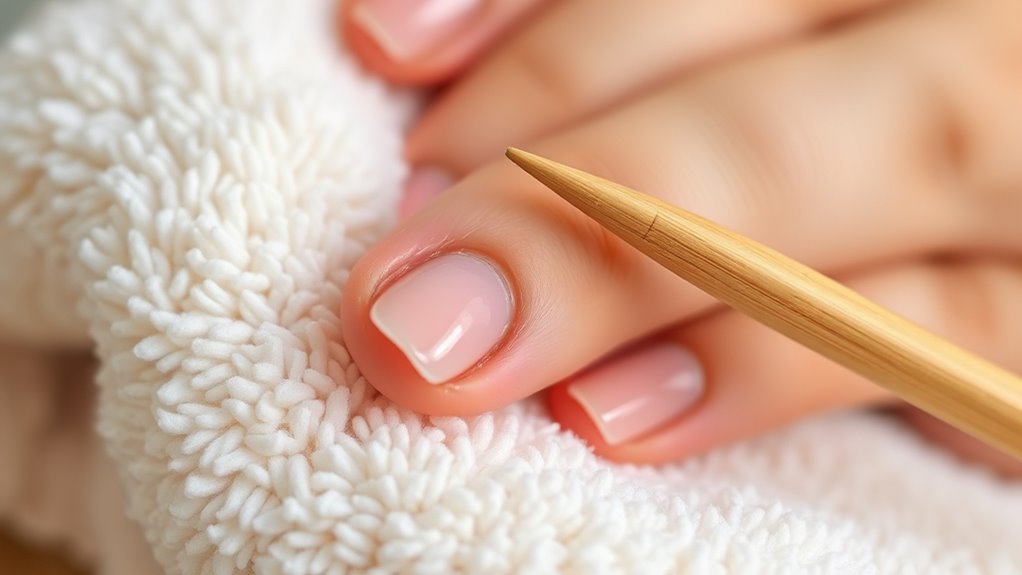
After the gel polish has loosened sufficiently, gently insert a wooden stick or cuticle pusher under the edge of the softened polish. Carefully lift it, working gradually to avoid damaging your natural nail. Use a light, steady pressure to prevent unnecessary stress on your nails. Remember these key tips:
- Always push from the side to minimize breakage.
- Apply gentle, even pressure rather than force.
- Keep the wooden stick or cuticle pusher close to your nail bed for control.
Using a wooden stick or cuticle pusher helps guarantee a safe removal process, reducing the risk of peeling or nail damage. Be patient and gentle—rushing can cause harm, so take your time to remove the gel polish carefully.
Finish With Nourishing Nail Oil or Moisturizer

Applying nourishing nail oil or moisturizer after removing gel polish is essential for restoring your nails’ health and hydration. This step helps boost cuticle hydration, preventing dryness and cracking. Gently massage the oil or moisturizer into your nails and cuticles to improve blood circulation and promote healthy growth. Regular use of nail strengthening products can also reinforce your nails, reducing brittleness and splitting. By sealing in moisture, you protect your nails from future damage and maintain a polished appearance. Make this a daily habit to keep your nails resilient and well-hydrated. Remember, well-moisturized cuticles and strengthened nails are the foundation of healthy, beautiful nails after gel removal.
Frequently Asked Questions
Can I Use Regular Nail Polish Remover Instead of Acetone?
You might wonder if regular nail polish remover works instead of acetone. While it can remove gel polish, it’s not ideal for nail health. Regular remover contains less acetone and more oils, which makes removal less effective and can lead to damage from prolonged scraping. For safe removal, use proper removal techniques with pure acetone, protecting your nails and maintaining their health. Avoid damage by choosing the right remover and gentle techniques.
How Long Should I Leave the Foil Wraps On?
Imagine you’re waiting for your gel polish to loosen, like Sarah did last weekend. The foil wrap duration is essential; she kept it on for about 10-15 minutes, which is the ideal removal time. During this period, the acetone works effectively to break down the gel. For best results, don’t rush—leave the foil wraps on long enough to soften the polish properly, ensuring easy and safe removal.
Is It Safe to Peel off Gel Polish Without Soaking?
Peeling off gel polish without soaking isn’t safe and can damage your natural nails. It may seem quicker, but it risks peeling layers of nail or causing splits. For gel polish safety, stick to proper DIY removal tips: gently file the top layer, soak in acetone, and remove with a cuticle stick. This way, you protect your nails and avoid painful damage while enjoying a safe, effective removal process.
How Often Can I Remove Gel Polish at Home?
Think of your nails as delicate gardens needing gentle tending. You can remove gel polish at home every two to three weeks, giving your nail health time to breathe and recover. Too frequent removal can weaken your nails, like a garden over-tended. Stick to this rhythm, and your nails stay strong and vibrant. Remember, patience keeps your nails healthy—don’t rush the process or risk damage from over-removal.
What Are Signs of Nail Damage After Removal?
After removing gel polish, you might notice signs of nail damage like nail discoloration or peeling nails. If your nails appear yellow or stained, it’s a sign the polish or removal process affected them. Peeling nails indicate weakened nails from improper removal. Keep an eye on these signs and give your nails time to recover. Avoid harsh removers or aggressive scrubbing to prevent further damage and promote healthy nail growth.
Conclusion
And just like that, your nails are fresh and ready for your next look. Removing gel polish at home might seem tricky at first, but with patience, you’ll find it’s almost like a small victory each time. Maybe it’s no coincidence that your DIY skills are getting better with every peel. So, take pride in your handiwork, treat your nails well afterward, and enjoy the simple satisfaction of doing it yourself—your hands will thank you!