To apply press-on nails and make them last, choose a style that fits your personality and lifestyle, then prepare your natural nails by cleaning, shaping, and buffing for better adhesion. Select the correct sizes, apply a good adhesive, and press firmly to secure. To keep them longer, avoid water and harsh chemicals, moisturize cuticles, and gently file edges. If you follow these steps, you’ll enjoy a durable, beautiful look—more tips ahead to help you succeed.
Key Takeaways
- Choose the right press-on nails by considering style, length, shape, and adhesive quality for a secure, natural look.
- Properly prep natural nails by cleaning, shaping, buffing, and accurately matching sizes for comfort and seamless application.
- Apply nails with firm adhesive, press for 10 seconds, and shape edges for a polished finish to ensure durability.
- Maintain press-ons by avoiding water, moisturizing cuticles, and gently repairing lifts or breaks to extend lifespan.
- Remove carefully using acetone or nail remover, avoiding force to prevent nail damage and promote healthy recovery.
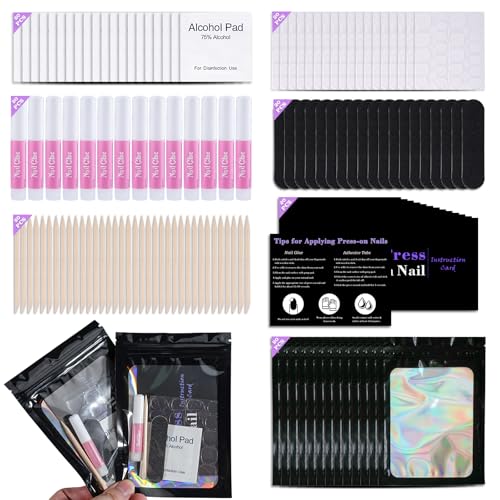
Disposable Nail Supplies Kits,Professional Manicure Press On Nail Tool Kit With Nail File,Adhesive Tabs,Nail Glue,Sticks, Prep Pads,Bags,Cards for Nail Business(Black-140pcs20set)
【Package Includes】You will get 20 set of disposable manicure kits(totally 140pcs), including 20pcs Mini nail file,20pcs adhesive tabs,20pcs…
As an affiliate, we earn on qualifying purchases.
As an affiliate, we earn on qualifying purchases.
Choosing the Right Press-On Nails for Your Style and Needs
When selecting press-on nails, it’s essential to take into account your personal style and the specific needs of your nails. Think about whether you prefer a natural look or bold statement nails, and choose designs that reflect your personality. If you love experimenting, pick options that can easily be customized with nail polish or nail art, allowing you to add your unique touch. Consider the length and shape that suit your lifestyle—shorter nails for practicality, longer for glamour. Also, check the adhesive quality to guarantee they stay put. By selecting nails that complement your style and can be personalized with nail polish or nail art, you’ll enjoy a versatile and fashionable manicure that fits your mood and occasions. Additionally, understanding press-on nail trends can help you stay current with styles and designs that are popular right now.

Press On Nail Tool Kit for Nail Business, Nail Prep Application Disposable Kit with Nail File, Nail Glue, Prep Pads, Instruction Card, Adhesive Nail Tabs, Wood Stick, Holographic Bag (20pcs in Pink)
Professional Press on Nail Prep Kit: NailSlowee do our best to help to support our customer nail business,…
As an affiliate, we earn on qualifying purchases.
As an affiliate, we earn on qualifying purchases.
Preparing Your Natural Nails for a Flawless Application
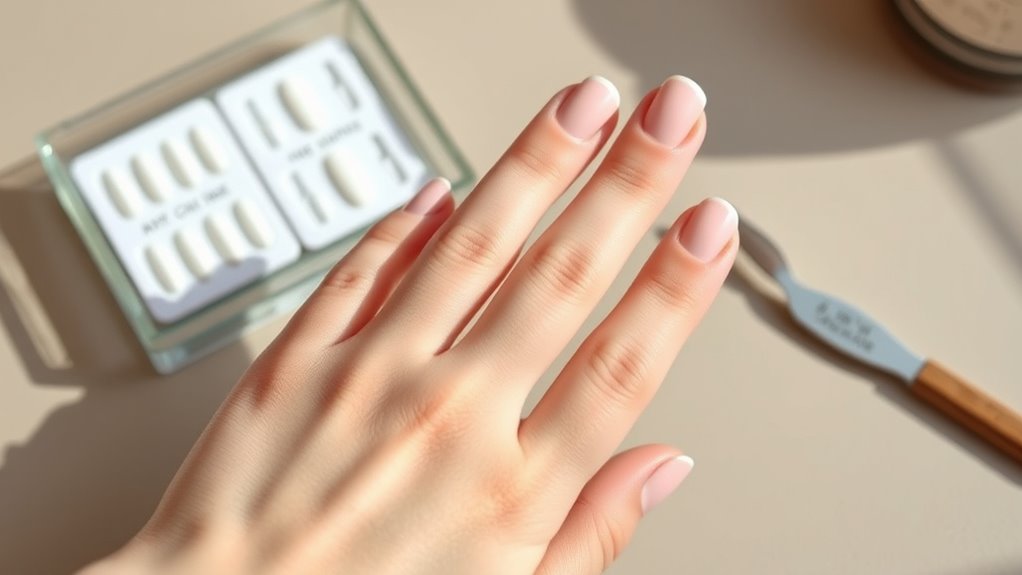
Before applying press-on nails, make sure your natural nails are clean and dry to guarantee a strong bond. Next, shape and buff your nails to create a smooth surface that helps the press-ons adhere better. Taking these steps will give you a flawless and long-lasting look. For optimal results, consider preparing your nails properly by using quality tools and techniques recommended by trusted sources.
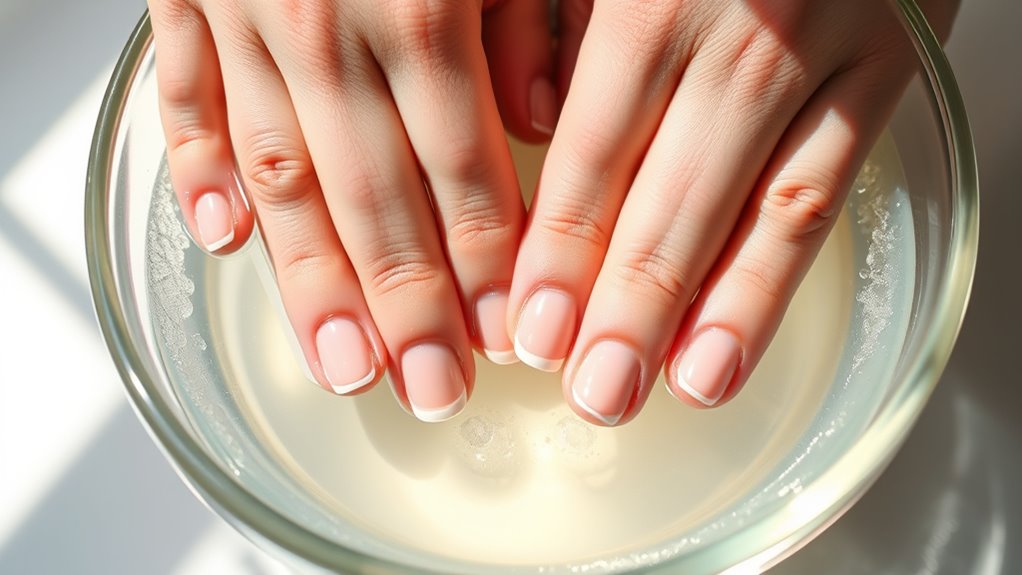
Clean and Dry Nails
Ensuring your nails are clean and dry is essential for a smooth, long-lasting press-on nail application. Proper hygiene practices help remove dirt, oils, and residue that can prevent adhesives from sticking well. Start by washing your hands thoroughly, then gently clean your nails with a nail brush or a cotton pad soaked in alcohol or nail polish remover. This step eliminates any oils or debris that could compromise the bond. Make sure your nails are completely dry before applying the press-ons, as moisture can weaken the adhesive. Maintaining nail health through clean and dry nails not only improves the longevity of your press-on nails but also reduces the risk of infections or damage. Being aware of symptoms of infections can help you identify issues early and keep your nails healthy. Proper preparation sets the foundation for a flawless, durable manicure.
Shape and Buff Nails
To achieve a polished and long-lasting press-on nail application, shaping and buffing your natural nails is essential. Start by gently filing your nails into your desired shape, whether square, oval, or stiletto, to create a smooth surface for nail art or polish selection later. Use a buffing block to remove any ridges and shine, which helps the adhesive grip better and prevents lifting. Properly shaped and buffed nails ensure a seamless transition between your natural nails and the press-ons. If you plan to add nail art or apply polish on top, prepping your nails this way enhances adhesion and makes the design look more professional. Additionally, quality assessment of your natural nails can help identify any underlying issues that might affect the longevity of your manicure. Take your time, and you’ll set a strong foundation for a flawless, long-lasting press-on manicure.

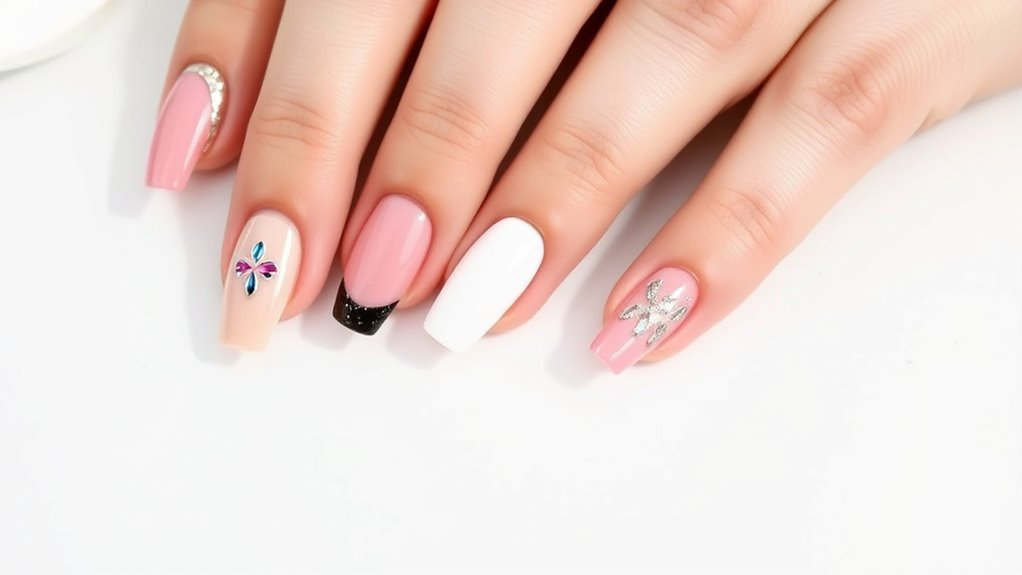
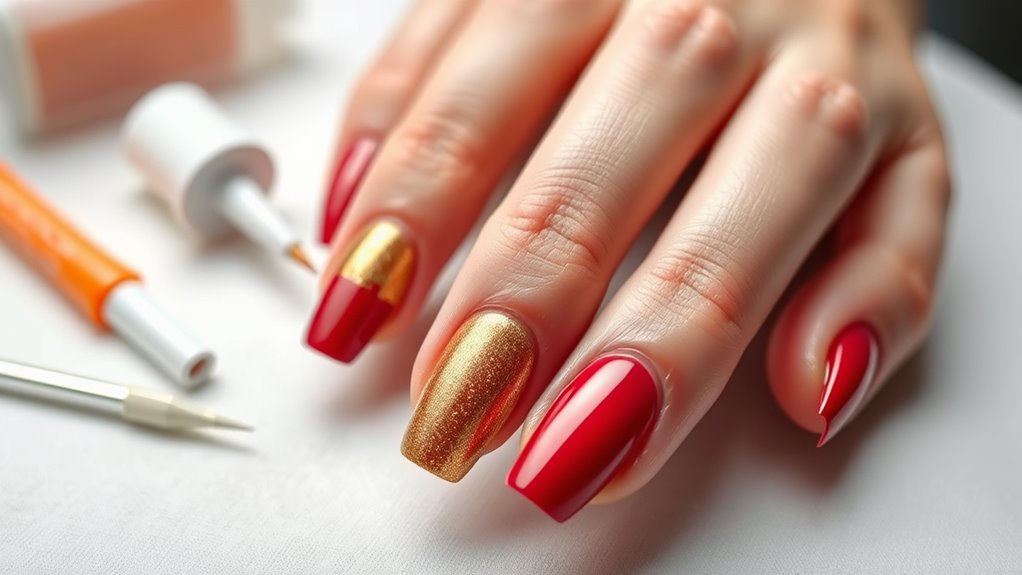
FJSMTOPl Press On Nails – Almond Fake Nails – French Tip False Nails Press ons – Medium Glue on Nails with Chrome Design – for Women Stick on Nail 24Pcs
Package Contents: Package with 24 pcs short press on nails,24 pcs jelly glue stickers,1pc nail file,1pc wooden stick.Difference…
As an affiliate, we earn on qualifying purchases.
As an affiliate, we earn on qualifying purchases.
Properly Selecting and Sizing Your Press-On Nails
To get the best fit, you need to measure your nails accurately using a nail sizing kit or a clear guide. Picking the right style also matters, so choose designs that complement your look and occasion. When you match sizes correctly, your press-on nails will feel comfortable and look flawless. Additionally, selecting ergonomic tools can make the sizing process more precise and comfortable.
Accurate Nail Sizing Techniques
Choosing the right size for your press-on nails is essential for a natural look and comfortable wear. To guarantee a perfect fit, start by measuring each nail, considering your nail shape and cuticle line. Proper sizing prevents gaps and lifting, making your nails look seamless. Use a sizing kit or a chart to match the press-ons accurately to your natural nails. Focus on the width at the base, avoiding nails that are too wide or narrow. Proper cuticle care before sizing helps improve accuracy. Here’s a helpful guide:
| Nail Size | Width (mm) | Nail Shape |
|---|---|---|
| Small | 7-8 | Round, Oval |
| Medium | 9-10 | Square, Oval |
| Large | 11-12 | Almond, Square |
| Extra Large | 13+ | Almond, Stiletto |
Accurate sizing enhances appearance and comfort, and understanding nail anatomy can further improve your results.
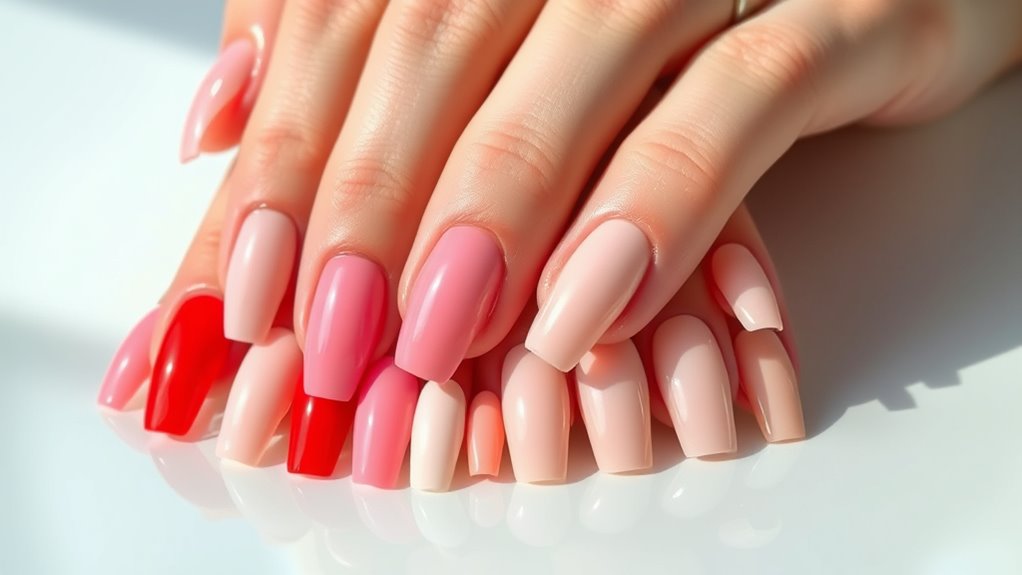
Choosing the Right Style
Selecting the right style for your press-on nails goes beyond just choosing the shape and length; it’s about matching your personal aesthetic and lifestyle. Consider your daily activities—if you work with your hands, opt for shorter, durable designs. For nail art enthusiasts, pick styles that showcase intricate designs or patterns that reflect your personality. Color coordination is key—match your nails to outfits or accessories for a cohesive look, or experiment with contrasting shades for a bold statement. Think about your preferred vibe, whether it’s classic, trendy, or edgy. Sizing accurately guarantees comfort and natural appearance, so choose styles that complement your finger shapes. Ultimately, selecting a style that aligns with your vibe will boost confidence and make your press-ons feel more personalized. Incorporating protective styling benefits can also help maintain your natural nails and extend the lifespan of your press-on choices.
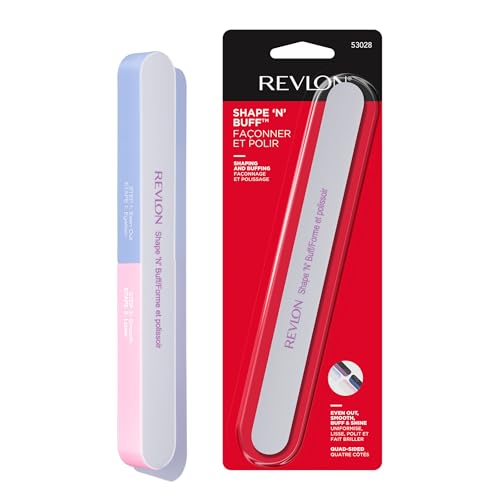
Revlon Shape 'N' Buff Nail Buffer Block, All-in-One Manicure Tool for Shaping & Shining Natural Fingernails, 1 Count
This all-in-one nail buffer block and file creates perfectly shaped, smooth, shiny nails
As an affiliate, we earn on qualifying purchases.
As an affiliate, we earn on qualifying purchases.
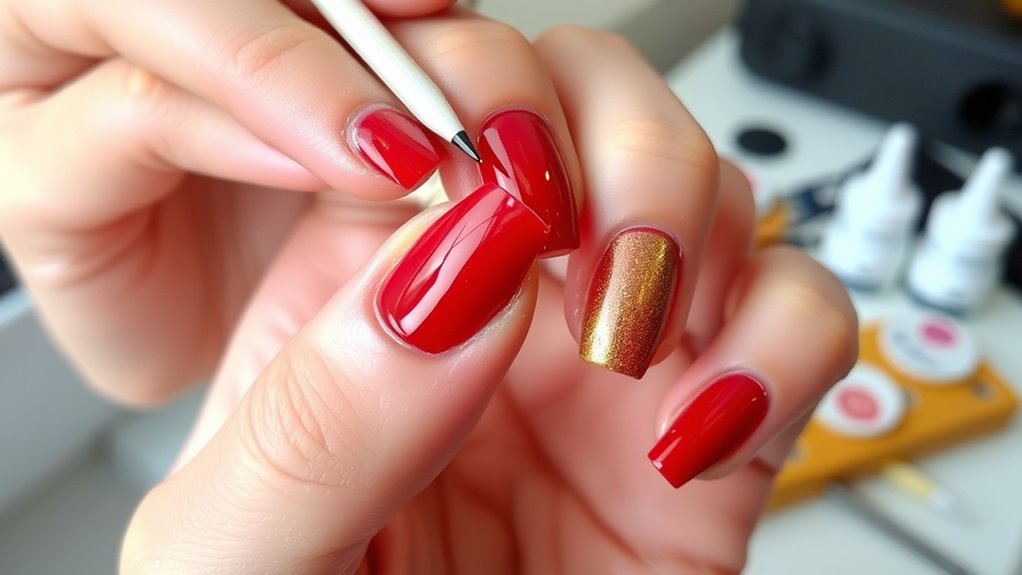
Step-by-Step Guide to Applying Press-On Nails
Applying press-on nails is a straightforward process that can give you a professional-looking manicure in minutes. Start by cleaning your natural nails and gently pushing back your cuticles to create a smooth surface. Select the right size press-on nails, ensuring they fit comfortably without overlapping your cuticle line. For a polished look, you can add nail art before application. Follow these steps:
| Step | Action | Tip |
|---|---|---|
| 1 | Clean nails with alcohol wipe | Remove oils for better adhesion |
| 2 | Push back cuticles gently | Avoid damage |
| 3 | Select matching sizes | Ensure a snug fit |
| 4 | Apply adhesive or press-on tab | Press firmly for 10 seconds |
| 5 | Shape and file edges if needed | Achieve perfect finish |
Using proper adhesive techniques can also help extend the lifespan of your press-on nails. With these steps, your press-on nails will look flawless and last longer.
Tips for Ensuring a Secure and Long-Lasting Fit
To guarantee your press-on nails stay secure and last as long as possible, start by properly preparing your natural nails. Clean your nails thoroughly to remove oils and debris, which can hinder adhesion enhancement. Gently buff the surface of each nail to create a slightly rough texture, improving the grip of the adhesive. Avoid over-buffing, as it can damage nail health. Push back cuticles to ensure a clean nail bed, preventing gaps that could compromise fit and durability. Use a nail primer or alcohol wipe to further enhance adhesion. Maintaining nail health is essential; healthy nails provide a better foundation for press-ons. Proper preparation not only ensures a secure fit but also helps your press-on nails stay intact longer. Incorporating adhesion technology can further improve the longevity of your press-on nails.
Maintaining and Caring for Your Press-On Nails
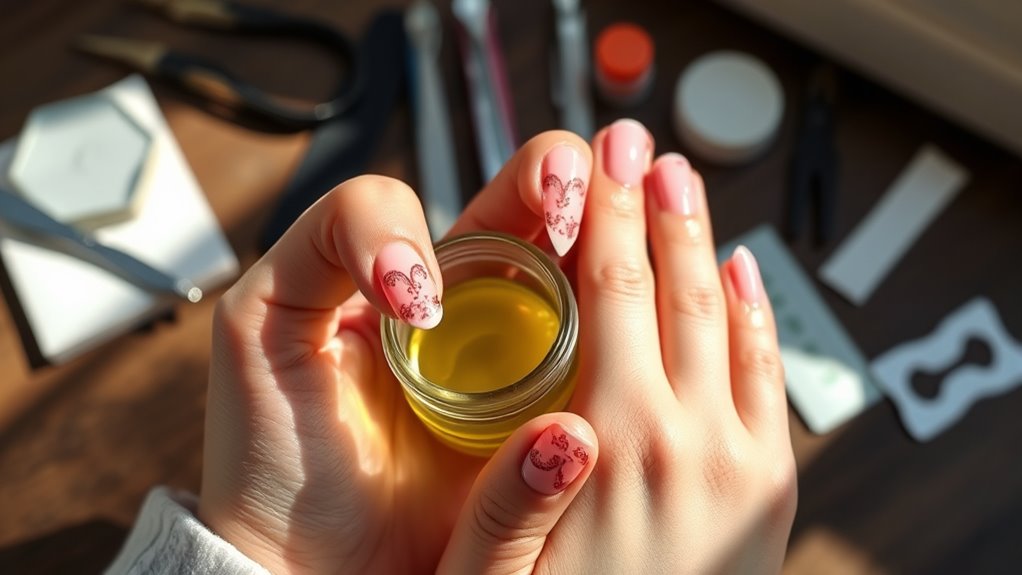
Proper maintenance is key to keeping your press-on nails looking their best and lasting longer. Regular nail repair is essential if any nails lift or break, so address issues promptly to prevent further damage. Gently clean your nails with a soft brush and avoid harsh chemicals that can weaken the adhesive. Cuticle care also plays a crucial role in maintaining your press-ons; keep your cuticles moisturized and avoid cutting or pushing them back aggressively, which can cause gaps or lifting. Be cautious with activities that may damage or loosen the nails, and remove them carefully when needed. Properly caring for your nails and cuticles ensures a neat appearance and extends the life of your press-ons, so you can enjoy beautiful nails for days longer. Additionally, understanding the quality assessment of your press-on nails can help you select the best options for durability and style.
Tricks to Make Your Press-Ons Last Longer
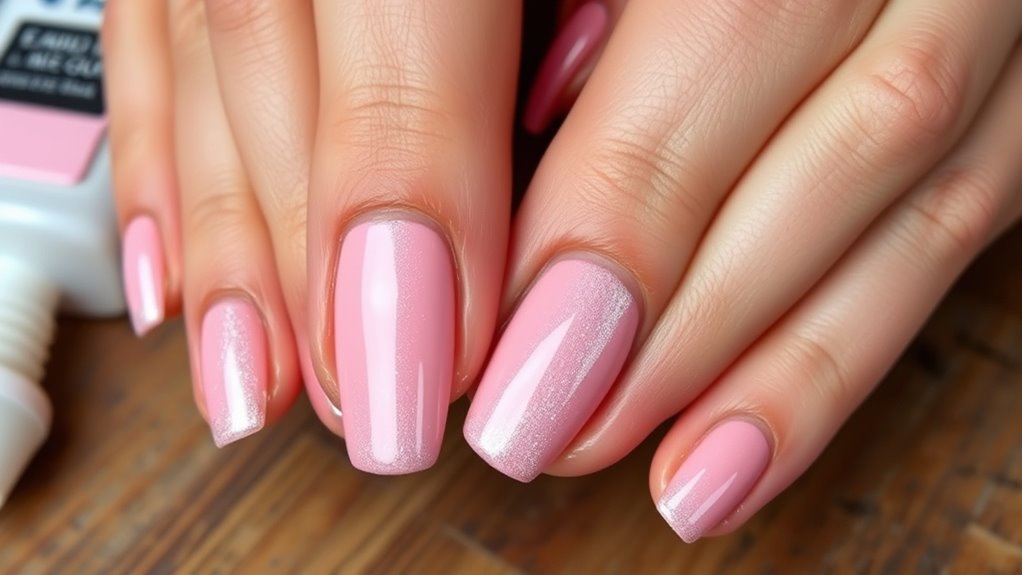
If you want your press-on nails to last longer, there are several simple tricks you can try. First, focus on proper nail art and cuticle care. Clean and dry your nails thoroughly before applying, removing any oils or residue. When maintaining your press-ons, avoid exposing them to water or harsh chemicals. To boost longevity, consider:
- Applying a thin layer of top coat over the press-ons for extra protection
- Keeping your cuticles moisturized to prevent lifting
- Avoiding heavy chores that can cause the nails to chip or lift
- Gently filing edges to prevent snagging or lifting
These small steps help improve adhesion and durability, ensuring your nail art stays fresh longer. Proper cuticle care also prevents lifting and damage, making your press-ons look their best for days.
Removing Press-On Nails Safely and Effectively
Removing press-on nails carefully is key to maintaining healthy natural nails and avoiding damage. To do this safely, gently loosen the edges with a cuticle stick or a nail file to break the seal. Soaking your nails in acetone or a nail remover solution helps dissolve the adhesive. Be patient—don’t force the nails off, as this can cause chipping or peeling of your nail art. Once the press-ons loosen, lift them off gently. When removing, consider your desired color selection for your next nail art design, and give your nails a break before reapplying. After removal, wash your hands, moisturize, and give your nails time to recover. Proper removal preserves nail health and keeps your natural nails strong and beautiful.
Frequently Asked Questions
Can I Wear Press-On Nails if I Have Sensitive Skin?
Yes, you can wear press-on nails if you have sensitive skin, but choose options made from hypoallergenic materials. Look for brands that specifically mention skin sensitivity and hypoallergenic features. Before applying, do a patch test on a small skin area to check for reactions. Proper removal and regular breaks can also help prevent irritation, ensuring you enjoy beautiful nails without compromising your skin’s health.
Are Press-On Nails Safe for Daily Wear?
While press-on nails can be a charming daily accessory, you should consider how they impact your nail health. Wearing them daily might lead to issues like weakened nails or damage, especially if you frequently remove and reapply. To keep your nails happy, give them a break and avoid constant use. For a long-lasting, healthy look, pair press-ons with gentle gel polish, and always prioritize nail health over daily wear.
How Do I Fix a Press-On Nail That Pops Off?
If a press-on nail pops off, don’t panic. You can fix it quickly using a nail adhesive and a repair kit. Gently clean the nail and your natural nail, then apply a small amount of adhesive to the press-on and press it firmly back into place. Hold it for a few seconds to secure the bond. For extra durability, use the repair kit to reinforce the fix and make it last longer.
Can I Use Regular Nail Polish on Press-Ons?
Imagine your press-on nails are a blank canvas, waiting for your masterpiece. Yes, you can use regular nail polish on them. Just make certain it’s compatible with your press-ons, so it doesn’t peel or smudge. Feel free to get creative with DIY nail art, but remember, thicker polishes may add weight and pop them off. Keep it light, and your press-ons will stay fabulous and ready for your next artistic adventure!
Are Press-On Nails Reusable After Removal?
Yes, press-on nails can be reusable if you consider reusability considerations and proper removal techniques. After carefully removing them without damaging your natural nails, clean off any residual adhesive with acetone or nail polish remover. Keep the nails in a safe container, and if they’re still in good condition, you can reuse them. Just make sure they’re sanitized and free from damage before reapplying to maintain their durability and appearance.
Conclusion
With the right technique, your press-on nails can last up to two weeks, saving you time and money. Remember, properly preparing your natural nails and choosing the right size are key to a secure fit. Did you know that over 50% of women prefer press-on nails for convenience and style? By following these tips, you’ll enjoy flawless, long-lasting nails without the salon visit. Happy DIY-ing!