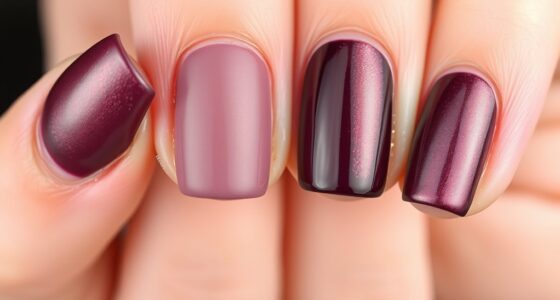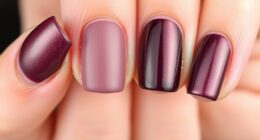

To apply metallic foil for glam nail art, start by prepping your nails—remove old polish, shape, push back cuticles, and clean thoroughly. Apply a base coat and let it dry completely. Use a special foil adhesive, wait until tacky, then press the foil onto your nail firmly, smoothing out wrinkles. Seal your design with a glossy top coat for long-lasting shine. Want step-by-step tips to perfect your metallic foil look? Keep exploring for expert advice.
Key Takeaways
- Prepare nails by removing old polish, shaping, pushing back cuticles, and cleaning to create a clean, dry surface.
- Apply a non-oil primer and a base coat, then paint a fully dry nail polish layer as the foundation.
- Use a tacky foil adhesive, press the foil gently onto the nail ensuring full contact, and remove excess carefully.
- Seal the design with a high-quality, fast-drying top coat to lock in the foil and add shine.
- Remove foil gently with acetone-soaked cotton and nourishing oils to maintain nail health and prolong the design’s lifespan.
Preparing Your Nails for Foil Application
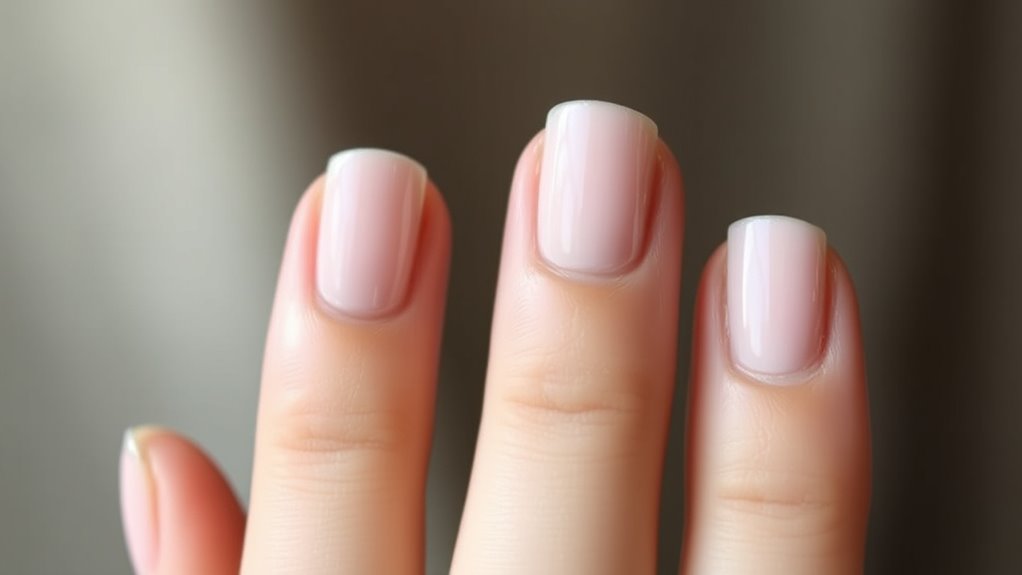
Have you prepared your nails properly before applying foil? Ensuring your nails are healthy is key to achieving good foil durability. Start by removing any old polish completely, using a gentle, acetone-free remover to avoid damage. Shape your nails with a file to create a smooth, even surface, which helps the foil adhere better. Next, push back your cuticles and clean the nail surface thoroughly, removing oils and debris that can interfere with adhesion. Applying a non-oil-based primer or dehydrator enhances nail dryness, promoting better foil sticking. Remember, healthy nails with no rough edges or moisture will support a more durable, long-lasting foil design. Proper preparation not only improves foil durability but also keeps your natural nail health intact. Additionally, avoiding excess moisture on the nails ensures better adherence of the foil, as healthy nails provide the ideal surface for application.
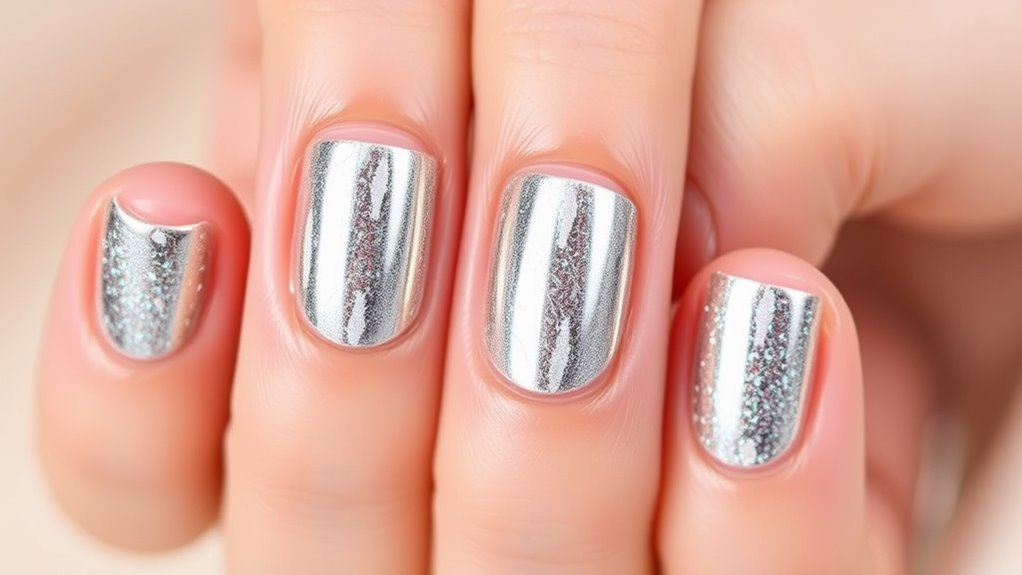
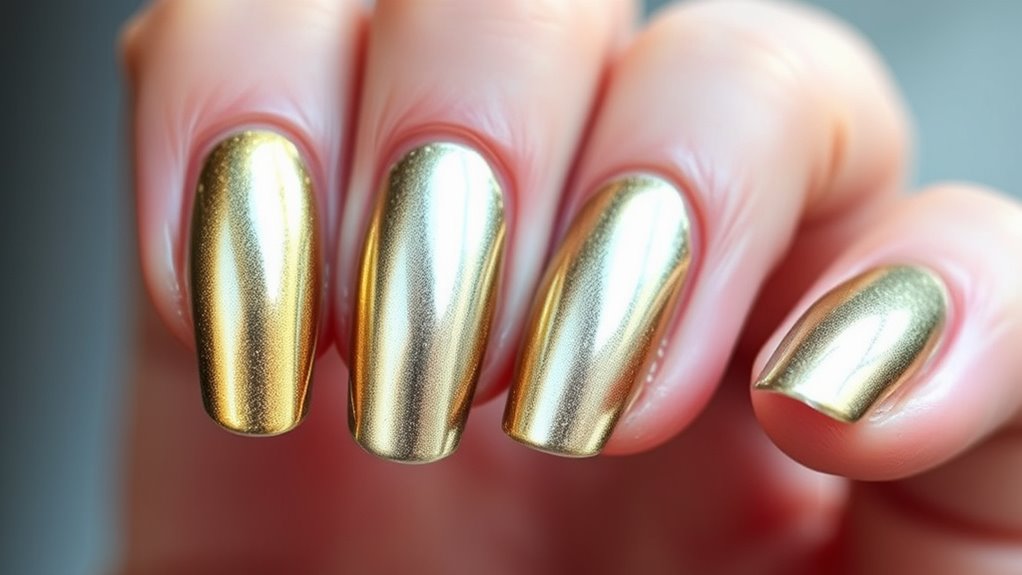
Choosing the Right Nail Foils and Materials

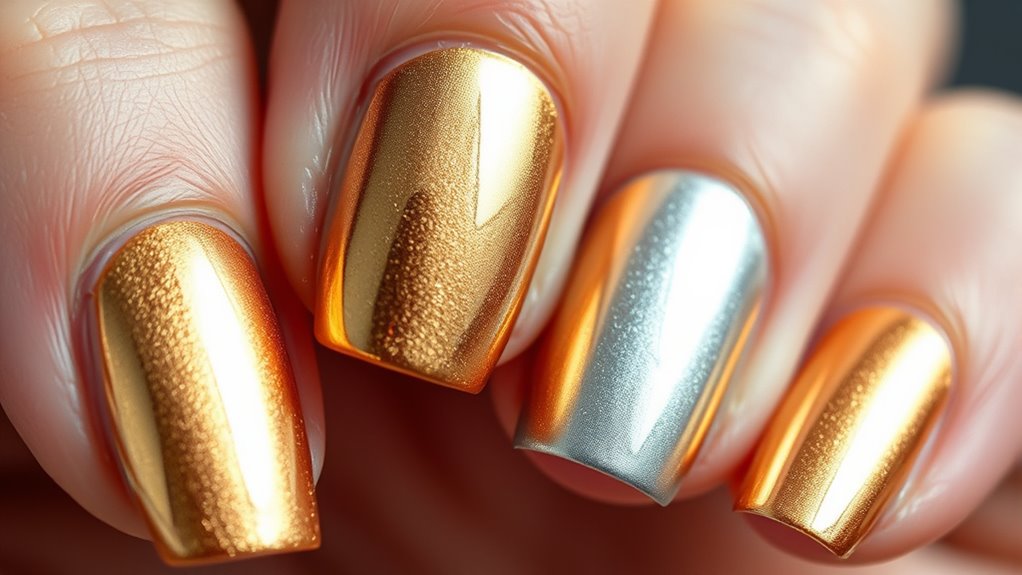
Choosing the right nail foils and materials can make all the difference in achieving a flawless, long-lasting design. First, consider the foil color—select shades that complement your overall look or make a bold statement. Metallics like gold, silver, or rose gold create eye-catching effects, while holographic or iridescent options add unique dimension. Next, pay attention to the material texture; some foils are smooth and easy to work with, while others have a textured surface for added visual interest. High-quality foils tend to adhere better and last longer, so invest in reputable brands. By selecting the appropriate foil color and material texture, you’ll ensure your nail art not only looks stunning but also stays intact through your daily activities. Incorporating proper application techniques can further enhance the durability and finish of your manicure.
Applying a Base Coat and Nail Polish

Before applying nail foils, it’s essential to start with a clean, smooth surface by applying a base coat and nail polish. First, choose a high-quality base coat that suits your nail type, guaranteeing proper adhesion and protection. Next, apply a thin layer of your chosen nail polish color, allowing it to dry completely—this prevents smudging and ensures an even surface. To speed up nail polish drying, consider using quick-dry drops or fan tools. When the polish is fully dry, you’re ready for the foil application. Remember, a well-prepared surface makes the foil adhere better and results in a smoother, more glamorous finish. Proper base coat selection and thorough drying are key steps for flawless nail art. Many beauty stores have extended hours, making it easier to find the perfect products for your manicure.
Transferring the Metallic Foil to Your Nails
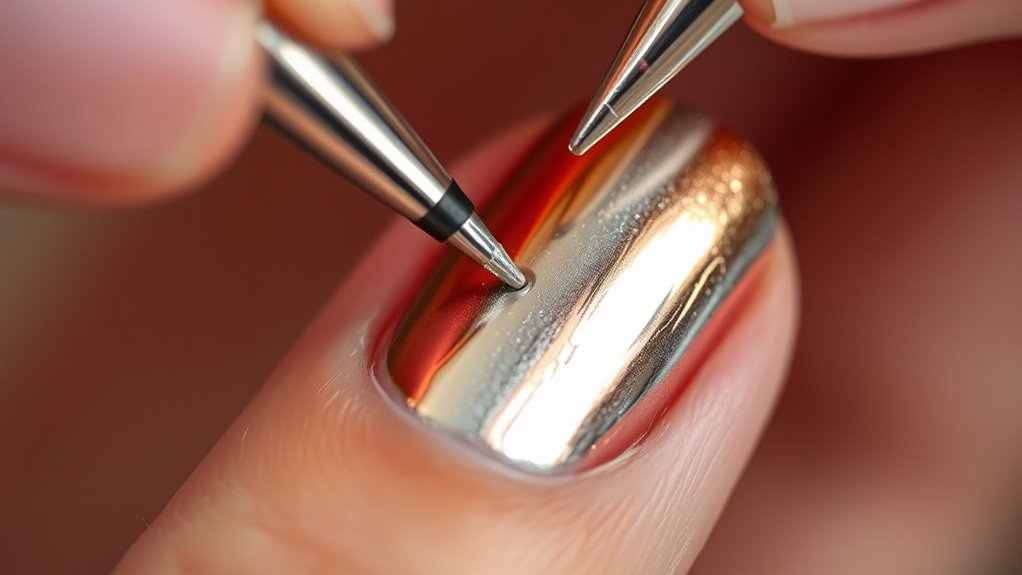
Before transferring the foil, make sure your nail surface is smooth and clean. Apply a thin layer of foil adhesive and wait until it becomes tacky. Then, gently press the foil onto your nail, ensuring it sticks evenly without wrinkles. For the best results, consider using easy cleanup techniques to remove excess foil and achieve a sleek, professional look.
Prepare the Nail Surface
To guarantee the metallic foil adheres smoothly, start by cleaning your nails thoroughly to remove any oils, dirt, or residue. Proper nail prep and surface cleaning ensure the foil sticks evenly and lasts longer. Here are key steps to prepare your nails:
- Remove old polish and debris with a gentle nail polish remover.
- Buff the surface lightly to create a smooth, even base.
- Clean the nails with a lint-free wipe soaked in alcohol or acetone to eliminate oils.
- Ensuring your nails are free of contaminants is also important for adhesion of angel numbers and successful application.
This surface cleaning process enhances adhesion and prevents lifting or peeling. Skipping these steps can cause uneven application and reduce the durability of your metallic foil design. Make sure your nails are completely dry and free of any contaminants before moving on to the next step. Proper preparation is essential for flawless nail foil application.
Apply Foil Adhesive
Applying foil adhesive correctly is essential for a seamless metallic foil transfer. The adhesive type you choose affects the foil texture and how well the foil sticks. Some adhesives are quick-drying, while others stay tacky longer. Use a thin, even layer to avoid uneven transfer or bubbling. Wait until the adhesive turns semi-transparent or becomes tacky to the touch, indicating it’s ready for the foil. Applying too much or too little can impact the final look. Make sure your nails are free of oils and residue before applying the adhesive for maximum adhesion. Once the adhesive is ready, gently apply the foil, ensuring good contact without pressing too hard. Proper application of foil adhesive ensures a smooth, professional-looking metallic finish. Additionally, ensuring your nails have optimal adhesion properties can improve the overall transfer quality.
Gently Transfer the Foil
Once the adhesive has reached the right tackiness, gently place the foil onto your nail, making sure it makes full contact with the adhesive layer. Use your fingertip or a soft tool to press the foil down smoothly, ensuring even transfer. Proper foil transfer techniques prevent wrinkles and uneven spots, giving your nail art a polished look. For best results:
- Press gently but firmly across the entire foil surface.
- Avoid sliding or shifting the foil once placed.
- Wait a few seconds before carefully peeling back the foil slowly.
- Consistent application helps achieve a more uniform metallic finish and reduces the need for touch-ups.
This method helps you achieve clean, crisp metallic designs. The key is patience and gentle handling, allowing the foil to adhere seamlessly. Use this technique for nail art inspiration, creating stunning, professional-looking metallic effects that elevate your manicure.
Finishing Touches and Sealant Application
After you’ve applied your nail foil design, the next step is to add finishing touches that guarantee your artwork stays flawless. Start by choosing a sealant to lock in the foil and prevent chipping. For a shiny, eye-catching look, opt for a clear glossy finish top coat; it enhances the metallic shine and adds durability. If you prefer a more subdued, modern look, apply a matte effect top coat instead, which softens the shine and creates a chic, velvety surface. Be sure to apply the sealant smoothly over the entire nail, avoiding excess buildup at the edges. Allow it to dry completely to ensure your nail art remains intact and looks professionally finished. Reflecting on inspirational quotes can motivate you to appreciate the artistry and effort put into your manicure. These final steps give your metallic foil design a polished, long-lasting appearance.
Tips for Maintaining Your Metallic Nail Art
To keep your metallic nail art looking fresh, make sure to seal your design properly with a top coat. Steer clear of harsh chemicals that can damage the foil’s shine, and always use gentle removal techniques when taking off your polish. These simple steps help your nails stay stunning longer and prevent unnecessary damage. For added longevity, consider using high-quality products that are trusted within the beauty community.
Seal Your Design Properly
Sealing your metallic nail art properly is essential for keeping your design intact and shiny longer. A good top coat protects the foil and enhances your nail art design ideas. To guarantee durability, follow these tips:
- Apply a thin, even layer of clear top coat over your foil design to prevent lifting.
- Choose a fast-drying top coat to minimize smudges and maintain the foil’s shine.
- For variety, experiment with foil color combinations that complement your overall look, ensuring the seal enhances rather than dulls the metallic finish.
- Incorporating sound design techniques such as layering different effects can inspire creative ways to achieve a more dynamic and eye-catching metallic look.
Avoid Harsh Chemicals
Ever wonder why your metallic nail art loses its shine or chips prematurely? Harsh chemicals in regular nail products can weaken your nails and fade your design faster. To keep your nails looking fresh, opt for natural ingredients and chemical-free alternatives whenever possible. These gentle options help conserve the foil’s shine and prevent damage.
| Harmful Chemicals | Natural Alternatives |
|---|---|
| Formaldehyde | Aloe vera gel |
| Toluene | Jojoba oil |
| Dibutyl Phthalate | Coconut oil |
| Acetone-based removers | Olive oil or almond oil |
Choosing products free from harsh chemicals ensures your metallic nail art stays vibrant longer, keeping your nails healthy and beautiful.
Use Gentle Removal Techniques
Since harsh removal methods can damage your nails and dull the metallic finish, it’s important to use gentle techniques. Proper removal protects your nail health and keeps your nail art looking fresh longer. First, soak a cotton ball in acetone and place it on your nail, then wrap it with foil to loosen the foil adhesive. Second, avoid scraping or peeling, which can cause nail damage. Instead, gently press and hold the foil to help dissolve the foil layer. Third, after removal, use cuticle oil to nourish your nails and restore moisture. These removal techniques ensure you preserve nail health while maintaining the shine of your metallic foil nail art. Always prioritize gentle methods over aggressive tactics for the best results.
Frequently Asked Questions
Can I Use Nail Foil on Gel or Acrylic Nails?
Yes, you can use nail foil on gel or acrylic nails. Just make sure your nails are clean and dry before applying the foil. Use foil design tips, like pressing firmly and smoothing out air bubbles, for a seamless look. When it’s time for foil removal, gently lift the edges to avoid damaging your nails. Proper application and removal guarantee your metallic foil stays beautiful and lasts longer.
How Long Does Metallic Foil Nail Art Last?
Imagine your nails sparkling like stars—your metallic foil nail art can last around a week with proper care. Foil durability depends on how well you sustain them; avoid harsh chemicals and excessive water. To keep them looking fresh, apply a top coat regularly and handle your nails gently. Following these maintenance tips ensures your glam look stays vibrant, making your nails a dazzling statement longer.
Is Nail Foil Safe for Sensitive Skin?
Nail foil safety depends on the specific product you choose. If you have sensitive skin, look for nail foils that are labeled hypoallergenic and free from harsh chemicals. Always do a patch test first to check for any reactions. Avoid adhesives with strong solvents and opt for gentle, skin-friendly options. By paying attention to sensitive skin considerations, you can enjoy metallic foil nail art safely without irritation.
Can I Reuse Metallic Nail Foils?
Did you know that most metallic nail foils are designed for single use? You can’t really reuse them because foil durability decreases after removal, and proper foil removal can damage the design. Reusing isn’t recommended, as it won’t give you the same shiny, smooth finish. Instead, focus on perfecting your application process to get the best look, and enjoy your stunning, one-of-a-kind nail art!
What Are Common Mistakes to Avoid When Applying Foil?
To avoid common mistakes, make certain your application surface is clean and dry, so the foil adheres properly. Don’t stretch or tug the foil during application, as this can cause tearing. Press the foil gently onto the nail and smooth out air bubbles for a flawless look. Also, avoid rushing the process; patience helps prevent foil tearing and ensures even coverage. Proper preparation and gentle handling make all the difference.
Conclusion
Now that you know how to apply metallic foil for stunning nail art, are you ready to transform your nails into a shimmering masterpiece? With a little practice, you’ll master the techniques and enjoy long-lasting, eye-catching designs. Don’t be afraid to experiment with different colors and patterns—your perfect glam look is just a foil away. So, why not give it a try and let your nails shine? The glam world awaits your creative touch!