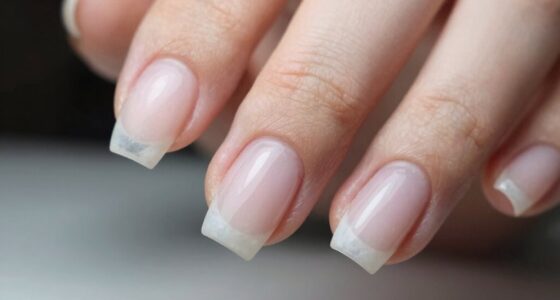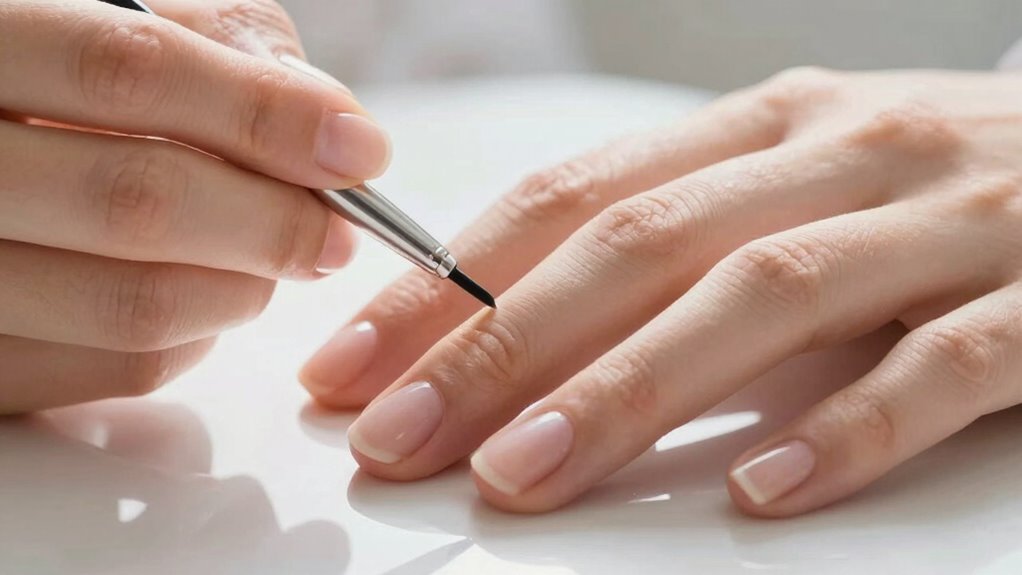

To improve nail application control, rest your elbow firmly on a flat surface to steady your hand. Use your other hand to support your brush for better stability, and practice finger stretching and strengthening exercises regularly. Keep movements slow and controlled, applying thin coats for even coverage. Sealing the edges helps your polish last longer. Maintaining proper hand positioning and consistency will give you a smoother, more professional finish. Keep exploring these tips to master your technique.

Get beauty and skincare favorites delivered free with Prime
- Fast, free delivery on millions of items
- Prime Video, Amazon Music and more included
- Member-only deals all year
Key Takeaways
- Rest your elbow on a flat surface to stabilize your hand during application.
- Keep your hand steady by supporting your wrist or palm on the table for better control.
- Use a light grip on the brush to prevent excessive movement and maintain precision.
- Position the nail at a slight angle to improve visibility and facilitate smoother strokes.
- Focus on controlled, deliberate movements rather than rushing to ensure even, neat coverage.
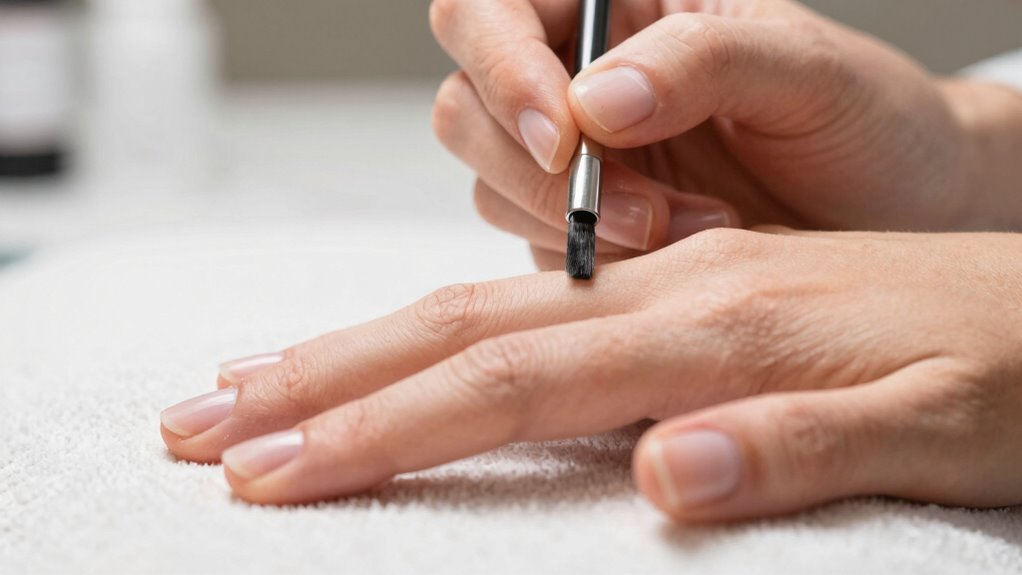
Achieving a flawless nail application often hinges on how you position your hands during the process. Your hand placement directly influences your control, making it easier to apply nail polish smoothly and neatly. To improve your technique, focus on maintaining proper hand stability and mastering nail polish techniques that promote even coverage. One key tip is to keep your hand steady and supported. Rest your elbow on a flat surface or table to minimize shaking, which can lead to smudges or uneven lines. This stability allows you to focus solely on the application rather than fighting to keep your hand still. When you’re comfortable and supported, your brush glides more smoothly, reducing the chances of smudges or missed spots.
In addition to positioning, incorporating hand stability exercises can significantly enhance your control. Simple routines, like stretching your fingers or gently squeezing a stress ball, help strengthen the small muscles in your hands and improve coordination. Regular practice of these exercises makes your hands more stable over time, leading to more precise nail polish application. When you’re confident in your hand’s steadiness, you can focus on perfecting your nail polish techniques—such as using thin coats, avoiding thick layers, and sealing the edges for longevity. These techniques become easier to execute when your hands are stable and your movements are controlled. Improving hand stability can also reduce fatigue and help you maintain consistent pressure during application. Additionally, understanding the importance of precision in your movements can further elevate your nail art skills, leading to a more polished appearance. Recognizing the role of controlled movements in achieving a professional finish can motivate you to refine your technique further, especially when you understand how proper hand positioning can influence your results. Developing awareness of technique consistency can help you build confidence and achieve more uniform results each time.
As an affiliate, we earn on qualifying purchases.
Frequently Asked Questions
How Do Hand Position Tips Vary for Gel Versus Acrylic Nails?
For gel nails, you should maintain a steady, relaxed hand using a gentle gel nail technique that promotes precision without overextending your fingers. When working with acrylic nails, focus on a strong acrylic nail grip, holding your hand more firmly to control the thicker product. Adjust your hand position accordingly: softer for gels to prevent smudging, firmer for acrylics to manage bulk and shape.
What Tools Can Assist in Maintaining Proper Hand Positioning?
Imagine the steady hands of a master artist—tools that transform your work. Ergonomic grips are essential, offering comfort and reducing fatigue during nail application. Hand stabilization devices, like finger rests or supports, keep your hand steady, preventing slips. These tools act as your anchors, ensuring precision and control. By incorporating ergonomic grips and stabilization tools, you’ll feel confident, making each nail application smooth, accurate, and beautifully crafted.
How Often Should Hand Positioning Be Adjusted During Application?
You should adjust your hand positioning regularly during nail application to maintain ergonomic comfort and hand stability. Every few nails or whenever you notice discomfort, take a moment to reposition your hand. Small adjustments help prevent fatigue and guarantee precise control, leading to a better finish. Staying mindful of your hand’s alignment keeps your movements steady, making the process more comfortable and your results more professional.
Are There Specific Hand Exercises to Improve Control?
Yes, you can do specific hand exercises to improve control. Focus on hand strength by squeezing a stress ball or using hand grippers regularly. Enhance finger flexibility with stretching routines, like finger taps or spreading your fingers wide and holding. These exercises strengthen your hand muscles and increase dexterity, making nail application more precise. Incorporate them into your routine to see gradual improvements in control and stability during application.
How Does Hand Positioning Differ for Beginners Versus Professionals?
Think of your hands as skilled dancers on a stage, each move precise and deliberate. For beginners, focus on ergonomic techniques that foster hand stability, like supporting your wrist and holding tools lightly. Professionals, however, harness refined hand positioning, maintaining fluid control and minimal tension. The key difference lies in how consciously you apply ergonomic principles, transforming shaky beginnings into confident, graceful movements that elevate your nail artistry.
As an affiliate, we earn on qualifying purchases.
Conclusion
Think of your hand as a steady ship steering the seas of nail application. Just like a captain adjusts the sails for smooth sailing, your hand positioning guides your brush with precision and control. Mastering these tips guarantees your nail art stays on course, avoiding rough waters of mistakes. With practice, you’ll become the captain of your own nail artistry, steering confidently toward flawless, professional-looking nails every time. So, set sail and enjoy the journey to perfect nails!
As an affiliate, we earn on qualifying purchases.
As an affiliate, we earn on qualifying purchases.
Halloween Picks
halloween
As an affiliate, we earn on qualifying purchases.