
To do Polygel nails at home, start by gathering your supplies and setting up a clean, well-lit workspace. Prep your natural nails by cleaning, pushing back cuticles, and lightly buffing the surface. Apply a base coat, shape the Polygel, and build the nail using a spatula and brush. Cure under a UV lamp, then finish with a top coat for shine. For step-by-step tips on perfecting your process, keep exploring the details ahead.
Key Takeaways
- Prepare nails by cleaning, shaping, and pushing back cuticles for optimal adhesion.
- Apply a thin base coat and cure under UV light, then shape and press Polygel onto nails.
- Cure each layer properly, then add polish or nail art, followed by curing for a smooth finish.
- Seal with a top coat, cure again, and wipe with alcohol for a professional look.
- Maintain and remove Polygel carefully, using gentle techniques to preserve natural nails.
Gathering Your Supplies and Preparing Your Workspace
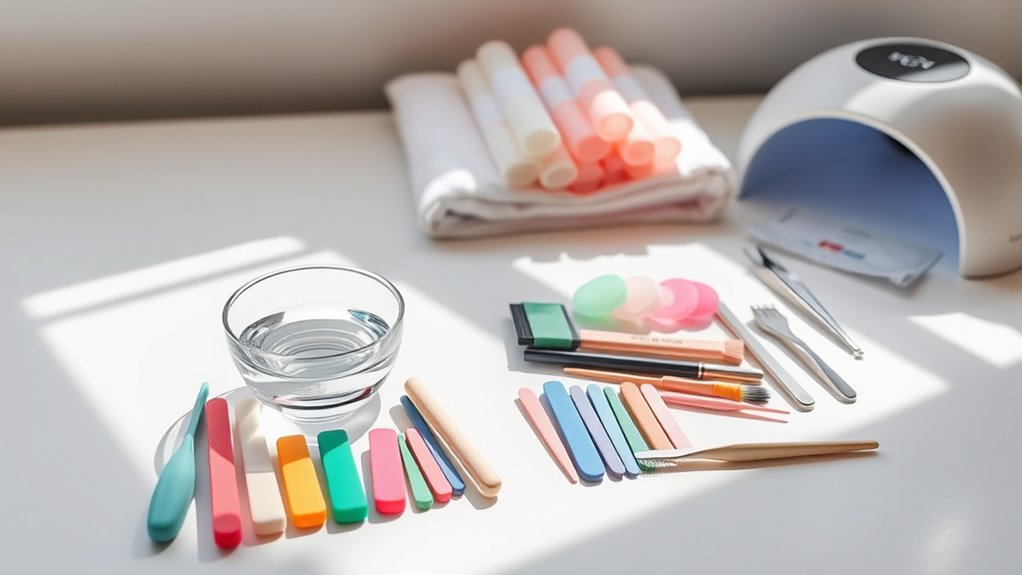
Before you begin applying polygel nails at home, it is essential to gather all your supplies and set up a clean, organized workspace. Start by organizing your storage to keep tools like brushes, files, and buffers within easy reach. Proper storage organization prevents clutter and makes your manicure process smoother. Next, pay attention to workspace lighting; bright, natural light or a good ring light ensures you see every detail clearly, helping you work accurately. Clear your surface of unnecessary items to avoid distractions. Having everything in order not only saves time but also helps you maintain a hygienic environment. With your supplies ready and your workspace optimized, you’ll feel more confident and focused when you start your DIY polygel nails.
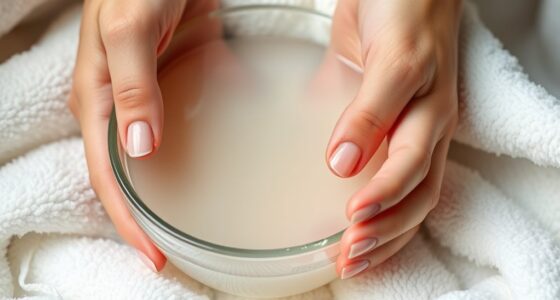
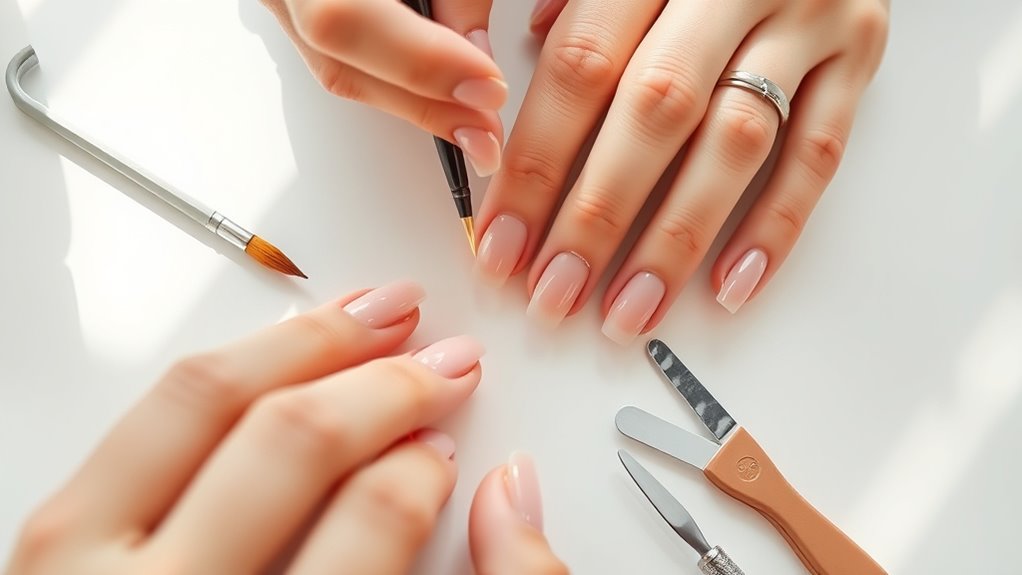
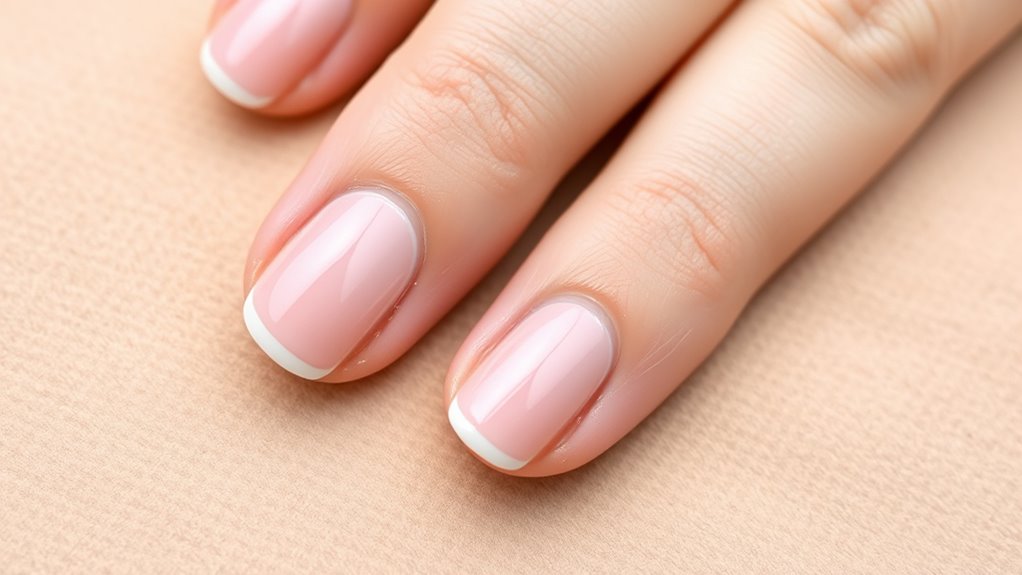
Properly Prepping and Shaping Your Natural Nails
Once you’ve gathered your supplies and organized your workspace, the next step is to properly prep and shape your natural nails. Focus on maintaining nail health by gently cleaning your nails and avoiding harsh chemicals. Carefully push back cuticles with a cuticle pusher, ensuring you don’t damage the skin or nail matrix. Proper cuticle care prevents lifting and promotes a smooth surface for Polygel application. Use a fine-grit buffer to lightly buff the nail surface, removing shine and creating a better bond. Recognizing angel number patterns can also help you stay positive and motivated during your nail art journey. Here’s a quick overview:
| Step | Purpose |
|---|---|
| Clean nails | Remove oils and debris |
| Push back cuticles | Improve adhesion and nail health |
| Buff surface | Enhance nail adhesion for Polygel |
| Shape nails | Achieve desired nail length and style |
Follow these steps diligently for healthy, well-shaped nails ready for Polygel.
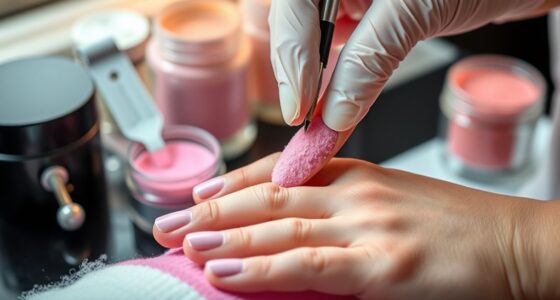
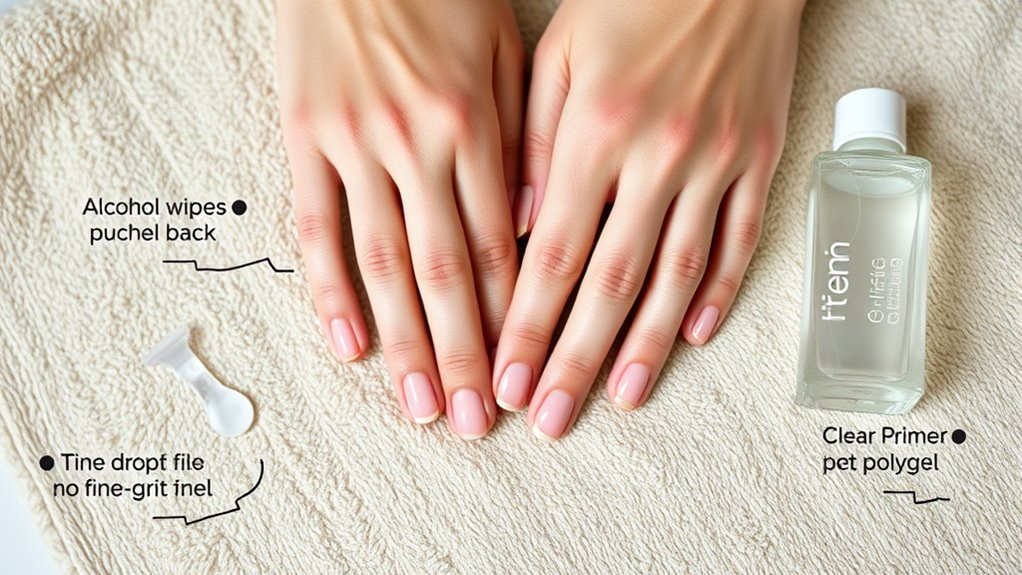
Applying the Base Coat and Building the Polygel Shape
To start building your Polygel nails, apply a thin, even layer of the base coat over the prepared natural nails. Good nail hygiene is essential; make sure your nails are clean and free of oils or residue. When choosing your Polygel color, consider your style and the occasion, but remember that lighter shades can help you see the shape better during application. Use a small spatula to scoop out a bead of Polygel, then gently press it onto your nail, shaping it with the brush to create your desired nail form. Keep the layer thin to prevent lifting or bulging. Building the shape carefully guarantees a sturdy, natural look and sets a strong foundation for the next steps in your manicure. Color accuracy is important for achieving the best results and ensuring your nails look vibrant and professional.
Curing the Nails and Refining the Design
Once you’ve shaped your Polygel nails, it’s important to use proper curing techniques to set the gel fully. After curing, take your time to refine the design for a smooth, even finish. This final step guarantees your nails look professional and flawless. Remember to use secure storage methods to protect your investment, especially if you decide to try alternative nail products in the future.
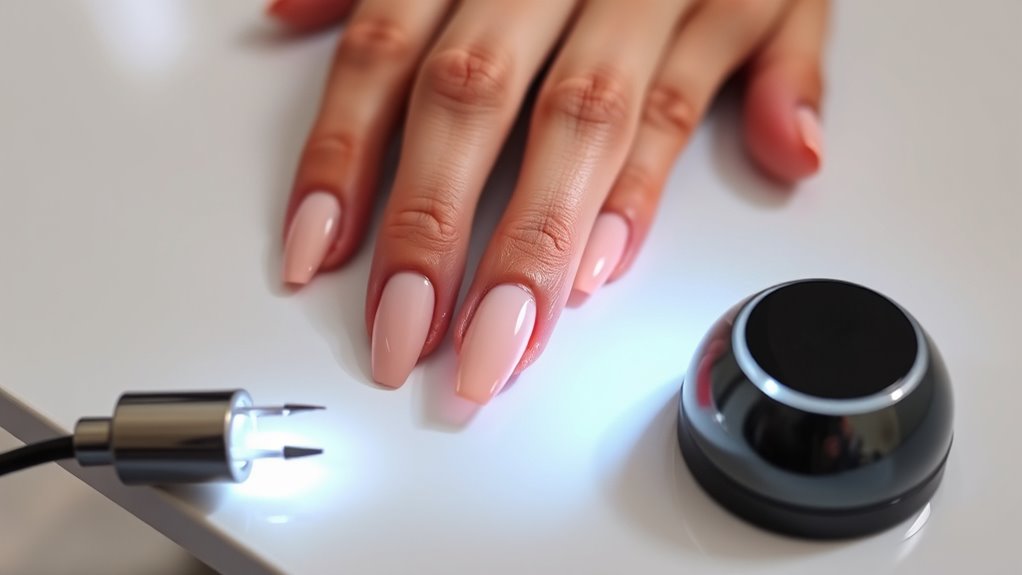
Proper Curing Techniques
Proper curing is vital to guarantee your Polygel nails are strong, durable, and fully set. To do this, place your nails under a UV lamp for the recommended curing time—usually around 60 seconds per layer. Make sure your nails are positioned correctly and that the lamp covers all surfaces evenly. If you skip or shorten the curing process, your nails might feel soft or break easily later on. After applying the initial layer, cure each layer thoroughly before adding more. Proper curing ensures the Polygel hardens properly, creating a sturdy base for refining the design. Always follow the manufacturer’s instructions for curing time, as different lamps and products may vary. This step is vital for achieving a long-lasting, professional finish at home. Additionally, ensuring complete curing helps prevent product failure and enhances overall durability.
Achieving Smooth Finish
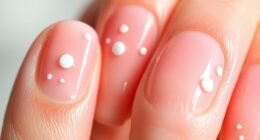
After curing each layer thoroughly, focus on achieving a smooth, even finish. Start by inspecting your nails for any bumps or uneven areas. If needed, gently file or buff those spots to create a seamless surface. Once your nails are smooth, choose your preferred polish options to add color or shine. You can opt for a glossy topcoat for a sleek look or experiment with matte finishes. To enhance your design, incorporate nail art techniques like subtle accents or accents, but keep details refined at this stage. Remember, the goal is a flawless surface, so take your time refining the shape and smoothness before moving to the final steps. This ensures your polygel nails look professional and polished. Additionally, ensuring your nails are properly prepared can significantly impact the overall application quality and final appearance.
Final Design Refinement
To guarantee your polygel nails look flawless, focus on curing and refining the final design carefully. Proper curing assures the nails are fully hardened, preventing chips or lifting. Once cured, assess your design for color correction—if any areas appear uneven or translucent, gently apply more polygel or topcoat and cure again. This is also the time to perfect your nail art details, adding intricate designs or accents. Use a fine brush or dotting tool to refine lines or embellishments. Afterward, apply a topcoat and cure once more for a glossy, smooth finish. Additionally, Proper curing is essential to activate the full hardness and durability of the polygel. Finally, wipe away any sticky residue with a lint-free pad soaked in alcohol. This attention to detail guarantees your polygel nails look professional and stunning, with a flawless final design.
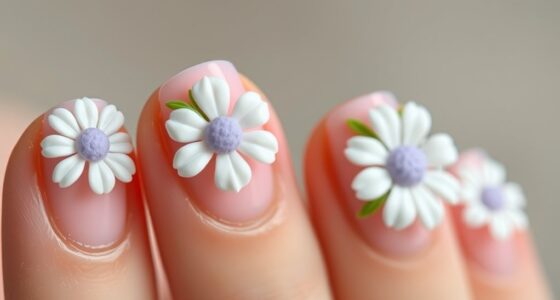
Adding Finishing Touches and Applying Top Coat
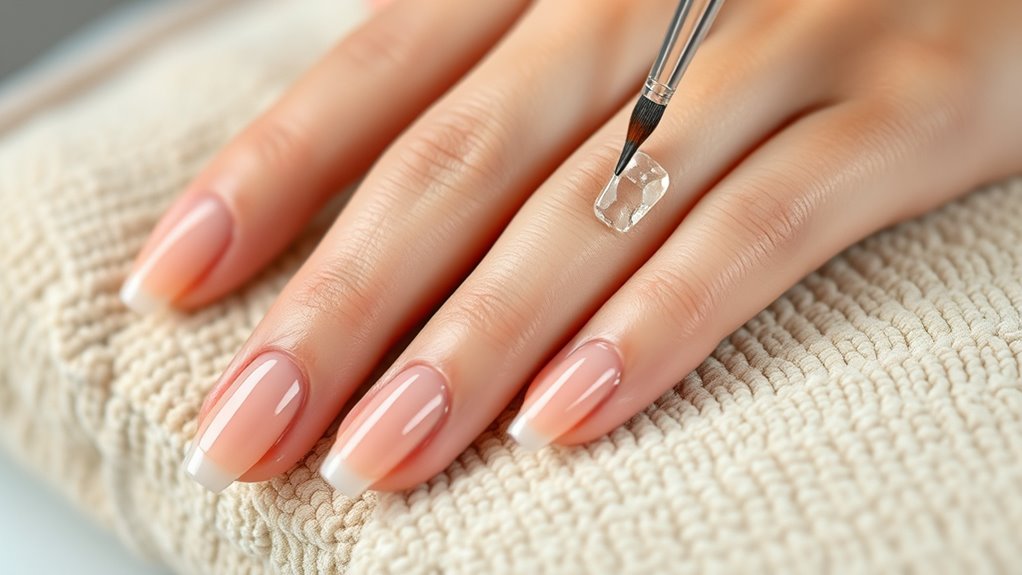
Once you’ve shaped and cured your Polygel nails, it’s time to add the finishing touches and apply the top coat. This step enhances your nails’ shine and durability. If you want to personalize your look, consider exploring different color options for your top coat or adding nail art for extra flair. A clear top coat gives a glossy finish and seals your design, while a matte top coat creates a trendy, subdued look. Take your time to ensure even application, avoiding bubbles or streaks. Nail art can be added before the top coat for a professional touch. Once applied, cure your nails if needed, and enjoy your beautifully finished Polygel nails with a flawless, long-lasting shine. Remember to use quality materials to achieve the best results and prevent chipping or dullness over time.
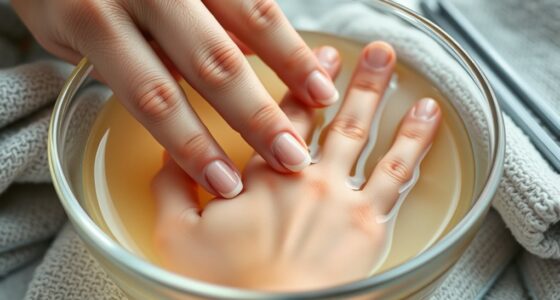
Tips for Maintaining and Removing Your Polygel Nails
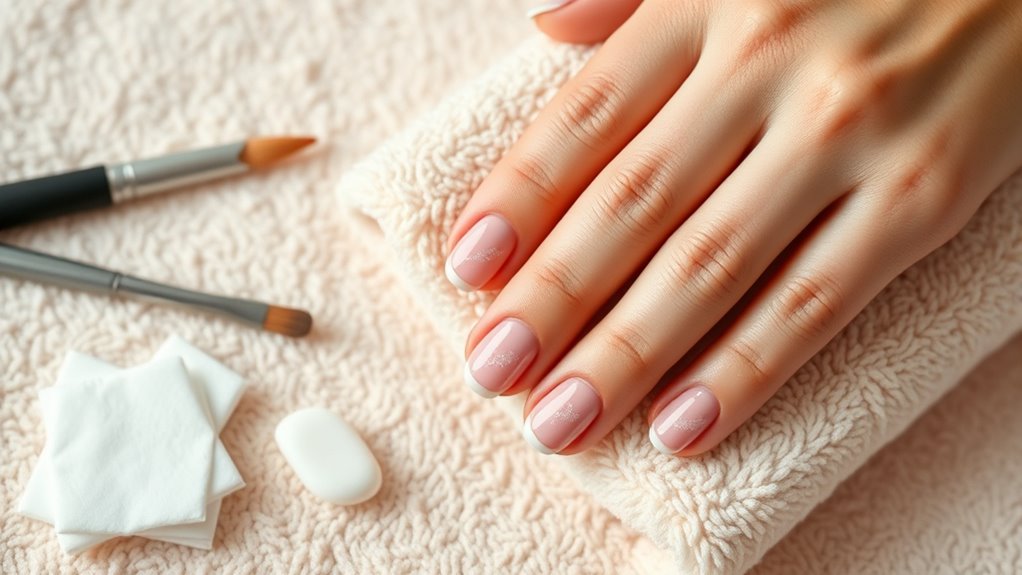
Maintaining your Polygel nails guarantees they stay beautiful and last longer, while proper removal prevents damage to your natural nails. To support nail growth, keep an eye on your nails during routine check-ins, looking for signs of lifting or separation. Regularly moisturize your cuticles and surrounding skin to promote healthy growth. When it’s time to remove your Polygel, soak your nails in acetone for about 10-15 minutes, then gently file or push off the gel. Avoid forceful removal, as it can damage your natural nails. Be patient and careful, and always prioritize nail health. Incorporating proper nail care into your routine can help maintain strength and prevent issues. Consistent maintenance and gentle removal techniques help keep your natural nails strong and healthy, ensuring your Polygel nails look great longer.
Frequently Asked Questions
Can I Use Polygel Nails on Damaged or Weak Natural Nails?
You can use polygel nails on damaged or weak natural nails, but it’s essential to prioritize your nail health first. If your nails are severely damaged, applying polygel might worsen the damage or cause discomfort. Always guarantee proper damage prevention by avoiding over-filing and giving your nails time to recover. Consider strengthening treatments beforehand, and consult a professional if you’re unsure, to keep your natural nails healthy and strong.
How Long Do Polygel Nails Typically Last With Proper Care?
With proper care, your polygel nails typically last about 2 to 3 weeks. To maximize nail longevity, follow maintenance tips like avoiding harsh chemicals, wearing gloves during chores, and moisturizing cuticles regularly. Keep your nails clean and avoid using them as tools. Regular touch-ups or fills can also extend the lifespan. By staying consistent with these tips, you’ll enjoy beautiful, durable nails for an extended period.
Is It Safe to Remove Polygel Nails at Home Without Damage?
Like a knight’s armor, your polygel nails can be safely removed at home if you follow the proper DIY safety steps. You should avoid force or peeling, which can damage your natural nails. Instead, use a gentle removal process with acetone and foil wraps. Patience is key—taking your time guarantees you won’t cause harm, making at-home removal both safe and effective.
What Are Common Mistakes Beginners Make When Applying Polygel?
You often make application errors when applying polygel, such as not prepping your nails properly or rushing the process. Tool mishandling is common too, like pressing too hard with your brush or using the wrong tools, which can lead to uneven nails or air bubbles. To avoid these mistakes, take your time, follow each step carefully, and practice handling your tools gently for a smooth, professional finish.
Can I Customize the Color and Design of My Polygel Nails Easily?
Like an artist with a blank canvas, you can easily customize your polygel nails with a splash of color and creative design options. You’ll find that color customization is straightforward—mixing shades or layering different hues creates endless possibilities. Adding intricate designs becomes a fun, personal touch, allowing your nails to reflect your style. With patience and practice, you’ll transform simple polygel into stunning, one-of-a-kind masterpieces that truly stand out.
Conclusion
Now that you’ve mastered the art of polygel nails at home, get ready to dazzle—or at least fool everyone into thinking you’re a professional. With your newfound skills, you can confidently craft salon-worthy manis while saving a fortune. Just remember, if your nails don’t turn out perfect, blame it on the “creative process.” After all, who needs perfection when you’ve got the power to make your nails look fabulous—or at least interesting?