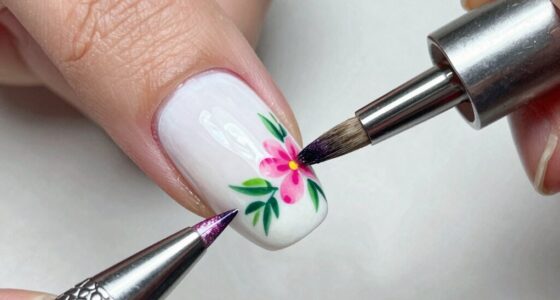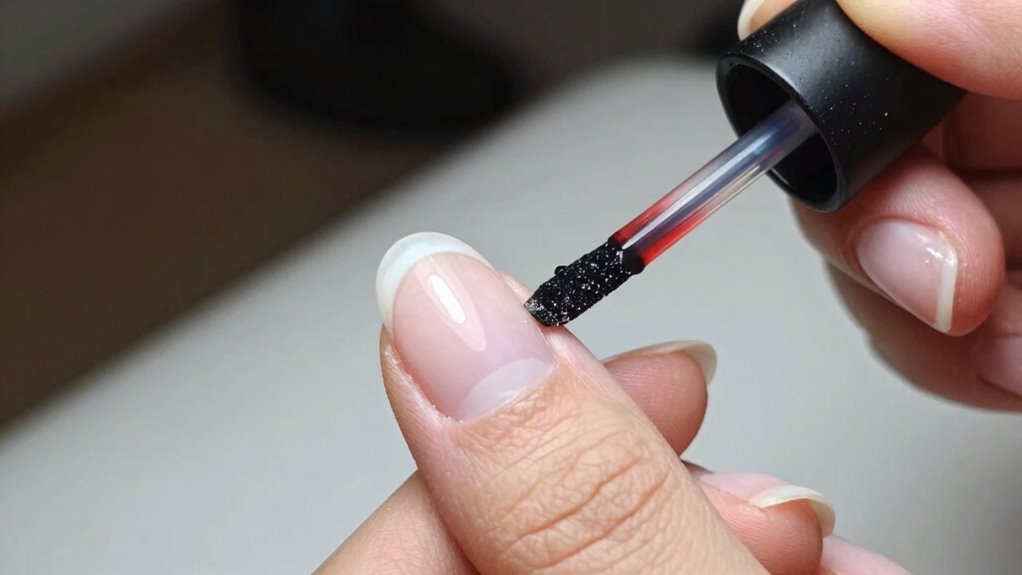

To cap the free edge correctly, start by gently swiping a small amount of product onto the tip of your nail, extending just beyond the natural edge. Smooth and press the product onto the tip to seal it, making sure the entire edge is covered with a thin, even layer. Run your brush along the edge for a seamless seal, ensuring it’s well-blended into the rest of the nail. Keep practicing these steps for longer-lasting, chip-resistant nails. If you want to perfect your technique, you’ll want to learn more.

Get beauty and skincare favorites delivered free with Prime
- Fast, free delivery on millions of items
- Prime Video, Amazon Music and more included
- Member-only deals all year
Key Takeaways
- Gently swipe a small amount of product onto the nail tip, extending slightly beyond the natural edge.
- Maintain a steady hand to ensure even, controlled application without excess product.
- Cover the entire free edge with a thin, smooth layer to create a proper seal.
- Lightly press and smooth the product onto the tip to prevent lifting or chipping.
- Ensure the free edge is seamlessly blended and sealed into the rest of the nail for durability.
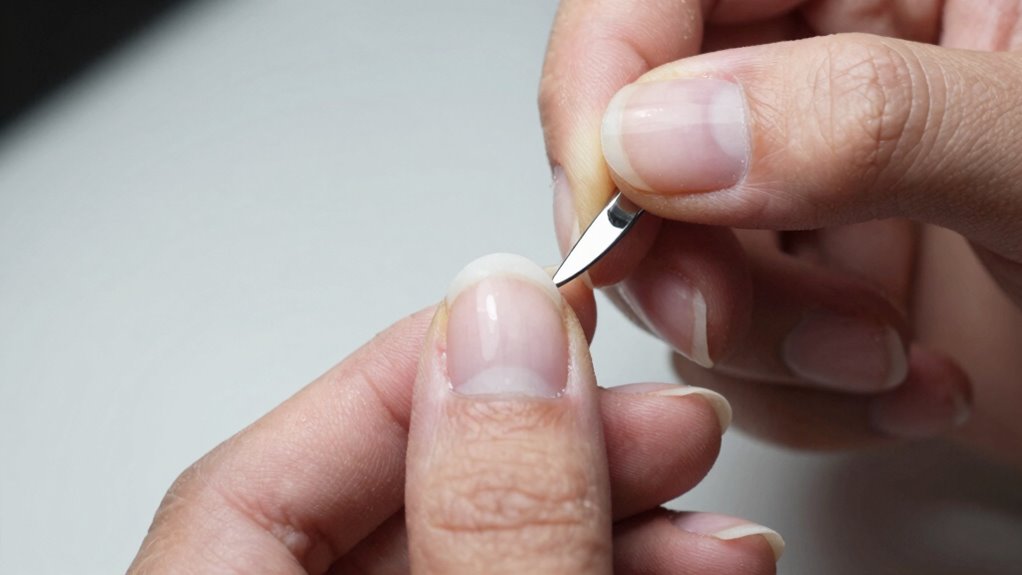
Are you unsure how to properly cap the free edge of a nail? Capping the free edge is a vital step in creating a durable, long-lasting manicure or pedicure. To get it right, you need to focus on proper nail prep and mastering the capping techniques. Nail prep involves cleaning the nail thoroughly to remove oils, dirt, and residual products. Use a gentle cleanser or a nail primer to guarantee the surface is clean and free of any contaminants that might interfere with adhesion. Once your nails are prepped, you can begin the capping process.
Start by applying a thin layer of your chosen product — whether it’s gel, acrylic, or another product — to the entire nail surface. When it comes to capping techniques, the key is to focus on the free edge. After applying the product to the nail bed, gently swipe a small amount of your product onto the tip of the nail, extending it slightly beyond the natural edge. This creates a seal that helps prevent lifting and chipping. Be sure to keep your brush or applicator clean and avoid overloading it with product, as excess can lead to uneven edges or bulkiness.
As you work on capping the free edge, use a steady hand and controlled movements. Lightly press and smooth the product onto the tip, ensuring you cover the entire edge with a thin, even layer. This not only reinforces the nail but also provides a polished look. When you’re finished, gently seal the edge by running your brush or applicator along the tip, ensuring the product is smoothly blended into the rest of the nail. Proper capping techniques involve careful attention to detail—don’t rush this step, as a well-capped free edge is less likely to lift or break over time. Additionally, understanding the importance of adhesion can significantly improve the longevity of your manicure. Recognizing the role of proper nail prep in creating a strong bond is essential for achieving durable results. Incorporating quality products and practicing consistent techniques can also greatly enhance the durability of your capping work. Moreover, maintaining proper infection control during the process helps prevent potential issues that could compromise the health of your nails. Being aware of security measures in the application process can further protect your work from contamination or damage, ensuring a long-lasting finish.
gel nail top coat for sealing free edge
As an affiliate, we earn on qualifying purchases.
As an affiliate, we earn on qualifying purchases.
Frequently Asked Questions
How Long Does a Properly Capped Nail Last Before Needing Replacement?
A properly capped nail typically lasts about 2 to 3 weeks before needing a replacement. As your nail grows, the capped edge moves away from the natural nail, affecting durability and appearance. Regular maintenance helps maintain capping durability, especially if you notice lifting or chipping. Keep in mind that faster nail growth can shorten the lifespan, so scheduling touch-ups sooner ensures your nails stay intact and looking great.
Can Capping the Free Edge Prevent Nail Chipping or Peeling?
Yes, capping the free edge can help prevent nail chipping or peeling. Proper capping techniques reinforce nail health by sealing the edge, reducing exposure to water and daily wear. When you carefully apply the product and guarantee the free edge is fully sealed, you create a protective barrier that enhances durability. This practice minimizes the risk of damage, keeping your nails stronger, healthier, and looking better longer.
What Tools Are Best for Achieving a Clean, Professional Cap?
Think of your tools like the brushes of a painter—precise and essential. For a clean, professional cap, use a fine-tipped brush or a dedicated nail art brush. These allow you to apply nail polish smoothly and accurately, especially during nail prep and capping techniques. Pair them with a good-quality top coat, and you’ll achieve neat, durable edges that resist chipping and peeling, giving your nails a flawless finish.
How Do I Fix a Poorly Capped Free Edge?
To fix a poorly capped free edge, start by gently filing the area to remove any uneven or excess product, ensuring nail health isn’t compromised. Use proper capping techniques—apply a thin, even layer of gel or acrylic just at the edge—to create a smooth, sealed finish. Proper curing and finishing will improve wear, prevent chipping, and protect the natural nail. Always prioritize precise application for long-lasting results.
Are There Specific Nail Shapes That Require Different Capping Techniques?
Certain nail shapes demand unique capping techniques to guarantee durability and a seamless look. For example, almond or stiletto shapes require precise customization techniques to prevent lifting or chipping at the edges. You need to adapt your approach, focusing on nail shape considerations, to create a perfect, long-lasting finish. Don’t overlook these details—mastering shape-specific capping methods keeps your nails looking flawless and helps them withstand daily wear and tear.
nail capping brush for gel nails
As an affiliate, we earn on qualifying purchases.
As an affiliate, we earn on qualifying purchases.
Conclusion
Think of capping the free edge like planting a seed in well-prepared soil. When you apply the cap correctly, you’re nurturing a strong foundation that guarantees durability and beauty blooms. Skip or rush the step, and you risk weeds of wear and tear taking over. With patience and precision, your work blossoms into a lasting masterpiece, much like a carefully tended garden that stands resilient through seasons. Your attention now will yield results that truly stand the test of time.
nail primer for long-lasting manicure
As an affiliate, we earn on qualifying purchases.
As an affiliate, we earn on qualifying purchases.
As an affiliate, we earn on qualifying purchases.
Halloween Picks
halloween
As an affiliate, we earn on qualifying purchases.