To achieve spa-quality soft hands at home with a DIY paraffin wax treatment, gather high-quality wax, a double boiler, gloves, and towels, then prepare a clean, ventilated workspace. Melt the wax to 125-130°F, test it on your wrist, and then dip your hands in, building up a thick layer. Wrap your hands to trap heat, let the wax cool, then gently peel it off. Finish by moisturizing for long-lasting softness—keep going to perfect your technique.
Key Takeaways
- Gather high-quality wax, a double boiler, towels, gloves, and a thermometer for safe, effective melting and application.
- Melt wax to 125°F-130°F, test temperature on your wrist, then prepare hands with cleaning and gentle exfoliation.
- Dip hands in warm wax 2-3 times for a thick coating, then wrap in plastic or towels to trap heat and enhance results.
- Allow the wax to cool and harden, then carefully peel away the wrap and remove excess wax gently.
- Moisturize hands thoroughly after treatment, focusing on cuticles and knuckles, for soft, spa-quality results at home.

Paraffin Wax Works 10-Minute Paraffin Hand Treatment, Relaxing Lavender, Spa and Home Treatment Gloves, One-Pair
Paraffin Hand Treatment Gloves: The spa paraffin gloves offer therapeutic, deep moisturization to heal dry, cracked skin with…
As an affiliate, we earn on qualifying purchases.
As an affiliate, we earn on qualifying purchases.
Gathering Supplies and Preparing Your Workspace

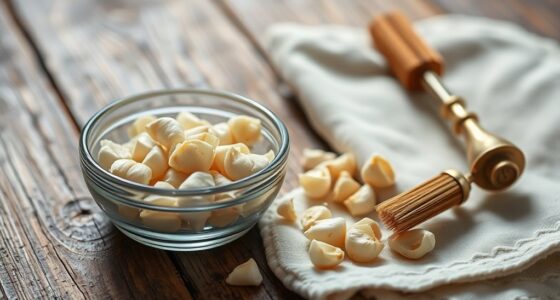
Before you begin your DIY paraffin wax treatment, it’s important to gather all the necessary supplies and prepare a clean, organized workspace. Start by collecting high-quality paraffin wax, a double boiler or microwave-safe container, and clean towels or gloves. Make certain your workspace is free of clutter to prevent accidents. Pay attention to safety precautions by working in a well-ventilated area and avoiding water contact with hot wax. Proper storage tips are essential; keep unused wax in a tightly sealed container away from heat and moisture to maintain its quality. Clean your tools thoroughly after each use to prevent contamination. A neat, safe environment helps ensure a smooth, effective wax treatment while minimizing risks. Additionally, understanding the importance of projector technology can help you create a more comfortable and effective home spa setup.

Achzzy Paraffin Wax Machine for Hand and Feet – 2000ml Paraffin Wax Warmer, Temperature and Reservation Mode, thermostatic Warmer, Nourishing and Moisturizing, Ideal for Home Paraffin Baths (Darkgray)
【Professionally Recommended Paraffin Wax Machine】: The Achzzy Wax Warmer epitomizes professional excellence, combining precision craftsmanship with superior quality…
As an affiliate, we earn on qualifying purchases.
As an affiliate, we earn on qualifying purchases.
Melting and Testing the Paraffin Wax
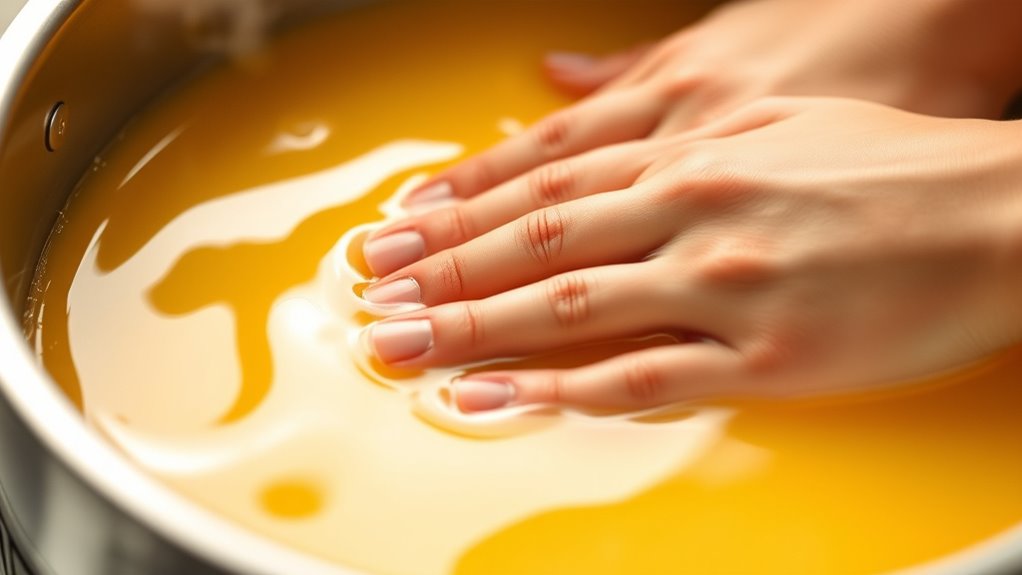
To melt the paraffin wax safely and effectively, start by placing it in a double boiler or microwave-safe container. Keep a close eye on the wax temperature, ensuring it stays between 125°F to 130°F (52°C to 54°C). This range maintains paraffin safety while preventing burns or damage to your skin. As the wax melts, stir gently to achieve a consistent, smooth texture. Before applying, test the wax temperature on your wrist or the inside of your wrist to make sure it’s not too hot. This step helps avoid burns and ensures a comfortable, safe experience. Always monitor the wax throughout the process to maintain proper temperature and safety, making your DIY paraffin treatment both effective and enjoyable. Using a thermometer can help you precisely control the temperature and ensure a safe, spa-quality experience.
Paraffin Wax Works 10-Minute Paraffin Hand Treatment, Relaxing Lavender, Spa and Home Treatment Gloves, One-Pair
Paraffin Hand Treatment Gloves: The spa paraffin gloves offer therapeutic, deep moisturization to heal dry, cracked skin with…
As an affiliate, we earn on qualifying purchases.
As an affiliate, we earn on qualifying purchases.
Preparing Your Hands for the Treatment
Ensuring your hands are properly prepared sets the stage for a successful paraffin wax treatment. Before applying the wax, it’s essential to assess your hand skin to identify dryness, cracks, or sensitivities, maximizing the paraffin wax benefits. Clean your hands thoroughly to remove dirt and oils that could hinder wax adhesion. Gently exfoliate to slough off dead skin, revealing a smoother surface and enhancing absorption. Moisturizing your hands beforehand helps lock in moisture during the treatment, leaving your skin soft and rejuvenated. Incorporating mindful self-care practices can also enhance relaxation and improve overall skin health.
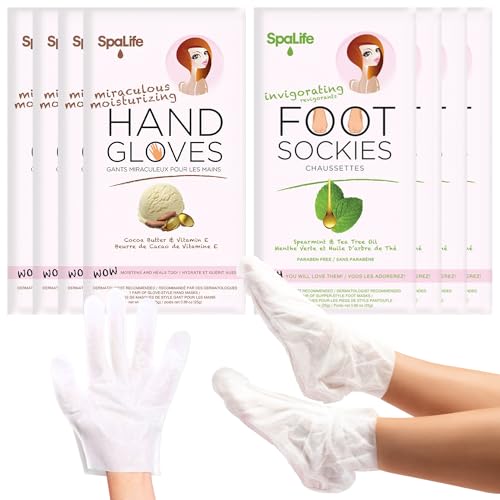
SpaLife Moisturizing Hand Gloves & Foot Mask Socks | Korean Skincare Set for Dry Cracked Hands & Dry Cracked Feet Callus Remover Alternative | Self Care Gifts for Women | 4 Hand, 4 Foot
ULTIMATE RELIEF FOR ROUGH, PAINFUL SKIN — Stop painful splitting and cracking! Our moisturizing hand gloves and complimentary…
As an affiliate, we earn on qualifying purchases.
As an affiliate, we earn on qualifying purchases.
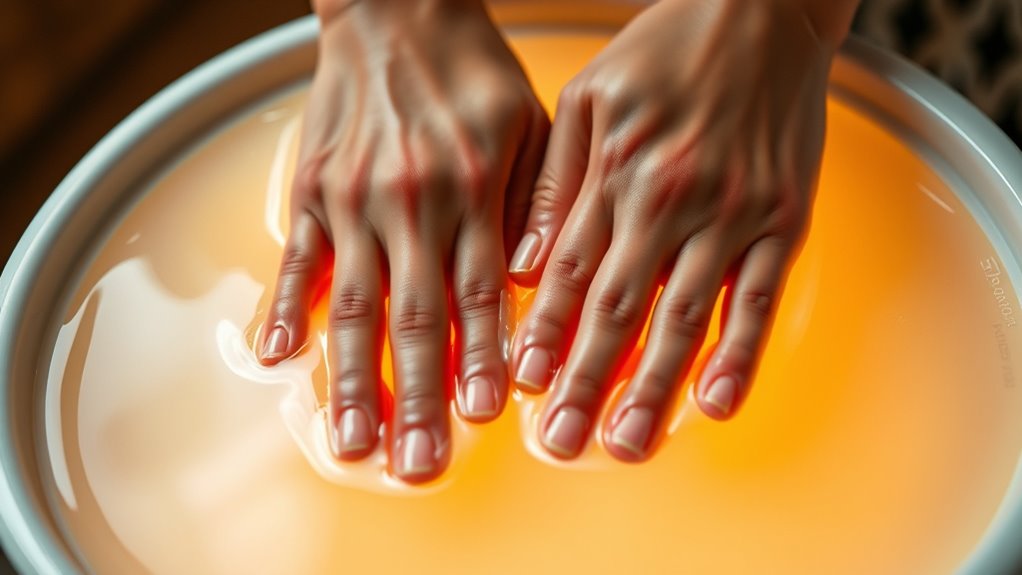
Applying the Warm Wax and Wrapping Your Hands
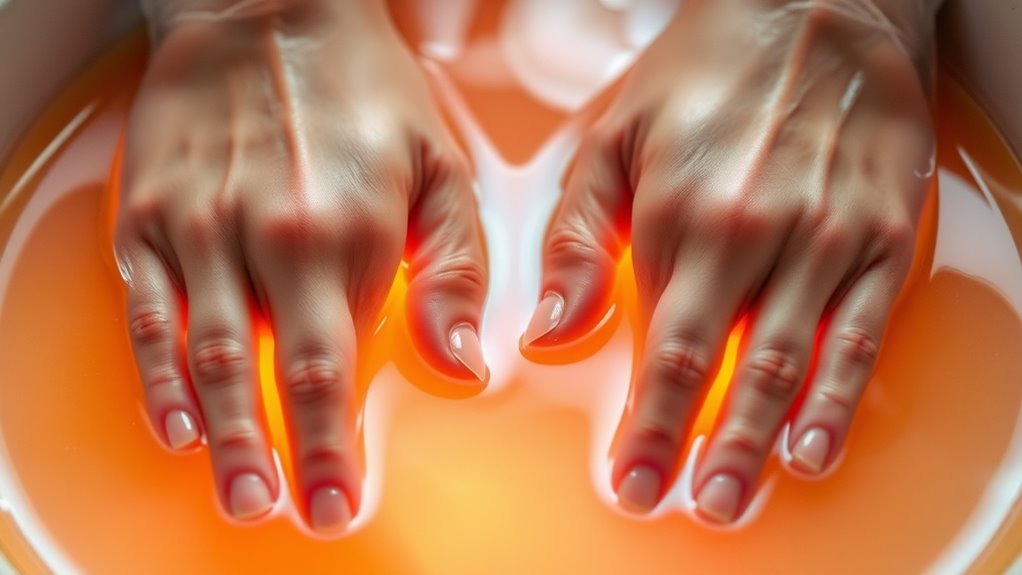
Once your hands are prepared, gently warm the paraffin wax until it reaches a comfortable, runny consistency. The wax temperature should be warm but not hot, ensuring you enjoy the paraffin benefits without risking burns. Dip your hands into the wax, coating them evenly, then lift and let the excess drip off. Repeat this process 2-3 times to build a thick, insulating layer. Afterward, wrap your hands in plastic wrap or a towel to trap heat and enhance the treatment. This warmth opens pores, deepening the wax benefits and promoting soft, hydrated skin. Keep the wax at a consistent, safe temperature throughout to maintain comfort and effectiveness. The wrapping helps the heat penetrate deeply, maximizing the results of your DIY paraffin wax treatment. Additionally, maintaining proper wealth management strategies can help you extend the benefits of self-care routines like this by ensuring financial stability.
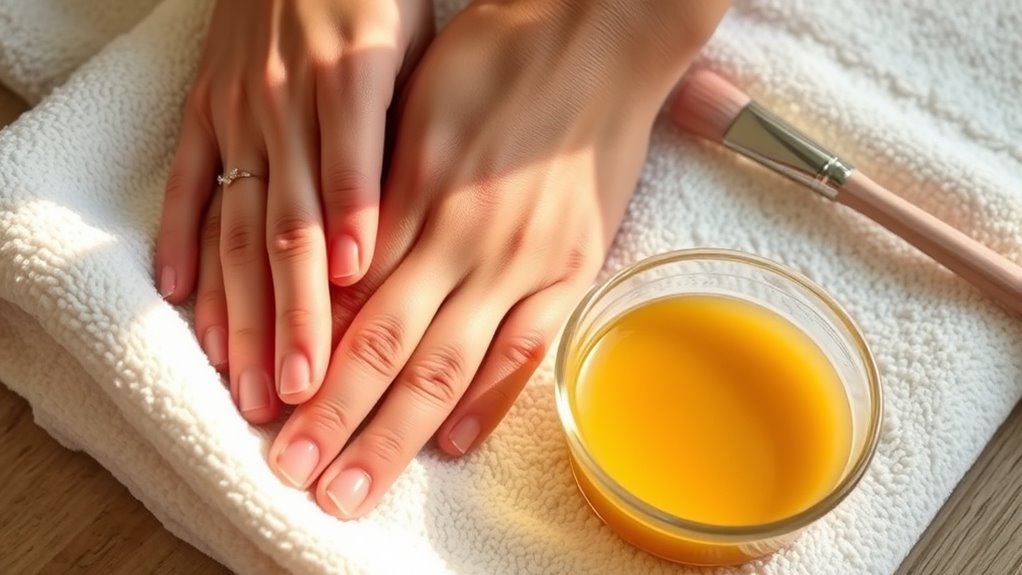
Removing the Wax and Moisturizing for Lasting Softness
After the wax has cooled and hardened, gently peel away the plastic wrap or towel, revealing your softened, moisturized skin. Be careful to remove the wax slowly to prevent skin irritation. It’s important to contemplate paraffin wax safety; avoid using it on broken or irritated skin. Once the wax is removed, gently wash your hands with warm water and pat dry. To lock in moisture, apply a high-quality hand moisturizer, focusing on cuticles and knuckles. For lasting softness, follow these hand moisturizer tips:
- Choose emollient-rich creams or oils for deep hydration
- Massage moisturizer thoroughly to enhance absorption
- Reapply regularly, especially after washing hands
- Incorporating proper skincare practices can help maintain your skin’s health and prevent dryness long after the treatment.
Frequently Asked Questions
How Often Should I Repeat the Paraffin Wax Treatment?
You should repeat the paraffin wax treatment every 1 to 2 weeks to enjoy its benefits, like deeply moisturizing and softening your hands. Regular DIY spa treatments keep your skin hydrated and smooth, especially during dry seasons. Overdoing it can cause irritation, so stick to this schedule for the best results. Consistent use maximizes the benefits, giving you spa-quality soft hands right at home.
Can I Use Essential Oils in My Wax?
Yes, you can use essential oils in your wax, turning your treatment into a fragrant escape. Think of it as wax scenting with your favorite essential oils, adding a soothing aroma to elevate your experience. Just make certain you use skin-safe oils and add only a few drops to avoid irritation. This simple step transforms your DIY paraffin wax into a luxurious, spa-like indulgence, right in your own home.
Is Paraffin Wax Safe for Sensitive Skin?
Paraffin wax can be safe for sensitive skin if you take precautions, but be aware of potential skin irritation and allergy risks. Always do a patch test before full application to check for reactions. Use high-quality, pure wax and avoid applying it to broken or irritated skin. If you experience redness, itching, or discomfort, remove the wax immediately and consult a dermatologist. Proper preparation helps minimize risks and keeps your skin healthy.
How Do I Store Leftover Wax?
You should store leftover wax in a clean, airtight storage container to prevent contamination. Let the wax cool to a safe wax temperature before sealing it. Keep the container in a cool, dry place away from direct sunlight to maintain its quality. Always label the container with the date, so you know when it was used. Proper storage helps preserve the wax’s effectiveness and guarantees safe, easy reuse.
Can I Do This Treatment on My Feet Too?
Absolutely, you can do this treatment on your feet too! Many people find it effective for foot care, especially for softening rough skin. Just make certain your feet are clean and dry before applying the wax. If you’re concerned about wax alternatives, try using natural options like beeswax or soy wax. This way, you can enjoy spa-quality soft feet at home without any worries!
Conclusion
With this DIY paraffin wax treatment, you can achieve spa-quality soft hands right at home. Not only does the warmth improve circulation and temporarily boost skin elasticity, but some studies suggest that regular paraffin treatments may even promote better skin hydration over time. So, you’re not just pampering yourself—you’re supporting healthier, more resilient skin in a simple, cost-effective way. Give it a try and enjoy the luxurious, lasting softness that comes with consistent care.