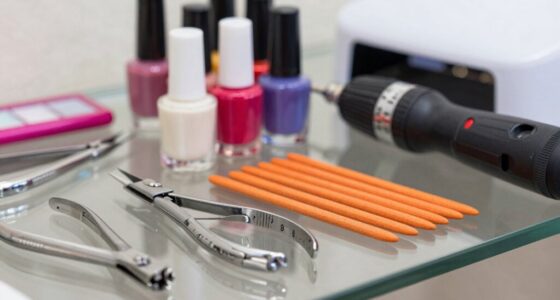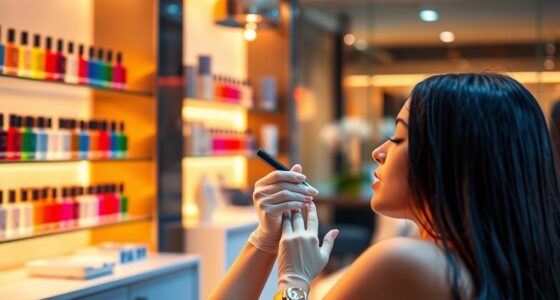

To build a simple nail content setup at your desk, start by organizing your nail polish with a clear acrylic or display stand for easy access and visibility. Keep your workspace tidy and dedicated to creating content, with tools within reach. Use natural light if possible, or set up ring lights or LED lamps at an angle to highlight your nail art’s details and true colors. Focus on creating an efficient, professional environment—you’ll discover more tips to elevate your setup by exploring further.

Get beauty and skincare favorites delivered free with Prime
- Fast, free delivery on millions of items
- Prime Video, Amazon Music and more included
- Member-only deals all year
Key Takeaways
- Use a clear acrylic organizer for easy access and visibility of all nail polish colors.
- Designate a dedicated, clutter-free workspace with essential tools within reach.
- Prioritize natural light or set up adjustable LED lamps to highlight nail details.
- Arrange lighting at an angle to reduce shadows and enhance nail art clarity.
- Keep the environment tidy and organized to streamline workflow and boost content quality.
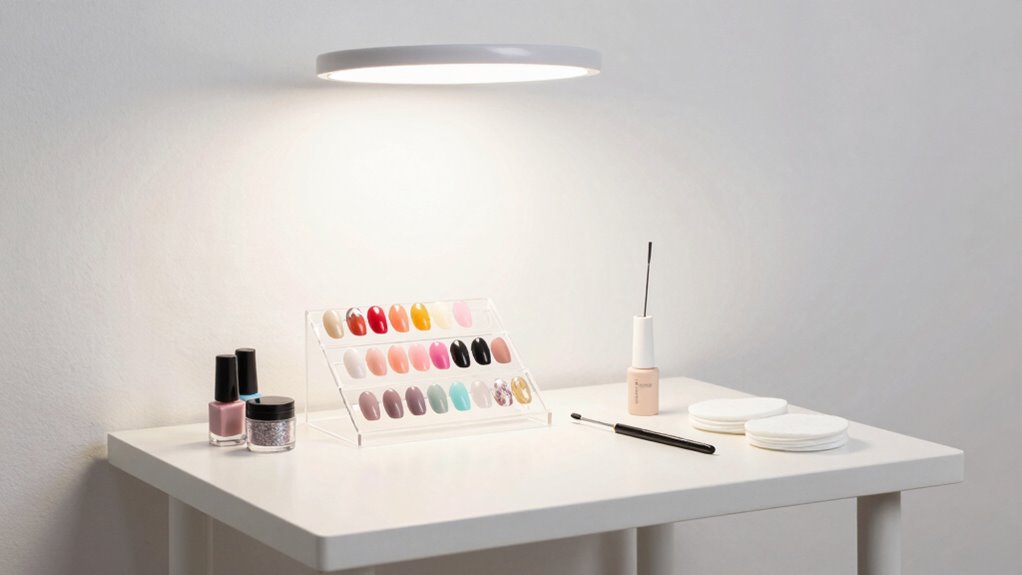
Setting up a simple nail content station at your desk can streamline your workflow and make creating nail art content more enjoyable. Having a dedicated space helps you stay organized and focused, making it easier to produce consistent, high-quality posts. One of the first things you’ll want to take into account is your nail polish storage. Instead of rummaging through drawers or cluttered shelves, invest in a clear acrylic organizer or a compact display stand. This way, you can see all your colors at a glance, saving time when selecting shades for your next look. Proper nail polish storage also prevents spills and keeps your bottles upright, reducing the risk of dried-out polish or accidental messes on your workspace. Keeping your collection tidy and accessible boosts your efficiency and inspires creativity, as you won’t waste time hunting for that perfect shade. Ensuring your workspace has good lighting conditions is equally important for capturing professional-looking content. Good lighting makes your nail art pop and ensures the colors appear true to life. Natural light is ideal if you have a window nearby; set up your station during the day to take advantage of it. If natural light isn’t an option, invest in a ring light or adjustable LED lamps designed for photography. Position your lighting source at an angle that minimizes shadows and highlights the details of your nail designs. Consistent, bright lighting helps prevent color distortion and gives your photos a polished look. Additionally, choosing the right lighting setup can make a significant difference in achieving high-quality images. Proper lighting not only improves the visual quality of your content but also boosts your confidence, knowing your nails look their best in every shot. Paying attention to workspace setup can further enhance your overall content quality and workflow efficiency. Incorporating proper lighting techniques can also help you achieve more professional results with less editing afterward.
As an affiliate, we earn on qualifying purchases.
Frequently Asked Questions
What Essential Tools Are Needed for a Basic Nail Content Setup?
You need essential tools like a good camera or smartphone for capturing high-quality images, a clean workspace, and proper lighting to highlight your nail art inspiration. Keep your studio organized with storage for brushes, polish, and tools to streamline your process. A tripod ensures steady shots, and a mirror can help showcase details. These essentials help you create appealing nail content and maintain a tidy, inspiring studio environment.
How Much Space Is Required for a Compact Setup?
You need about 2 to 3 square feet of space for a compact nail content setup. This area allows you to display your nail art inspiration and organize your tools efficiently. Focus on content planning strategies by keeping your workspace tidy and accessible. Use vertical storage options to maximize space, so you can seamlessly switch between ideas and create content without clutter, making your setup both functional and inspiring.
What Lighting Options Improve Nail Photography Quality?
Think of good lighting as the brush that paints your nail photos in perfect hues. You should opt for soft, diffused lights like ring lights or LED panels to avoid harsh shadows, enhancing color correction. Use a neutral background to make your nails pop and reflect true colors. Experiment with natural light or adjustable LED setups to find what best highlights your nail designs without washing out details.
How Do I Prevent Nail Polish From Drying Out?
To prevent nail polish from drying out, store it properly in a cool, dark place, ideally upright to minimize evaporation. Make certain the cap is tightly sealed after each use. You can also add a few drops of nail polish thinner if it thickens. For ongoing Nail art inspiration, keeping your polish fresh ensures smooth application and vibrant designs. Proper storage keeps your nail polish ready for creative projects anytime.
Are There Budget-Friendly Alternatives for Professional Equipment?
Think of budget-friendly equipment as your secret paintbrushes, turning your nail art dreams into reality. You can use a smartphone with a clip-on ring light for perfect lighting, and DIY backgrounds like fabric or scrapbook paper to elevate your shots. These tools, paired with nail art inspiration from social media, help you craft stunning content without breaking the bank. With a little creativity, your nail art will shine brightly online!
As an affiliate, we earn on qualifying purchases.
Conclusion
Now that you’ve set up your nail content station, you’re ready to create stunning, professional-looking videos right from your desk. Remember, this setup is your launchpad—think of it as the canvas where your creativity can truly shine. Keep experimenting and refining your space; with each video, you’ll grow more confident and polished. Like a gardener tending to a delicate blossom, nurture your skills, and watch your nail content flourish into something beautiful and inspiring.
As an affiliate, we earn on qualifying purchases.
As an affiliate, we earn on qualifying purchases.
Halloween Picks
halloween
As an affiliate, we earn on qualifying purchases.