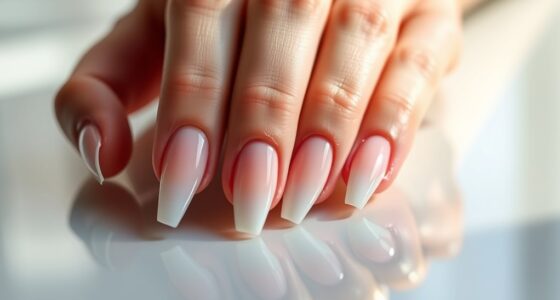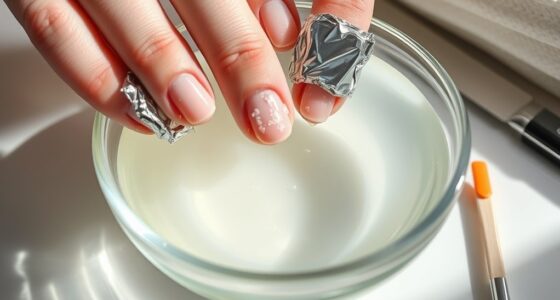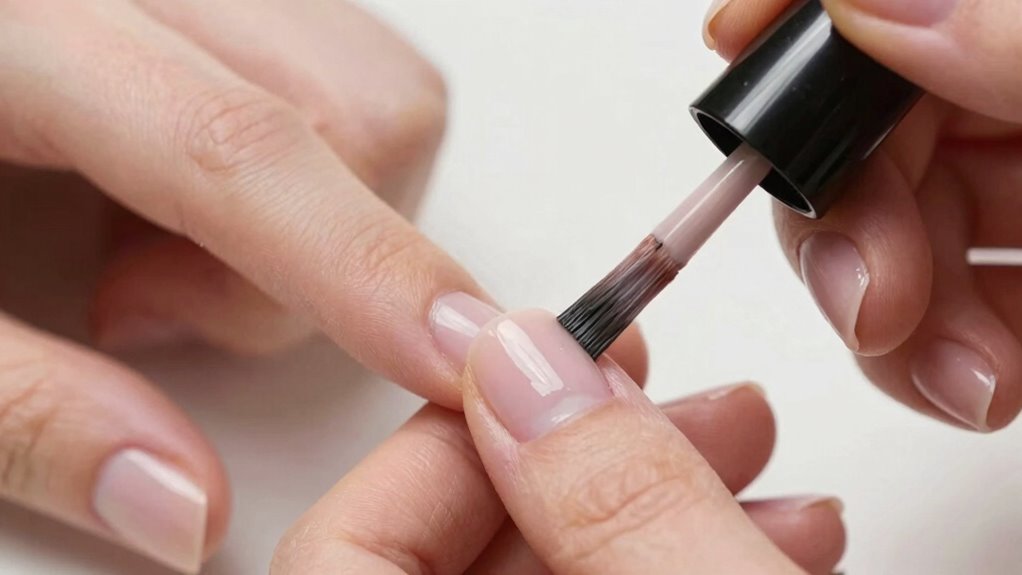
To apply a matte top coat without streaks, start by ensuring your nails are clean, dry, and free of oils, then lightly buff the surface for a smooth base. Use a high-quality, smooth formula and load just enough product on your brush. Apply with gentle, confident strokes in a single, even pass, avoiding going back over wet areas. Layer thin coats, allowing each to dry slightly before the next. If streaks appear, let the layer dry before reapplying. Keep practicing, and you’ll perfect your matte finish.
Key Takeaways
- Ensure nails are clean, dry, and lightly buffed before applying the top coat for a smooth base.
- Use a high-quality, thin, and consistent matte top coat to prevent uneven application.
- Apply in a single, smooth stroke down the center, then gentle side strokes, avoiding overloading the brush.
- Work with quick, confident strokes and maintain a wet edge to reduce streaks.
- Allow each layer to dry completely before applying the next to achieve an even, velvety matte finish.
Applying a matte top coat can give your nails a sleek, velvety finish, but it often comes with the challenge of streaking. To achieve a smooth, even look, you need to start with proper nail prep. This means confirming your nails are clean, dry, and free of oils or residue. Use a gentle nail polish remover to wipe away any old polish or oils, then lightly buff the surface of your nails to create a smooth canvas. This step helps the matte top coat adhere evenly and reduces the risk of streaks. Don’t skip this; a well-prepped nail surface is key to a flawless matte finish.
Proper nail prep ensures a smooth, streak-free matte finish with a velvety appearance.
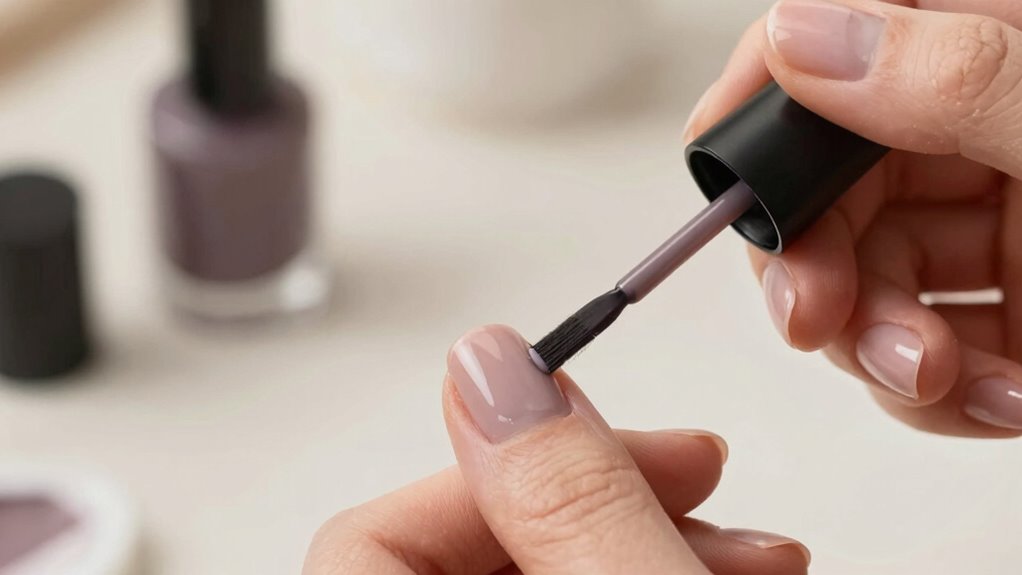
Once your nails are prepped, choose a high-quality matte top coat. The consistency of the product matters. Thinner formulas tend to spread more evenly, so avoid overly thick or gloopy bottles. When you’re ready to apply, load your brush with just enough product—don’t overload it. Excess polish can cause uneven application and streaks. Start with a single, smooth stroke down the center of each nail, then follow with gentle strokes along the sides. The goal is to distribute the product evenly in a single pass, rather than going back and forth, which can lead to streaking and uneven coverage. Keep your brush steady and avoid pressing too hard; light, confident strokes work best.
As you work through each nail, maintain a wet edge—this means finishing each stroke before moving on to the next to prevent dry patches that cause streaks. If you notice any streaks forming, don’t immediately go back over the area with more product. Instead, let the layer dry briefly before applying a second coat if needed. Applying multiple thin coats tends to give a more uniform matte finish than one thick coat. Patience is essential; rushing can lead to streaks and uneven texture. Additionally, choosing a product with a consistent formula can significantly reduce streaking, especially if the formulation quality is high. Understanding how the contrast ratio affects the final image quality can help you select the best top coat for your desired finish, especially if you want a truly velvety look.
To further minimize streaks, consider applying a thin layer of polish with a gentle stippling motion, which can help achieve a more even distribution of product. Using a quality applicator can also improve the smoothness of the application and help prevent streaks. Finally, allow your nails to dry completely before touching anything. This ensures the matte top coat sets properly, maintaining that velvety, streak-free finish you’re aiming for. If streaks still appear, consider using a gentle stippling motion with your brush—lightly dabbing the polish rather than dragging it across the surface. Regularly checking the product consistency can help prevent uneven results. With careful nail prep, quality products, and steady application, you’ll be able to achieve a gorgeous matte look without streaks, giving your nails a smooth, velvety finish that’s perfectly polished.

OPI Matte Top Coat | Nail Polish Matte Top Coat
- Finish Type: Matte finish for nails
- Protection: Seals and protects nail color
- Durability: Long-lasting, chip resistant up to 7 days
As an affiliate, we earn on qualifying purchases.
As an affiliate, we earn on qualifying purchases.
Frequently Asked Questions
Can I Use a Regular Top Coat Instead of a Matte One?
You can use a regular top coat instead of a matte one, but it will give your nails a glossy finish, not matte. If you want longer nail longevity and a matte look, it’s best to choose a matte top coat. Regular top coats tend to make nails shinier and may not provide the same durability. For a matte effect, stick to the specific matte top coat to achieve the look and longevity you desire.
How Long Should I Wait Before Applying the Matte Top Coat?
You should wait at least 2-3 minutes after applying your base or glossy top coat before applying the matte top coat. This drying time allows the previous layer to set properly, preventing smudging or streaking. Use a smooth, even application technique to avoid uneven coverage. Rushing this process can cause streaks, so patience guarantees a flawless matte finish. Always check that your layers are dry before proceeding.
Does the Brand of Matte Top Coat Affect Streaking?
Yes, the brand of matte top coat can affect streaking because of brand consistency and texture variations. Some brands produce smoother, more even finishes, reducing streaks, while others might have thicker or uneven formulas that cause streaking. To minimize this, stick to reputable brands known for quality matte top coats, and always test a small area first. Consistent application techniques also help achieve a streak-free, matte finish.
Can I Apply Multiple Coats of Matte Top Coat?
You can definitely apply multiple coats of matte top coat to enhance that velvety matte finish and boost durability. Picture layering a soft, whisper-like veil—each coat adds depth and strength. Just make certain each layer dries fully before adding the next, preventing streaks and unevenness. This technique maximizes the matte finish’s impact while improving the top coat’s durability, giving your nails a long-lasting, flawless look.
Is It Necessary to Use a Base Coat Before Applying Matte Top Coat?
Yes, using a base coat before applying a matte top coat is essential. The base coat benefits include preventing staining, smoothing your nails, and helping your manicure last longer. Different matte top coat types, like gel or regular formulas, adhere better when you start with a clean, prepared surface. Applying a base coat guarantees even application, reduces streaks, and enhances the matte finish’s durability, giving you a flawless look.
OPI Matte Top Coat | Nail Polish Matte Top Coat
- Finish Type: Matte finish for nails
- Protection: Seals and protects nail color
- Durability: Long-lasting, chip resistant up to 7 days
As an affiliate, we earn on qualifying purchases.
As an affiliate, we earn on qualifying purchases.
Conclusion
Now, as luck would have it, mastering the matte top coat application becomes almost effortless with a little patience and the right technique. Sometimes, the tiniest detail—like your brush’s pressure or the polish’s consistency—can make all the difference. So, keep experimenting, and you’ll find that streak-free matte finish almost seems to happen by chance. After all, perfection often comes from a blend of skill and a touch of fortunate coincidence.

4 Way Nail Buffer Block (4 Pcs), Nail Shine Buffers Blocks Files for Natural and Acrylic Nails Smoother Buffing Block Polisher Fingernail File Buffer 120/240/600/3000 Grit for Buffing Shinning
- Multi-Side Nail Buffer: Shapes, smooths, buffs, and polishes nails
- Suitable for Natural & Acrylic Nails: Provides flawless shine on all nail types
- Premium EVA Foam Material: Ensures gentle, effective buffing and polishing
As an affiliate, we earn on qualifying purchases.
As an affiliate, we earn on qualifying purchases.

Cutex Nail Polish Remover, Strength Shield, Leaves Nails Looking Healthy, Contains Vitamins E, B5 & Hydrolyzed Silk, 6.76 Fl Oz
- Type: Professional strength nail polish remover
- Benefits: Helps maintain healthy nails
- Performance: Quick and easy nail polish removal
As an affiliate, we earn on qualifying purchases.
As an affiliate, we earn on qualifying purchases.