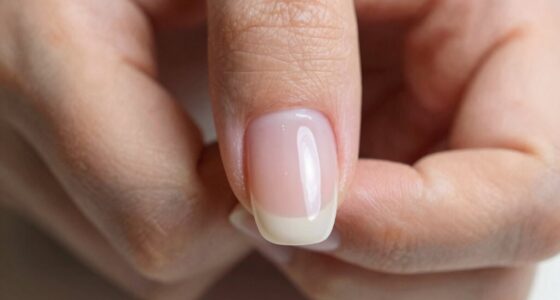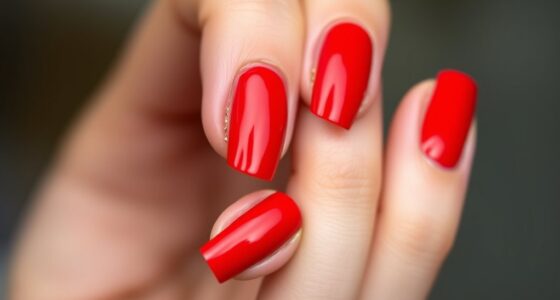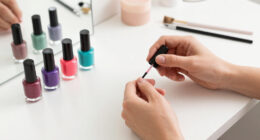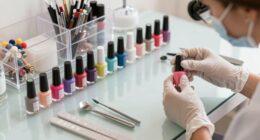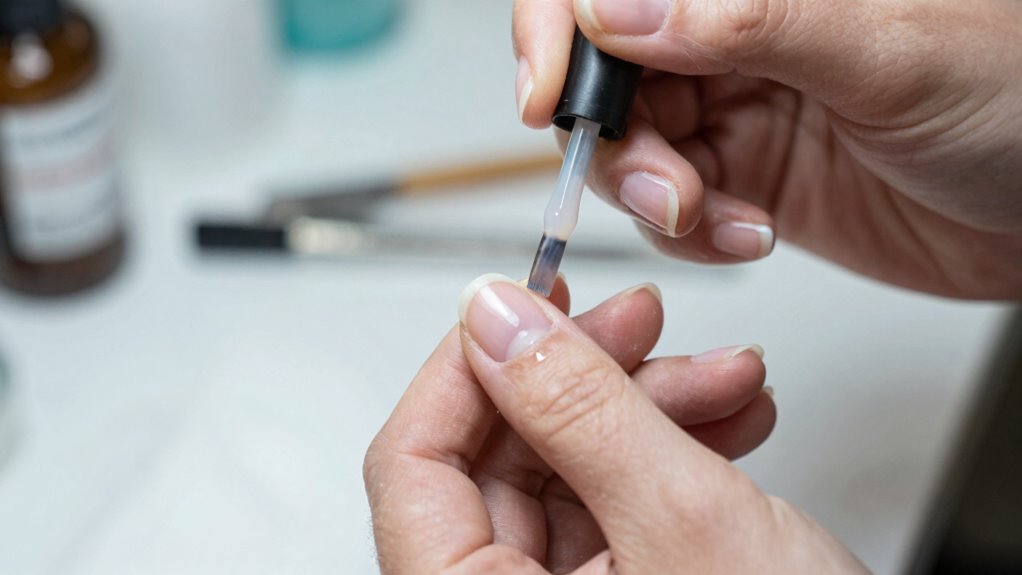
To apply builder gel on short natural nails, start by cleaning and lightly buffing your nails to remove shine, then push back cuticles and wipe away debris. Apply a high-quality primer and a thin base coat, curing each layer properly. Next, apply thin layers of builder gel, shaping neatly and curing thoroughly between layers. Seal with a top coat, cure again, and wipe away residue. Continuing will guide you through each step for long-lasting, professional results.
Key Takeaways
- Properly clean, push back cuticles, and lightly buff nails for optimal gel adhesion.
- Apply a thin layer of primer or dehydrator, then cure under UV/LED lamp.
- Use a suitable base coat and cure thoroughly before applying builder gel.
- Apply builder gel in thin, even layers, curing each layer completely.
- Finish with a top coat, cure, and wipe to seal and add shine.
Have you ever wondered how to achieve a flawless, durable gel look on your short natural nails? It all begins with understanding the importance of nail health. Before applying builder gel, you want to make sure your nails are clean, dry, and free of oils or residues. Proper preparation prevents lifting and damage, guaranteeing your nails stay healthy and strong. Start by gently pushing back your cuticles and removing any debris. Lightly buff the surface of your nails to remove shine, which helps the gel adhere better. Be cautious not to over-buff, as this can weaken your natural nails and cause damage over time. After buffing, cleanse your nails with a nail cleanser or alcohol wipe to eliminate oils and dust. This step is essential because it creates a clean, ideal surface for gel application, contributing to nail health in the long run. Using a proper nail preparation process is crucial for optimal adhesion and durability. Ensuring proper nail health is essential for long-term results and maintaining strong natural nails. Incorporating nail surface cleansing techniques can further improve the adhesion and longevity of your gel application. Additionally, choosing the right application tools can make a significant difference in achieving a smooth, professional finish.
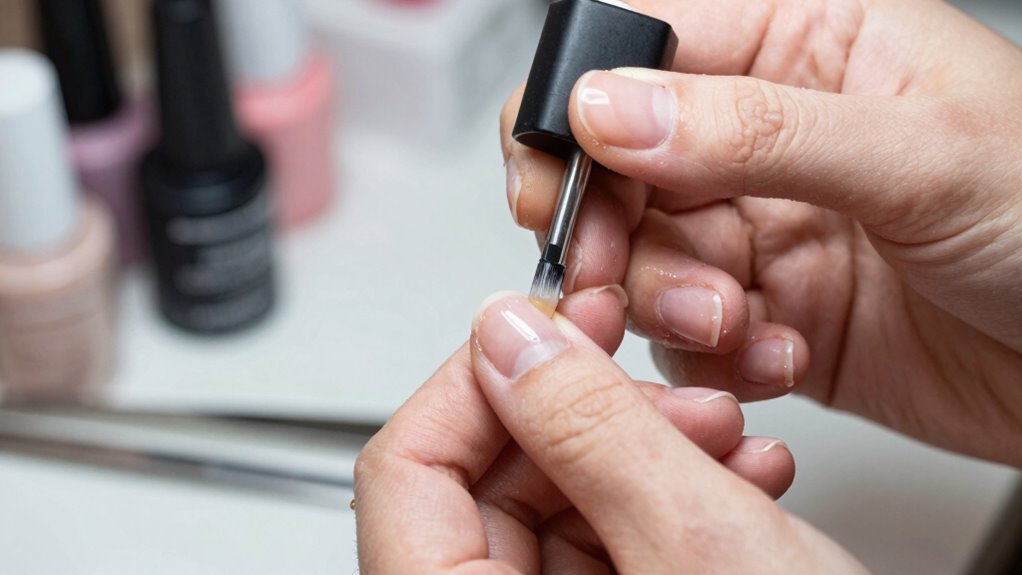
Next, apply a thin layer of a high-quality nail primer or dehydrator to further prepare the nail surface. This step minimizes the risk of lifting and enhances adhesion, helping your natural nails stay healthy. Once the nails are prepped, apply a base coat that’s compatible with builder gel. Cure it under your UV or LED lamp for the recommended time. A good base coat not only improves adhesion but also acts as a barrier to protect your natural nails from potential damage. When the base is cured, apply the builder gel in thin, even layers. Use a brush to shape the gel neatly over your nail, ensuring you don’t overload the surface, which could cause lifting or cracking. Cure each layer thoroughly under the lamp before adding the next. Building in layers helps you achieve a sturdy, natural look while maintaining nail health. Incorporating proper curing techniques is vital to ensure the gel fully hardens and adheres properly, preventing issues like lifting or chipping.
When your desired shape and thickness are achieved, finish with a top coat that seals and adds shine. Cure it under the lamp, then wipe with a cleanser to remove any sticky residue. To keep your nails healthy, make sure to follow proper gel removal techniques when it’s time to change or remove the gel. Avoid peeling or ripping the gel off, as that can damage your natural nails. Instead, soak your nails in acetone or use gentle gel removal methods to break down the gel layer gradually. Patience during removal preserves nail health and prevents unnecessary damage. Maintaining good nail health and using correct gel removal techniques ensures your natural nails stay strong and healthy, even with regular gel applications.

SUNUV UV LED Nail Lamp, Gel Light for Nail Polish UV Dryer SUNONE White
- Trusted by 5 Million Professionals: Salon-grade UV LED nail dryer
- Fast Curing Time: Cures nails 50% faster
- Wide Compatibility: Suitable for various gel polishes
As an affiliate, we earn on qualifying purchases.
As an affiliate, we earn on qualifying purchases.
Frequently Asked Questions
Can Builder Gel Be Used on Damaged or Weak Nails?
Yes, builder gel can be used on damaged or weak nails, but with caution. It can help improve nail strength and provide a protective layer, aiding damage repair. However, if your nails are severely damaged or fragile, it’s best to consult a professional before application. Using builder gel correctly can support nail health, but overuse or improper technique might cause further damage, so always prioritize gentle, nourishing treatments first.
How Long Does a Builder Gel Manicure Last?
A builder gel manicure typically lasts about 2 to 3 weeks, depending on your nail health and daily activities. Its durability guarantees your nails stay strong and looking fresh during this time. To maximize gel durability, avoid harsh chemicals and excessive water exposure. Keeping your nails healthy by moisturizing cuticles also helps prevent chipping or lifting. With proper care, you can enjoy beautiful, long-lasting nails for several weeks.
Is Builder Gel Suitable for All Nail Shapes?
Builder gel is like a chameleon, adapting beautifully to various nail shapes. It’s suitable for most nail shapes, thanks to its incredible aesthetic versatility and ability to enhance natural beauty. Whether you have square, oval, or almond-shaped nails, builder gel can be molded to suit your style. Just keep in mind that a skilled application guarantees a flawless finish, making your nails both durable and stunning regardless of their shape.
Can I Remove Builder Gel at Home Safely?
Yes, you can remove builder gel at home safely with DIY removal. Start by gently filing the top layer to break the seal, then soak a cotton ball in acetone and place it on your nail, wrapping it with foil. Be sure to wear gloves and avoid excessive scrubbing. Follow safety precautions to prevent damage or irritation, and never force off the gel to prevent injury.
What Tools Are Essential for Applying Builder Gel?
Imagine you’re a knight preparing for battle—your tools are your armor. To apply builder gel, you need essential tools like a fine-grit file, a brush, and a gel spatula. Keep your tools clean and well-maintained to promote nail health and guarantee smooth application. Proper tool maintenance prevents contamination, and using the right tools makes your gel application more precise. Without them, your nails might suffer, much like a knight without their armor.

Beetles Builder Gel for Nails, 3 Colors 9 in 1 Clear Nude Pink Hard Gel
- Complete Nail Kit: Includes gels, tools, and forms for DIY nails
- Versatile Colors: Clear, nude pink, and light pink options
- Multi-Use Gel: Suitable for extensions, art, and repairs
As an affiliate, we earn on qualifying purchases.
As an affiliate, we earn on qualifying purchases.
Conclusion
Now that you’ve mastered applying builder gel on your short natural nails, you’re ready to flaunt stronger, beautifully sculpted nails. Think of this process as planting seeds—patience and practice will help your nails flourish. Remember, every perfect nail starts with a small step; don’t rush. With a little time and care, you’ll turn your nails into a stunning masterpiece, proving that even short nails can make a long-lasting statement. Keep glowing, and enjoy your nail journey!

Morovan Professional Natural Nail Prep Dehydrate and Acid-Free Primer, Dehydrator for Acrylic and Gel Nail Polish, Non Acid Primer for UV Gels Fast Dry Superior Bonding Agent Gift Box Set
- Strong Adhesion: Pre-treat nails for long-lasting gel nails
- Prevents Lifting: Reduces oil and prevents nail peeling
- Acid-Free Formula: Less corrosive for safer application
As an affiliate, we earn on qualifying purchases.
As an affiliate, we earn on qualifying purchases.

Maryton Nail Buffer Blocks, Fine 180/240 Grit for Natural Nails, 5 PCS
- Optimal Nail Buffer: Preps nails quickly and easily
- Durable and Washable: Long-lasting and reusable
- Salon Quality Material: Used in professional salons worldwide
As an affiliate, we earn on qualifying purchases.
As an affiliate, we earn on qualifying purchases.