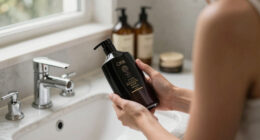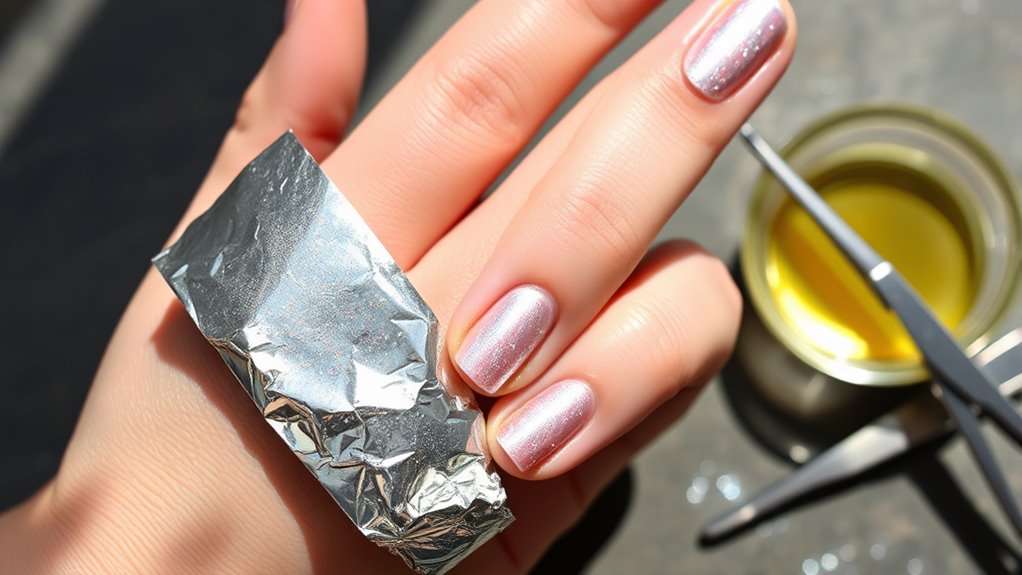

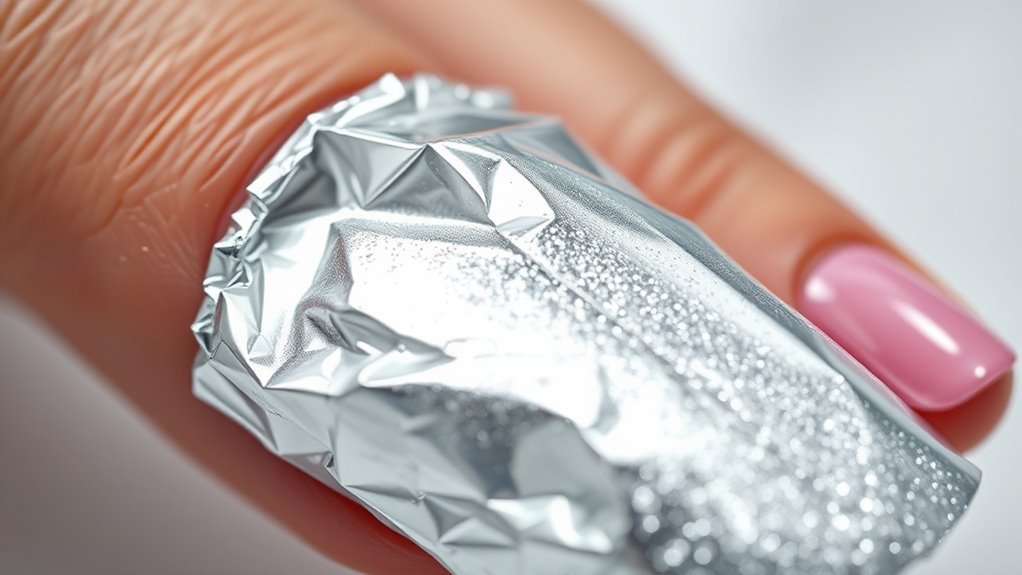
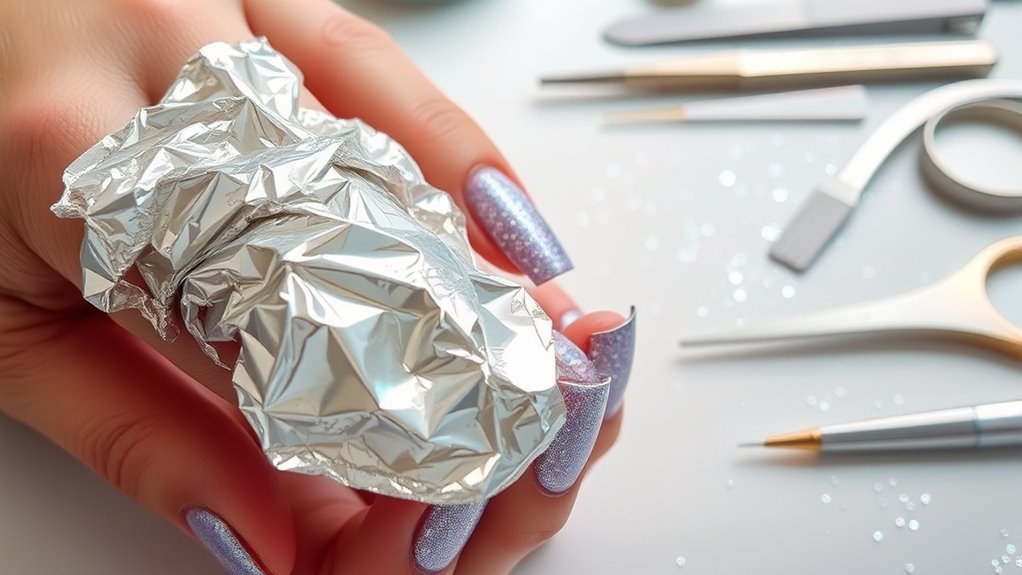
To remove glitter nail polish without the mess, try the foil wrap method. Soak a cotton ball in acetone, place it on your nail, then wrap it with aluminum foil for 10-15 minutes. This loosens the glitter, making it easy to peel off gently without scraping or damaging your nails. Using proper techniques and tips can prevent residue and preserve nail health—keep going to discover more foolproof ways to nail your removal routine.
Key Takeaways
- Use foil wraps with soaked cotton balls in acetone to lift glitter polish easily and minimize mess.
- Lightly buff or file nails before removal to weaken glitter adhesion and reduce residue.
- Apply a clear base coat beforehand to prevent excessive glitter shedding and residual mess.
- Use gentle techniques like foil wraps and soft tools to avoid damaging nails or skin during removal.
- Follow up with cuticle oil and moisturizer post-removal to maintain nail health and prevent damage.
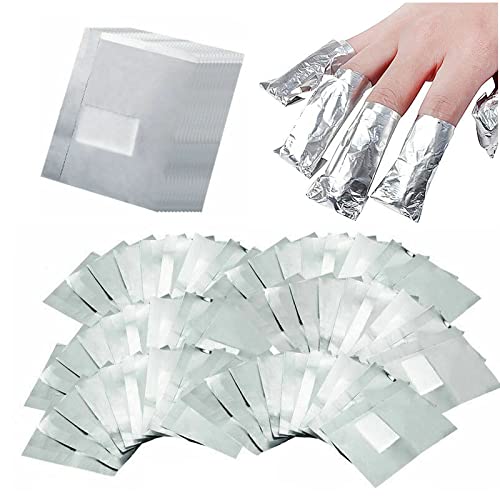
400Pcs Nail Polish Remover Gel Nail Foil Wraps Aluminium Soak Off Foils Cotton Pads Gel Nail Polish Wraps Removal Tool Finger Nail Polish Remover with Lint-Free Lager Cotton Pad
400 Pieces Set — The package includes 400 pcs foil nail wraps, enough for your daily nail polish…
As an affiliate, we earn on qualifying purchases.
As an affiliate, we earn on qualifying purchases.
Understanding Why Glitter Nail Polish Is Hard to Remove
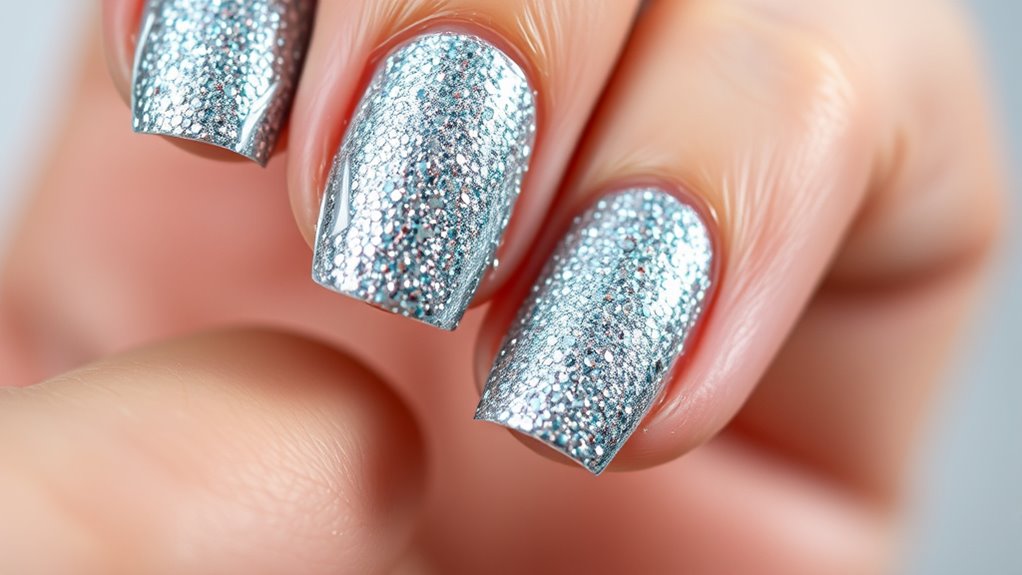
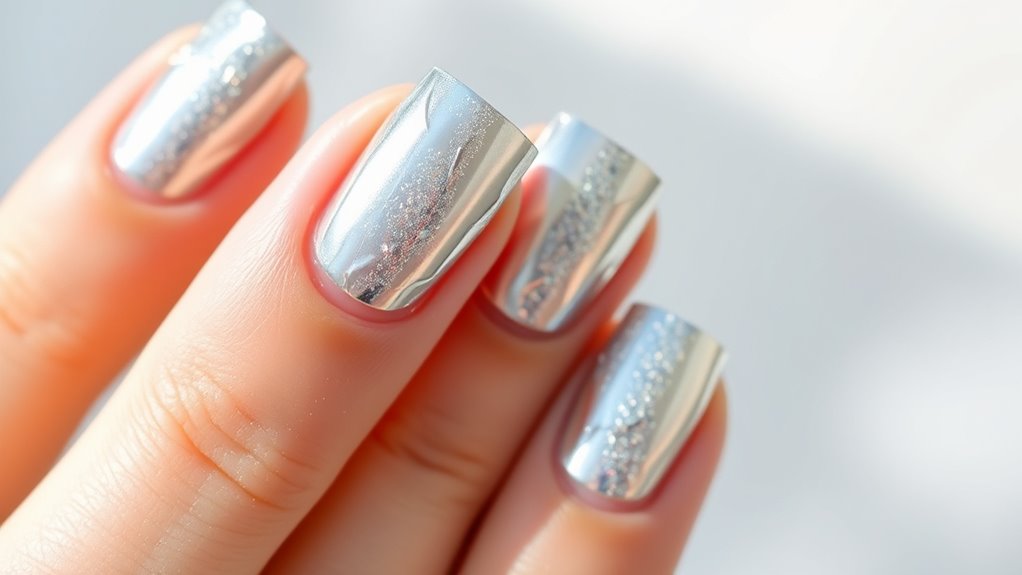
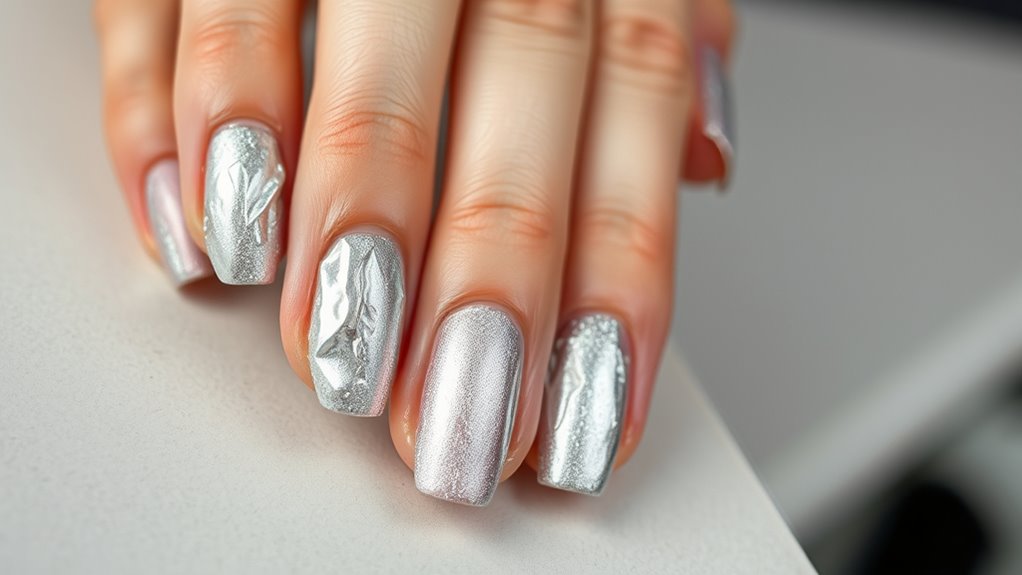
Glitter nail polish is notoriously difficult to remove because its tiny, textured particles cling tightly to your nails. This is due to glitter adhesion, which makes each speck stubbornly stick to the nail surface. Additionally, polish layering plays a role; multiple layers of glitter create a thick, textured coat that’s even harder to break down. The dense layers trap the adhesive, making removal more challenging than regular polish. When you try to peel or scrape it off, you risk damaging your nails or leaving behind residue. The combination of these factors explains why glitter polish resists traditional removal methods. Understanding this helps you realize why you need specific techniques to make the process easier and less messy. Moreover, using advanced removal techniques can help break down the layers more effectively without damaging your nails.

Gel Nail Polish Remover,Gel Remover for Nails No Need to Soak or Wrap, Quickly Remove Nail Polish in 2-5 Minutes, Professional Nail Remover Kit
【Professional Gel Nail Polish Remover】The new gel nail polish remover removes nail polish quickly and easily in 2-5…
As an affiliate, we earn on qualifying purchases.
As an affiliate, we earn on qualifying purchases.
Preparing Your Nails for Easy Glitter Removal
To make glitter nail polish removal easier, start by preparing your nails properly. Nail prep involves gently cleaning your nails to remove oils and residue, ensuring the polish adheres evenly and comes off smoothly. Focus on cuticle care by softening and pushing back your cuticles with a cuticle pusher or oil; this prevents damage and allows better access to the nail surface. Trim any excess cuticles carefully, avoiding cuts or tears. Filing the surface of your nails lightly creates a rougher texture, helping the remover penetrate more effectively. Avoid harsh scrubbing or aggressive buffing, which can weaken your nails. Proper nail prep and cuticle care set the stage for easier glitter removal and minimize damage to your nails. Additionally, selecting a high-quality home cinema projector with good color accuracy can improve your overall viewing experience when applying nail art or watching tutorials.

Amazon Basics Cotton Balls for Skincare, Makeup Removal, Cotton, Hypoallergenic, 200 Count (Previously Solimo)
Includes 200 Amazon Basics Cotton Balls
As an affiliate, we earn on qualifying purchases.
As an affiliate, we earn on qualifying purchases.
The Foil Wrap Technique Step-by-Step
The foil wrap technique is a highly effective method for removing stubborn glitter nail polish, especially when other methods fall short. To start, soak a cotton ball in nail polish remover, preferably acetone. Place the soaked cotton on your nail, then wrap it with a small piece of aluminum foil, securing it tightly around your fingertip. Repeat this process for each nail. Let the foil wraps sit for about 10-15 minutes to loosen the polish. Once time is up, gently press and slide the foil and cotton away from your nail, which should lift the glitter polish easily. This removal process minimizes mess and reduces scraping. The foil technique is quick, efficient, and saves your nails from unnecessary damage.

PEACECOLOR 16Pcs Cuticle Oil Pen for Nails Portable Nail Moist Nail Strengthener Nails Care Kit for Treatment Care Nail Softener and Strengthener
Cuticle Oil Nail Care Set: Peacecolor Nail Cuticle Oil Pen Set is the ideal choice for nail care…
As an affiliate, we earn on qualifying purchases.
As an affiliate, we earn on qualifying purchases.
Alternative Methods for Glitter Removal
Are you looking for alternative ways to remove stubborn glitter nail polish without using foil wraps? One method involves soaking a cotton ball in acetone or nail polish remover, then placing it directly on your nail and securing it with aluminum foil or a rubber band. This can reduce the removal duration compared to traditional foil wraps. Another option is using a peel-off base coat, which creates a barrier that makes glitter easier to lift off without harsh scrubbing. Additionally, some people swear by using a gentle buffing or filing technique to weaken glitter adhesion, but be careful not to damage your nails. These methods can help you remove glitter more efficiently while minimizing mess and damage. According to effective removal techniques, choosing the right method can also help prevent damage to the delicate skin around your nails.
Tips for Preventing Excess Glitter Residue
Achieving a clean glitter removal process starts with taking preventative steps to minimize residual residue. To enhance residue prevention, apply a thin layer of clear base coat before glitter polish. This creates a barrier that helps contain the glitter, making cleanup easier. When applying your glitter polish, avoid overloading the brush; a lighter coat reduces excess glitter that can shed during removal. Use tape or a sticky lint roller on your surrounding skin before starting to catch stray particles early. During removal, work gently to prevent dislodging too much glitter at once. Additionally, choosing natural materials like linen or cotton for your nail wraps can help reduce static cling and make the glitter easier to remove. These tips minimize glitter cleanup and keep your skin and nails tidy. Proper application and careful handling are key to preventing excess glitter residue and making the removal process smoother.
Post-Removal Nail Care to Keep Nails Healthy

After removing glitter nail polish, it’s important to care for your nails to keep them healthy. Regularly moisturizing helps prevent dryness, while using nail strengtheners can reinforce weak nails. Avoid harsh removers that can cause damage and opt for gentle products instead. Additionally, taking breaks between manicures allows your nails to recover and reduces the risk of damage nail health tips.
Moisturize Regularly
Once you’ve removed glitter nail polish, moisturizing your nails and cuticles becomes essential for maintaining healthy, strong nails. Regular hydration boosts your nails’ resilience and helps prevent dryness and peeling. Focus on providing a hydration boost by applying a nourishing cuticle oil or hand cream daily. This not only softens cuticles but also promotes healthy nail growth. Proper cuticle care keeps your nails looking polished and prevents hangnails or infections. Be consistent with your moisturizing routine, especially after washing your hands or exposure to harsh chemicals. Well-hydrated nails are less prone to breakage and damage. Incorporating a moisturizer into your daily post-removal routine ensures your nails stay healthy, shiny, and strong over time. Additionally, understanding resources and tools available for nail care can help you select the best products for maintaining nail health.
Use Nail Strengtheners
Using nail strengtheners is a crucial step in post-removal nail care, especially if your nails feel weak or brittle. These treatments help boost nail health by providing essential nutrients and strengthening the nail structure. When your nails are healthier, they’re less prone to splitting or breaking, which can improve polish durability when you decide to reapply nail polish. Applying a nail strengthener regularly can also protect your nails from future damage caused by harsh removers or environmental stressors. Look for formulas with ingredients like keratin, biotin, or calcium to support nail resilience. Incorporating nail strengtheners into your routine ensures your nails stay strong, healthy, and better prepared for your next manicure, ultimately helping you maintain beautiful, durable nails over time. Additionally, choosing an electric dirt bike with proper maintenance can help preserve the overall health of your nails if you work around such equipment frequently.
Avoid Harsh Removers
Choosing gentle removers is key to maintaining healthy nails after removing glitter polish. Harsh removal solvents can strip away natural oils, weaken nails, and damage the delicate nail surface. Instead, opt for acetone-free or moisturizing remover options that are less aggressive. These help preserve your nails’ natural shine and prevent excessive dryness. Be cautious with products that target glitter adhesion, as they often contain stronger solvents. Using gentle removers reduces the risk of peeling or splitting, keeping your nails resilient. Always follow up with nourishing cuticle oil or moisturizer to restore hydration and strengthen your nails. Incorporating specialized removers designed for glitter polish can further minimize damage and make the process easier.
Common Mistakes to Avoid During Glitter Removal
One of the most common mistakes people make when removing glitter nail polish is peeling or scraping it off, which can damage your natural nails. This often happens due to application mishaps or using the wrong removal tools. Instead of gently soaking or wrapping, some rush to peel off the polish with their fingers or metal tools, risking nail tears. Using aggressive tools can create micro-tears and weaken your nails over time. To avoid this, always opt for proper removal methods like foil wraps or gentle files. Use appropriate tools designed for polish removal, and never force off stubborn glitter. Taking your time and employing safe techniques helps preserve your nails’ health and keeps the glitter removal process mess-free.
Frequently Asked Questions
Can I Use Acetone-Free Polish Remover for Glitter Removal?
Yes, you can use acetone-free polish remover for glitter removal, but it might be less effective. Look for acetone alternatives that are gentle on your nails and promote nail health. These removers are less harsh and help prevent dryness or damage. Keep in mind, it may take more effort or multiple applications to fully remove glitter. Always prioritize nail health by choosing gentle options and moisturizing afterward.
How Long Should I Leave the Foil Wraps On?
Imagine your fingertips wrapped in tiny, shiny tents. You should leave the foil wraps on for about 10 to 15 minutes, allowing the acetone or remover to break down the glitter’s grip. This duration is the ideal removal time, ensuring the polish softens enough to lift easily without risking damage. Keep the wraps secure, and once the time’s up, gently peel them away for a clean, mess-free removal.
Is There a Natural Alternative to Acetone for Glitter Removal?
Yes, there are natural alternatives to acetone for glitter removal. You can try oil-based removers like coconut or olive oil, which break down the polish gently. Apply the oil generously to your nails, let it sit for a few minutes, then gently rub to lift the glitter. These natural options are less harsh, smell better, and can keep your nails hydrated while effectively removing stubborn glitter polish.
How Do I Remove Stubborn Glitter From Around My Cuticles?
Imagine you’re struggling with stubborn glitter around your cuticles. To tackle this, soak a cotton swab in acetone or an acetone-free remover, then gently apply it to the residue. Use a cuticle pusher or an orangewood stick to carefully clean up the glitter without damaging your skin. This cuticle clean-up technique helps loosen residue, making removal easier and leaving your nails neat and tidy.
Can Frequent Glitter Removal Damage My Nail Bed?
Frequent glitter removal can impact your nail health if you’re not careful. Too often, it may weaken your nail bed, making nails prone to breakage or peeling. To protect your nails, limit removal frequency and use gentle methods like acetone-free remover or nourishing treatments afterward. Taking breaks between manicures allows your nails to recover, maintaining healthy, strong nails and preventing long-term damage.
Conclusion
Removing glitter nail polish doesn’t have to be messy or frustrating. Just like Sarah, who used the foil wrap method, you can easily take off stubborn glitter without damaging your nails. By preparing properly and avoiding common mistakes, you’ll keep your nails healthy and beautiful. Remember, patience is key—your nails will thank you for the gentle care. With these tips, you’ll enjoy flawless, glitter-free nails in no time.