To achieve a luxurious velour manicure, start by selecting rich, complementary colors and high-quality velvet powders or textured topcoats. Prep your nails by gently pushing back cuticles, cleaning, and shaping them. Apply a thin layer of velvet adhesive or topcoat, then carefully press or dip your nails into the velvet material to create a seamless, textured surface. For lasting beauty, maintain with regular moisturizing and avoid harsh chemicals. Keep exploring creative design ideas to truly elevate your velour look.
Key Takeaways
- Choose high-quality velvet powders or textured topcoats that match your desired color and texture for a luxurious look.
- Prepare nails by cleaning, shaping, and lightly buffing to create an ideal surface for velvet application.
- Apply a thin, even layer of velvet adhesive or textured topcoat, then gently press velvet material onto nails for a seamless finish.
- Maintain your velvet manicure by moisturizing cuticles, avoiding water and harsh chemicals, and sealing with matte or satin topcoats.
- Enhance the trend with creative designs like floral accents, metallic details, ombré effects, or mixed textures for a personalized touch.

GAOY Sheer Light Pink Gel Nail Polish, 16ml Jelly Milky White Peach Translucent Color 1352 UV Light Cure Gel Polish for Nail Art DIY Manicure and Pedicure at Home
SHEER GEL POLISH: Apply several layers to build up the color from clear transparent to solid opaque. Cure...
As an affiliate, we earn on qualifying purchases.
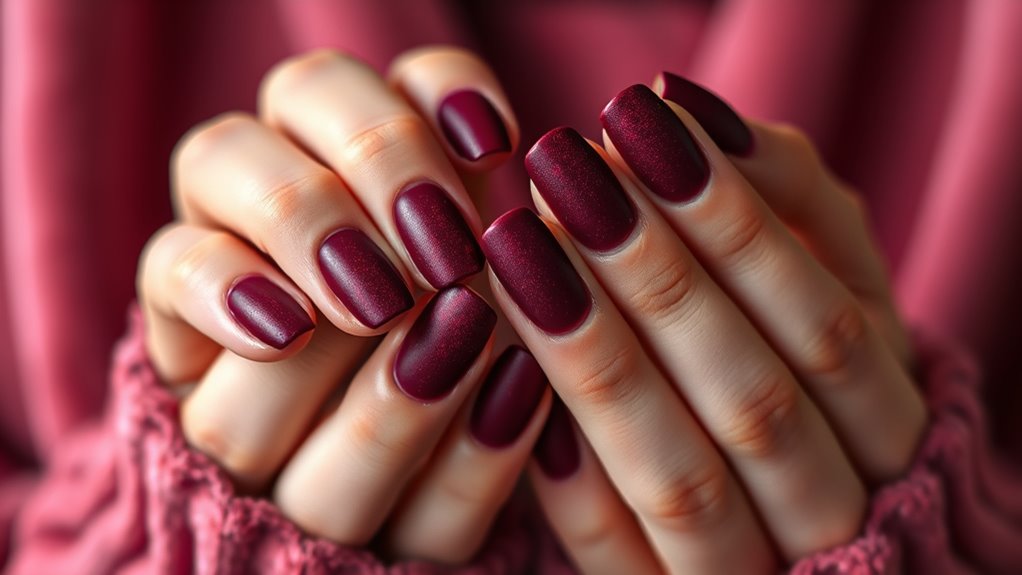
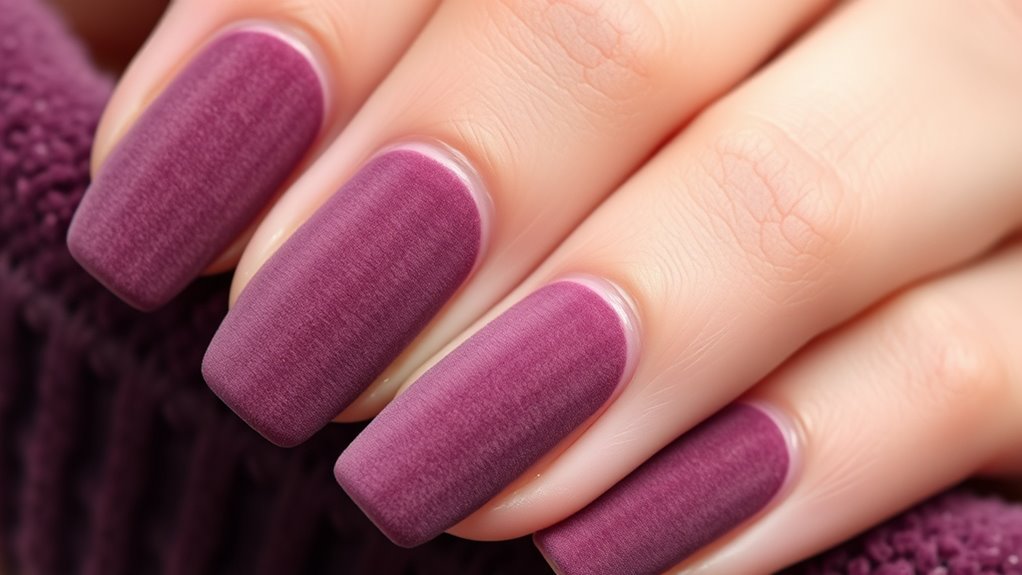
Choosing the Perfect Colors and Materials

When selecting colors and materials for velvet nails, it’s important to take into account both your personal style and the desired texture. Proper color coordination ensures your manicure complements your outfit and mood, whether you prefer bold reds or subtle nudes. Material selection is equally vital; opt for high-quality velvet powders or textured topcoats designed for nail art. These materials create the plush, velvety finish that defines this trend. Consider contrasting shades for a striking look or matching tones for elegance. Keep in mind that the color palette should enhance the velvety texture, making it stand out. Additionally, understanding how to maintain the velvety effect can help prolong the luxurious appearance of your manicure. By thoughtfully choosing your colors and materials, you’ll achieve a luxurious, cohesive velvet manicure that reflects your unique style.

Sally Hansen Insta-Dri Nail Polish | Quick Dry, Long Lasting, Streak-Free Shine | Semi-Opaque, Glossy | 239 In a Blush | Pale Pink Nude Nail Color
Manicure in a Flash: the Sally Hansen Insta-Dri nail polish dries in 60 seconds. 1 Stroke. 1 Coat....
As an affiliate, we earn on qualifying purchases.
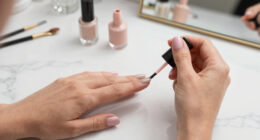
Preparing Your Nails for Velvet Application
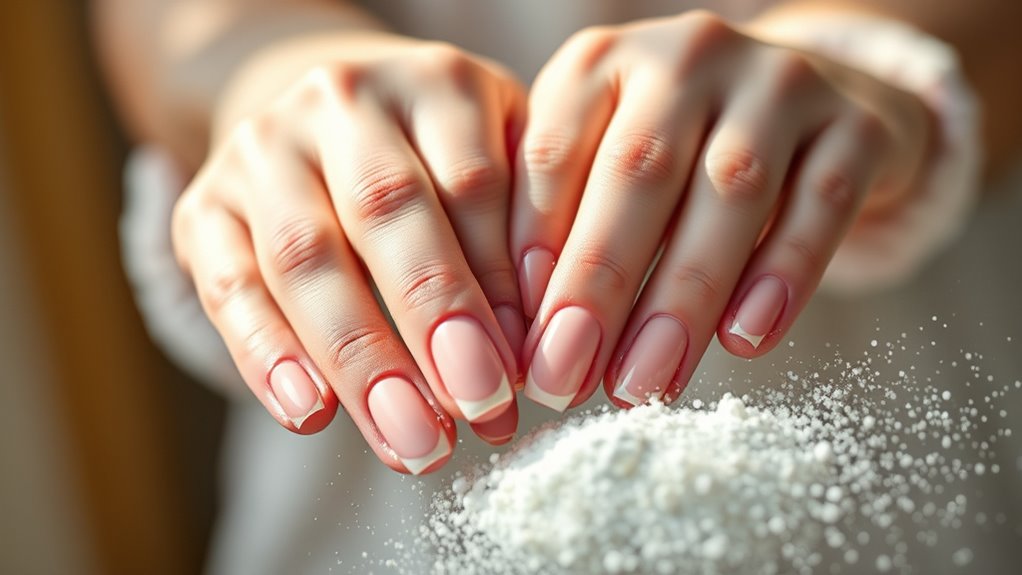
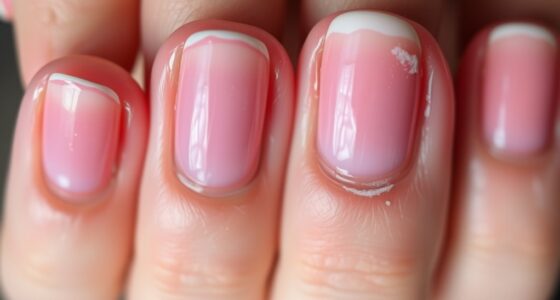
Before applying velvet nails, it’s essential to properly prepare your natural nails to guarantee a smooth and long-lasting finish. Start by ensuring your nails are healthy; push back cuticles gently and remove any dead skin. Clean your nails thoroughly with alcohol or nail cleanser to eliminate oils and dirt, which can affect velvet durability. Shape your nails with a file, aiming for a smooth, even surface, and buff lightly to remove ridges. Avoid over-polishing, as a rough surface helps the velvet adhere better. Keep your nails free of oils and residues, as these can compromise adhesion. Proper nail health and preparation create the ideal base, ensuring your velvet manicure stays vibrant and durable for longer. Additionally, nail maintenance routines can help keep your nails in optimal condition before applying the velvet coating.

Essie Gel Couture Longwear Nail Polish Kit, Sheer Nude Pink, Fairy Tailor + Top Coat, 0.46 fl oz each
Long Lasting Gel-Like Nail Polish Kit: Includes a longwear nail polish in sheer pink with a cream finish...
As an affiliate, we earn on qualifying purchases.
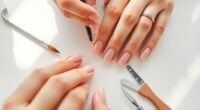
Applying the Velvet Texture for a Seamless Finish
To achieve a seamless velvet finish, start by applying a thin, even layer of velvet adhesive or specialized topcoat over your prepared nails. Next, use gentle brush techniques to evenly distribute the velvet fabric or textured powder. Here are key steps to guarantee a flawless look: 1. Lightly dip your brush into the velvet fabric or powder, avoiding excess. 2. Gently tap or press the velvet onto your nails, working from the center outward. 3. Use soft, sweeping motions to blend the velvet for a uniform texture and avoid clumping. Additionally, ensuring proper aura visualization can help you assess the evenness and overall appearance of your manicure.

30 Sheets 4th of July Nail Art Stickers Independence Day Patriotic Nail Decals 3D Self-Adhesive Balloon Heart Designs American Flag Nail Decorations for Women Girls Manicure
Independence Day Nail Stickers: You will receive 30 sheets 4th of July nail stickers with beautiful patterns of...
As an affiliate, we earn on qualifying purchases.
Tips for Maintaining and Extending Your Velvet Manicure

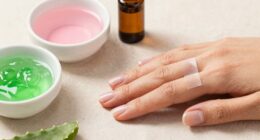
Maintaining and extending your velvet manicure requires a gentle touch and the right techniques. Focus on cuticle care by moisturizing regularly to prevent dryness and peeling, which can ruin the velvety texture. Use cuticle oil daily to keep your nails healthy and promote growth. Nail strengthening is essential; incorporate a nourishing base coat that contains keratin or biotin to reinforce your nails against chipping or breaking. Avoid harsh chemicals and excessive water exposure, which can weaken the velvet finish. When applying top coat, opt for a matte or satin finish to preserve the velour look and prevent smudging. Regular maintenance, combined with proper care, ensures your velvet nails stay luxurious, vibrant, and long-lasting. Additionally, understanding water chemistry can help you avoid unintended damage caused by exposure to water or cleaning products.
Creative Variations and Design Ideas for Velvet Nails
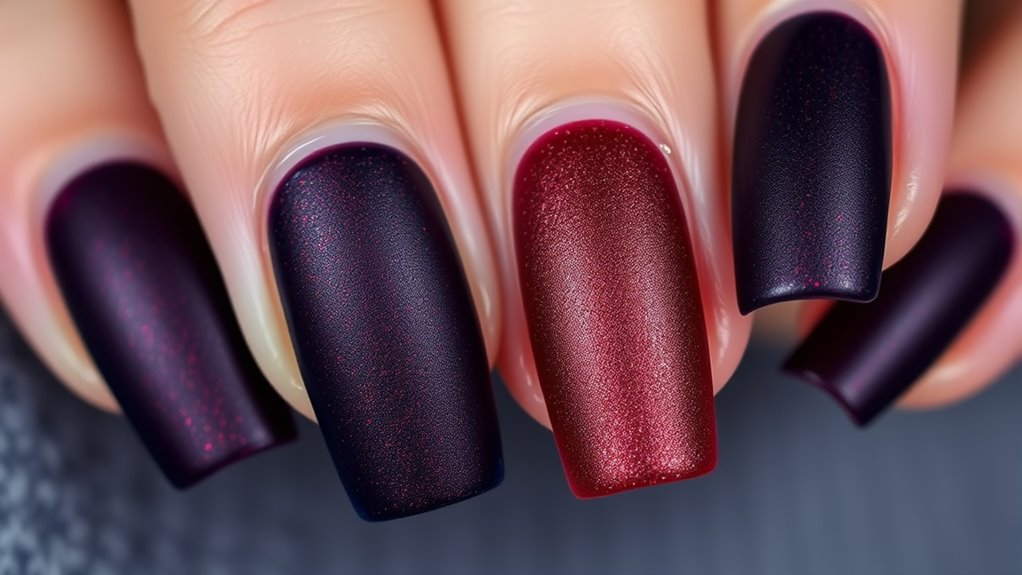
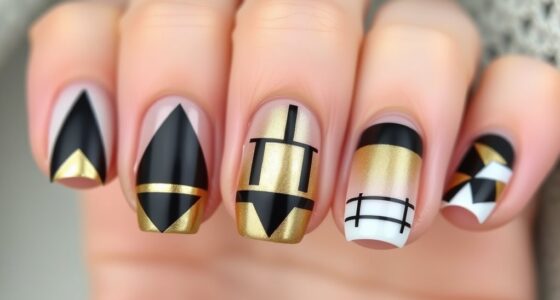
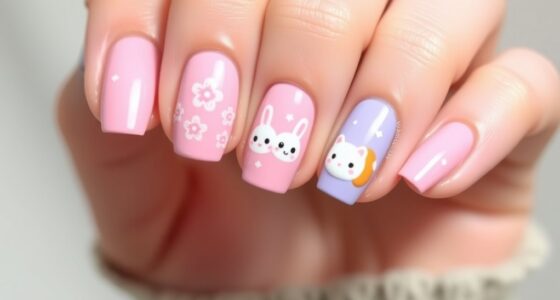
Velvet nails offer a versatile canvas for creative expression, allowing you to experiment with a variety of design ideas that elevate their luxurious texture. You can enhance your manicure with unique gel nail art, adding intricate patterns or metallic accents to make your nails stand out. For a soft, romantic look, try floral nail designs featuring delicate 3D blossoms or watercolor-inspired flowers that complement the velvety finish. To push the boundaries, consider combining different textures, such as matte velvet with shiny accents or glitter details. You could also incorporate subtle ombré effects or geometric patterns to create eye-catching contrasts. These creative variations let you customize your velvet nails, making each manicure an artistic statement that showcases your personal style. Exploring creative nail art techniques can further inspire your designs and help you achieve stunning results.
Frequently Asked Questions
How Long Does a Velvet Manicure Typically Last?
A velvet manicure usually lasts around 1 to 2 weeks, depending on durability factors like your daily activities and nail care. To extend its life, avoid harsh chemicals, wear gloves during chores, and apply a top coat every few days. Proper maintenance tips, such as gentle handling and moisturizing your cuticles, can help keep your velour nails looking fresh and luxurious for the longest possible time.
Can Velvet Nails Be Removed at Home Safely?
You can safely remove velvet nails at home if you follow proper DIY removal techniques. Start by soaking a cotton ball in acetone, then gently press it on your nails for a few minutes. Be mindful of chemical safety—avoid excessive acetone and work in a well-ventilated area. Carefully lift the velvet layer, and don’t force it to prevent damage. With patience, you can remove your velvet nails safely at home.
Are Velvet Nails Suitable for All Nail Shapes?
Velvet nails can work with most nail shapes, but your nail shape compatibility depends on your natural nails and how well you maintain the velvet texture variations. If you have almond, oval, or square nails, you’ll find it easier to achieve a smooth, luxurious velour appearance. Keep in mind, some complex nail shapes may require extra care to guarantee the velvet texture stays even and stunning.
What Are the Best Topcoats for Sealing Velvet Nails?
Did you know that a matte finish topcoat can make your velvet nails last up to a week longer? To seal your velour manicure, choose a matte finish topcoat for a soft, velvety look. Before applying, use a nail primer to enhance adhesion and prevent chipping. This combination guarantees your luxurious velour nails stay flawless, giving you a durable and sophisticated finish you’ll love.
Does Velvet Nail Polish Damage Natural Nails Over Time?
Velvet nail polish, if used carefully, doesn’t harm your natural nails over time. To protect nail health, choose products that are free from harsh chemicals and guarantee proper application and removal. Always prioritize product safety by using gentle, acetone-free removers and allowing your nails to breathe between manicures. Regularly moisturizing your cuticles and nails also helps maintain their strength and prevent damage from the velour effect.
Conclusion
Now that you know how to master the velvet nails trend, your manicure will be as luxurious as a velvet rope at a high-end party. With the right colors, prep, and application, you’ll turn your nails into a soft, velvety masterpiece. Keep up with maintenance and get creative—your nails will be the star of every show. Think of your manicure as a cozy, glamorous hug for your fingertips that lasts and impresses.