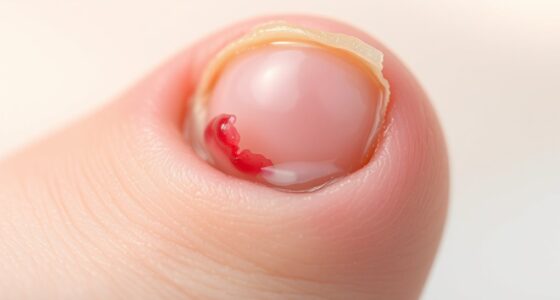
To repair a broken nail with a silk wrap, start by cleaning and buffing your nail, then apply a base coat. Cut a piece of silk to fit over the damaged area and gently press it onto the nail, smoothing out bubbles. Secure the silk with resin or nail glue, trim and shape the edges for a seamless look, and finish with a topcoat for durability. If you want to learn detailed tips, keep going—you’ll find everything you need to know.
Key Takeaways
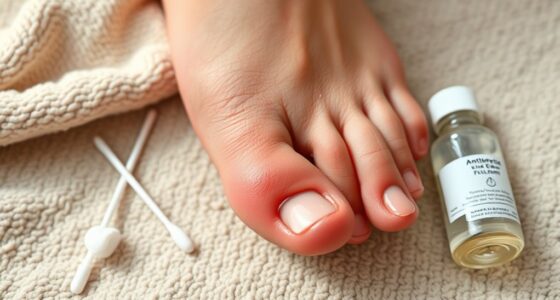
- Prepare the nail by cleaning, buffing, and disinfecting to ensure a smooth surface for the silk wrap.
- Cut and place the silk wrap over the broken area, smoothing out bubbles and ensuring proper fit.
- Trim the silk slightly beyond the damage and gently file for a seamless edge.
- Apply resin or nail glue over the silk, pressing firmly to secure the wrap in place.
- Finish with buffing, shaping, and a topcoat to seal, add shine, and protect the repair.
Top picks for "repair broken nail"
Open Amazon search results for this keyword.
As an affiliate, we earn on qualifying purchases.
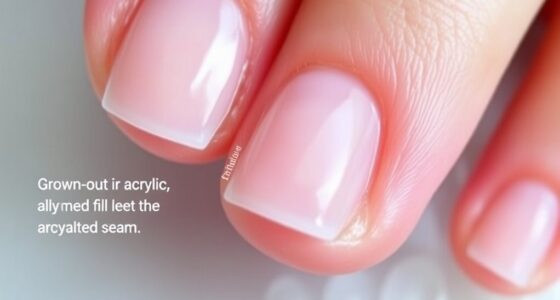
Gathering Your Materials and Preparing Your Nail

Before you begin repairing your broken nail, it’s important to gather all the necessary materials and prepare your nail properly. Start by choosing silk wrap options that suit your nail’s size and shape, ensuring they won’t cause further damage. Maintaining nail health is essential, so remove any old polish and gently buff the nail surface to create a clean, smooth area for the silk wrap. Disinfect your tools to prevent infection and keep your nails healthy. You might also want to trim or file the nail edges to prevent snagging. Having everything ready before you start ensures a smoother repair process. Proper preparation helps your silk wrap adhere better and protects your nail, supporting its health while reinforcing the broken area.
Applying a Base Layer and Attaching the Silk Wrap

To guarantee the silk wrap adheres securely and protects your nail, you should start by applying a thin, even layer of nail primer or base coat over the entire nail surface. This step promotes nail health by preventing damage and ensuring a strong bond. Choose the right silk wrap type based on your nail needs—some are pre-cut for specific nail sizes, while others are flexible for custom fitting. Carefully place the silk wrap over the broken area, smoothing out any bubbles or creases. Press gently to secure it in place, making sure it conforms to your nail shape. This foundation helps the silk adhere properly, providing a sturdy base for further layers and ultimately ensuring a durable, natural-looking repair. Additionally, selecting a Vetted silk wrap ensures quality and reliability for your nail repair.
Trimming and Shaping the Silk for a Perfect Fit

Once you’ve prepared the silk wrap, the next step is to trim and shape it for a perfect fit. Use sharp scissors or nail clippers to carefully trim the silk so it extends slightly beyond the damaged nail edges. This ensures full coverage without excess material. Next, gently file the silk’s edges with a fine nail file to smooth out any rough spots, creating a seamless blend with your natural nail. While shaping, be mindful of cuticle care—avoid filing too close to the cuticles to prevent irritation. Once you’ve achieved the desired shape, clean the area and apply a fresh layer of nail polish over the silk if needed, ensuring the repair blends naturally. Proper trimming and shaping set the foundation for a durable, flawless repair. Additionally, maintaining proper nail health can help prolong the life of your silk wrap and prevent future damage.
Securing the Wrap With Resin or Nail Glue

After shaping and trimming the silk wrap, it’s time to secure it firmly in place. Use resin or nail glue to bond the silk material to your nail, guaranteeing a strong hold that promotes nail health. Apply a thin layer of glue over the silk, covering all edges to prevent lifting. Press the wrap gently but firmly, holding it in place for a few seconds. This step ensures your silk reinforcement stays secure, providing a sturdy foundation for the repair. Ensuring proper adhesion techniques can significantly improve the longevity of your nail repair.
Finishing Touches: Buffing, Shaping, and Protecting Your Repair

Finishing your nail repair involves buffing, shaping, and applying a protective topcoat to guarantee a smooth, polished look. This step ensures your silk wrap blends seamlessly with your natural nail and provides a sturdy finish. First, gently buff the surface to smooth any rough edges and prepare it for nail art or cuticle care. Next, shape your nail to your preferred style, paying attention to symmetry and length. Finally, apply a high-quality topcoat to seal the repair, add shine, and protect against chips. This protective layer also helps preserve your cuticle care routine and keeps your nail art looking fresh longer. Remember, proper finishing touches are key to a flawless, durable repair and a polished appearance.
Frequently Asked Questions
How Long Does a Silk Nail Wrap Typically Last?
A silk nail wrap typically lasts about two to three weeks. Its durability depends on your nail health and how well you care for it. To maximize wrap durability, avoid harsh chemicals and excessive water exposure. Regular maintenance, like gentle filing and reapplication of top coat, helps prolong its life. Keep your nails healthy with good nail care habits, ensuring the silk wrap stays strong and looks great longer.
Can I Repair a Broken Nail With Silk at Home?
Yes, you can do a DIY repair with silk at home, but for the best results, professional application is advised. First, clean and buff the broken nail, then cut a small piece of silk wrap to fit the crack. Apply nail glue, place the silk over the break, and seal it with a top coat. While DIY repairs work, visiting a pro ensures durability and a natural finish.
Is Silk Wrap Suitable for All Nail Types?
Like a knight choosing armor, you should know silk wraps aren’t suitable for all nail types. Your nails need proper nail prep to guarantee good adhesion, especially if they’re weak or brittle. Selecting the right silk and ensuring it’s thin enough helps it blend seamlessly. If your nails are very curved or thin, consult a pro to see if silk wraps are right for you, avoiding potential damage.
How Do I Remove the Silk Wrap Safely Later?
To remove a silk wrap safely later, you should avoid peeling it off yourself. Instead, seek professional assistance for gentle removal, which involves soaking your nails in acetone to dissolve the wrap without damaging your natural nail. This process guarantees your nails stay healthy and intact. Trying to remove it at home can cause damage, so trusting a professional ensures safe and effective removal every time.
Will the Repair Affect My Natural Nail Growth?
Your natural nail health stays mostly unaffected by a silk wrap if applied and removed correctly. The silk wrap’s durability protects your nail from further damage while it grows out, but improper removal can harm your natural nail. Regular maintenance and gentle removal help guarantee your nails stay healthy and strong. So, when done properly, a silk wrap should not substantially impact your natural nail growth or overall nail health.
Conclusion
Think of repairing your broken nail like mending a delicate piece of art—you want it to be flawless and strong. With patience and the right materials, you can make your nail look as good as new, almost like it never broke in the first place. Just follow these steps carefully, and you’ll have a beautiful, durable repair. Before you know it, your nail will be as resilient as a knight’s armor—ready to face anything!