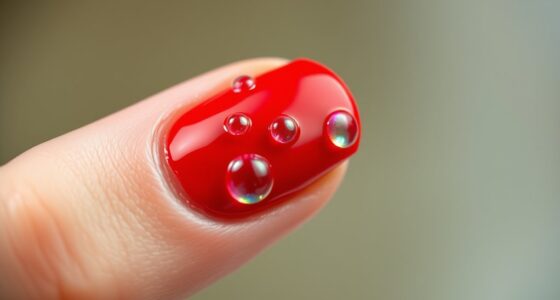

If your wet polish smudges, act fast by carefully evaluating the damage and using a fine brush or toothpick dipped in nail polish remover to gently correct the edges. Smooth over tough spots with a thin top coat and clean excess polish with a cotton swab. For best results, reapply a thin layer of polish on damaged areas and consider using quick-dry sprays. Keep these tips in mind, and you’ll master quick fixes effortlessly.
Key Takeaways
- Act quickly by assessing if the polish is still wet or smudged before deciding on correction methods.
- Use a fine brush or toothpick dipped in nail polish remover to gently correct smudges without damaging surrounding polish.
- Apply a thin layer of high-quality top coat over the smudged area to seal, smooth, and improve the appearance.
- Carefully remove excess polish or smudges with a cotton swab dipped in remover for precise cleanup.
- Reapply a small, thin layer of polish to damaged spots once the initial smudge is corrected for a seamless finish.
Top picks for "quick smudg polish"
Open Amazon search results for this keyword.
As an affiliate, we earn on qualifying purchases.
Assess the Damage and Act Quickly

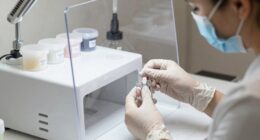
When you notice smudged or wet polish, it’s crucial to act fast. First, assess the damage to determine if the polish is just slightly smudged or if it’s still wet and easily fixable. Proper nail prep before applying polish helps prevent smudges, so always guarantee your nails are clean and dry. If you see a smudge, avoid touching or trying to fix it immediately, as that can deepen the mess. Instead, decide whether you can let the polish dry naturally or if a quick fix is possible. Choosing the right polish and guaranteeing it’s not too thick can also help prevent smudges. Quick assessment allows you to decide whether to wait, correct, or take more extensive measures, saving time and effort. Understanding industry trends can also help in choosing the best products for a smudge-resistant manicure. Additionally, using modern, smudge-resistant nail polishes can significantly reduce the risk of smears and require less touch-up. Incorporating AI-driven insights can help you select optimal products and techniques based on current formulations and user feedback. Moreover, selecting polishes with long-lasting formulas can prolong your manicure and reduce the likelihood of smudges during daily activities.
Use a Fine Brush or Toothpick to Correct Smudges

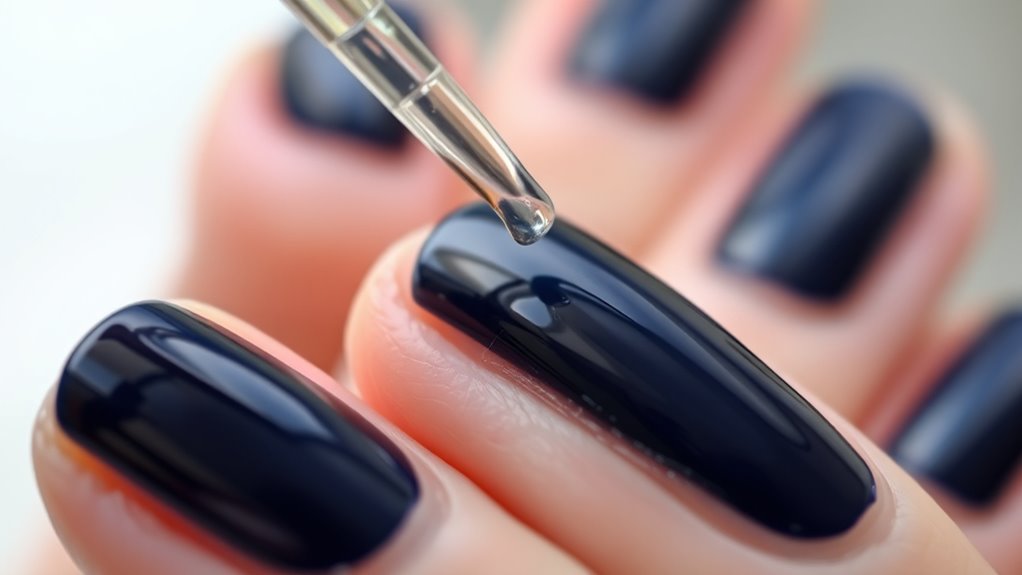
After evaluating the damage and deciding to fix the smudge, grab a fine brush or a toothpick. For brush correction, dip the brush into a small amount of nail polish remover or acetone, then gently guide it along the edges of the smudge to clean up the mistake. Be careful not to disturb the surrounding polish. Alternatively, a toothpick offers precision for small corrections; dip the tip into remover and carefully nudge the smudged area back into shape. Use the toothpick to lift or reshape the polish without creating new smudges. Both tools allow you to target specific spots, giving you control over the correction process. This careful approach prevents further smudging and helps restore your manicure’s neat appearance quickly and effectively. Incorporating mindful decluttering strategies can also help you organize your nail care supplies for easier access and maintenance. Paying attention to proper nail polish application techniques can reduce the likelihood of smudges in future manicures.
Apply a Thin Layer of Top Coat for Seamless Repair

To seamlessly blend your repair and restore a smooth finish, applying a thin layer of top coat is essential. The top coat acts as a protective barrier, smoothing out any unevenness and sealing in your corrections. Use a high-quality top coat designed for a seamless repair, ensuring it spreads evenly without streaks or bubbles. Apply it gently, starting from the center of your nail and moving outward, avoiding excess product. This thin layer helps to blend the repaired area with the surrounding polish, creating a flawless, polished look. Additionally, choosing a top coat with long-lasting shine can enhance the overall appearance and durability of your manicure. Many top coats also contain ingredients that protect against chipping, increasing the longevity of your manicure. For best results, allow the top coat to dry thoroughly, which will further enhance the seamless repair and give your nails a shiny, professional finish. Proper application is key to making your quick fix last, especially when working with paint finishes and surface repairs.
Remove Excess Polish With a Cotton Swab and Nail Polish Remover

Once you’ve applied the top coat and it’s starting to set, it’s time to clean up any excess polish around your nails. Grab a cotton swab dipped in nail polish remover, and carefully glide it along the edges of your nails. This helps remove smudges or stray polish without disturbing your fresh manicure. Be gentle to avoid lifting the polish or damaging your nail bed. For precise control, use a cotton swab with a small amount of remover, and wipe away any excess around the cuticles or skin. Keep a steady hand and work slowly for the best results. Practicing precision control can help achieve cleaner lines and a more flawless appearance. Understanding proper application techniques can further enhance your manicure’s durability and overall look. Incorporating skilled technique into your routine ensures a professional finish every time.
Reapply a Fresh Coat of Polish to Damaged Areas

When you notice chips or uneven spots in your polish, reapplying a fresh coat can seamlessly restore your manicure. Carefully smooth out the damaged area with a small brush or your fingertip, then apply a thin layer of polish over it. This not only covers imperfections but also helps maintain your nail art’s integrity. If you’ve recently removed old polish, verify your nails are clean and free of residue before applying the new coat. Be precise with your application to prevent streaks or bubbles. Allow each layer to dry thoroughly before adding another. Reapplying polish in damaged areas is a quick fix that keeps your nails looking polished and professional. Proper techniques and tools can enhance your results and ensure a smooth finish. Just remember, proper polish removal beforehand guarantees a smooth, long-lasting finish. Trust in quality nail products can make a significant difference in achieving a flawless look. Incorporating innovative materials can also improve the durability and appearance of your polish. Additionally, understanding the artistic significance of butter can inspire more creative and detailed nail art designs.
Speed up Drying With a Quick-Dry Spray or Drop

If your polish is still tacky or taking too long to dry, quick-dry sprays or drops can save you time and frustration. These products work quickly to set your manicure, giving you that smooth, dry finish in minutes. To use them effectively, imagine:
- Spraying a fine mist of quick dry spray evenly over your nails, creating a barrier that speeds up evaporation.
- Applying a few drops of nail drops directly onto each nail, soaking into the polish to accelerate drying.
- Watching as the glossy surface transforms into a hardened, smudge-proof layer almost instantly.
- Using proper techniques to ensure even application and optimal results.
Quick dry sprays offer a light, even coat that prevents smudging, while nail drops penetrate deep to speed up curing. Both options are perfect for saving time and keeping your nails looking flawless. Additionally, choosing products formulated with nail care ingredients can help prevent damage to the polish and nails over time.
Prevent Future Smudges With Proper Nail Care Tips

To prevent future smudges, practicing proper nail care is essential. Start with good nail hygiene by regularly cleaning your nails and keeping them dry to avoid bacteria buildup. Proper cuticle care also plays a crucial role; gently push back or moisturize your cuticles to prevent hangnails and rough edges that can snag polish. Avoid cutting cuticles too aggressively, which can cause damage and slow healing. Always use a quality base coat to create a smooth surface for polish, and apply thin, even layers to reduce smudging. After your nails dry, seal the polish with a top coat and wait a few minutes before using your hands. Additionally, understanding WWE Raw’s Financial Impact can inspire you to think about investing in quality nail products that are worth the cost. Using proper nail tools can also make a significant difference in achieving a flawless manicure. Consistent nail care not only keeps your nails healthy but also ensures your polish stays flawless longer.
Frequently Asked Questions
Can I Fix Smudges on Gel or Acrylic Nails the Same Way?
When you notice smudges on gel or acrylic nails, you can often fix them with gel nail corrections or acrylic nail touch ups. For gel nails, gently reapply a thin layer of gel over the smudge and cure it under the UV or LED light. For acrylic, lightly file the area, blend the edges, and add more acrylic if needed. Act quickly to keep your nails looking flawless and avoid removing the entire polish.
How Long Should I Wait Before Fixing Smudges After Applying Polish?
Did you know that nail polish takes about 10-20 minutes to dry completely? You should wait at least 2-3 minutes after applying polish before fixing smudges. Rushing can ruin your manicure, so use proper drying time and gentle touch up techniques. If you notice a smudge too soon, carefully smooth it out with a small brush or toothpick, but avoid rushing the process to prevent further smudges.
Is It Safe to Use Household Products Like Acetone for Touch-Ups?
You might wonder if it’s safe to use household chemicals like acetone for nail touch-ups. While acetone is effective for removing or fixing polish, using it frequently can harm your nail safety and damage your skin. It’s best to limit its use and opt for specially formulated nail polish remover. Always read labels carefully and avoid overexposure to household chemicals to keep your nails healthy and safe.
Can I Fix Smudges on Already Fully Dry Polish?
Ever felt like your nail polish has betrayed you after drying? Don’t worry—smudges on fully dry polish can be fixed! Use gentle drying techniques like a quick blast of cold air or a light topcoat application to even out imperfections. Carefully smooth the smudge with a small brush, then reapply a thin layer of topcoat. This way, your nails stay flawless without starting over.
What Tools Are Best for Correcting Smudges on Textured or Glitter Polish?
When correcting smudges on textured textures or glitter corrections, you’ll want precise tools like a fine-tipped brush or a toothpick. Use these to gently remove or fix imperfections without disturbing the surrounding polish. For textured surfaces, a small brush helps target specific spots. For glitter corrections, a clean toothpick can lift excess or fix smudges carefully. Always work slowly to avoid damaging the intricate design or finish.
Conclusion
Now that you know these quick fixes, you can confidently repair smudged polish and keep your nails looking flawless. Remarkably, some experts believe that gently warming your nail polish bottle before application helps prevent smudges. So, next time, try a quick warm-up to make your polish smoother and easier to work with. With these tips, you’ll enjoy perfect nails and less stress—because a little quick fix can go a long way!