To fix a lifting acrylic nail without starting over, first identify if the lift is caused by poor adhesion or damage. Gather clean tools like a nail file, buffer, and disinfectant. Gently remove any loose debris, sanitize the area, and apply a small amount of nail glue or acrylic adhesive to the lifted edge and natural nail. Press firmly and hold for a few seconds. Properly fixing it now can extend your manicure, and exploring further tips can help prevent future lifts.
Key Takeaways
- Gently lift the lifted acrylic edge, then clean the area with alcohol and remove any debris.
- Apply a small amount of nail glue or acrylic adhesive to bond the lifted section.
- Press the lifted edge back into place and hold for 10-15 seconds to ensure proper adhesion.
- Use a brush or toothpick to clean excess adhesive around the repair site.
- Keep the nail dry and avoid water exposure for a few hours to allow the bond to set fully.
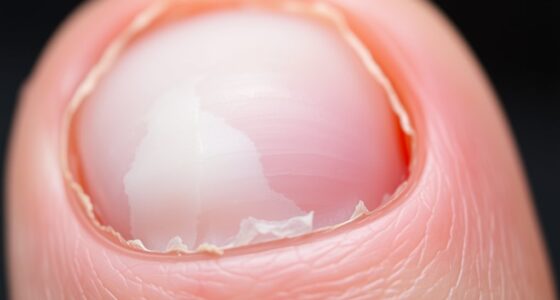
Identifying the Cause of Lifting

Lifting of acrylic nails often happens when the bond between the acrylic and your natural nail weakens or breaks. To prevent this, you need to identify the root cause. Poor nail health can compromise adhesion, making it easier for lifting to occur. If your nails are brittle or damaged, the acrylic won’t stick well, so focus on nurturing your natural nails first. Additionally, your choice of adhesive plays a pivotal role. Using low-quality or incompatible adhesives can lead to weak bonds and early lifting. Always opt for professional-grade adhesives designed for acrylic nails, and ensure they are compatible with your nail type. Understanding these factors helps you pinpoint why your nails lift and guides you toward better nail health and stronger adhesion. Incorporating proper nail care routines can also significantly improve the longevity of your acrylic nails.
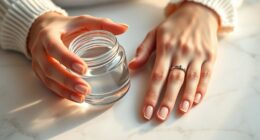
Preparing Your Tools and Workspace
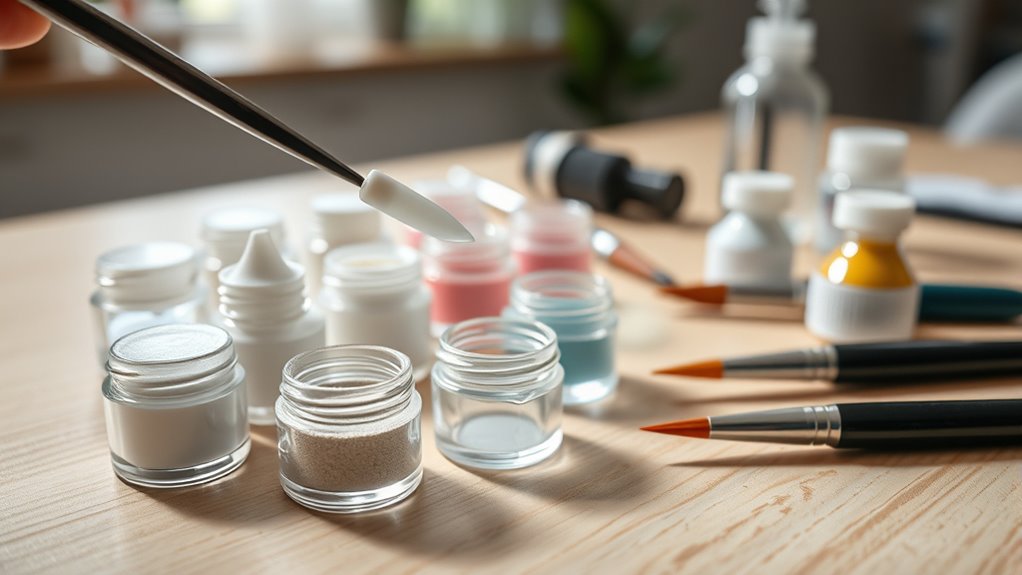
Before you start working on your acrylic nails, it’s important to prepare your tools and workspace to guarantee a smooth application process. Begin by gathering all necessary tools, such as a nail file, buffer, cuticle pusher, and disinfectant. Make sure your tools are clean and sanitized to protect your nail health and prevent infection. Set up a well-lit, clutter-free area to work efficiently and maintain salon etiquette, especially if you’re in a shared space. Keep a towel or paper towels handy to catch any debris or excess product. Wearing gloves can also help maintain hygiene. Proper preparation minimizes mistakes, keeps tools in good condition, and ensures your nails stay healthy during the repair process. Additionally, understanding cookie management can help ensure your online shopping experience remains smooth and secure while you gather your supplies.
Cleaning and Sanitizing the Affected Area
To effectively lift acrylic nails, you need to guarantee the affected area is thoroughly cleaned and sanitized. Proper hygiene practices are essential to maintain nail health and prevent infection. Begin by gently removing any loose debris or old adhesive from the lifted edge using a sterilized tool. Then, wipe the area with an alcohol-based solution or nail disinfectant to eliminate bacteria and dirt. This step ensures no contaminants are trapped under the nail, which could cause issues later. Make sure your hands and tools are clean before touching the area to minimize the risk of infection. Keeping the nail and surrounding skin sanitized helps preserve nail health and creates a safe environment for any future repairs or adjustments you plan to make. Additionally, using high-quality disinfectants can further reduce the chances of bacterial or fungal growth.
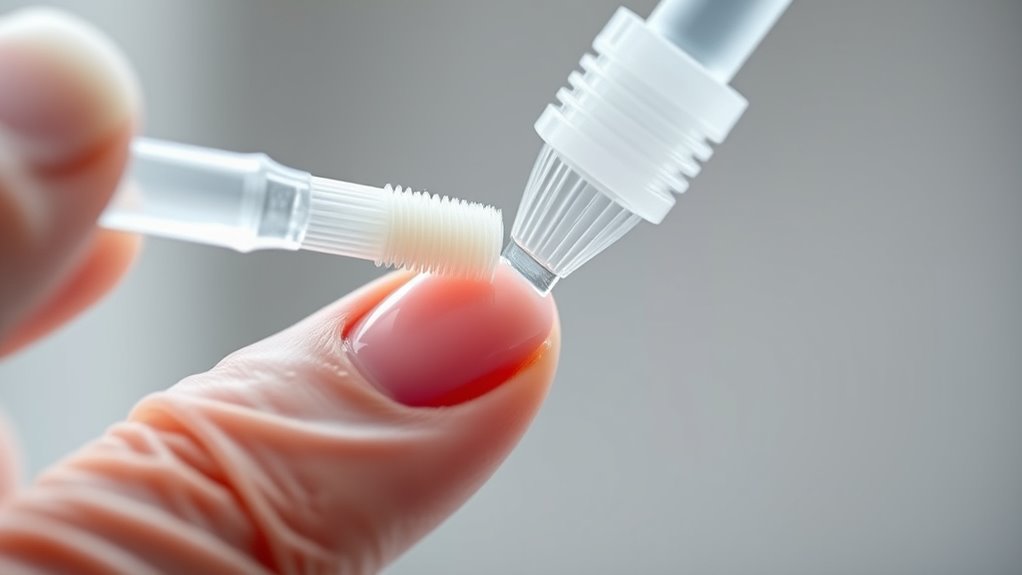
Applying a Fix: Step-by-Step Procedure
Once you’ve cleaned and sanitized the affected area, you can proceed to apply the fix. Start by selecting a small amount of nail glue or acrylic adhesive for a quick fix. Apply a thin layer of bonding technique to both the natural nail and the underside of the lifted acrylic. Gently press the lifted edge back into place, holding firmly for about 10-15 seconds to ensure proper adhesion. Be careful not to use too much glue, as excess can cause mess and weaken the bond. If needed, use a small brush or toothpick to clean up any excess adhesive around the edges. Once secured, wipe away any excess quickly and allow the bond to cure for a few minutes. This method provides a strong, durable fix without the hassle of a full redo. Proper adhesion techniques are essential for ensuring the longevity of your fix.
Tips to Prevent Future Lifting

Proper preparation and careful application are key to preventing acrylic nails from lifting prematurely. Start by ensuring your natural nails are clean, dry, and free of oils, which helps improve adhesion and supports nail growth. Use a high-quality primer to enhance acrylic durability, reducing the chances of lifting. Avoid rushing during application, as thin, even layers promote better bonding and flexibility, accommodating natural nail growth without lifting. Regularly moisturize your cuticles and avoid exposing your nails to harsh chemicals, which can weaken the adhesive. Proper maintenance, like avoiding excessive water exposure and refraining from using nails as tools, also extends acrylic durability. Additionally, choosing the right nail products and techniques can significantly reduce the risk of lifting. By following these tips, you help prevent lifting and enjoy longer-lasting, beautiful acrylic nails.
Frequently Asked Questions
How Long Does a DIY Acrylic Nail Repair Typically Last?
A DIY acrylic nail repair usually lasts about a week to ten days, depending on your nail care and activities. Proper application can improve DIY durability and extend repair longevity, but it might not be as strong as professional work. To maximize the lifespan, keep your nails dry, avoid harsh chemicals, and be gentle when using your hands. Regular touch-ups can also help your repair stay intact longer.
Can I Use Household Glue to Fix a Lifting Acrylic Nail?
They say “look before you leap,” so don’t use household glue to fix your lifting acrylic nail. While it might seem quick, household glues aren’t designed for nail repairs and can cause safety concerns like skin irritation or damage. Instead, use a proper nail adhesive to guarantee a secure, safe fix. Rushing a repair can lead to more problems, so choose the right products for lasting results.
Is It Safe to Attempt Fixing a Lifting Nail at Home?
It’s generally not safe to attempt fixing a lifting nail at home, especially without proper knowledge. DIY safety is essential because improper repairs can cause infections or further damage. Instead, you should seek professional consultation to guarantee your nails are treated correctly. A nail technician can properly assess the lift and fix it safely, preventing complications and maintaining the health of your natural nails.
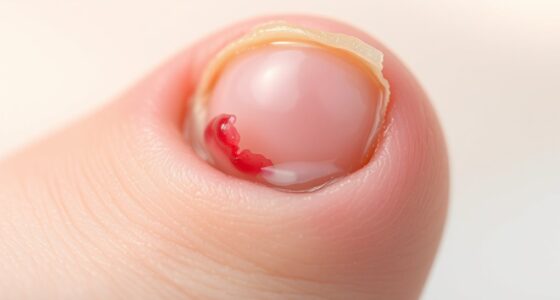
What Signs Indicate I Should See a Professional Instead?
Think of your nails like a delicate castle—if you notice persistent pain, swelling, or pus, it’s time for a professional consultation. If the lifting is extensive or if you see signs of infection, trying to fix it yourself could worsen the problem or increase infection risk. Don’t take chances; seek expert help to protect your nail health and prevent further damage or complications.
How Can I Prevent Damage to My Natural Nail During Repair?
To prevent damage to your natural nail during repair, focus on natural nail protection by avoiding aggressive removal. Use proper filing techniques, gently smoothing the lifted area without over-roughening. Keep your nails hydrated and avoid using harsh chemicals. When repairing, be gentle and precise, ensuring you don’t file too deep or thin the natural nail. These steps help maintain healthy nails and reduce the risk of further damage.
Conclusion
With a little patience and the right approach, you can gently address those sneaky lifts without starting from scratch. Think of it as giving your nails a gentle nudge back into their best shape, restoring their beauty with care and finesse. By following these simple steps, you’ll keep your acrylics looking fresh and fabulous, all while sparing yourself the hassle of a full redo. After all, a little tender love can go a long way in maintaining your stunning manicure.