
To save time in acrylic services, position your tools within easy reach and organize them logically. Keep frequently used items like brushes, dappen dishes, and files close by to minimize movement. Arrange your workspace to promote a smooth workflow, placing items in a sequence that matches your process. Regularly reevaluate your setup and make small adjustments to improve efficiency. Focused tool placement and organization can markedly speed up your service—keep going to discover more pro tips.

Get beauty and skincare favorites delivered free — and shop member deals
- Fast, free delivery on millions of items
- Access to Prime Big Deal Days deals on October 6–7
- Prime Video, Amazon Music and more included
Key Takeaways
- Position frequently used tools within easy reach to minimize search and movement.
- Organize tools logically by function for quick identification and access.
- Use containers or magnetic trays to keep small items organized and readily accessible.
- Arrange workspace layout to promote a smooth workflow from prep to finish.
- Regularly reevaluate and adjust tool placement to improve efficiency and reduce clutter.
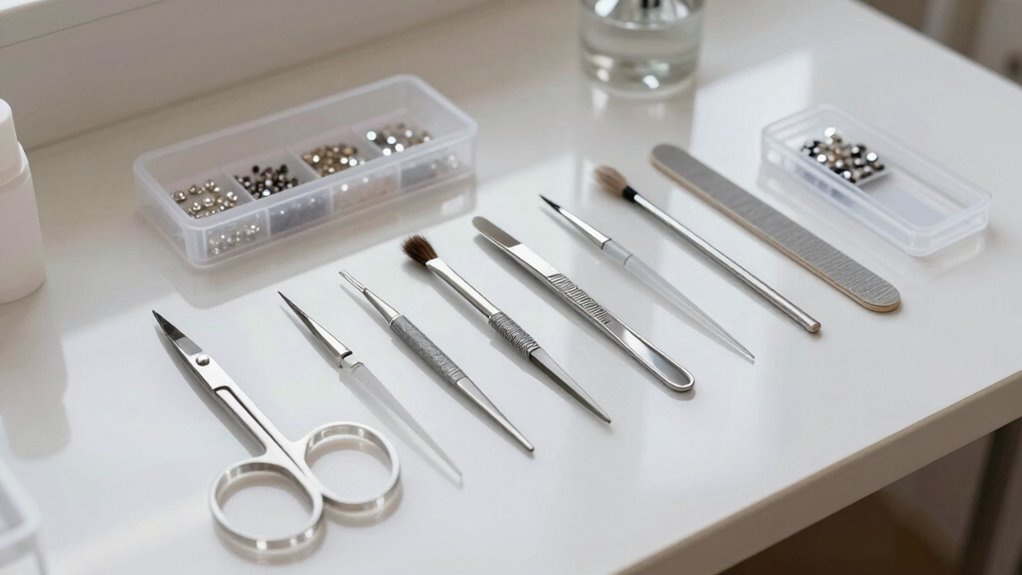
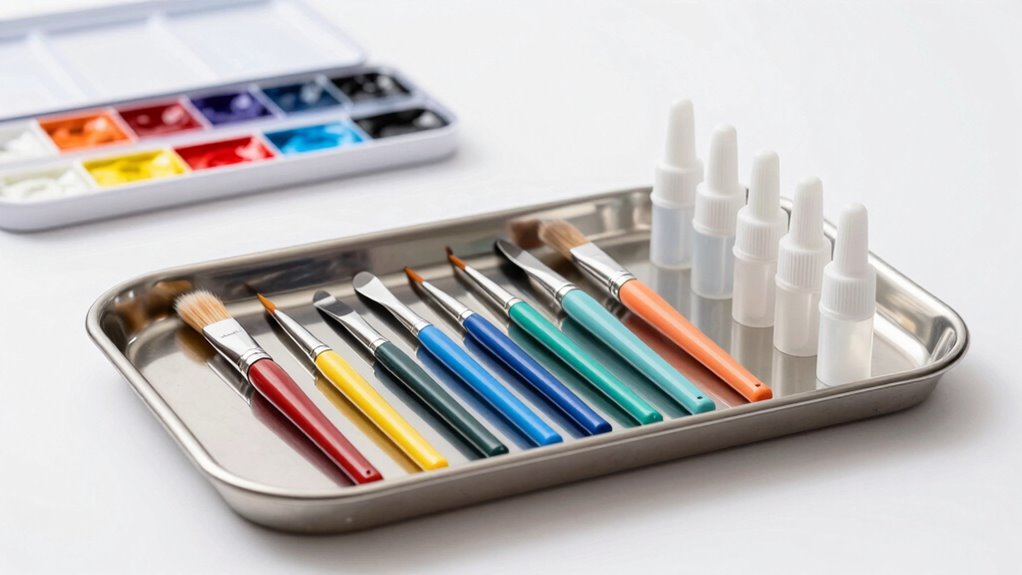
Efficient tool placement can greatly speed up your acrylic service workflow, helping you complete each job more smoothly and with less downtime. When you position your tools thoughtfully, you reduce the time spent searching for what you need and minimize unnecessary movements. Ergonomic positioning plays an essential role here; by arranging your tools within easy reach and at comfortable heights, you prevent fatigue and awkward postures that slow you down. Keep frequently used items like brushes, dappen dishes, and file bits close by, so you’re not constantly reaching across your workspace. This setup allows you to work more fluidly, maintaining a steady rhythm without interruptions. Incorporating ergonomic principles into your workspace design further enhances comfort and efficiency. Tool organization is equally important. When your workspace is clutter-free and tools are grouped logically, you save time and avoid confusion. Consider arranging your tools by function—have all your shaping tools together, followed by finishing and polishing supplies. Using containers or magnetic trays can keep small items like beads or bits neatly in place, preventing you from losing them or wasting time searching. Labeling storage containers can also streamline your process, especially if you work in a busy salon where multiple technicians share space. The goal is to create a system where every tool has its designated spot, so you instinctively know where to find what you need next. Your workstation layout should promote smooth progression from one step to the next. For example, position your acrylic monomer and powders on one side, your sculpting brushes in the middle, and your finishing files and buffers within easy reach. This flow minimizes unnecessary movement and helps you stay focused on your work. Adjust your chair and lighting so you’re comfortable and can see your work clearly without straining. Good posture and proper lighting not only reduce fatigue but also improve precision, leading to fewer mistakes and reworks. Practicing workspace ergonomics can further optimize your setup for comfort and speed. Additionally, incorporating organized storage strategies can prevent clutter and streamline your workflow. Regularly reevaluate your setup to identify any inefficiencies or obstacles, and don’t hesitate to implement small adjustments to enhance your efficiency. Small adjustments, like repositioning tools or reorganizing supplies, can make a significant difference in your speed and efficiency. Paying attention to workflow design can help you eliminate unnecessary steps and improve overall productivity. When tool placement aligns with ergonomic principles and organized storage, you create an environment that supports your skills and enhances productivity. This thoughtful approach to your workspace helps you deliver high-quality acrylic services faster, with less stress and greater consistency.
As an affiliate, we earn on qualifying purchases.
Frequently Asked Questions
How Do I Customize Tool Placement for Different Acrylic Designs?
You customize tool placement by organizing your tools based on each acrylic design. Start by evaluating your workspace layout to keep frequently used tools within easy reach. Use a dedicated tray or magnetic strip for essential items like brushes, files, and buffers. Adjust your setup for each project, ensuring your workspace minimizes movement. This strategic tool organization helps you work efficiently and reduces time spent searching for tools, streamlining your acrylic services.
What Tools Are Essential for Efficient Acrylic Application?
For efficient acrylic application, you need essential tools like a high-quality acrylic brush, a dappen dish for acrylic mixing, and nail polish removal pads. For example, using a precise acrylic brush speeds up application and ensures smooth finishes. Nail polish removal is vital for prepping nails. These tools streamline your workflow, reduce mess, and save time, making your process more professional and efficient from mixing to finishing.
How Often Should Tools Be Sanitized During a Session?
You should sanitize your tools regularly during a session, ideally after each client or whenever switching between products. This practice guarantees tool safety and prevents contamination, which is essential in acrylic services. Use appropriate disinfectants and follow manufacturer instructions. Consistent sanitization reduces the risk of infections and maintains a professional environment. By staying vigilant about contamination prevention, you keep both your clients and your workspace safe and hygienic throughout each session.
Can Tool Placement Vary Based on Salon Space Constraints?
Ever wonder if your salon layout affects tool placement? Absolutely. Your space constraints dictate how you organize tools, making efficiency essential. You can adapt your tool organization to fit the available area, whether it’s a compact or spacious salon. Proper placement can save time and reduce cross-contamination risks. So, consider your salon’s layout carefully—adjust your tool organization to optimize flow and guarantee smooth acrylic services, no matter the size.
What Ergonomic Tips Can Improve Comfort During Long Acrylic Sessions?
To improve comfort during long acrylic sessions, focus on posture improvement by sitting straight and keeping your shoulders relaxed. Incorporate hand stretching exercises regularly to reduce fatigue and prevent strain. Adjust your workspace so tools are within easy reach, minimizing unnecessary movement. Take short breaks to stretch your hands and back, and switch positions frequently. These ergonomic tips help you stay comfortable, reduce fatigue, and work efficiently throughout the session.
As an affiliate, we earn on qualifying purchases.
Conclusion
By strategically placing your tools, you turn your workspace into a well-oiled machine, where every motion flows seamlessly. This simple change can feel like revealing a hidden key to efficiency, freeing you from unnecessary delays. When your tools are within arm’s reach, you gain not just time, but confidence and peace of mind. Embrace these smart placements, and watch your acrylic services become smoother and more enjoyable—like a symphony where every note hits just right.
As an affiliate, we earn on qualifying purchases.
As an affiliate, we earn on qualifying purchases.
Halloween Picks
halloween
As an affiliate, we earn on qualifying purchases.