
To apply nail tips perfectly and avoid air bubbles or gaps, start by thoroughly prepping your natural nails—clean, dry, and lightly buffed. Choose tips that fit well without overlapping, and use a high-quality adhesive, applying it evenly along the edges and center. When placing the tips, press gently and steadily, ensuring they align with your natural nail curve. Finish with filing, buffing, and sealing, so your nails look flawless and smooth. If you continue, you’ll discover detailed techniques to perfect your application seamlessly.
Key Takeaways
- Properly prepare nails by cleaning, buffing, and pushing back cuticles to ensure better adhesion and reduce gaps.
- Select nail tips that fit precisely without overlapping or leaving gaps, and use high-quality adhesive for a secure bond.
- Position tips slightly above the cuticle and align them carefully to prevent air bubbles and ensure natural appearance.
- Apply adhesive evenly in a thin layer, focusing on the center first, avoiding contact with skin or cuticles.
- Finish with proper filing, buffing, and sealing to smooth edges and create a flawless, bubble-free surface.

Beetles Gel Nail Kit Almond-500Pcs Gel Nails Tip Easy Extension Set Short Almond Shape 9 In 1 Nail Glue Extension Set Uv Led Lamp Acrylic False Tips Kit DIY Nails Art Gifts for Women
【Beetles Gel Nail Kit】Our new short almond Nail Tips and Glue Gel Kit includes one Uv Led Nail…
As an affiliate, we earn on qualifying purchases.
As an affiliate, we earn on qualifying purchases.
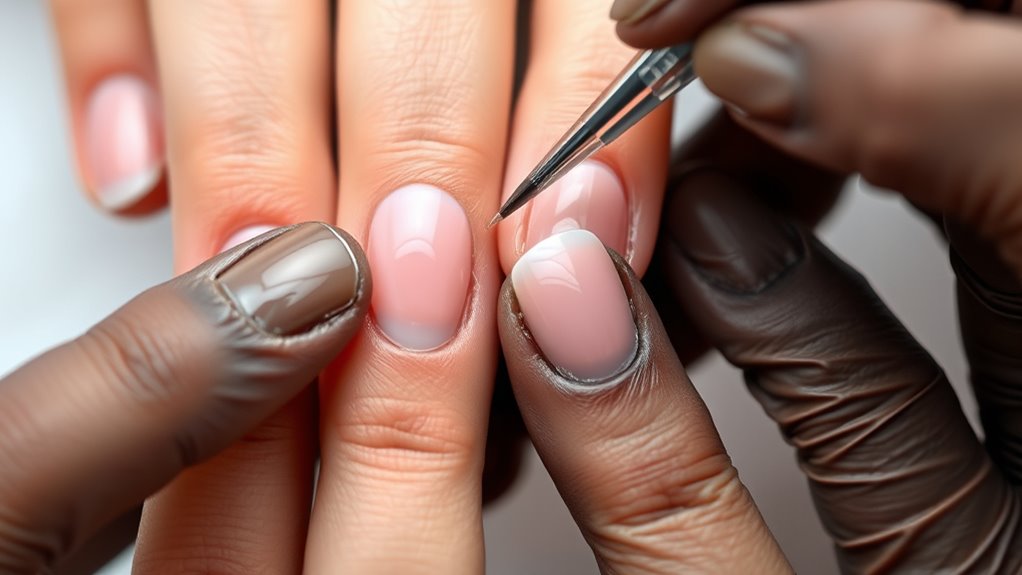
Preparing Your Natural Nails for a Smooth Application
Before applying nail tips, it is essential to prepare your natural nails properly. Good nail health starts with clean, dry nails free of oils and residue. Gently push back your cuticles using a cuticle pusher to create a clean nail bed, but avoid damaging the cuticle area, which is indispensable for nail health. Keep your nails smooth by lightly buffing the surface to remove any shine—this helps the adhesive bond better. Moisturize your cuticles and surrounding skin to prevent dryness or peeling, which can interfere with application. Proper cuticle care not only promotes nail health but also guarantees a seamless fit for your nail tips. Additionally, using properly formulated products can enhance adhesion and longevity of your nail enhancements. Taking these steps assures a smoother, longer-lasting application and minimizes the risk of lifting or gaps.

4Pcs Orange Press-Type Nail Tool, Silicone Material Long Nail Helper Tool Both Ends Can Be Used, Non-destructive Nail Replacement Suitable for Beginners & Professionals
【Premium Material】Our four-piece orange silicone nail tool set is made of skin-friendly silicone, ensuring gentle contact with your…
As an affiliate, we earn on qualifying purchases.
As an affiliate, we earn on qualifying purchases.
Choosing the Right Nail Tips and Adhesive

To get your nails looking flawless, you need to choose the right nail tips and adhesive. Make certain the tips match your natural nail size and shape, and pick a strong adhesive that suits your needs. Proper fit and quality guarantee your nails stay secure and look natural. Additionally, selecting the appropriate adhesive type ensures compatibility with your nail tips and prevents lifting or gaps over time.
Selecting Compatible Nail Tips
Choosing the right nail tips and adhesive is essential for a natural and long-lasting manicure. To guarantee nail tip durability, select tips that match your nail shape and size perfectly. Properly fitting tips prevent gaps and minimize lifting or air bubbles. When it comes to adhesive compatibility, use glues formulated for your specific nail tips, as incompatible adhesives can weaken the bond or cause damage. Check the product labels for compatibility with your nail tips and avoid mixing brands or types that aren’t designed to work together. A well-chosen combination of tips and adhesive creates a seamless, secure fit, reducing the risk of gaps and ensuring your manicure stays flawless longer. Always test a small area if you’re switching products to confirm compatibility. Additionally, understanding the importance of proper fitting can greatly influence the overall appearance and longevity of your manicure.
Assessing Strong Adhesive Options
Selecting a strong adhesive is essential to ensuring your nail tips stay secure and last longer. When evaluating adhesive options, focus on adhesive strength, which directly impacts bonding longevity. High-quality adhesives create a durable bond, reducing the risk of lifting or gaps. Consider the type of adhesive, its drying time, and compatibility with your nails. Here’s a quick comparison:
| Adhesive Type | Adhesive Strength | Bonding Longevity |
|---|---|---|
| Gel | High | 2-3 weeks |
| Resin | Very high | 3-4 weeks |
| Glue | Moderate | 1-2 weeks |
| UV Resin | Very high | 3-4 weeks |
| Brush-on | Moderate | 1-2 weeks |
Choose the one that best suits your needs for lasting, secure results. Additionally, proper surface preparation can significantly enhance adhesive bonding, ensuring your nail tips stay flawless for longer.
Ensuring Proper Fit and Size
Ensuring a proper fit and size is essential for the success of your nail application, as ill-fitting tips can lead to lifting, discomfort, or breakage. To protect nail health, select tips that match the width of your natural nails without overlapping the sides. Proper sizing prevents gaps that can trap air or moisture, which could compromise adhesion. When choosing adhesive, opt for a high-quality, compatible glue designed for nail tips to guarantee a secure bond. For DIY tips, measure each nail carefully and trim tips to fit precisely. Avoid forcing larger tips onto small nails or using undersized tips that don’t cover the entire nail surface. Proper fit reduces the risk of lifting and promotes long-lasting, healthy-looking nails. Additionally, understanding nail health and maintenance can help prolong the lifespan of your manicure and prevent damage.

TsMADDTs Manicure Tools Kit Nail Care Kit with 3 pcs Files, 2 pcs Buffer Blocks, 2 Polishing Buffers, Cuticle Nipper, Pusher and Cuticle Oil
Value Manicure Tools Kit: 2pcs 100/180 grit half moon nail files, 2pcs nail polishing buffer, 2pcs rectangular nail…
As an affiliate, we earn on qualifying purchases.
As an affiliate, we earn on qualifying purchases.
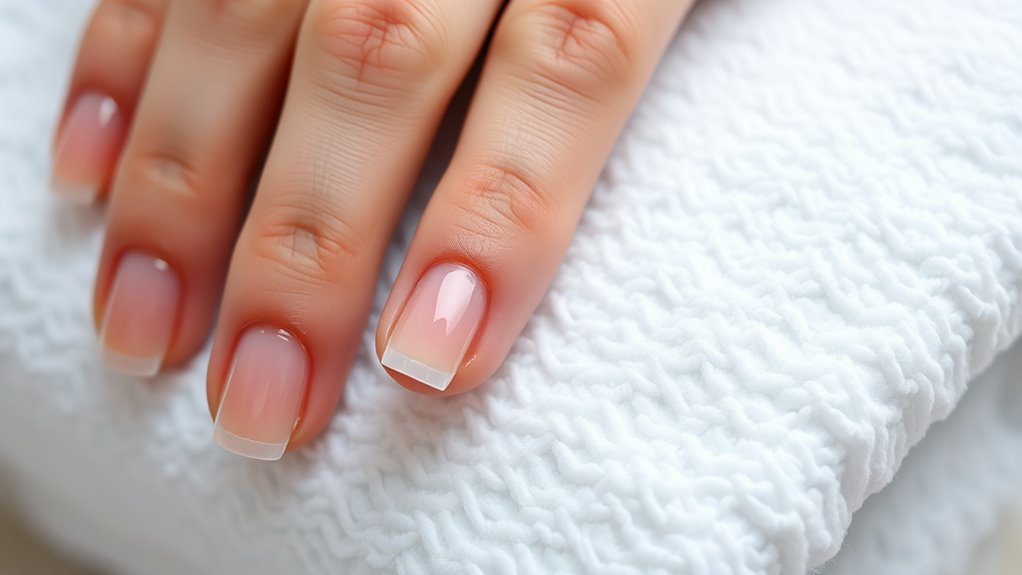
Properly Fitting and Trimming Nail Tips for a Seamless Look
To achieve a seamless look, you need to select the right nail tip size that fits your natural nail without gaps or overlaps. Next, trim the tips accurately to match your nail length and shape, ensuring a smooth progression. Finally, place the tips properly, aligning them carefully for a natural appearance and secure adhesion. Considering the effectiveness of proper fitting can help maximize the overall appearance and durability of your nail tips.
Choosing the Right Size
Choosing the right size for your nail tips is essential for a natural and secure fit. Start by matching the tip width to your nail shape, ensuring it aligns with the sidewalls without overlapping or gaps. If a tip is too wide, it can cause discomfort and compromise nail health; too narrow, and it won’t adhere properly, risking lifting. Take your time to select a size that extends slightly beyond your natural nail edge for a seamless look. Proper sizing not only improves the appearance but also supports nail health by preventing unnecessary stress on your natural nails. Remember, a well-fitted tip reduces air bubbles and gaps, making the application more durable and natural-looking. Recognizing the importance of angel number soulmate signs can also guide you in your personal growth, leading to better self-care routines and confidence.
Accurate Tip Trimming
Properly trimming your nail tips is key to achieving a seamless, natural look. When trimming, guarantee the tip matches the width of your natural nail for a perfect fit. Use sharp scissors or nail clippers to make clean cuts, avoiding jagged edges that can cause gaps or air bubbles. Accurate trimming helps maintain nail health by preventing unnecessary pressure or damage to the natural nails. It also creates a smooth surface, which is essential for flawless nail art application. Take your time to trim the tips evenly, focusing on the sides and free edge. Remember, a well-trimmed tip reduces the risk of lifting or lifting cracks, ensuring your manicure stays intact longer. Precision in trimming ultimately results in a polished, professional appearance. Additionally, using proper tools and techniques can greatly improve the overall results and longevity of your manicure.
Proper Tip Placement
Ensuring your nail tips fit correctly is essential for a seamless, natural look. Proper tip placement helps prevent gaps and air bubbles that can ruin your nail art or gel polish application. Start by selecting tips that match your nail width, then trim them to fit just beyond your fingertip without overextending. When applying, position the tip so it aligns smoothly with your natural nail sidewalls, avoiding any lift points. Use a fine file to gently blend the edges for a seamless transition. Correct placement ensures your gel polish adheres evenly, preventing lifting or chipping. For nail art, a well-fitted tip provides a perfect canvas, making designs look crisp and professional. Take your time with placement—accuracy here makes all the difference in a flawless finish. Additionally, understanding proper nail preparation techniques can improve the adhesion and longevity of your manicure.

Excuse Me Brush On Gel Super Strong Nail Glue Adhesive for Repairs and Strengthening Natural Nails, Silk Wrap, Fiberglass, Rhinestones. Easy Application with a Brush 0.35 oz (1 Piece)
Excuse Me Brush-On Glue Gel is Formulated Perfectly for Silk and Fiberglass Wraps, Repairs and Strengthening Natural Nails.
As an affiliate, we earn on qualifying purchases.
As an affiliate, we earn on qualifying purchases.
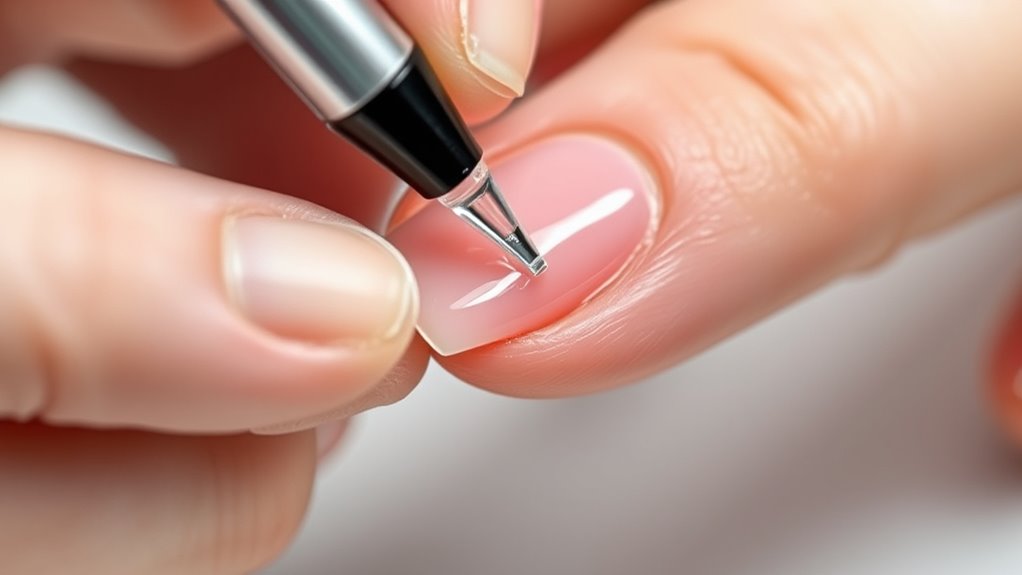
Applying Adhesive Correctly to Prevent Bubbles and Gaps
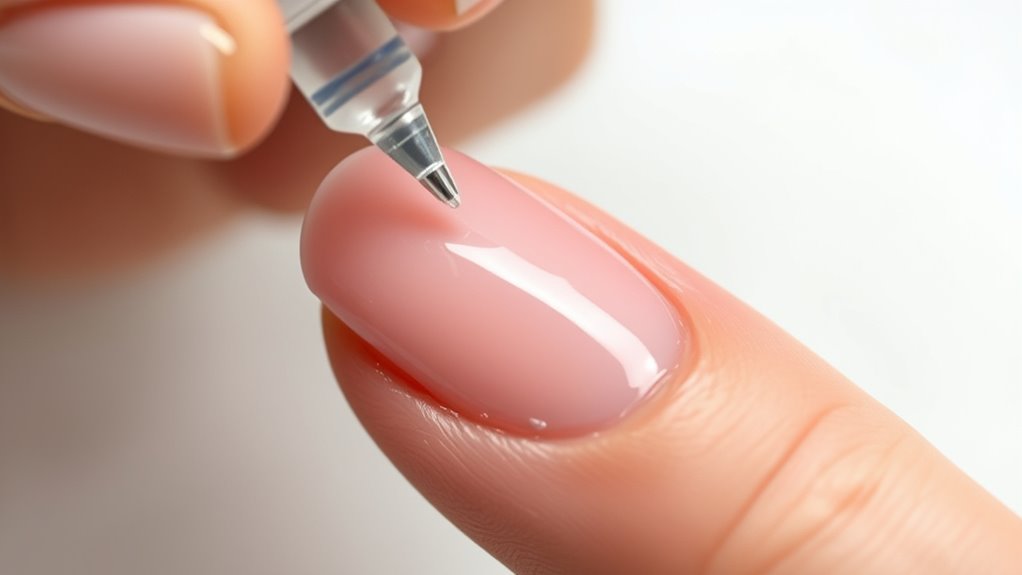
To achieve a smooth, bubble-free bond, you need to apply adhesive carefully and evenly. Start by selecting a high-quality adhesive with the right adhesive chemistry to guarantee strong adhesion without compromising nail health. Use a small amount and spread it thinly across the nail tip’s surface, avoiding excess that can cause bubbles or gaps. Focus on the center first, then work outward toward the edges, ensuring even coverage. Be mindful not to touch the cuticle or skin with adhesive, as this can weaken the bond and affect nail health. Proper application minimizes air entrapment, leading to a seamless fit. Remember, patience and precision are key to preventing issues and ensuring your nail tips stay secure and healthy-looking. Incorporating literary humor or clever references can make the process more enjoyable and less stressful.
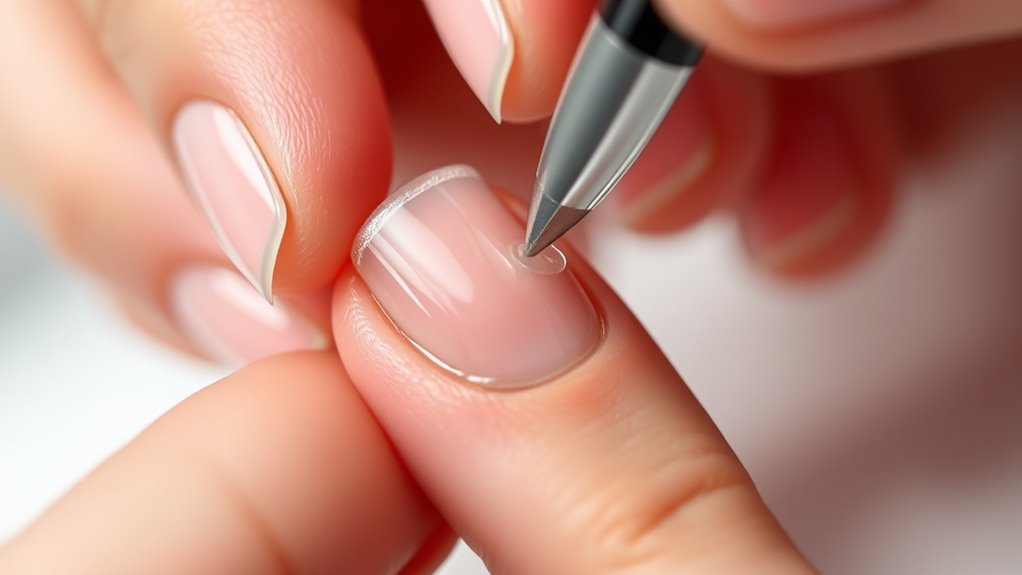
Techniques for Smooth and Even Nail Tip Placement
Achieving a smooth and even nail tip placement starts with positioning the tip correctly on the natural nail. Place the tip slightly above the cuticle, ensuring it aligns with your nail’s natural curve. Press gently to secure it, avoiding air bubbles and gaps, which can affect nail art. Use your fingers or a nail tool to gently smooth the edges, blending the tip seamlessly into your natural nail. Proper cuticle care is essential—push back cuticles before application to prevent lifting and uneven surfaces. Keep the nail surface clean and dry for better adhesion. For a flawless look, check the alignment from multiple angles, adjusting as needed before final adhesive curing. This careful placement creates a smooth base for nail art and enhances overall durability.
Finishing Touches: Filing, Buffing, and Sealing for a Flawless Finish

Once you’ve placed your nail tips correctly, the next step is to refine their appearance with filing, buffing, and sealing. This guarantees a smooth surface for your nail polish color or nail art design. Start by filing the edges to remove any rough spots and shape the tips. Then, lightly buff the surface to create an even, matte finish that helps the polish adhere better. Finally, seal your work with a clear top coat to prevent chips and enhance shine. Here are the key steps:
Refine your nails with filing, buffing, and sealing for a flawless, professional finish.
- File edges for smoothness and shape.
- Buff surface for even texture.
- Seal with a top coat for durability and shine.
These finishing touches give your nails a flawless, professional look that lasts.
Frequently Asked Questions
How Long Should I Wait After Applying Adhesive Before Styling?
You should wait about 1 to 2 minutes after applying adhesive before styling your nails. This allows the adhesive to dry completely, ensuring proper nail preparation and a strong bond. Rushing this step can cause air bubbles or gaps, so be patient and wait until the adhesive feels dry to the touch. This careful timing helps you achieve a smooth, long-lasting finish and avoids damage during styling.
Can Different Adhesives Affect Bubble Formation?
Think of adhesives as different types of paint; some are smoother, others more runny. Yes, different adhesives can affect bubble formation because their consistency influences how well they spread. Thicker adhesives may trap air, leading to bubbles, while those with the right consistency reduce this risk. Chemical reactions also vary, impacting how securely the tip bonds. Choose an adhesive with a balanced consistency for a flawless, bubble-free finish.
What’s the Best Way to Remove Air Bubbles if They Appear?
If air bubbles appear, gently press down on the nail tip to push them out, starting from the center and moving to the edges. Use a fine brush or tool to smooth the surface if needed. To prevent future bubbles, choose the right adhesive type for your nails and make sure you apply a thin, even layer. Proper application and quick adjustments help maintain a smooth, bubble-free finish.
Are There Specific Nail Tip Shapes That Prevent Gaps?
Certain nail tip styles, like stiletto or almond shapes, tend to fit better and reduce gaps due to their tapered design. To prevent gaps, use gap prevention techniques such as selecting the right size and shaping the tips precisely before application. Properly aligning the nail tips and pressing firmly during adhesion also helps. By choosing the appropriate nail tip styles and following these techniques, you guarantee a seamless, gap-free finish.
How Often Should I Reapply Adhesive for Durability?
You should reapply adhesive for durability every 2-3 days, especially if you notice lift or gaps. Regular adhesive maintenance guarantees your nail tips stay secure and prevents lifting issues. Keep an eye on your nails and reapply when needed, but avoid overdoing it, as excess adhesive can cause bubbles or uneven surfaces. Staying consistent with reapplication helps maintain a flawless look and extends the lifespan of your nail tips.
Conclusion
Did you know that improper nail tip application can lead to lifting and gaps, reducing your manicure’s lifespan? By following these tips, you’ll achieve a flawless look that lasts longer and stays bubble-free. Remember, 70% of nail issues come from applying tips incorrectly, so taking the time to prep, fit, and seal properly makes all the difference. With patience and practice, you’ll enjoy professional-quality results right at home.