To use stamping plates like a pro, start by choosing a quality plate and a soft silicone stamper. Apply a thick layer of pigmented polish to your chosen design, then quickly scrape off the excess with a scraper. Gently press your stamper onto the design to lift it, then carefully roll or press it onto your nail. Ensuring your nails are dry and clean helps. With patience and practice, you’ll improve each time—keep going to master the process.
Key Takeaways
- Apply thick, pigmented stamping polish generously onto the engraved design on the plate.
- Use a sturdy scraper to swiftly and evenly remove excess polish from the plate surface.
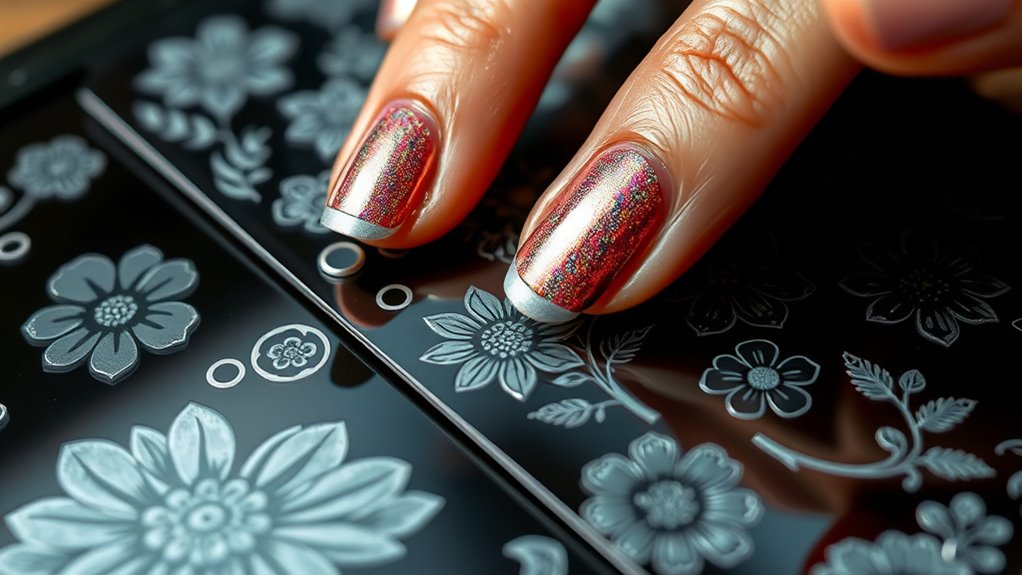
- Gently press the silicone stamper onto the design to pick it up, then lift carefully.
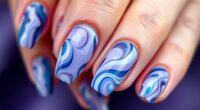
- Align and press the stamper onto your nail to transfer the pattern smoothly.
- Seal the design with a clear top coat for shine and durability.
Nail stamping is a fun and easy way to elevate your manicure game, even if you’re a beginner. With just a few simple techniques and the right tools, you can create complex, eye-catching designs in minutes. The key to mastering nail stamping lies in understanding the techniques involved and selecting the appropriate tools to achieve professional-looking results. Once you get the hang of it, you’ll wonder how you ever did nails without stamping.
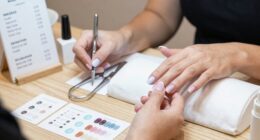
First, you’ll want to gather the essential tools. These include a stamping plate, which features engraved designs, a silicone stamper, a scraper, nail polish (preferably thick, pigmented polish designed for stamping), and a top coat. Having quality tools can make all the difference, especially when you’re starting out. Choose a silicone stamper with a soft, pliable head to pick up the designs smoothly and a scraper that feels sturdy enough to glide evenly across the plate without scratching it. The stamping plates come in a variety of patterns, so pick designs that inspire you and suit your style.
Mastering the techniques involves a few simple steps. First, apply a generous amount of stamping polish onto your chosen design on the plate. Use the scraper to quickly and evenly swipe across the plate, removing excess polish while leaving the design coated in a thin layer. Then, press the silicone stamper onto the design, rolling or pressing gently to pick up the pattern. Don’t press too hard; a gentle touch ensures a clean transfer without smudges. Lift the stamper carefully, making sure the design is transferred accurately. Before stamping onto your nail, make sure your base coat is dry and your nails are prepped with a base color if desired.
Apply stamping polish, swipe with a scraper, then gently press the stamper to transfer the design accurately.
Position the stamper over your nail and gently press down to transfer the design. Roll or press to ensure the pattern adheres smoothly. Lift the stamper away carefully; if the design didn’t transfer correctly, clean the plate and try again. Once you’re satisfied with the pattern on your nail, finish with a clear top coat to seal the design and add shine. This step also helps to smooth out any unevenness and prolong the manicure’s lifespan. Practicing these techniques with the right tools will boost your confidence and improve your results.
Additionally, understanding Gold IRA Rollovers can be beneficial if you’re considering diversifying your investment portfolio for long-term security. Experiment with different designs and colors, and soon you’ll be creating professional-looking nail art with ease. Nail stamping is a versatile, fun craft that allows you to customize your nails effortlessly—just remember to be patient, keep your tools clean, and enjoy the process of transforming your nails into works of art.
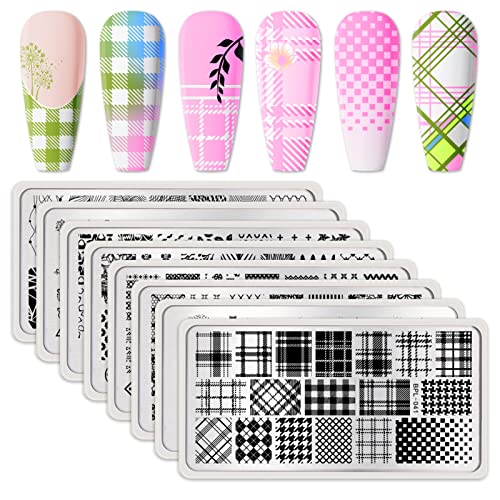
Born Pretty Nail Stamping Plates Set Plaid Flowers Leaves Lace Nail Art Image Plates Spring into Winter Stamp Templates Kit Image Manicuring DIY Printing Tools 8PCS
PACKAGE CONTENTS:8Pcs stamping plates,plaid lace flower leaves snowflake Christmas patterns.
As an affiliate, we earn on qualifying purchases.
As an affiliate, we earn on qualifying purchases.
Frequently Asked Questions
Can Nail Stamping Be Done on Gel or Acrylic Nails?
Yes, you can do nail stamping on gel or acrylic nails. Just verify gel compatibility by fully curing your gel nails before stamping, and use a good top coat afterward to protect your design. Acrylic durability makes stamping possible, but wait until your acrylic nails are fully dry and set. With proper preparation, stamping looks fantastic on both gel and acrylic nails, giving you long-lasting, eye-catching designs.
How Do I Remove Excess Nail Polish From the Stamping Plate?
Oh, the joy of removing excess nail polish from your stamping plate—because who doesn’t love a little clean-up? To keep your stamping plate in top shape, use gentle cleaning techniques like acetone or alcohol wipes. Avoid harsh scrubbing that could damage the design. Proper stamping plate maintenance guarantees crisp images every time. So, clean carefully, and your designs will stay stunning without the fuss!
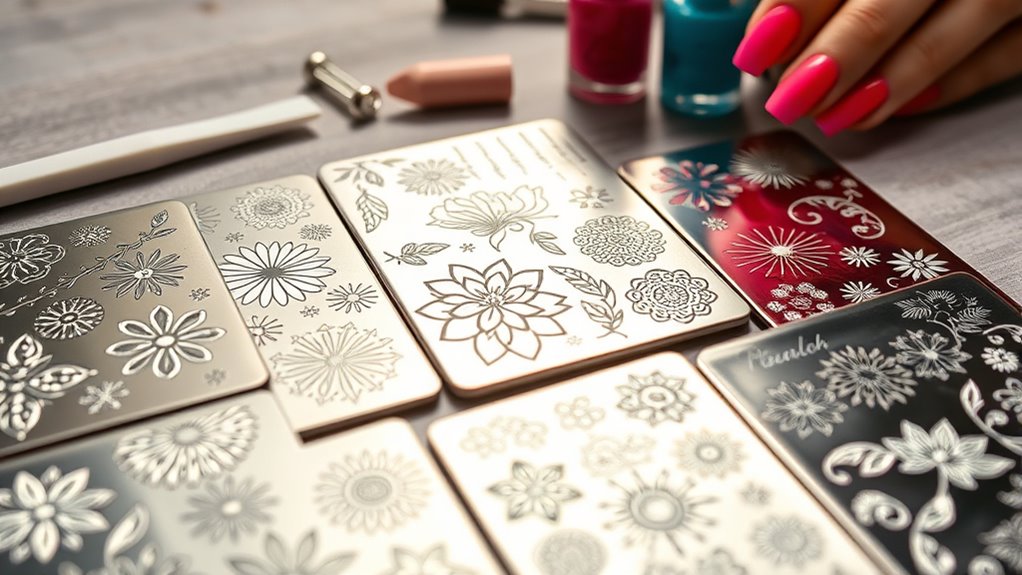
What Are the Best Types of Stamping Plates for Beginners?
When choosing stamping plates for beginners, look for plates made from durable materials like stainless steel, which resist wear and make cleaning easier. Start with plates that feature simple, clear design patterns to help you practice and build confidence. Avoid overly intricate designs initially, as they can be more challenging. Good quality plates with varied patterns will help you experiment and improve your stamping skills quickly.
How Long Does Nail Stamping Design Last Without Chipping?
Your nail stamping design can last longer than a lifetime if you focus on nail longevity and chip resistance. Typically, a well-applied design stays pristine for about a week or more without chipping. To maximize this, use a high-quality top coat, avoid harsh chemicals, and handle your nails with care. Proper prep and sealing can make your stamped nails stay flawless, keeping your stunning design looking fresh and vibrant for days on end.
Can Nail Stamping Be Done on Toenails?
Yes, you can definitely do toenail art techniques like toe nail stamping. It’s a fun way to add intricate designs to your toenails, especially for special occasions or just to spice up your look. Just make sure your toenails are clean and dry, then follow the same steps as fingernail stamping. Use a good-quality stamping plate and polish, and you’ll achieve beautiful, long-lasting toe nail stamping designs.

Beetles Nail Stamp 3Pcs Silicone French Tip Nail Stamp Kit with Replacement Nail Stamper Heads and Scrapers Soft Silicone Nail Printing Tool for Home Manicure Diy Nail Art Salon Gifts for Girls
Beetles Stamp Gel: This stamp gel set, includes a 3.7cm clear short stamper, a 2.7cm clear cylindrical stamper,…
As an affiliate, we earn on qualifying purchases.
As an affiliate, we earn on qualifying purchases.
Conclusion
So, after all that stamping, you’d think you’d be a pro, right? But hey, even the best nail artists mess up sometimes—just like life! Don’t worry if your designs aren’t perfect every time; it’s all part of the fun. Keep practicing, stay patient, and remember, even the most flawless nails started as messy stamps. Irony? The more you try to perfect your craft, the more beautiful those imperfectly perfect nails become.
nail stamping scraper
As an affiliate, we earn on qualifying purchases.
As an affiliate, we earn on qualifying purchases.

Born Pretty Nail Stamping Polish, Fingernail Stamp Polish Set Manicure Print Nail Polish for Plates 12 Colors Bulk Gift Collection 10ml 0.34fl oz Ideal Gifts
12 COLORS FOR YOU-There are 12 colors for you to choose from and design your best nail art…
As an affiliate, we earn on qualifying purchases.
As an affiliate, we earn on qualifying purchases.