
To do a seamless rebalance of grown-out nails, start by cleaning and buffing your natural nails to remove shine and make certain good adhesion. Carefully fill in the gap using small amounts of product, blending it smoothly with the existing enhancement for a natural look. Properly cure each layer and finish with a top coat for shine. Paying attention to shaping and smooth progressions helps nails look fresh and uniform—keep exploring these tips to perfect your technique.
Key Takeaways
- Properly clean, buff, and prime nails to ensure smooth, adhesive bonding between old and new product.
- Carefully fill gaps and blend the new product with existing enhancements for a seamless transition.
- Use color correction to hide imperfections and achieve a uniform, natural look.
- Cure each layer thoroughly under UV/LED light to enhance durability and prevent lifting.
- Shape, buff, and apply a top coat for a polished finish and long-lasting, seamless rebalance.
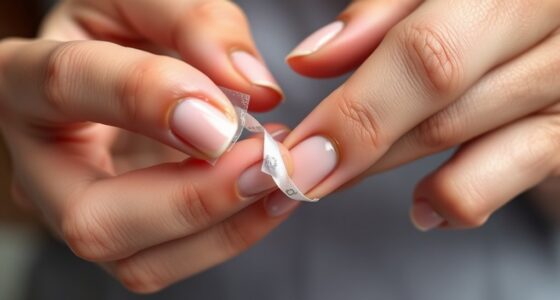
If your gel or acrylic nails have grown out and you’re tired of visible gaps, filling them in is a quick and cost-effective solution. Not only does this process give your nails a fresh look, but it also helps maintain nail health by avoiding the need for complete removal and reapplication, which can weaken your natural nails over time. Before you start, it’s essential to evaluate the overall condition of your nails. If they’re brittle or damaged, it’s best to give them time to recover before attempting a fill. Proper preparation and technique are key to achieving a seamless rebalance that looks natural and lasts.
Filling grown-out gel or acrylic nails maintains a natural look and supports healthy nails over time.
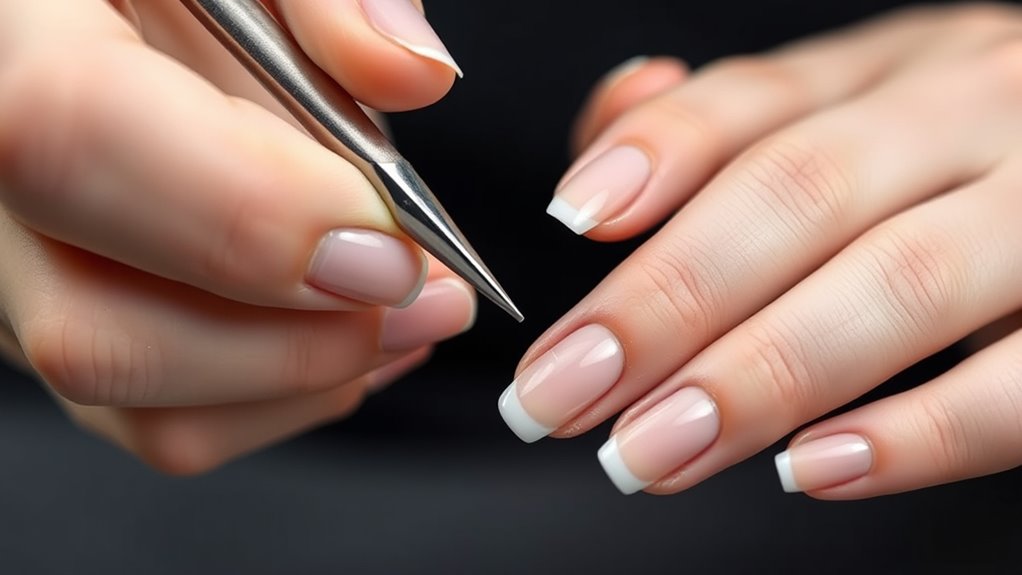
Begin by cleaning your nails thoroughly to remove any oils, dirt, or residual product. Use a gentle nail cleanser or alcohol wipe to ensure the surface is clean. This step is vital for good adhesion and overall nail health. Next, gently buff the surface of your existing nails to remove the shine, which will help the new product bond better. Be careful not to over-buff, as this can weaken the natural nail. Once prepped, apply a primer or bond agent if recommended by your technician, as it enhances adhesion and prolongs the lifespan of your fill.
When applying the new acrylic or gel, focus on blending the new product with the old. Use a small brush or applicator to carefully fill in the gaps, feathering the product into the existing enhancement. This technique ensures a smooth transition and minimizes the appearance of lines or ridges. If your nails have any discoloration or staining, color correction may be necessary. Use a neutral or matching shade to hide imperfections and create a uniform look. For gel nails, curing each layer properly under a UV or LED lamp is essential to prevent lifting and guarantee durability. Additionally, understanding nail health is crucial to avoid damage during the filling process.
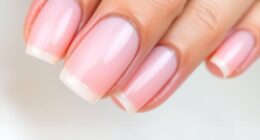
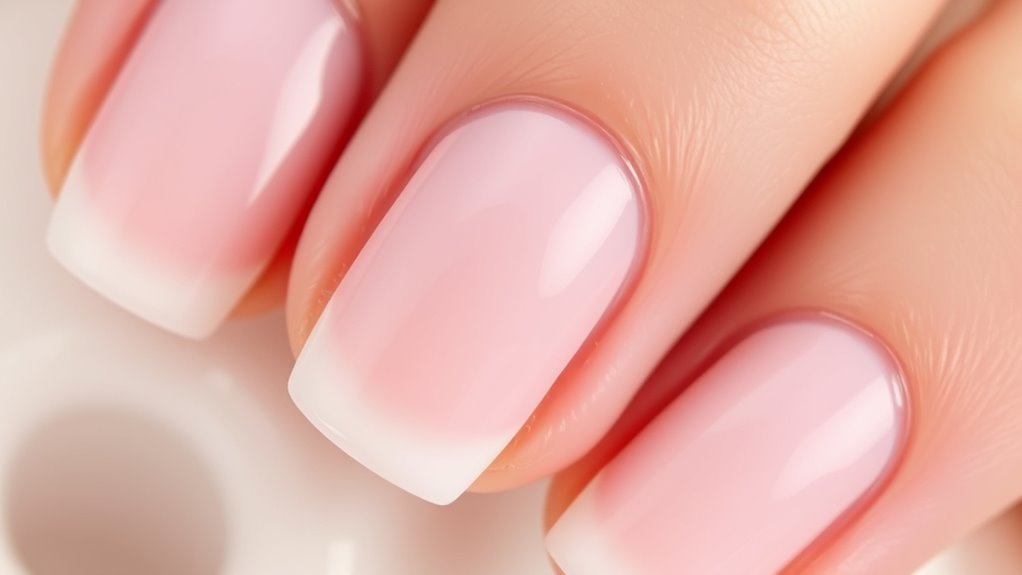
Pay close attention to the shape and length of your nails during this process, shaping them to your desired style. Once the fill is complete, gently file and buff the surface to smooth out any uneven spots. Finish with a high-quality top coat to add shine and further protect your nails. Regular maintenance, including proper nail care and hydration, will help you keep your nails healthy and looking their best. Remember, if you notice persistent issues like splitting, peeling, or pain, consult a professional to evaluate your nail health and prevent further damage. Filling grown-out nails isn’t just about aesthetics; it’s about caring for your nails and making certain they stay healthy, strong, and beautiful.
Frequently Asked Questions
How Often Should I Schedule a Nail Rebalance?
You should schedule a nail rebalance every 2 to 3 weeks as part of your maintenance schedule. Regular rebalances help keep your nails looking seamless and support nail health by preventing damage from overgrown or weak nails. Staying consistent with appointments guarantees your nails stay strong and beautiful, and it also allows your technician to address any issues early. Adjust the frequency based on your nail growth and personal needs.
What Products Are Best for a Seamless Finish?
Did you know that 85% of nail technicians recommend gel polish for a flawless finish? For a seamless look, use high-quality gel polish paired with cuticle oil to keep nails healthy and smooth. The gel polish provides durability and shine, while cuticle oil nourishes your skin around the nails. Together, these products guarantee your rebalance appears natural, polished, and long-lasting, giving you a professional finish every time.
Can I Do a Rebalance at Home?
You can definitely attempt a rebalance at home, but it requires some DIY tips to get a professional look. Make sure to prep your nails properly, use quality products, and follow precise application steps. However, for the best results, especially if you’re new, consider professional services. They ensure a seamless finish, minimize damage, and save you time and effort. If you choose DIY, research thoroughly and proceed with caution.
How Long Does a Typical Rebalance Appointment Take?
A typical rebalance appointment usually takes about 45 minutes to an hour. During this time, you’ll have your gel polish removed, nail tips inspected, and any damaged nails repaired. You’ll also get a fresh layer of gel polish applied for a seamless look. The process is quick if you keep your nails in good condition, making it convenient to fit into your schedule.
Are There Any Risks Associated With Rebalance Procedures?
When considering a rebalance, you should be aware of potential risks like liability concerns and product safety issues. If the technician doesn’t follow proper procedures or uses subpar products, you could experience infections, damage, or allergies. To minimize risks, choose a reputable salon, ensure they use safe, quality products, and ask about their sterilization protocols. Staying informed helps protect you and guarantees a seamless, safe process.
Conclusion
Now that you know how to do a seamless rebalance, you can keep your nails looking flawless like a perfectly painted canvas. Remember, regular fills prevent gaps from forming, much like a well-tended garden stays lush and vibrant. With a little practice, you’ll blend your grown-out nails smoothly, creating a finish as seamless as a glass mirror. Keep your nails healthy and beautiful, and enjoy that polished, salon-quality look anytime you want.