To create stunning matte and glossy combo nail art, start by choosing complementary or contrasting colors for each finish. Use tape or stencils to section off areas precisely, then apply your base colors. For sharp lines and clean progressions , stick to steady hands and quick tape removal before polish dries. Seal the design with a clear top coat, emphasizing areas with gloss or matte finish. Keep practicing these techniques for flawless, stylish results. More tips await!
Key Takeaways
- Use tape or stencils to create clean, sharp divisions between matte and glossy sections.
- Apply the base finish first, then layer the contrasting finish on specific areas for precision.
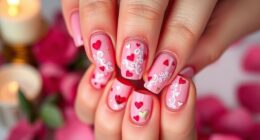
- Incorporate textured techniques like stamping or 3D accents with different finishes for added depth.
- Seal the design with a clear top coat to protect transitions and enhance durability.
- Practice controlled brush strokes and steady hand techniques to ensure clean, crisp lines between finishes.
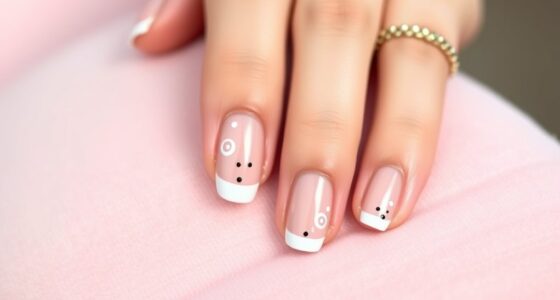
Choosing the Right Colors and Finishes for Your Design
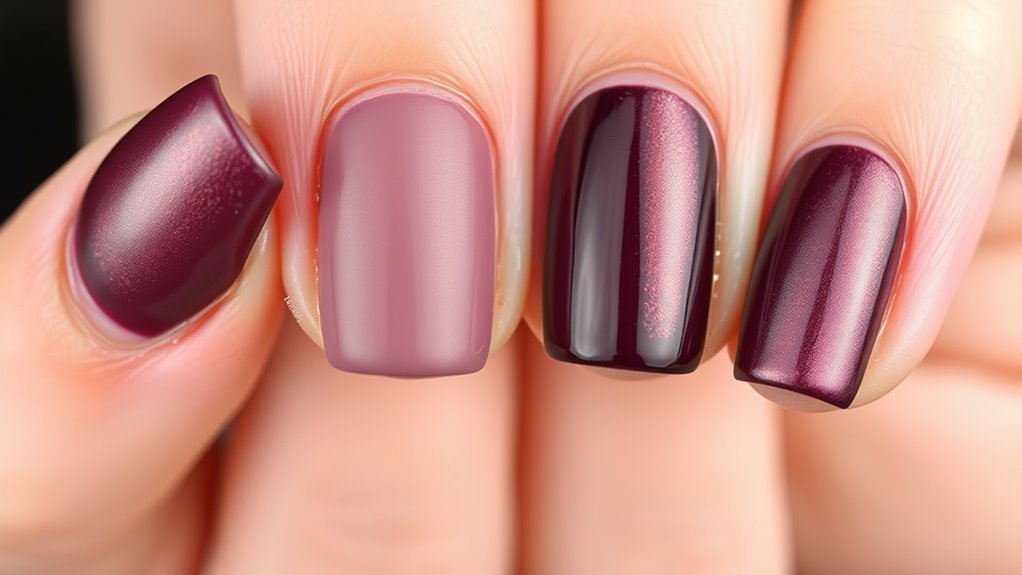
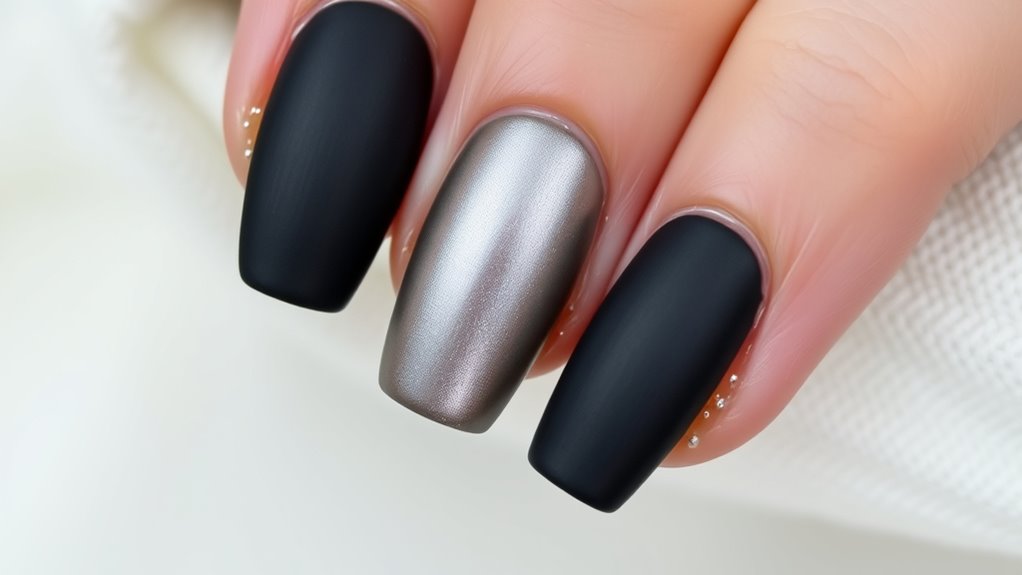
Choosing the right colors and finishes is essential to creating a nail art design that truly stands out. To achieve this, focus on smart color pairing—complementary or contrasting shades can make your design pop. For example, pairing a deep navy with a soft pastel creates a striking contrast, while matching shades in the same color family offer a more cohesive look. Finish contrast plays a key role too; combining matte and glossy finishes adds depth and visual interest. When selecting colors, consider the overall vibe you want—bold and vibrant or subtle and sophisticated. Additionally, understanding finishes and textures can help you better plan your manicure and enhance your overall style. By carefully balancing your color choices and finish contrasts, you guarantee your nail art looks intentional, stylish, and eye-catching. This foundation sets the stage for a stunning, dynamic manicure.
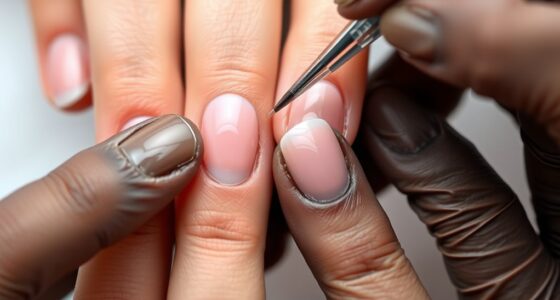
Preparing Your Nails for a Smooth Matte and Glossy Finish
To achieve a flawless matte or glossy finish, you need to start with properly prepared nails. Nail preparation involves cleaning and shaping your nails to ensure a smooth surface. Begin by removing any old polish, oils, or residue using a gentle nail cleanser or acetone. File your nails to your desired shape, smoothing out rough edges. Surface smoothing is essential; gently buff the nail surface to eliminate ridges or bumps that could affect the finish. Be careful not to over-buff, as this can weaken your nails. Proper nail preparation allows the polish to adhere evenly and helps prevent chipping or uneven texture. Taking the time for proper nail preparation sets the foundation for a sleek, professional-looking matte and glossy combo manicure.
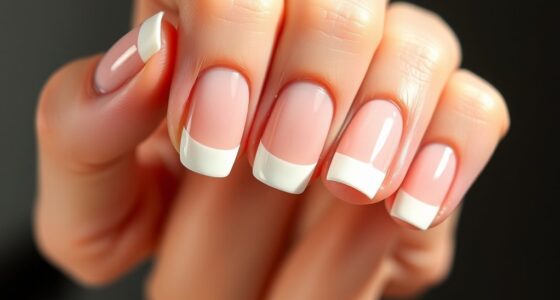
Techniques for Creating Sharp Lines and Clean Transitions

To achieve sharp lines and clean progressions, using tape for precision can make a big difference. Keep your hand steady and focus on controlled movements to prevent smudges. Applying layered top coats helps define edges and smooth out any imperfections for a polished look. Additionally, selecting furniture pieces that complement the overall design can enhance the aesthetic harmony of your space.
Tape for Precision
Using tape is one of the most effective ways to achieve sharp lines and clean shifts in nail art. Nail tape provides precise control, making it easier to create crisp boundaries between matte and glossy finishes. When using tape, guarantee your base coat is fully dry before applying; this prevents smudging or lifting. For best results, consider stenciling techniques with nail tape, which allow for detailed designs and intricate color blocks. Additionally, choosing the right projector technology can impact how accurately colors are displayed, which is important when creating precise nail art designs.
- Choose high-quality nail tape for clean removal
- Use tweezers for precise placement
- Press tape firmly to prevent seepage
- Remove tape immediately after applying topcoat
- Experiment with different widths for varied effects
Steady Hand Technique
Maintaining a steady hand is essential for creating sharp lines and seamless shifts in nail art. Your brush control directly impacts the precision of your design, so focus on keeping your hand stable. Rest your pinky or palm on a flat surface to minimize tremors, and use small, controlled strokes for accuracy. Practice makes perfect—try slow, deliberate movements to build confidence. To enhance your steady hand, breathe steadily and avoid rushing. Here’s a quick guide:
| Tip | Benefit |
|---|---|
| Rest your hand | Improves stability |
| Use small strokes | Increases precision |
| Keep a steady breath | Reduces shaking during work |
| Practice regularly | Builds muscle memory |
Mastering brush control ensures clean, sharp lines and flawless transitions.
Layered Top Coats
Layered top coats are a powerful technique for achieving sharp lines and smooth shifts in nail art. By applying multiple layers of clear or semi-opaque top coats, you can refine your design’s edges and create seamless transitions between matte and glossy finishes. This method enhances your nail textures techniques, adding depth and dimension. To master this, guarantee each layer is fully dry before applying the next, preventing smudges or uneven surfaces. Use fine brushes or striping tape to carefully control the placement of each coat. Incorporate subtle color variations or textures within layers for a sophisticated effect. Proper drying times and finishing techniques are essential to ensure a polished, professional look.
Using Tape and Stencils to Achieve Precise Separations
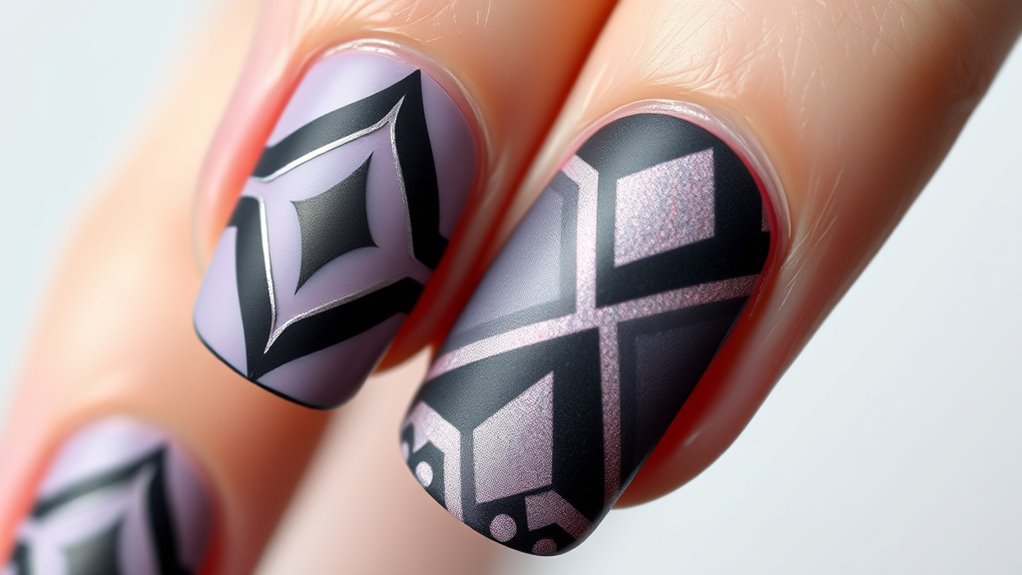
To achieve clean, sharp lines and well-defined color separations in your nail art, tape and stencils are essential tools. Proper tape application helps create crisp edges, while stencil design allows for intricate patterns and precise shapes. Start by selecting the right tape type, such as striping or painter’s tape, and carefully place it on your nails for straight lines or geometric shapes. For stencil design, position your stencil firmly on the nail, ensuring no gaps. Use a small brush or sponge to apply matte or glossy polish within the stencil, then carefully remove it before the polish dries. Here’s a quick guide to help you choose and apply tools:
| Tool Type | Purpose |
|---|---|
| Masking Tape | Sharp, clean lines |
| Washi Tape | Creative color blocking |
| Stencil | Intricate patterns |
| Tape Application | Ensures even edges |
| Stencil Design | Adds detailed patterns |
Applying Top Coats to Enhance and Seal Matte and Glossy Areas

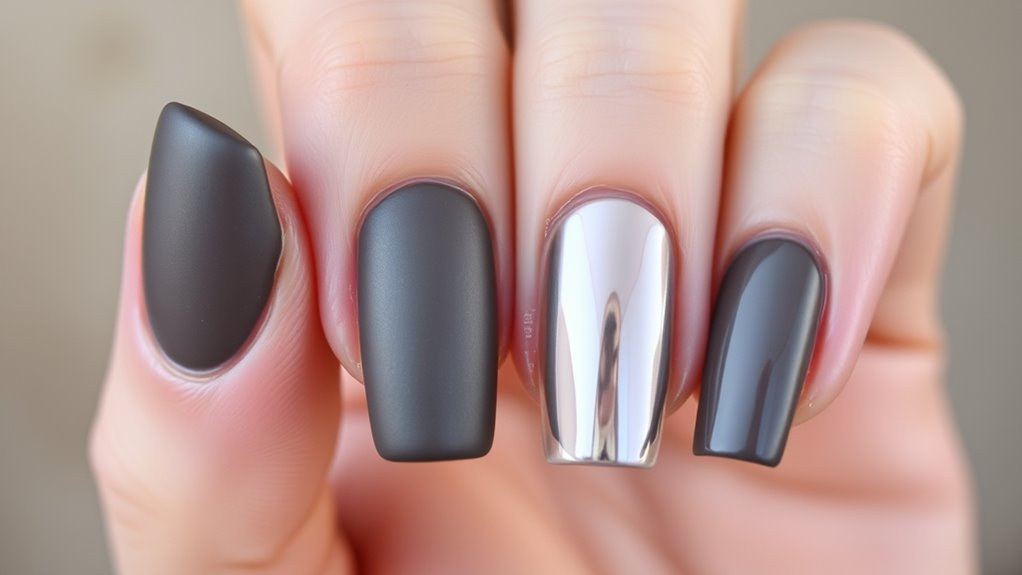
Applying a top coat is essential for both enhancing the appearance and protecting your nail art. It seals the design, ensuring the matte texture and glossy shine last longer. To achieve a professional finish, consider these tips:
- Use a high-gloss top coat over glossy areas for extra shine.
- Apply a matte top coat over matte sections to deepen the texture.
- Avoid overloading the brush to prevent uneven surfaces.
- Seal the edges to prevent chipping and extend durability.
- Choose quick-dry formulas for a seamless, polished look.
- Incorporating proper sealing techniques can further improve the longevity and appearance of your manicure.
A well-applied top coat not only enhances the contrast between matte and glossy finishes but also adds a layer of protection against everyday wear. Proper sealing guarantees your manicure remains vibrant and flawless longer.
Tips for Maintaining and Extending the Life of Your Manicure
To keep your manicure looking fresh, focus on proper nail care by moisturizing your cuticles and avoiding harsh chemicals. Applying a protective top coat regularly helps seal in your design and prevents chipping. These simple steps can markedly extend the life of your nails and keep them looking salon-quality longer. Additionally, using quality nail polishes designed for durability can further enhance the longevity of your manicure.
Proper Nail Care
Ever wonder how to keep your manicure looking fresh longer? Proper nail care is essential for maintaining nail health and extending your manicure’s lifespan. Focus on gentle cuticle care by moisturizing regularly and avoiding aggressive pushing or cutting. Protect your nails from harsh chemicals and water, which can weaken the polish. Use gloves when doing household chores to prevent damage. Keep nails hydrated with cuticle oils or creams to prevent dryness and peeling. Regularly file nails to maintain shape and avoid snagging. Avoid using your nails as tools, which can cause chips or breaks. Finally, schedule regular touch-ups or visits to your manicurist to keep your nails in top condition. Incorporating nourishing cuticle oils or creams can also promote healthier nail growth and prevent dryness.
Protective Top Coats
A well-maintained manicure doesn’t just depend on proper nail care but also on protecting your polish from chipping and fading. Applying a protective top coat is essential for enhancing nail longevity. Choose a quality, clear top coat designed to seal in your design and add a glossy or matte finish, depending on your look. Reapply the top coat every couple of days to maintain the shine and prevent chips. Avoid aggressive activities that can damage your nails, and always wait a few minutes after applying the top coat before using your hands. Proper sealing with a protective top coat not only extends the lifespan of your manicure but also keeps your nails looking fresh and vibrant longer. Additionally, selecting a vetted product like Perfect Fit Living can ensure you get a durable and reliable top coat for your manicure.
Frequently Asked Questions
How Long Does a Matte and Glossy Combo Manicure Typically Last?
A matte and glossy combo manicure typically lasts about 1 to 2 weeks, depending on your wear time and how well you care for your nails. Durability varies with factors like daily activities and nail prep. To extend its lifespan, avoid harsh chemicals and wear gloves during chores. Proper top coat application also helps maintain both finishes longer, ensuring your stylish manicure stays fresh and vibrant.
Can I Create Matte and Glossy Effects at Home Easily?
Did you know that 60% of people try DIY nail art at home? You can definitely create matte and glossy effects easily with simple DIY techniques. Use a matte top coat over sections of your nails and leave others glossy. Product recommendations like Seche Vite or OPI Matte Top Coat make it simple. Just take your time, experiment with different techniques, and you’ll achieve professional-looking results right at home!
Are There Specific Brands Best Suited for Matte and Glossy Finishes?
You should consider brand recommendations like OPI, Essie, and Sally Hansen for matte and glossy finishes, as they offer reliable, high-quality options. These brands provide finish comparisons that help you choose the right product for your desired look. OPI’s gels often give a long-lasting glossy shine, while Essie’s matte polishes are smooth and velvety. Sally Hansen offers affordable, versatile options perfect for mixing effects at home.
Is It Safe to Use Tape or Stencils on Sensitive Skin?
Yes, you can use tape or stencils on sensitive skin, but you should proceed with caution. If you have skin sensitivity or allergy concerns, test a small area first to verify no reaction occurs. Use gentle, skin-safe products and avoid adhesives with harsh chemicals. Always remove tape or stencils carefully to prevent irritation. If unsure, consult a dermatologist to ensure your skin’s safety during nail art application.
How Can I Fix Mistakes or Smudges During the Design Process?
If you make a mistake or smudge during your design, don’t worry. Use quick fix techniques like a small brush dipped in remover to clean up edges or correct smudges. To prevent future issues, follow smudge prevention tips like working in small sections and letting each layer dry thoroughly. If needed, gently buff out smudges with a fine buffer and reapply polish carefully for a flawless finish.
Conclusion
By choosing the right colors and finishes, preparing your nails properly, mastering precise techniques, and using tools like tape and stencils, you can create stunning matte and glossy nail art. Applying top coats seals and enhances your design, while maintaining your manicure guarantees its longevity. With patience and practice, you’ll elevate your nail game, impress with your creativity, and enjoy beautiful, eye-catching results every time. Master these steps, and let your nails speak your style.