To create simple yet impressive freehand nail art, start with basic techniques like mastering steady brush control and practicing simple strokes such as dots or thin lines. Focus on layering colors and outlining designs to add depth, while keeping brushes clean to guarantee crisp lines. Gradually experiment with blending shades and building designs step-by-step. As you improve your skills and confidence, more intricate ideas become possible—keep exploring, and you’ll open authentic nail art mastery.
Key Takeaways
- Start with simple designs like dots, lines, and basic shapes using fine brushes for control.
- Practice steady hand techniques by resting your hand on a stable surface to improve precision.
- Use layering: apply base colors first, let dry, then add outlines or details for depth.
- Blend colors seamlessly by working quickly while polish is wet, using small amounts for smooth gradients.
- Keep tools clean and practice regularly to develop confidence and a unique freehand style.
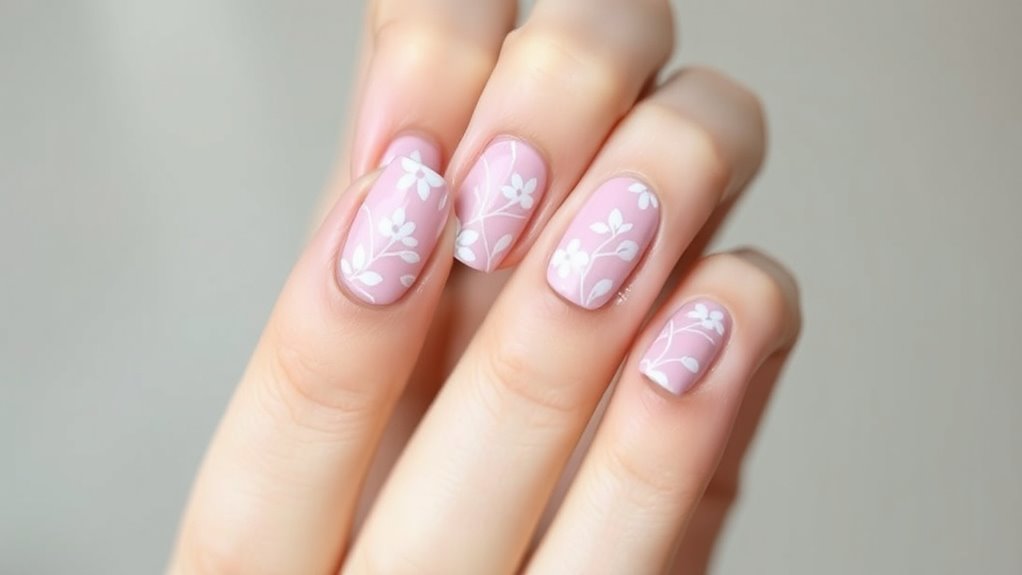
If you’re new to nail art, freehand designs might seem intimidating at first, but with some patience and practice, they can become a fun way to express your creativity. One of the most important skills to develop is mastering brush techniques. Using the right brush, whether a fine detail brush or a flat shader, allows you to create clean lines and intricate patterns. Start by practicing simple strokes—thin lines, dots, and basic shapes—on a piece of paper or a nail art palette. This helps you get comfortable controlling your brush and applying the right amount of pressure. As you improve, you’ll find it easier to execute more complex designs directly on your nails.
Mastering brush techniques and practicing simple strokes unlocks endless freehand nail art possibilities.
Color blending is another essential aspect of freehand nail art, especially when you want to achieve smooth transitions or gradient effects. To blend colors seamlessly, start with a small amount of polish on your brush, and work quickly while the polish is still wet. For a soft gradient, apply two or three shades next to each other on your nail, then use a clean, slightly damp brush to gently combine the colors in a sweeping motion. This technique creates a seamless transition that looks professional and eye-catching. Practice blending on a plastic sheet or nail swatch before committing to your nails, so you can refine your technique without the pressure of working directly on your fingertips.
When working on your nails, keep your brushes clean and well-maintained. This prevents colors from mixing unintentionally and guarantees your lines stay crisp. For detailed designs, use a steady hand and sit comfortably to minimize shaking. Rest your hand on a stable surface, and take your time. You don’t need to rush; patience pays off with cleaner, more precise results.
Another tip is to work in layers. Start with a base color and let it dry completely before adding details or overlays. This prevents smudging and allows you to build depth in your designs. If you’re tackling a more complex pattern, sketch light outlines with a thin brush or a fine-tip pen first, then fill in with color. This step-by-step approach helps you stay focused and reduces mistakes. Additionally, practicing techniques for controlling your tools can greatly enhance your precision and confidence in freehand nail art.
With consistent practice, your brush techniques and color blending skills will improve, making freehand nail art less intimidating and more enjoyable. Over time, you’ll develop your own style and be able to create stunning designs that truly wow. Remember, every mistake is a learning opportunity, so keep experimenting and have fun bringing your ideas to life on your nails.

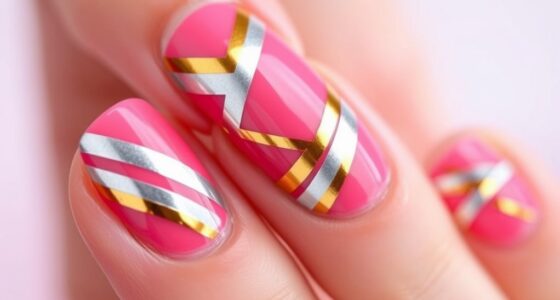
Artdone Metallic Nail Art Pens, Liner Brushes Set, 5PCS Black Color Nail Tools For Long Lines, Thin Details, Fine Drawing, Liner Brush UV Gel Polish Painting Nail Design Sizes 5/8/12/20/25mm
Package Contains: 5Pcs Metal pens for nail liner, sizes for nail liner brushes heads include 5/8/12/20/25mm.
As an affiliate, we earn on qualifying purchases.
As an affiliate, we earn on qualifying purchases.
Frequently Asked Questions
What Are the Best Tools for Freehand Nail Art Beginners?
When starting freehand nail art, you want the right tools in your kit. Focus on brush selection; choose fine, detail brushes for precision. Nail art pens are also great for creating intricate designs easily. These tools help you achieve smooth lines and detailed patterns. As a beginner, investing in quality brushes and pens makes a big difference, allowing you to practice and improve your skills with confidence and ease.
How Do I Fix Mistakes in Freehand Nail Designs?
When you make a mistake in freehand nail designs, don’t worry. Use a small brush for quick brush maintenance, allowing you to gently correct errors without ruining your work. If the color is off, try using a bit of acetone on a fine brush for precise color correction. Patience is key—take your time, and with careful adjustments, your design will look flawless and professional.
Can I Create Freehand Nail Art on Gel or Acrylic Nails?
Imagine the thrill of creating unique designs on your nails, even on gel or acrylic. You can definitely do freehand nail art on gel or acrylic nails, but remember to prioritize gel nail safety and proper acrylic nail removal techniques. Use fine brushes for precision, and make certain your nails are well-prepped. With patience and care, you’ll craft stunning, lasting art that makes your fingertips truly stand out.
How Long Does Freehand Nail Art Typically Last?
Freehand nail art typically lasts about a week or two, depending on your nail longevity and how well you care for them. To make it last longer, follow maintenance tips like applying a top coat regularly and avoiding harsh chemicals. Keep your nails moisturized and wear gloves when doing chores. Proper upkeep helps preserve your design, keeping your nails looking fresh and vibrant for as long as possible.
Are There Any Safety Tips for Using Nail Polish Brushes?
When using nail polish brushes, safety precautions are essential to protect your health. Always sterilize your brushes before starting to prevent infections, especially if you’re using the same brush for multiple designs. Make sure to wash your hands thoroughly and avoid sharing brushes with others. Store your brushes in a clean, dry place, and replace them regularly to maintain hygiene. Proper brush sterilization and safety measures ensure a safe, enjoyable nail art experience.

5 pc 2 Way Dotting Pen Tool Nail Art Tip Dot Paint Manicure kit (5PC)
Unleash Your Creativity: Our 5-piece dotting tool set is perfect for creating intricate nail art designs and DIY…
As an affiliate, we earn on qualifying purchases.
As an affiliate, we earn on qualifying purchases.
Conclusion
Now that you’ve discovered these simple freehand nail art techniques, you’re ready to transform your nails into tiny canvases of creativity. Just like an artist wielding a brush, your steady hand and imagination can turn basic nails into stunning masterpieces. Remember, every stroke brings you closer to mastering your craft—so go ahead, embrace your inner Picasso and let your nails tell a story worth admiring. Your next masterpiece is just a brushstroke away.

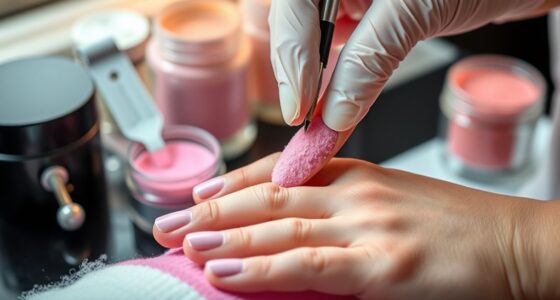
SAVILAND 100PCS Nail Sponges for Ombre: Nail Art Sponges with Storage Box Grabbing Pen Ombre Nail Sponge Gradient Nail Tools Aura Nails Ombre Nail Brush Accessories Supplies Home DIY Nail Art Salon
Nail Sponges for Ombre Set: Our nails art set contains 100pcs soft white nail art sponges and 1…
As an affiliate, we earn on qualifying purchases.
As an affiliate, we earn on qualifying purchases.

Teenitor Nail Charms and Nail Art Tools Set, Nail Art Kit with 5 Boxes of 3D Nail Charms and Gems Rhinestones, 15 Pcs Nail Art Brushes, 5 Pcs Nail Dotting Tools, 2 Set of Nail Stand
Nail Art Kit with Nail Charms & Nail Art Tools: Teenitor nail art set includes 5 boxes of…
As an affiliate, we earn on qualifying purchases.
As an affiliate, we earn on qualifying purchases.