To master freehand nail art with easy dots and flowers, start with high-quality tools like dotting tools and fine brushes. Proper nail prep, including cleaning and shaping, creates a smooth canvas. Practice making even dots and simple flower designs by sketching small centers and petals around them. Use guiding aids for symmetry and experiment with color combinations. For more tips and step-by-step techniques, continue exploring to boost your confidence and skills.
Key Takeaways
- Use fine-tipped brushes or dotting tools for controlled, even dots and petal details.
- Practice steady hand movements on practice surfaces before working on nails.
- Start with simple flower designs: a center dot surrounded by petals, and build complexity gradually.
- Maintain a clean workspace and proper nail prep for smooth application and neat results.
- Apply a top coat to seal designs, enhance durability, and prevent smudging or chipping.

FULINJOY Nail Dotting Tools 10 Pcs Kit – 5 pcs Double-end Nail Dotting tools and 5 Pcs Nail Art Liner Painting Brushes
【10PCS Nail Art Design Tools】 Includes 5pcs double-end nail art tool dotting pens and 5pcs nail art liner…
As an affiliate, we earn on qualifying purchases.
As an affiliate, we earn on qualifying purchases.
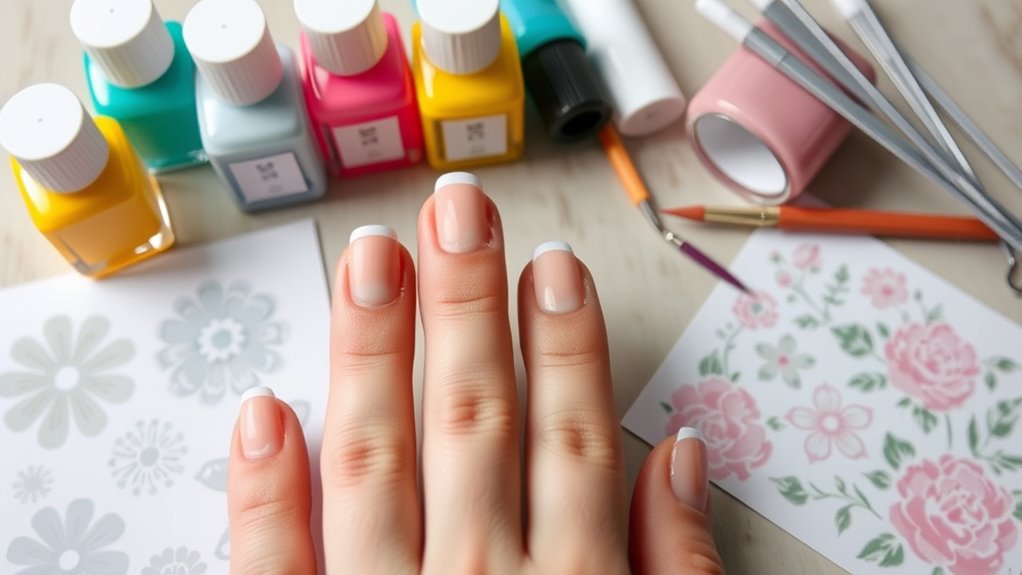
Essential Tools and Materials for Freehand Nail Art

To create stunning freehand nail art, having the right tools and materials is essential. Start with good-quality nail polish brands known for their vibrant colors and smooth application, like OPI, Essie, or China Glaze. These brands ensure your designs look professional and last longer. Equally important are nail art brushes; fine-tipped brushes, detailers, and dotting tools give you control for intricate designs like flowers and dots. Invest in a variety of brush sizes to achieve different effects. Also, keep a steady hand and a clean workspace. Using the right nail polish brands combined with precise nail art brushes allows you to craft detailed patterns effortlessly. Additionally, understanding interior design fundamentals can inspire creative patterns and color combinations for your nail art. With these essentials, you’re ready to start creating beautiful freehand designs that stand out.

Komall Metallic Nail Art Brushes, 5Pcs Liner Brush Set, UV Gel Polish Painting Art Design Pen for Long Lines, Thin Details, Fine Drawing Sizes 4/8/12/20/25mm(Black)
Premium Quality: The nail detail brush are made of high quality nylon, smooth touch, soft and ductile, rose…
As an affiliate, we earn on qualifying purchases.
As an affiliate, we earn on qualifying purchases.
Preparing Your Nails for Perfect Designs
Start by making sure your nails are clean and completely dry to prevent smudges. Next, shape and buff your nails to create a smooth surface for your design. Finish with a base coat to help your artwork adhere better and last longer.
Clean and Dry Nails
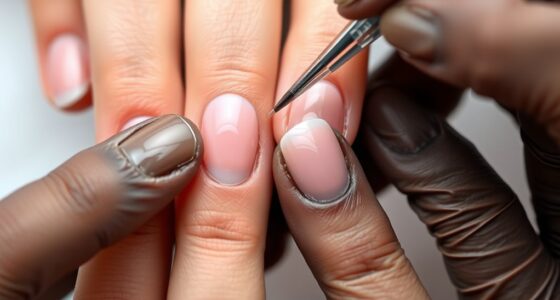
Ensuring your nails are clean and dry is essential before you begin any nail art. Start by removing any old nail polish thoroughly, using a gentle nail polish remover to make certain no residue remains. Proper nail polish removal prevents smudging and helps the new design adhere better. Next, focus on cuticle care; gently push back your cuticles with a cuticle pusher or soften them with cuticle oil before cleaning. This creates a smooth and even surface, making your designs look neat and professional. Make sure your nails are completely dry before starting to prevent smudges or uneven polish application. Taking these steps ensures your nails are prepared for flawless freehand art, giving your dots and flowers a perfect, long-lasting finish.
Shape and Buff Surface
Before applying your nail art, shaping and buffing the surface is essential for a smooth canvas. First, choose a nail shape that suits your style, whether square, oval, or almond, and file your nails accordingly. Proper nail buffing helps create an even surface by removing ridges and excess shine, which can interfere with polish adhesion. Use a fine-grit buffer and gently smooth the surface, making sure not to over-buff and weaken your nails. This step ensures your design applies cleanly and lasts longer. Take your time to shape and buff each nail consistently, paying attention to the edges and surface. A well-prepared nail surface provides the perfect foundation for your freehand nail art, resulting in neat, professional-looking designs. Incorporating nail care techniques can also help maintain healthy nails and improve overall results.
Apply Base Coat
Have you applied a base coat before your nail art? A good base coat creates a smooth surface and helps your design last longer. Start by using a nail primer to ensure your nails are clean and free of oils. Next, focus on cuticle care to push back or trim excess cuticles for a neat look. Then, follow these steps:
- Apply a thin, even layer of base coat over your nails, avoiding the cuticles.
- Allow it to dry completely to prevent smudging.
- Use a base coat that promotes adhesion and protects your nails.
- Make sure your nails are clean and dry before starting your design.
- Proper preparation can also reduce the risk of trust issues with your nail art, ensuring your designs stay intact and beautiful.
This simple preparation helps your freehand dots and flowers look crisp and professional.

Teenitor Nail Charms and Nail Art Tools Set, Nail Art Kit with 5 Boxes of 3D Nail Charms and Gems Rhinestones, 15 Pcs Nail Art Brushes, 5 Pcs Nail Dotting Tools, 2 Set of Nail Stand
Nail Art Kit with Nail Charms & Nail Art Tools: Teenitor nail art set includes 5 boxes of…
As an affiliate, we earn on qualifying purchases.
As an affiliate, we earn on qualifying purchases.
Basic Techniques for Creating Flawless Dots
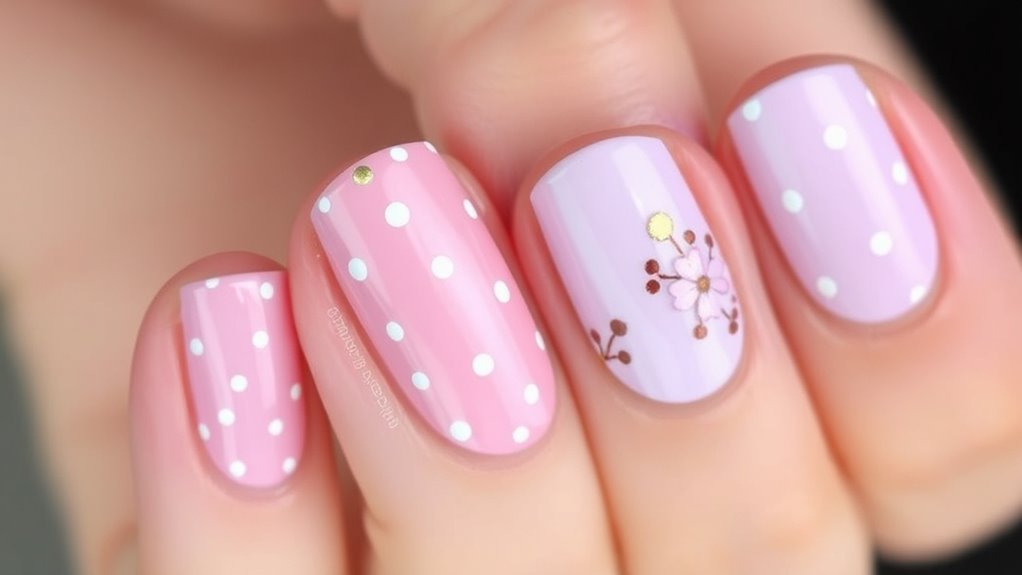
Creating perfect dots in nail art is all about control and technique. To achieve clean, even dots, start with the right tools—either a fine brush or dot tools. When using a brush, practice proper brush techniques: hold it steady, use gentle pressure, and tap lightly to prevent smudging. Dot tools are designed to give uniform size, so dip the tool into polish and gently press onto the nail surface. For larger dots, use a bigger dot tool; for smaller ones, opt for a smaller tip. Keep your hand steady and work slowly to maintain precision. Clean your tools often to prevent smudges or uneven edges. With practice, mastering these techniques will help you create flawless, professional-looking dots every time.

Top Coat Nail Polish Clear: Quick Dry Nail Polish No Chip High Shine Long Lasting Glossy Fast Air Dry Top Coat for Nail Art Manicure Salon Quality
Quick Dry Top Coat: Experience the convenience of our quick dry top coat. Fast drying nail polish efficient…
As an affiliate, we earn on qualifying purchases.
As an affiliate, we earn on qualifying purchases.
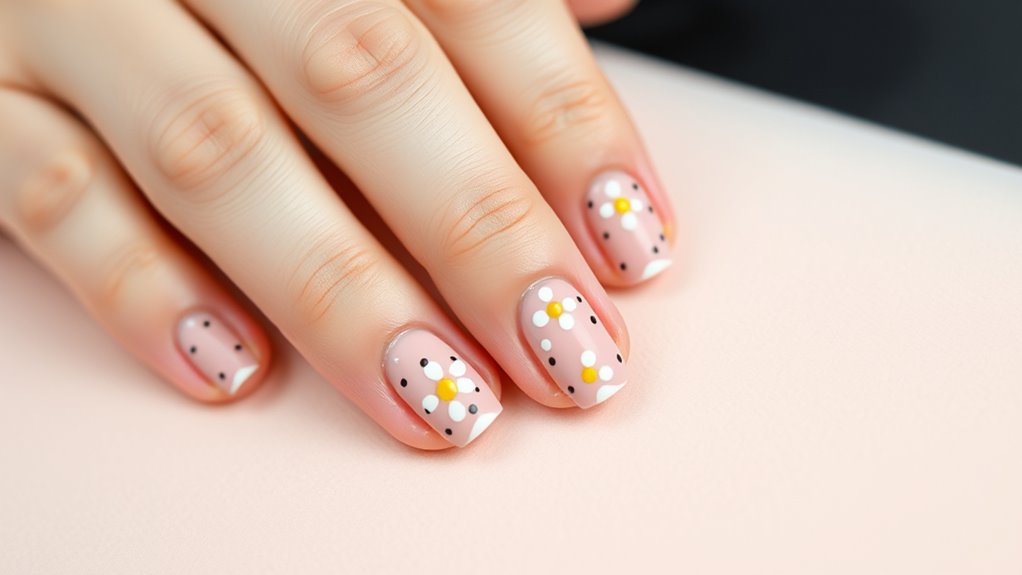
Step-by-Step Guide to Drawing Simple Flowers
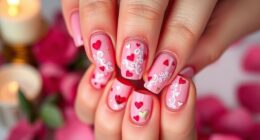
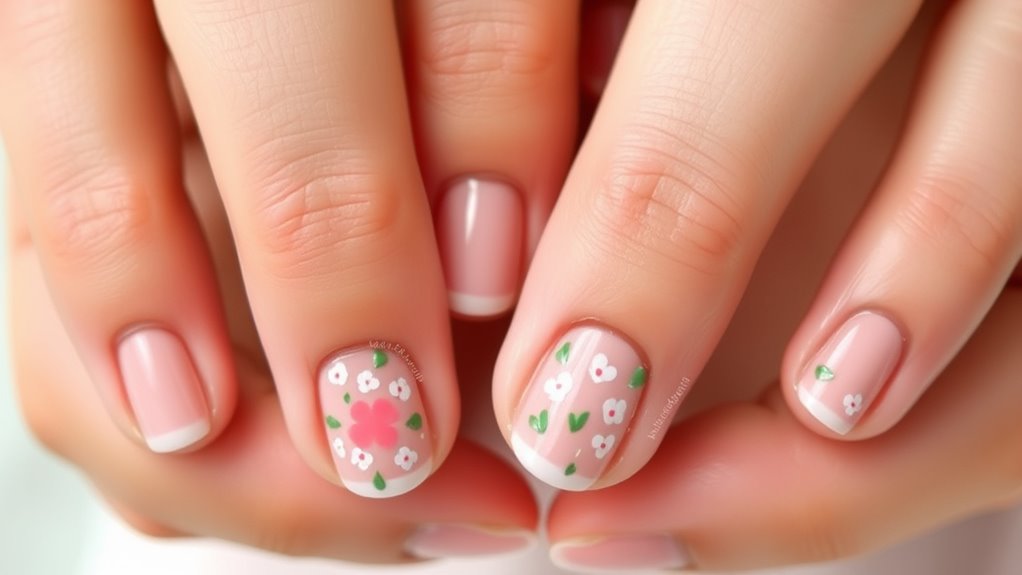
Drawing simple flowers on your nails is easy when you follow a clear step-by-step process. First, decide where you want to place the flower on your nail, considering balance and visibility. Next, sketch a small circle for the flower’s center, then add petals around it, paying attention to petal detailing for a natural look.
Here’s a quick guide:
- Choose your flower placement and mark it lightly.
- Draw a small circle for the flower’s core.
- Add petals around the circle, varying their size and shape for realism.
- Finish by refining petal detailing and cleaning up any excess lines.
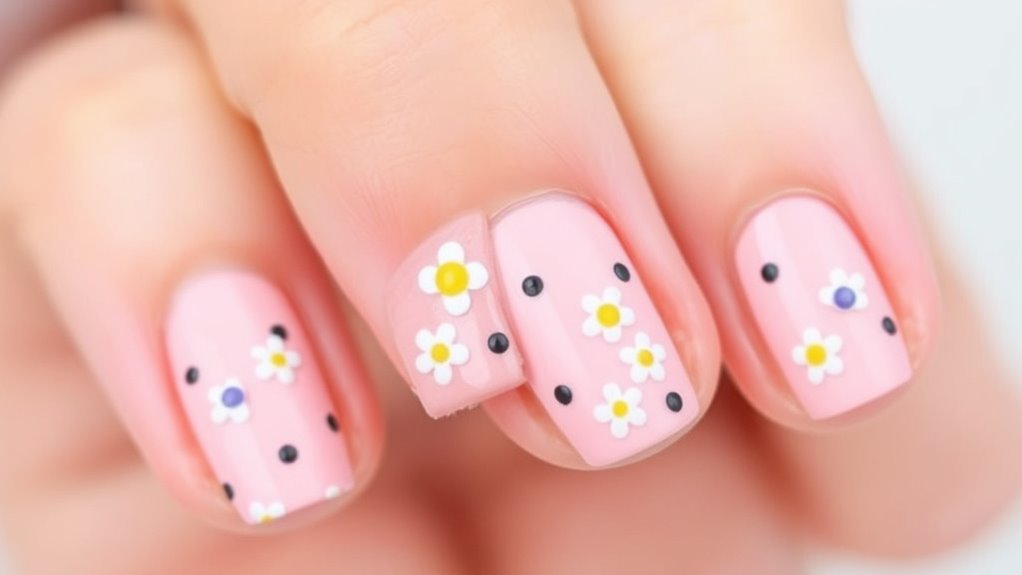
Keep the design simple and focus on even flower placement and petal detailing to create charming, beginner-friendly nail art.
Tips for Achieving Symmetry and Consistency

To achieve symmetry and consistency, start by using guiding tools like tape or stencils to outline your design. Keep your hand steady by resting it on a flat surface and practicing controlled movements. Also, maintain even spacing between elements to make sure your design looks balanced and professional. Incorporating best beach practices can inspire creative ideas for your nail art, reflecting the relaxing and vibrant atmospheres found at top beaches.
Use Guiding Tools
Using guiding tools is essential for achieving precise and symmetrical nail art designs. They help you create clean lines, consistent shapes, and even color blending. To get started, consider these tools:
- Striping tapes – Perfect for straight lines and defining sections for color blending or glitter effects.
- Dotting tools – Great for adding uniform dots and flowers with symmetry.
- Nail guides or stencils – Help shape intricate designs and maintain consistency across nails.
- Fine brushes – Ideal for detailed work, blending colors smoothly, and adding delicate accents. Incorporating proper planning and organization can streamline your nail art process and prevent clutter.
Practice Hand Stability
Maintaining steady hands is key to achieving symmetrical and precise nail art designs. To do this, focus on reducing hand muscle fatigue by taking regular breaks during practice. Rest your hand and gently stretch your fingers to keep muscles relaxed. Improving wrist flexibility also helps stabilize your movements; try wrist circles or gentle stretches before starting. Keep your grip light on the brush to avoid unnecessary tension. Practice slow, deliberate strokes to build muscle memory and control. As your hand becomes more stable, you’ll notice better symmetry and consistency in your dots and flower designs. Incorporating proper practice techniques can further enhance your skill development. Remember, developing steady hand control takes time, so be patient and keep practicing regularly. Over time, you’ll gain confidence and achieve cleaner, more professional-looking nail art.
Maintain Consistent Spacing
Achieving consistent spacing in your nail art relies on your attention to detail and careful measurement. To keep your designs symmetrical, consider these tips:
- Use a dotting tool or fine brush to mark key points, aligning with color theory principles for balanced color placement.
- Measure distances between elements, referencing nail art history techniques that emphasize precision for a professional look.
- Keep your hand steady by resting it on a surface, ensuring even spacing between dots and flowers.
- Practice spacing on a nail wheel or paper first, helping you develop an eye for symmetry and consistent placement.
- Incorporate environmental awareness by choosing eco-friendly nail products and disposing of waste responsibly during practice sessions.
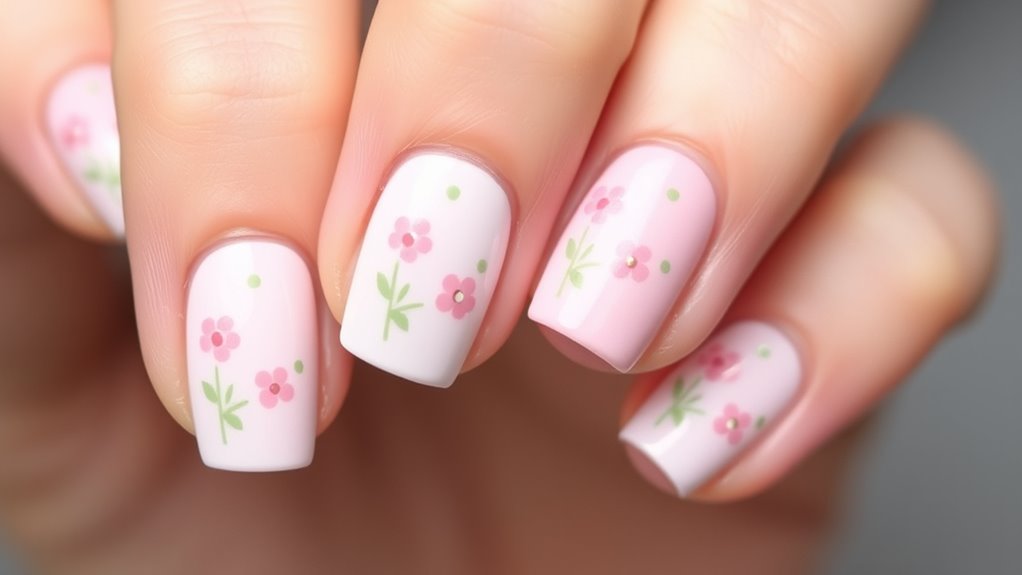
Color Combinations and Design Variations
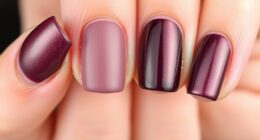
When exploring color combinations and design variations in freehand nail art, the key is to experiment with contrasting and complementary hues to make your designs stand out. Try pairing bold shades like navy and gold or soft pastels such as blush pink and mint green for eye-catching effects. Mix and match different color pairings to create unique looks that reflect your style. Floral variations can be enhanced by using color contrasts, like bright yellows with deep purples or vibrant reds with light pinks, adding depth and interest. Don’t hesitate to combine different colors within a single design, creating gradients or layered effects. The more you experiment, the more confident you’ll become in developing eye-catching, personalized nail art that highlights your creativity. color combinations are a fundamental aspect of creating visually appealing designs that can also support sustainable practices by encouraging the use of eco-friendly nail polishes in diverse shades.
Troubleshooting Common Mistakes

Common mistakes in freehand nail art often happen when you rush or don’t prepare your workspace properly. To avoid issues like common smudging or uneven lines, follow these tips:
- Use thin brushes and steady your hand to prevent uneven lines and achieve precise dots and flowers.
- Allow layers to dry completely before adding new details, reducing smudging.
- Work in a clean, well-lit area to see your work clearly and prevent mistakes.
- Practice on a practice sheet to build confidence before applying designs to your nails.
- Ensure your nails are properly prepped and free of oils to prevent smudging and improve the longevity of your nail art.
Maintaining and Caring for Your Nail Art
Once you’ve perfected your freehand nail art, keeping it looking fresh requires proper maintenance. To support your nail health and ensure your designs last, avoid harsh chemicals and always wear gloves when doing chores. Regularly apply cuticle oil to keep nails and surrounding skin hydrated, which prevents chipping and peeling. Use a top coat every few days to seal your artwork and provide an extra layer of protection. Proper long-term maintenance also means giving your nails a break from polish occasionally to allow them to breathe and recover. Keep your nails trimmed and filed smoothly to prevent snags. Additionally, understanding nail health and how it affects your polish can help you maintain your designs longer. By maintaining good nail health, you’ll preserve your beautiful designs longer and keep your hands looking polished and cared for.
Inspiration and Ideas for Customizing Your Designs
Getting inspired for your freehand nail art can spark creative ideas that make your designs truly unique. To customize your look, consider exploring seasonal themes like snowflakes or flowers for spring, which add freshness and relevance. Cultural motifs, such as mandalas or tribal patterns, bring depth and personal meaning to your nails. Here are some ideas to jumpstart your creativity:
- Incorporate seasonal motifs to match holidays or weather changes.
- Use cultural symbols to express heritage or interests.
- Mix and match colors that evoke specific moods or seasons.
- Draw inspiration from fashion trends or art styles for modern twists.
These approaches help you craft personalized designs, making each manicure a reflection of your style and mood.
Frequently Asked Questions
Can I Use Regular Acrylic Paints for Freehand Nail Art?
Yes, you can use regular acrylic paints for freehand nail art, but keep in mind their durability and paint compatibility with nails. Acrylic paints are flexible and easy to work with, making them suitable for detailed designs. However, they might not last as long as specialized nail paints. To improve longevity, seal your design with a clear top coat. Always test the paint on a small area first to check for any reactions.
How Long Does Freehand Nail Art Typically Last?
Freehand nail art typically lasts about a week to ten days if you take good care of it. Your nail longevity depends on the quality of your topcoat and how gently you handle your nails. To improve wear resistance, avoid harsh chemicals and excessive water exposure. Properly sealing your design and applying a durable topcoat can help it stay vibrant and intact longer, giving you more time to enjoy your art.
Are There Beginner-Friendly Alternatives to Nail Brushes?
Think of your tools as your artistic allies. Instead of traditional brushes, you can use silicone stamping or felt tip markers for beginner-friendly nail art. Silicone stamping acts like a stamp, transferring designs effortlessly, while felt tip markers give you precision with easy control. These alternatives make creating beautiful dots and flowers more accessible, helping you build confidence and perfect your skills without needing advanced brush techniques.
What Are Safe Methods for Removing Freehand Nail Designs?
You can safely remove freehand nail designs by soaking a cotton ball in nail polish remover and gently pressing it on your nails. Opt for acetone alternatives like non-acetone removers, which are gentler on your skin and nails. Avoid harsh scrubbing to prevent damage. Let the remover sit for a few seconds before wiping away the design. Repeat if necessary, and always moisturize afterward to keep your nails healthy.
How Can I Fix Mistakes Without Damaging My Nails?
To fix mistakes without damaging your nails, use gentle touch-up techniques like a small brush dipped in nail polish remover to carefully correct smudges or errors. Prevent smudges by allowing each layer to dry fully before applying the next. If needed, lightly buff the surface before fixing, and avoid excessive rubbing. Patience and precise touch-ups help keep your nail art looking fresh while protecting your nails’ health.
Conclusion
Think of your nail art as a tiny garden you nurture and watch flourish. With patience and practice, each dot and flower becomes a bloom of your creativity. Embrace the journey, knowing that every mistake is just a weed you’ll learn to tame. Your designs are your unique landscape—small, beautiful, and full of potential. Keep experimenting, and soon, your nails will tell a story as vibrant as a garden in full bloom.