
To float gel color without flooding the cuticle, load only a small bead on your brush and hold it at a slight angle for better control. Gently glide the gel over the nail, stopping short of the cuticle and letting it “float” above the skin. Use a light touch and steady hand, feathering the gel outward toward the free edge. Practice these tips regularly, and you’ll master creating clean, crisp lines with ease—there’s more to perfecting this technique below.

Get beauty and skincare favorites delivered free with Prime
- Fast, free delivery on millions of items
- Prime Video, Amazon Music and more included
- Member-only deals all year
Key Takeaways
- Load a small, thin bead of gel on the brush to control flow and prevent excess.
- Hold the brush at a slight angle and gently “float” the gel above the cuticle.
- Use a fine brush dipped in cleanser to carefully nudge any gel that floods the cuticle area.
- Feather the gel outward toward the free edge for clean, crisp lines without flooding.
- Maintain a light touch and steady hand, practicing controlled gel movement for precision.
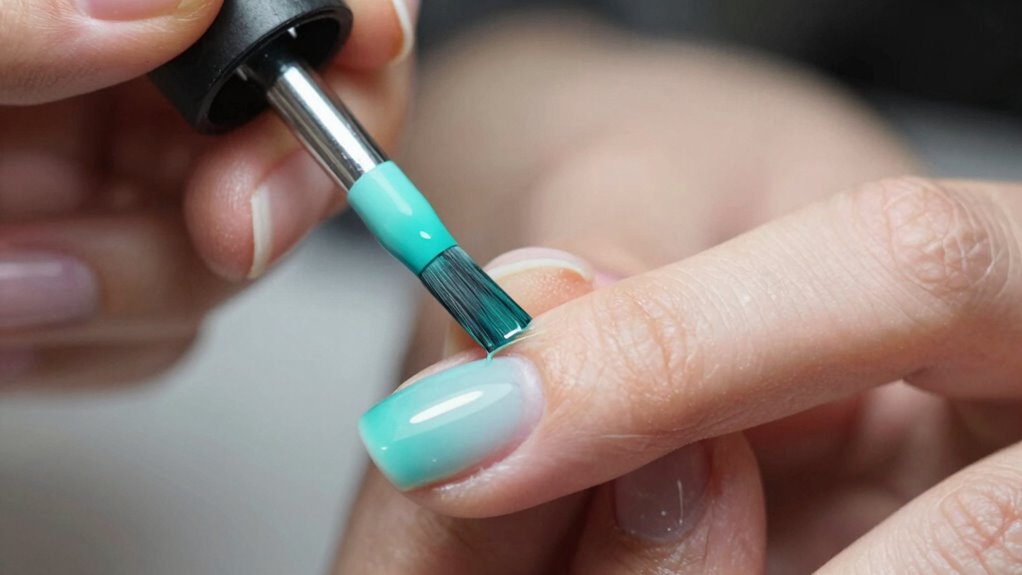
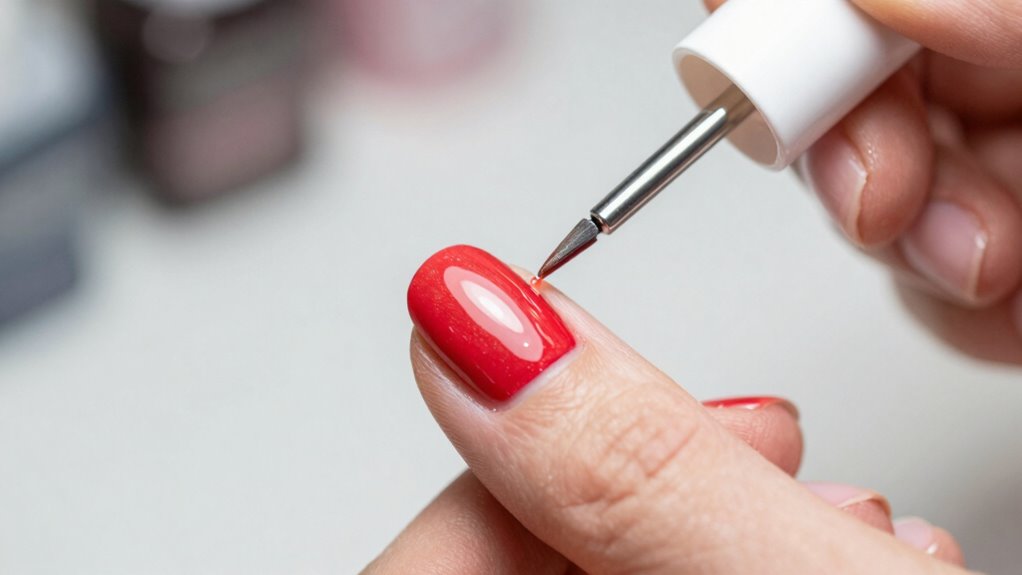
Have you ever wondered how to create smooth, professional-looking gel nail designs with perfect color separation? The key is mastering the art of floating gel color without flooding the cuticle. It all starts with proper nail prep. Before you even think about applying gel, you need to thoroughly clean and dehydrate the nails. Remove any oils, dirt, or residual polish with a gentle nail cleanser or alcohol wipe. This ensures the gel adheres properly and reduces the risk of flooding or lifting later. Once your nails are clean, lightly buff the surface to create a slightly rough texture, helping the gel stick better. Be careful to avoid over-buffing, which can cause unnecessary damage. After buffing, push back the cuticles gently and trim any excess skin, providing a clean, dry canvas for your gel application. Proper nail prep is essential for long-lasting results and preventing issues like flooding. Additionally, choosing the right projector technology can impact how well you see the fine details and control during application. Color mixing is the next crucial step in achieving crisp, clean lines and seamless color separation. When working with gel colors, it’s often best to start with small amounts of polish and mix carefully to get the hue you desire. Use a clean palette or a piece of foil to blend colors if needed. Mixing colors on the palette allows you to customize shades and avoid having a lot of excess gel on your brush, which can lead to flooding. Keep your gel shades thin and fluid; thick gels are harder to control and increase the chances of flooding the cuticle. When you’re ready to apply, load only a small bead of gel onto your brush to maintain control. The key to floating gel color is the technique. Hold your brush at a slight angle and gently glide it over the center of the nail, stopping just short of the cuticle. Instead of pressing down and forcing the gel onto the nail, let the brush “float” just above the cuticle area. This technique lets the gel flow naturally, creating a smooth transition and preventing it from flooding the cuticle. As you work toward the free edge, feather the gel outward to create a clean, sharp line. If you accidentally flood the cuticle, don’t panic—use a fine brush dipped in cleanser or alcohol to carefully nudge the excess gel away. Practicing controlled gel flow can help you develop a steadier hand and improve your technique over time. Developing a good understanding of gel flow control is crucial for achieving flawless results. Practice makes perfect, but the key is to control the gel’s flow with your brush and a light touch. With patience and practice, you’ll master how to float gel color seamlessly without flooding the cuticle, resulting in a flawless, professional gel manicure.
gel nail brush for precise application
As an affiliate, we earn on qualifying purchases.
As an affiliate, we earn on qualifying purchases.
Frequently Asked Questions
Can I Float Gel Color Without Using a Base Coat?
Yes, you can float gel color without a base coat, especially for color blending and nail art techniques. To do this, gently apply the gel directly onto the prepared nail surface, maintaining a thin layer. Use a fine brush or dotting tool to carefully control the application, avoiding flooding the cuticle. Practice precision and patience to achieve smooth, well-blended results without the need for a base coat.
How Long Should I Let the Gel Float Before Curing?
You should let the gel float for about 15-20 seconds before curing. This allows the gel’s consistency to level out and blend smoothly without flooding the cuticle. Keep an eye on the gel’s flow—if it’s still too thick, give it a few more seconds to relax. Once you’re satisfied with the float, proceed to curing, ensuring the gel is properly set without excess flooding or streaks.
Does Floating Gel Color Affect Its Durability?
Floating gel color is like a delicate dance—if done right, it doesn’t compromise durability. When you master gel application and nail preparation, your design remains resilient and vibrant. Properly floated gel minimizes flooding, which can weaken adhesion. So, yes, floating gel color, if executed with care, enhances its durability by ensuring even coverage and strong adhesion, making your manicure last longer and look flawless without sacrificing strength.
Can I Reuse the Same Gel for Multiple Floats?
You can reuse the same gel for multiple floats if you’re careful with color blending and gel layering. Keep the gel at a workable consistency, and avoid contamination between layers. When you float, work quickly to prevent the gel from drying out, and clean your brush thoroughly between uses. This way, you maintain a smooth blend and prevent flooding, ensuring your gel stays vibrant and durable through multiple applications.
What Tools Are Best for Precise Gel Floating?
For precise gel floating, you want tools that allow excellent control and color blending. A fine detail brush or a gel liner brush works best because their thin tips let you carefully apply and blend gel without flooding the cuticle. A flat, angled brush can also help with precision, especially for creating smooth gradients. Always choose tools that give you steady control, so you can seamlessly blend gel colors and achieve a professional look.
As an affiliate, we earn on qualifying purchases.
Conclusion
Now that you know how to float gel color without flooding the cuticle, you’re ready to achieve a flawless finish. Keep practicing your technique, stay patient, and stay precise with your brush strokes. Focus on controlling your application, maintaining your brush’s angle, and gently feathering the gel. With each step, you’ll improve and perfect your skills. Remember, consistency and care make all the difference—so keep practicing, stay confident, and enjoy creating beautiful, professional-looking gel nails every time.
As an affiliate, we earn on qualifying purchases.
As an affiliate, we earn on qualifying purchases.
Halloween Picks
halloween
As an affiliate, we earn on qualifying purchases.