To sculpt flowers and designs on nails with 3D acrylic art, start by preparing your nails—clean, shape, and apply a base primer for better adhesion. Choose vibrant, non-toxic acrylic powders and appropriate liquids for smooth application. Build your flowers in layers, shaping petals with tiny acrylic amounts, and carve details for realism. Finish with a high-quality top coat to secure your artwork. If you keep practicing, you’ll master creating stunning 3D nail designs.
Key Takeaways
- Prepare nails thoroughly by cleaning, shaping, and applying a base primer for optimal acrylic adherence.
- Select high-quality, pigmented acrylic powders and liquids for vibrant, stable flower shapes.
- Build layered petals by adding thin acrylic layers, allowing each to set for natural, 3D effects.
- Sculpt detailed flower textures and motifs using carving tools, blending colors seamlessly for realism.
- Finish with a protective top coat, securing embellishments and ensuring durability of the 3D floral design.
Gathering Your Supplies and Tools
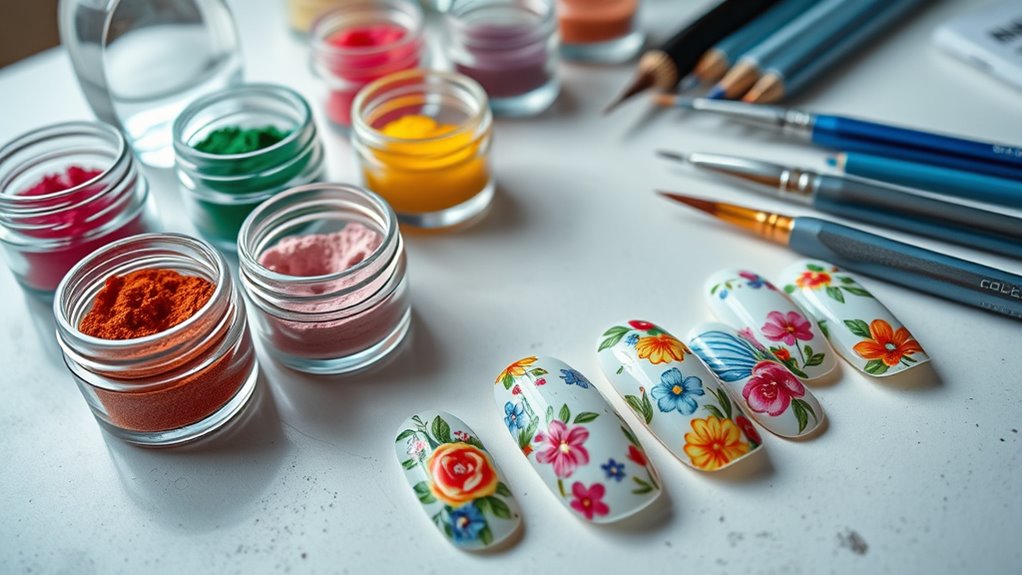
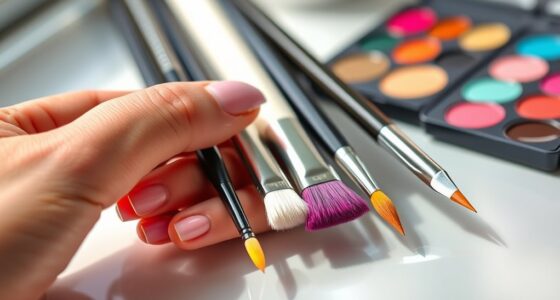
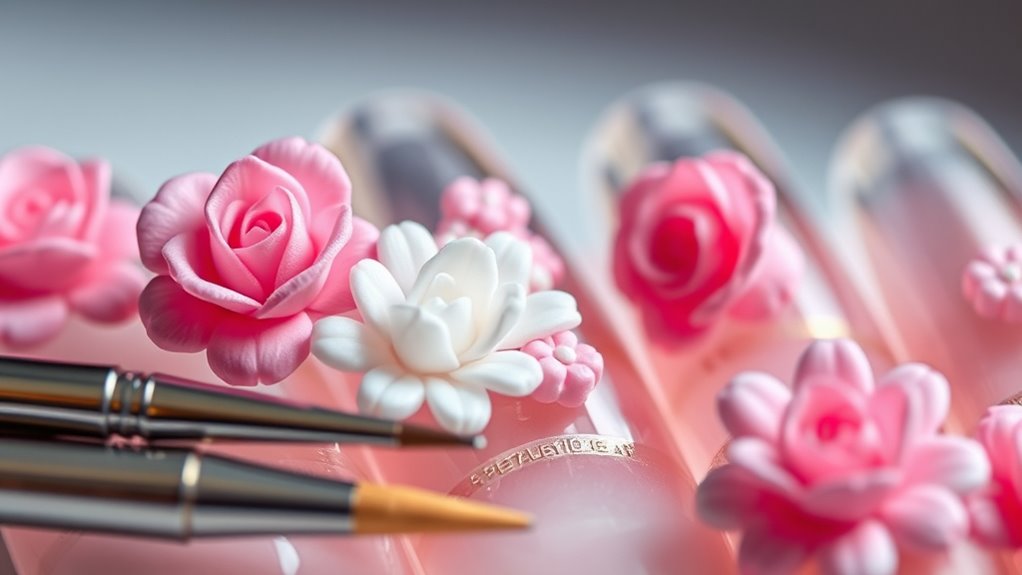
Before you begin creating your 3D acrylic nail art, it’s essential to gather all the necessary supplies and tools. Start by exploring nail art inspiration to decide on the designs you want to create. Having a clear vision helps you gather the right colors, acrylic powders, and embellishments. Organize your tools—brushes, sculpting tools, files, and buffers—so they’re easily accessible. Proper tool organization keeps your workspace tidy and makes the process smoother. Make sure you have a variety of brush sizes for detailing and shaping. Collect small containers for mixing acrylics or pigments. Preparing your supplies beforehand saves time and allows you to focus on your design without interruptions. Incorporating powerful persuasive words into your instructions can motivate you to stay focused and confident throughout the process. With everything in its place, you’ll be ready to craft stunning 3D nail art confidently.
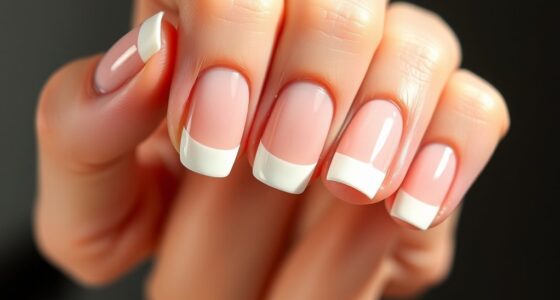
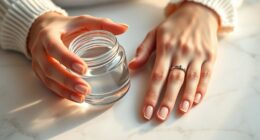
Preparing Your Nails for 3D Acrylic Art
Start by cleaning and shaping your nails to create a smooth, even surface. Next, apply a base primer to guarantee the acrylic adheres properly. Finally, make sure your nail surface is perfect and free of oils or debris for the best results. Understanding city dynamics can help you choose the best nail styles that reflect your personality and environment.
Clean and Shape Nails
To guarantee your 3D acrylic nail art looks flawless and lasts long, you need to thoroughly clean and shape your nails first. Start by removing any old polish and dirt to ensure proper nail hygiene. Gently push back your cuticles to promote healthy cuticle care, but avoid cutting them to prevent infections. Next, file your nails into your desired shape, whether square, oval, or stiletto, using a fine-grit buffer. Be sure to smooth out the edges to prevent snagging. Proper shaping creates a stable surface for acrylic application and enhances the overall look of your nail art. Cleanse your nails again with alcohol or a nail cleanser to remove oils and residue, ensuring a clean, dry surface ready for the next step. Additionally, using a nail buffer can help achieve a smooth surface, which is essential for a flawless acrylic application.
Apply Base Primer
Applying a base primer is a crucial step to guarantee your 3D acrylic nail art adheres properly and lasts longer. The nail primer enhances surface preparation by removing oils and debris that could compromise adhesion. Use a high-quality nail primer and apply a thin, even layer to each nail, ensuring you avoid excess that could cause lifting or uneven surfaces. This step creates a clean, receptive surface for the acrylic to bond securely. Proper surface preparation with a nail primer is essential before applying acrylic, especially when sculpting intricate flowers and designs. Wait a few seconds for the primer to dry completely before proceeding. Skipping this step can lead to premature lifting, cracking, or peeling of your beautiful 3D nail art. Effective surface preparation is vital for ensuring your designs stay intact and look professional over time.
Perfect Nail Surface
After applying the base primer and making sure it dries completely, focus on creating a smooth, clean nail surface. This step is essential for achieving flawless 3D acrylic art. Use a buffing block to gently remove any ridges or uneven areas, revealing a shiny, even nail surface. Apply a thin coat of nail surface gloss to enhance the smooth finish and provide a sleek base for your design. A well-prepared surface boosts adhesion and ensures your artwork lasts longer. Incorporating a smooth surface can also help reduce the risk of lifting or chipping over time.
- Feel confident knowing your nails are perfectly prepped for intricate details
- Enjoy the satisfying shine of a polished, smooth finish
- Set the stage for stunning, durable 3D floral or decorative designs
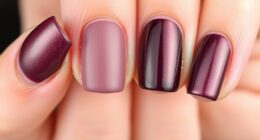
Choosing the Right Acrylic Powder and Liquid
Choosing the right acrylic powder and liquid is essential for achieving a professional and durable nail design. Your choice impacts how well you can blend colors and create intricate 3D details. When selecting acrylic powders, consider their pigmentation for acrylic color mixing—this helps you achieve vibrant and consistent shades. Equally important is nail acrylic safety; opt for products that are non-toxic and odorless to protect your health and your client’s. The liquid should have the right viscosity, allowing smooth application without running or clumping. A good quality monomer ensures a strong bond and minimizes fumes. Additionally, understanding acrylic safety standards can help you select products that are safe and reliable. By choosing high-quality, safe acrylics, you set a solid foundation for detailed flower and design sculpting, ensuring your artwork lasts and looks flawless.
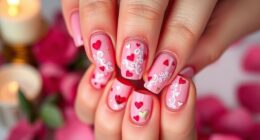
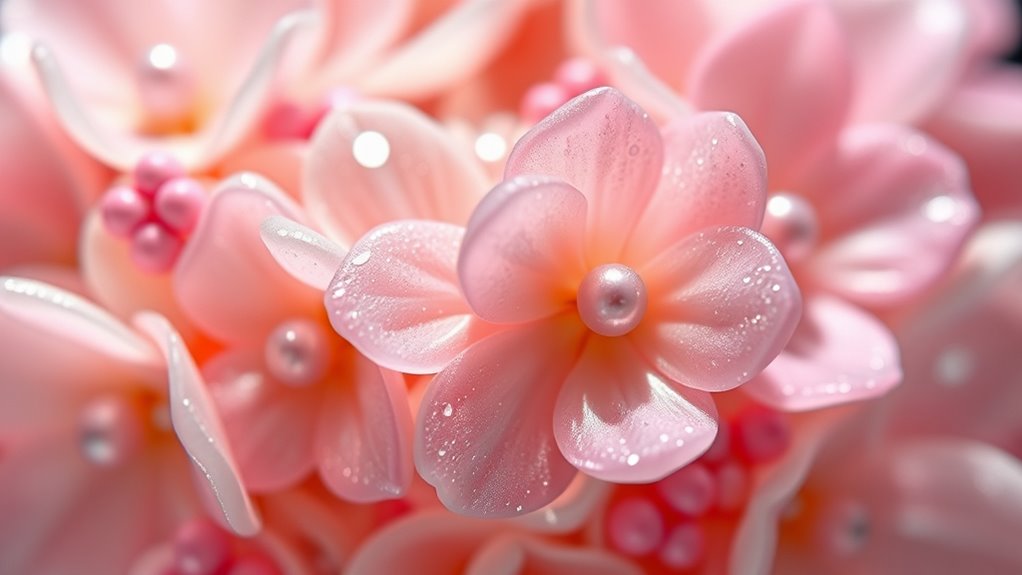
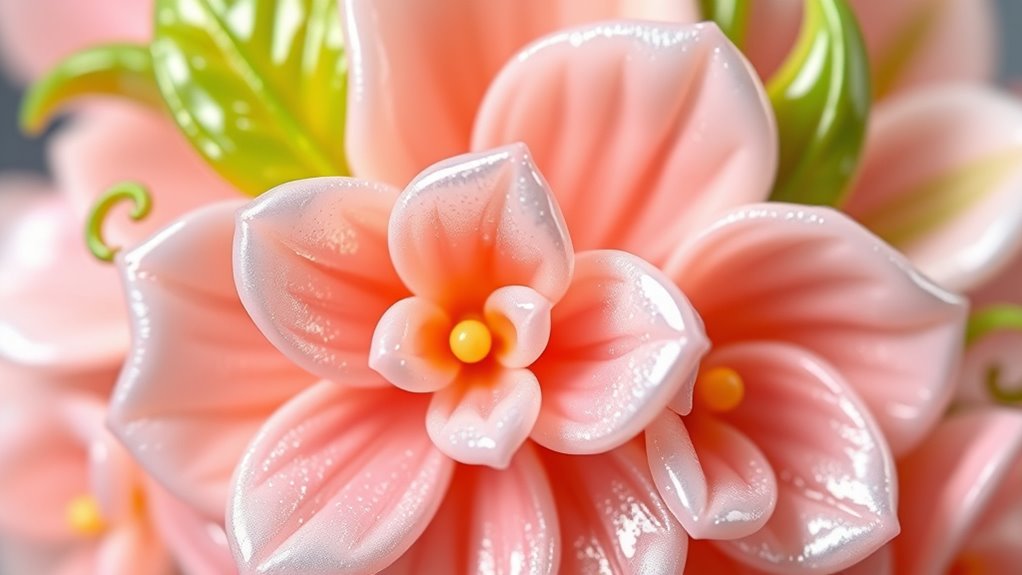
Creating Basic 3D Flower Shapes
To create basic 3D flower shapes, start by selecting the appropriate acrylic powder and liquid to guarantee your petals hold their form and bond well. Using flower petal techniques, you can craft realistic, delicate shapes that pop off the nail surface. Focus on color blending methods to add depth and dimension, mixing shades seamlessly for natural-looking petals. Additionally, understanding personal debt forgiveness bills can help you plan financially, ensuring your nail art investments are sustainable and within budget. To evoke emotion and bring your flowers to life, consider these tips:
- Vary petal sizes and shapes for a more authentic appearance
- Use gentle curves to mimic real flower movement
- Layer colors subtly to add vibrancy without overpowering the design
Mastering these foundational steps will set the stage for stunning, lifelike 3D floral creations on your nails.
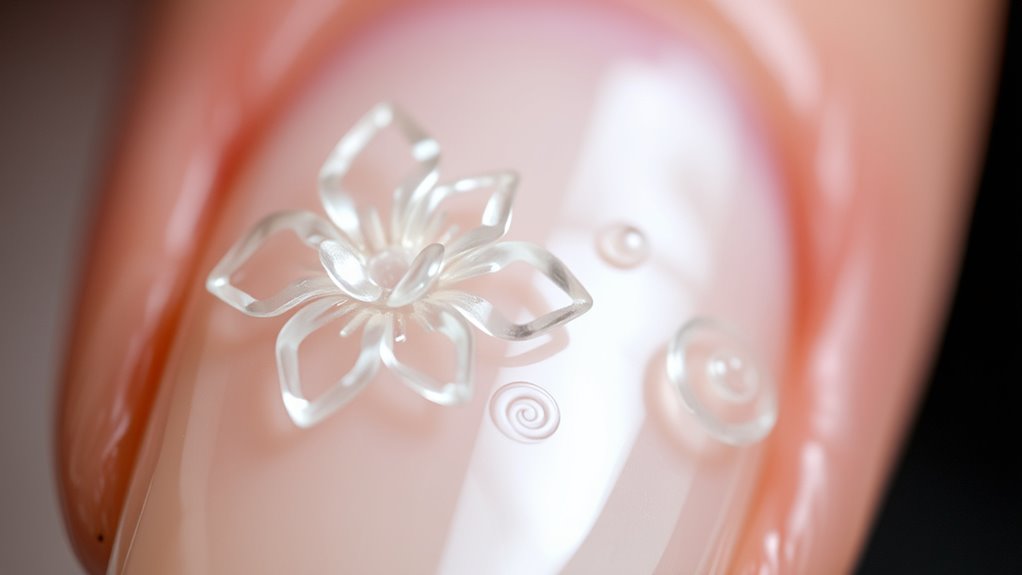
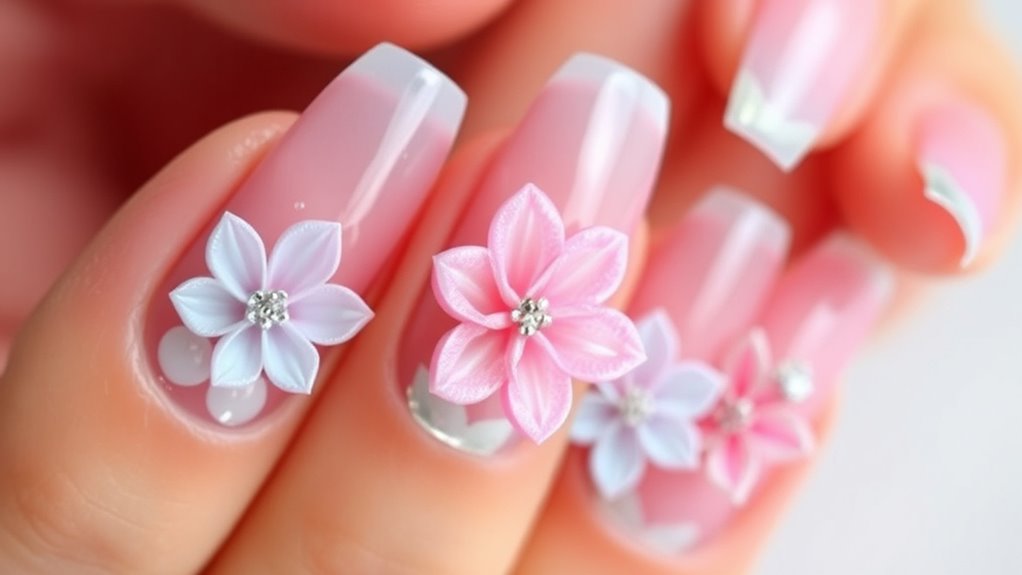
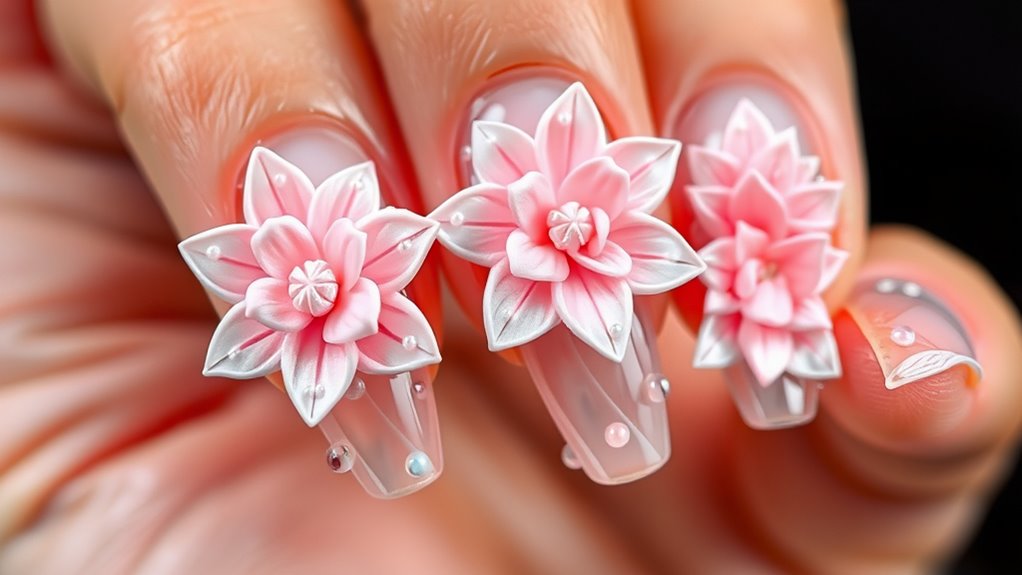
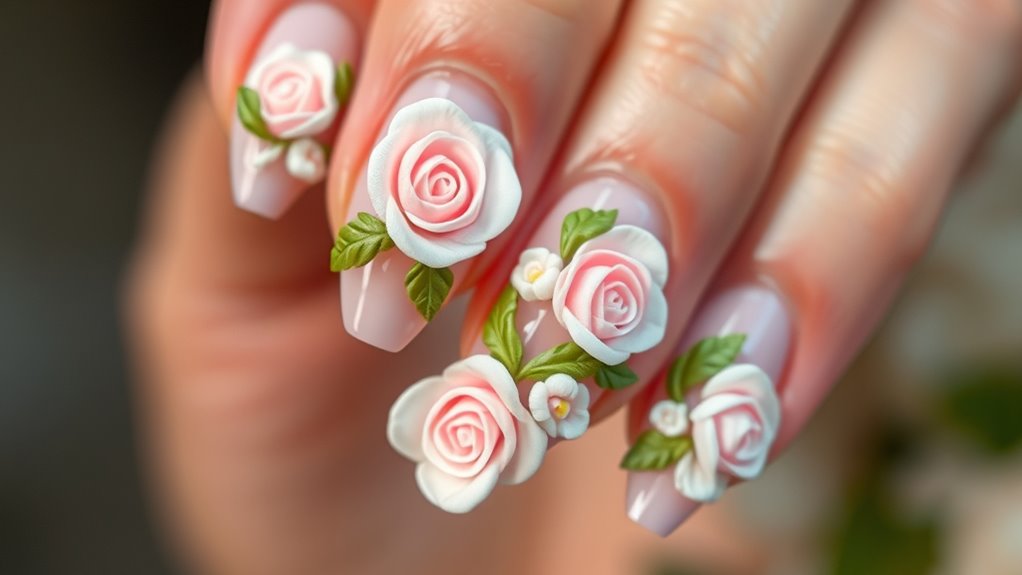
Building Layered Petals and Details
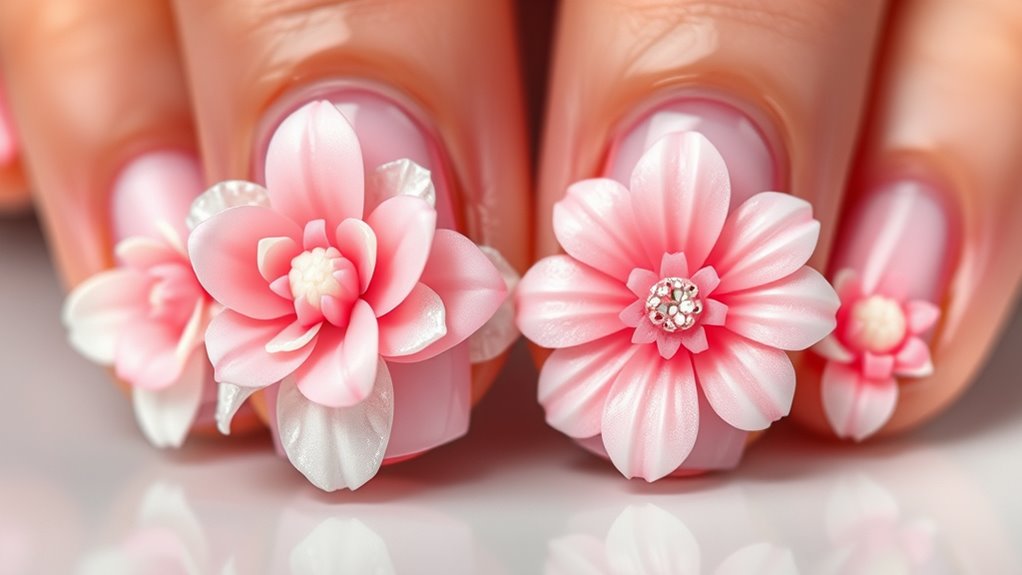
Building layered petals and intricate details brings depth and realism to your 3D nail art. To achieve this, start by adding small, thin layers of acrylic for each petal, stacking them carefully to create a natural, dimensional look. Focus on creating textured details by varying the thickness and shape of each layer, which adds visual interest and authenticity. Use a fine brush or sculpting tool to carve delicate edges and subtle ridges into the petals, mimicking real flower textures. Be patient, allowing each layer to set before adding the next, ensuring stability and clarity. Incorporate contrasting textured details, like tiny veins or frills, to enhance the realism. Paying attention to fine detailing helps elevate the overall design and realism of the flowers. This process transforms simple flower shapes into intricate, eye-catching designs that truly stand out.
Sculpting Other Intricate Designs and Motifs
You can enhance your nail art by creating abstract patterns that showcase your creativity and sense of style. Crafting themed symbols allows you to personalize your designs for special occasions or everyday wear. These intricate motifs add depth and uniqueness to your acrylic nails, making them truly stand out. Incorporating dye techniques can further elevate your designs with vibrant color effects.
Designing Abstract Patterns
Creating abstract patterns on acrylic nails allows for endless artistic expression, combining bold lines, fluid shapes, and intricate motifs. You can experiment with abstract patterns by blending colors seamlessly, creating captivating visual effects. Use freeform strokes and layered textures to add depth and movement, making each design unique. Focus on smooth color blending to unify contrasting hues or create gradients that flow naturally. Incorporate dynamic lines or spontaneous shapes to evoke emotion and energy. Remember, the beauty of abstract patterns lies in their randomness and personal touch. Color blending techniques can help achieve more seamless transitions and professional-looking designs. Feel the thrill of spontaneous creation with bold, unrestrained strokes. Capture emotion through seamless color blending and fluid transitions. Express your individuality with unpredictable, intricate motifs
Crafting Themed Symbols
Crafting themed symbols on acrylic nails allows you to transform simple motifs into detailed, eye-catching designs that convey specific ideas or stories. You can incorporate seasonal motifs, such as snowflakes for winter or sunflowers for summer, to create timely, personalized looks. Geometric patterns also lend themselves well to themed symbols, offering clean lines and symmetry that enhance the overall design. Use sculpting tools to carve these symbols in 3D, adding depth and texture to your artwork. Whether you’re creating a festive holiday scene or a minimalist motif, these symbols make your nails stand out. Focus on precision and detail to ascertain each element complements the theme, making your nail art both meaningful and visually striking.
Tips for Achieving Smooth and Precise 3D Shapes

Achieving smooth and precise 3D shapes in acrylic nail art requires attention to detail and proper technique. To do this, focus on maintaining texture consistency throughout your sculpting process and make certain your tools are razor-sharp for maximum control. When working with acrylic, use steady, deliberate strokes to create clean edges and avoid lumps. Keep your tools aligned with the design, so each shape is defined and uniform. Remember, precision in your tools allows you to craft delicate flowers or intricate designs effortlessly.
Perfect your acrylic nail art with steady strokes and sharp tools for flawless 3D designs.
- Feel confident with every stroke, knowing your tools respond perfectly to your touch
- Maintain a consistent texture to build flawless, dimensional shapes
- Practice patience to perfect each detail and elevate your artistry
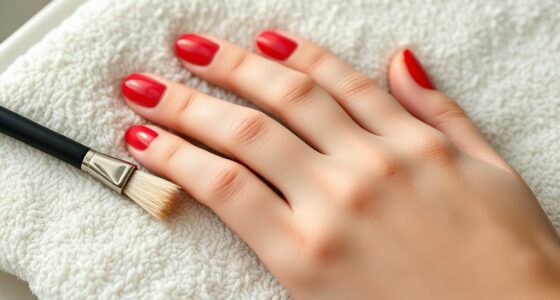
Securing and Finishing Your Design With Top Coat
Once your 3D acrylic nail design is complete, applying a high-quality top coat is crucial to safeguard your work and guarantee a long-lasting finish. If you prefer a sleek, modern look, consider applying a matte finish top coat to give your nails a sophisticated matte effect while protecting your intricate designs. For added sparkle, use rhinestones strategically and secure them with a clear top coat to ensure they stay in place. Be gentle when applying the top coat to avoid smudging or disturbing your 3D elements. Ensure even coverage over your entire design, especially around raised parts, to lock everything in securely. This final step not only enhances your nail art’s durability but also elevates its overall appearance.
Troubleshooting Common Challenges in 3D Acrylic Sculpting
You might notice air bubbles or uneven surfaces in your 3D acrylic sculptures, but don’t worry—these are common challenges. Addressing air bubbles quickly helps keep your design smooth and polished, while fixing uneven areas guarantees your final look is flawless. Let’s explore simple ways to troubleshoot these issues effectively.
Handling Air Bubbles
To minimize bubbles, consider these tips:
- Use a fine brush to smooth the acrylic, reducing trapped air
- Work slowly to allow surface tension to equalize
- Apply acrylic in thin, even layers for better control
Keeping these practices in mind guarantees your designs stay smooth, flawless, and bubble-free, leading to professional-looking results every time.
Fixing Uneven Surfaces
Uneven surfaces are a common challenge in 3D acrylic sculpting, but they can be rectified with the right techniques. To achieve a smooth finish, start by gently filing any high spots and blending the edges for surface smoothing. If you notice ridges or bumps, apply a small amount of acrylic to the uneven areas, then sculpt and smooth it out with a brush or tool before it hardens. For uneven surface correction, use a fine-grit buffer to gently refine the surface, ensuring all irregularities are eliminated. Be patient and precise—working gradually helps prevent over-filing or adding unnecessary acrylic. Proper surface smoothing not only improves the look but also ensures your floral designs and details sit perfectly on the nail for a professional finish.
Maintaining and Caring for Your 3D Acrylic Nail Art
Proper maintenance is key to keeping your 3D acrylic nail art looking stunning and intact. To do this, avoid harsh nail polish removal methods that can weaken the acrylic and damage the intricate designs. Instead, opt for gentle, non-acetone removers when needed. Prioritize cuticle care by moisturizing regularly and gently pushing back cuticles to prevent lifting or chipping. To maintain your nails’ beauty, consider these tips:
- Keep your nails moisturized to prevent dryness and cracks
- Avoid using your nails as tools to reduce damage
- Schedule regular professional touch-ups to preserve the 3D details
Frequently Asked Questions
How Long Does 3D Acrylic Nail Art Typically Last?
Your 3D acrylic nail art typically lasts about 2 to 3 weeks, depending on nail longevity and how well you care for them. Regular wear and tear, like typing or household chores, can cause the designs to chip or lift sooner. To extend the life, avoid harsh chemicals and get touch-ups as needed. Proper maintenance keeps your nails looking fresh and vibrant longer.
Can 3D Acrylic Designs Be Removed Without Damaging Nails?
You can absolutely remove 3D acrylic designs without wrecking your nails, but it takes a delicate touch. Opt for gentle removal methods, like soaking in acetone and gently pushing off the design, and always trust a professional service. Trying to peel or force the designs off is like ripping a bouquet apart—dangerous and damaging. So, play it safe, and let the pros handle it for the best, damage-free results!
Are There Any Safety Precautions for Allergy-Sensitive Individuals?
If you’re allergy-sensitive, always start with allergy testing before trying new acrylic nail products. Use hypoallergenic products specifically designed for sensitive skin to reduce reactions. Make sure to patch test the products on a small skin area, and wait 48 hours to see if any irritation occurs. Communicate your allergies to your nail technician, so they can take extra precautions and choose safe, hypoallergenic materials for your nail art.
What Are the Best Practices for Repairing Broken 3D Acrylic Flowers?
Imagine your client’s delicate acrylic flower breaks mid-manicure. To repair, carefully file the damaged area, then use a small amount of acrylic for flower repair, blending it seamlessly into the existing design. Shape and cure the acrylic restoration properly, then gently refine the flower to match the original. This process guarantees your nail art remains flawless, emphasizing precision in acrylic restoration and preserving the beauty of the 3D design.
How Can I Customize 3D Designs for Special Occasions?
You can customize 3D designs for special occasions by adding personalized embellishments like rhinestones, charms, or initials that match the theme. Use themed design ideas such as romantic roses for weddings or spooky motifs for Halloween. Incorporate colors and patterns that reflect the event’s vibe, and layer different 3D elements to create unique, eye-catching nail art. This way, your nails will perfectly suit any celebration or special moment.
Conclusion
With patience and practice, your 3D acrylic nail art can bloom into stunning floral masterpieces. Think of each nail as a tiny garden—carefully cultivated and nurtured to flourish. As you refine your technique, your designs will become more vibrant and intricate, turning your fingertips into living canvases. Keep experimenting, stay creative, and watch your skills blossom into art that captivates and inspires every time you glance at your hands.