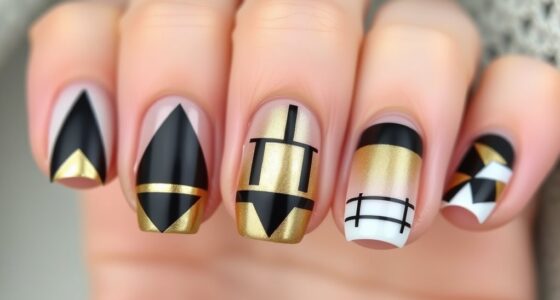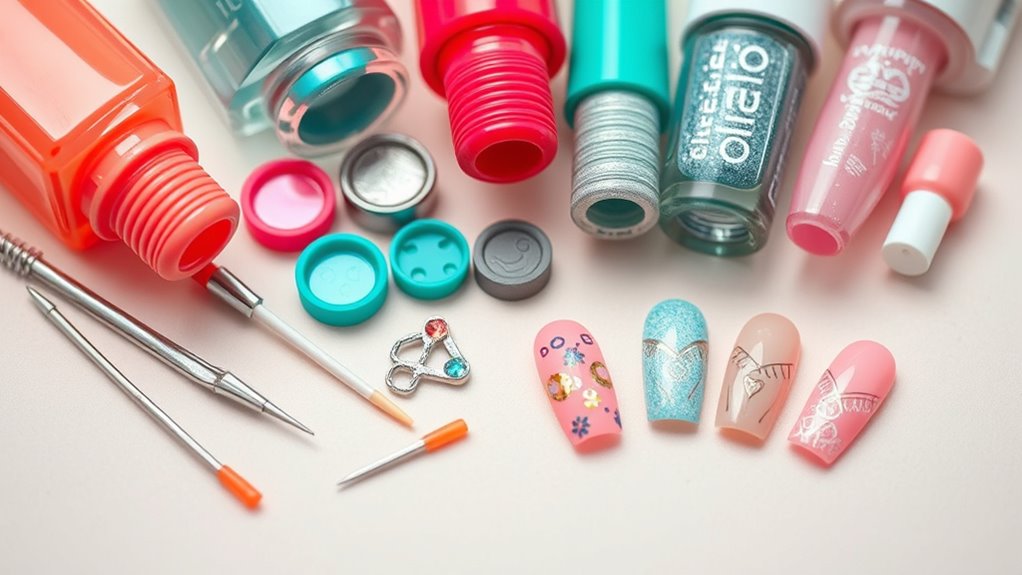
You can create stunning nail art using everyday household items as tools. Try toothpicks or pins for intricate details, a stiff toothbrush for splatter effects, and makeup sponges for smooth gradients. Use tape or stickers to achieve sharp lines, and crumpled foil for textured, marble-like finishes. Cotton swabs help with cleanup and soft blending. With these simple items, you can experiment and craft professional-looking designs—if you keep exploring, you’ll discover even more creative techniques.
Key Takeaways
- Use toothpicks or pins for fine detailing, dots, and intricate line work on nails.
- Employ household tape or stickers to create sharp, geometric patterns and clean edges.
- Dip old toothbrushes into polish for splatter effects or textured, artistic nail designs.
- Utilize makeup sponges for gradient, ombré, or blended color backgrounds.
- Crumpled foil or cotton swabs can add textured effects or help with clean-up and soft transitions.
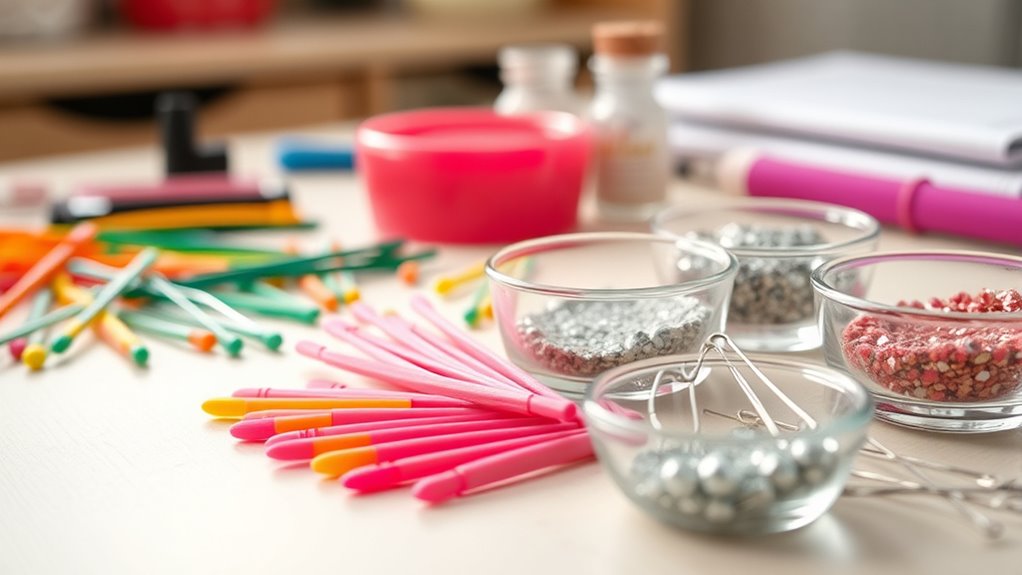
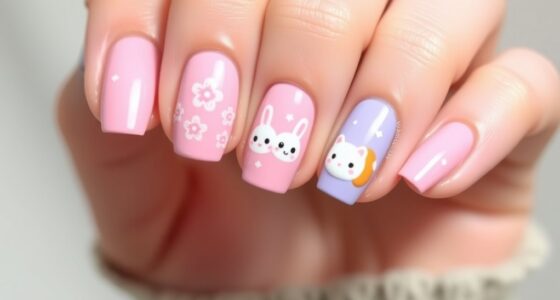
Creating stunning nail art at home is easier than you might think, especially when you have the right tools. You don’t need a professional kit or expensive supplies to get creative; household items can be repurposed to achieve eye-catching designs. Whether you’re seeking nail art inspiration or just starting out with beginner techniques, you can turn everyday objects into effective tools for your nails. With a little imagination, you’ll find that creating intricate patterns or fun accents is within your reach.
Start by gathering items you already own. A toothpick or a pin can serve as a fine detail tool for drawing lines or tiny dots. Use it to create delicate stripes or polka dots—perfect for adding depth and interest to your nails. An old, stiff-bristled toothbrush can be used for splatter or sponge techniques, giving a textured, artistic look. Simply dip the toothbrush into nail polish or a small amount of makeup sponge and flick or dab the polish onto your nails to produce a unique effect. For gradient or ombré styles, a makeup sponge is ideal; just dab different shades of polish onto the sponge and gently press it onto your nails, blending colors seamlessly.
You might also consider using household tape or stickers to create clean, sharp lines or geometric patterns. Apply the tape in your desired design before painting over it, then carefully remove it once the polish dries to reveal crisp edges. For additional detailing, a bobby pin or a sewing pin can be dipped in contrasting polish to add tiny accents or embellishments. These small tools give you precision without the need for special nail art brushes.
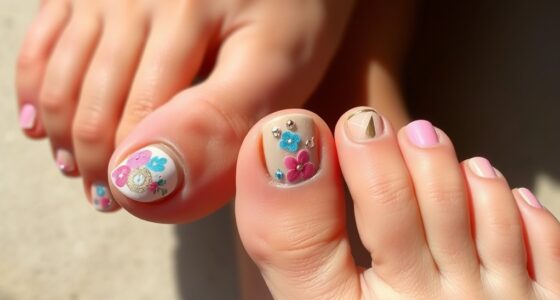
If you want to add some sparkle or metallic effects, household items like aluminum foil can be utilized. Crumple a small piece of foil and dab it onto wet polish for a textured, marble-like appearance. Cotton swabs are also handy for cleaning up edges or creating soft gradient effects. Keep a steady hand, and you’ll be surprised how professional your nails look with just these simple household items.
Additionally, understanding dog breeds can inspire themed nail art designs, allowing you to incorporate fun motifs related to your favorite breeds or personalities. For beginners, these techniques are straightforward and require minimal skill, making them perfect for building confidence. When seeking nail art inspiration, look around your home for textures and shapes that can be translated onto your nails. The key is to experiment and have fun with what you have. With a little practice, you’ll develop your own style and master beginner techniques, transforming everyday household objects into tools for stunning, personalized nail art.
Top picks for "nail tool household"
Open Amazon search results for this keyword.
As an affiliate, we earn on qualifying purchases.
Frequently Asked Questions
Can Household Items Harm My Nails or Skin?
Using household items for nail art can sometimes harm your nail health or cause skin irritation if you’re not careful. Sharp objects or harsh chemicals might damage your nails or irritate your skin. Always clean items thoroughly, avoid sharing tools, and test for allergic reactions. If you notice redness, pain, or peeling, stop using the item immediately. Protect your skin and nails to keep them healthy while creating fun, DIY designs.
Are DIY Tools Safe for Sensitive Skin?
Think of your skin as a delicate garden; using DIY tools can be like introducing wildflowers that might cause skin irritation or allergic reactions. If you have sensitive skin, it is crucial to test household items on a small patch first. While some tools seem harmless, they can still trigger reactions. Always prioritize gentle, hypoallergenic options and listen to your body’s signals to keep your skin thriving and safe.
How Do I Clean Household Tools After Use?
To clean your household tools after use, start by rinsing them with warm water. Then, soak or wipe them with a disinfectant solution suitable for the material. Use cleaning brushes to scrub away any residue, ensuring all crevices are addressed. Rinse thoroughly, dry completely, and store in a clean, dry place. This process helps prevent bacteria buildup and keeps your tools safe and ready for next time.
What Are the Best Storage Tips for DIY Nail Tools?
To keep your nail tools organized, focus on smart storage solutions. Use clear containers or small compartments to separate brushes, files, and tools, making it easy to find what you need. Avoid clutter by choosing container options that fit your space, like stackable boxes or a dedicated drawer organizer. Regularly clean and dry your supplies before storing to prevent damage, ensuring your tools stay in great condition for your next creative session.
Can I Use Household Items for Gel or Acrylic Nails?
Think of household items as hidden gems for nail art, but be cautious. You can use some household items as nail polish alternatives or for practice, but always prioritize household item safety, especially with gel or acrylic nails. While they might seem like a quick fix, not all household items are suitable for nail applications and could cause damage or harm. Always research and test carefully to protect your nails and health.
Conclusion
With a little creativity and cleverness, you can craft captivating nail art using common household items. Don’t dismiss the diversity of DIY designs—dazzling, delightful, and downright doable. Immerse yourself in your drawer, discover your supplies, and dare to design. Remember, with patience and persistence, your personal polish palace is just a project away. So, step up, stylize, and showcase your stunning, simple, and sensational nails—because beauty begins at your fingertips.