To achieve a mirror finish on your nails at home, start with a thorough nail prep: remove old polish, shape your nails, push back cuticles, and wipe them clean. Use high-quality gel polish and apply multiple thin coats, curing each properly. Lightly buff the surface after curing, then add chrome powder or a mirror top coat for a reflective shine. Finish with a sealant, and if you want to perfect your technique, keep exploring for more expert tips.
Key Takeaways
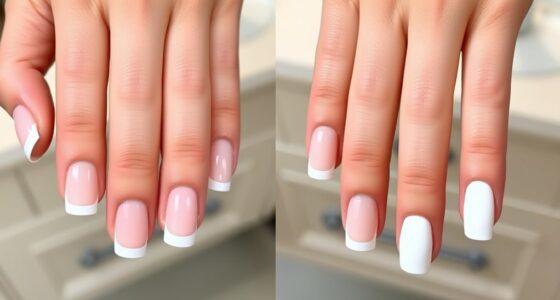
- Properly prep nails by removing polish, shaping, buffing, and pushing back cuticles for a clean surface.
- Use high-quality gel polish formulated for mirror or chrome finishes, applying thin, even layers.
- Cure each layer thoroughly under UV or LED light and lightly buff the gel surface after curing.
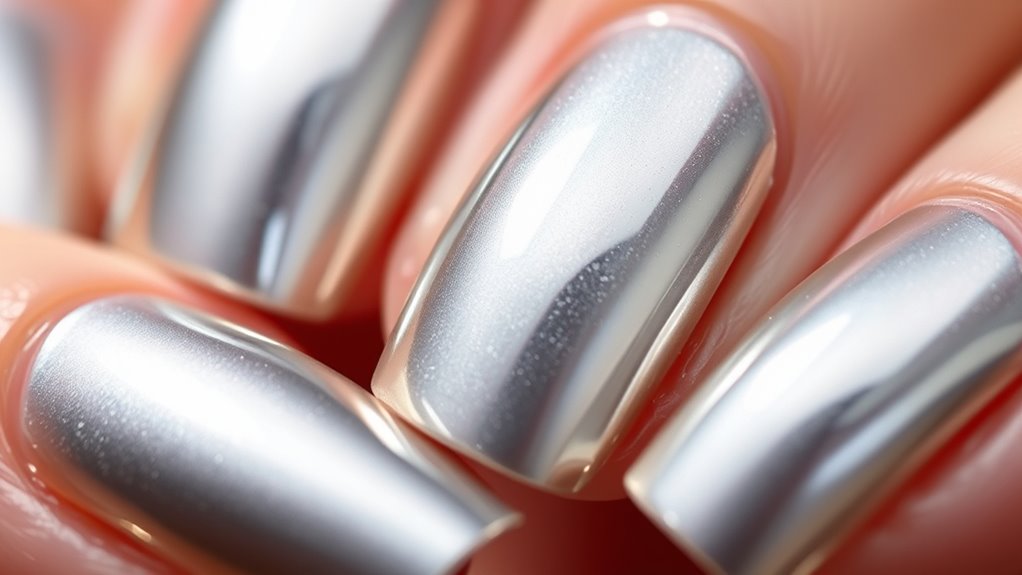
- Apply chrome powder or mirror top coat evenly, then seal with a final gel top coat and cure fully.
- Finish with a soft buffing to enhance reflectivity and ensure a smooth, glossy, mirror-like shine.
Have you ever wondered how to achieve that stunning, mirror-like finish on your nails? If so, you’re not alone. Many people want that sleek, reflective look but aren’t sure where to start. The key lies in proper nail prep and choosing the right gel polish. Before you even think about applying chrome, you need a solid foundation. Nail prep is essential because it guarantees your nails are clean, smooth, and free of oils or residue that can interfere with adhesion. Begin by removing any existing polish with a gentle nail polish remover, then shape your nails with a file to your desired length and style. Next, gently buff the surface of your nails to remove shine, creating a rougher texture that helps the gel polish adhere better. Don’t forget to push back your cuticles for a neat application. Wiping your nails with a lint-free wipe soaked in alcohol or nail cleanser after buffing removes any oils or dust, creating a clean surface for the gel polish. Proper nail prep is crucial because it prevents lifting and ensures your chrome finish looks flawless and lasts longer. A smooth nail surface is vital for achieving a perfect mirror effect.
Choosing the right gel polish is equally important. Look for a high-quality gel that’s specifically formulated for mirror or chrome finishes. Many brands offer gel polishes designed to give a smooth, reflective surface when cured. Applying a base coat is your next step; it creates a barrier that protects your natural nails and provides a sticky layer for the gel to grip. Follow the base coat with a thin layer of your chosen gel polish, making sure to cure each layer under a UV or LED lamp according to the manufacturer’s instructions. Multiple thin coats often result in a more even, shiny surface, which is vital for achieving that mirror effect. Once your gel layers are cured, lightly buff the surface with a fine buffer or a soft buffing block to smooth out any imperfections and enhance reflectivity. Then, apply a chrome powder or mirror top coat, which gives the nails their iconic shiny, reflective finish. Seal everything in with a final layer of gel top coat, curing it thoroughly to lock in the shine and protect your design.
Achieving perfect chrome nails at home is all about patience and precision. Proper nail prep sets the stage for a long-lasting, mirror-like shine, while the right gel polish guarantees your nails look stunning. With the right techniques and quality products, you can enjoy professional-looking chrome nails without leaving your house.
Frequently Asked Questions
Can I Use Regular Nail Polish for Chrome Nails?
You can’t use regular nail polish for chrome nails because of nail polish compatibility issues. Regular polish won’t give you that shiny, mirror-like finish you’re aiming for. Instead, focus on DIY chrome techniques with a special chrome powder or foil that works over a base coat. These methods are designed for chrome effects and guarantee your nails look flawless. So, skip the regular polish and choose products made for chrome nails.
How Long Does a Mirror Chrome Finish Last?
Think of your mirror chrome nails like a shiny new car—impressive but needing care. The durability factors, like top coat quality and how often you wear gloves, influence how long your finish lasts. Typically, it stays flawless for about a week or two. To extend its life, follow maintenance tips like gentle cleaning and avoiding harsh chemicals. With proper care, your mirror finish keeps dazzling much longer.
Is Special Lighting Needed to See the Mirror Effect?
You don’t need special lighting setup to see the mirror effect clearly. Instead, focus on your viewing angle—hold your nails at different angles to catch the light and reveal the shine. Natural light often works best, but a well-lit room can also enhance the mirror finish. Keep your nails away from harsh shadows, and you’ll notice the stunning, reflective effect more vividly.
Can I Remove Chrome Nail Polish Easily at Home?
Removing chrome nail polish at home is doable with proper DIY removal techniques. You might worry about damaging your nails, but using acetone-based polish remover and gently filing the surface first helps. Soak a cotton ball, press it onto your nails, and wrap with foil for a few minutes. This process makes removal easier and safer, giving you a shiny, clean finish without professional help.
Are There Any Safety Concerns With Chrome Nail Powders?
You should be aware of potential toxicity concerns with chrome nail powders, as some contain metals like aluminum or chromium that can be harmful if inhaled or ingested. To stay safe, guarantee proper ventilation whenever you use these powders, and avoid inhaling the dust. Always follow the manufacturer’s instructions, wear a mask if needed, and wash your hands thoroughly afterward. Prioritizing safety helps you enjoy your beautiful nails without health risks.
Conclusion
Achieving a stunning mirror chrome finish at home is totally doable with the right technique and patience. Just like Emma, who practiced a few times and finally got that flawless shine, you’ll find your groove too. Remember to prep your nails properly and apply thin, even layers. Before you know it, you’ll be rocking head-turning chrome nails that look professionally done—no salon required! Keep experimenting, and enjoy the shiny results!