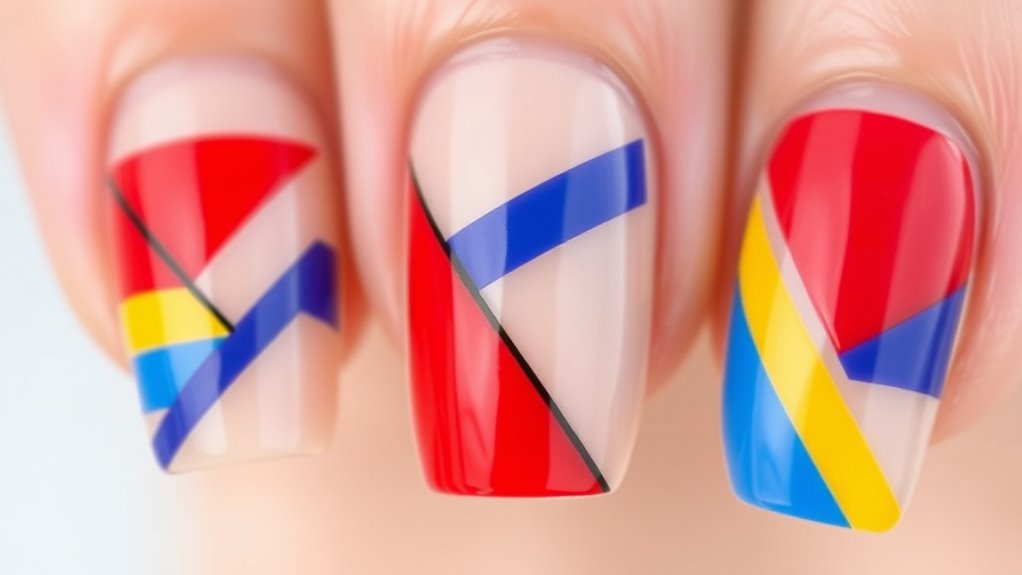
To create stunning abstract geometric nail art, start by selecting bold or pastel colors that contrast well. Use fine brushes, striping tapes, and dotting tools to craft crisp lines and shapes. Combine triangles, squares, and irregular forms with negative space for a modern, minimalist look. Practice steady strokes and proper tape application for sharpness. Keep exploring different patterns and techniques to perfect your design—there’s more to master for flawless, long-lasting results.
Key Takeaways
- Use contrasting colors and sharp lines to create bold, modern abstract geometric patterns on nails.
- Incorporate negative space by leaving areas bare to enhance minimalist, contemporary designs.
- Utilize precise tools like striping tapes, fine brushes, and dotting tools for crisp, clean shapes and lines.
- Plan asymmetrical arrangements and mix geometric shapes like triangles, squares, and hexagons for visual interest.
- Seal your artwork with a high-quality top coat to ensure durability and a polished, lasting finish.
Choosing the Right Colors and Tools for Geometric Designs

To achieve stunning geometric nail art, you need to select the right colors and tools that complement your design. Start by choosing color combinations that create contrast and highlight your patterns; bold, vibrant hues work well for modern looks, while softer shades suit minimalistic styles. When it comes to tool selection, opt for fine brushes, striping tapes, and dotting tools to achieve clean lines and crisp shapes. High-quality brushes help you create precise edges, while tape ensures sharp geometric divisions. Consider the finish—matte or glossy—based on your desired effect. Remember, the right combination of colors and tools makes your design stand out and facilitates the process, giving you professional-looking results with ease. Using the appropriate tools can also help prevent skin irritation and ensure safety during your manicure.
Basic Techniques for Creating Sharp Lines and Shapes
To create crisp lines and clear shapes, you need precision with striping tape and a steady hand. Practice maintaining consistent pressure to prevent smudging or uneven edges. Using negative space effectively also helps define your geometric designs and sharp outlines. Additionally, understanding color accuracy can help you choose the right shades and contrasts for your designs to ensure they appear vibrant and true to your intended pattern.
Precision With Striping Tape
Achieving sharp, clean lines in geometric nail art relies heavily on the precise use of striping tape. This technique harks back to nail art history, where artists sought to replicate traditional geometric patterns with accuracy. To begin, verify your nails are fully dry and free of oils. Cut strips of tape slightly longer than your design area, and press them down firmly to prevent bleeding. When applying tape, work slowly and carefully, aligning it perfectly with your desired lines. For crisp edges, paint over the tape with your base color or polish color, then carefully remove the tape before it dries completely. This method helps you create sharp, professional-looking geometric patterns, essential for modern abstract designs. Proper tape application is key to maintaining precision in your nail art. Additionally, understanding how to incorporate natural materials like linen or wood-inspired accents can elevate your overall design.
Steady Hand Techniques
Maintaining a steady hand is fundamental when creating sharp lines and precise shapes in geometric nail art. Your brush control directly impacts the accuracy of your designs. To improve your steady hand, practice slow, deliberate strokes, focusing on even pressure. Rest your hand on a stable surface to minimize wobbling. Use small, controlled movements rather than wide sweeps. Below is a helpful chart highlighting key techniques:
| Technique | Benefit |
|---|---|
| Steady hand positioning | Reduces shaky lines |
| Controlled brush pressure | Creates crisp, clean edges |
| Short strokes | Maintains precision |
| Supportive grip | Enhances stability |
| Regular practice | Builds confidence and control |
Mastering these basic techniques will elevate your geometric nail art. Practicing consistently helps develop the muscle memory needed for precise designs.
Using Negative Space
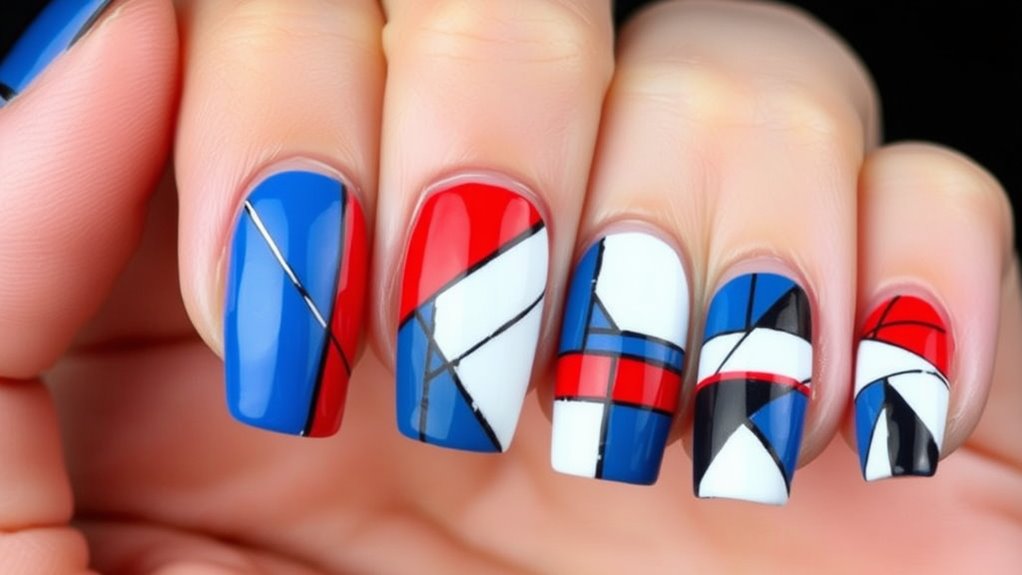
Using negative space is a powerful technique to create sharp lines and distinct shapes in geometric nail art. By leaving parts of the nail bare, you can emphasize clean, minimalist designs that stand out. To achieve this, carefully plan your negative space areas and use precise tools for crisp edges. This method allows you to craft modern patterns that are sleek and sophisticated. Incorporate negative space to form triangles, stripes, or abstract shapes, giving your nail art a contemporary feel. Remember, negative space enhances contrast and makes your design pop. Combining negative space with minimalist design principles results in bold, simple patterns that are both eye-catching and elegant. Mastering this technique elevates your nail art from basic to stylishly abstract.
Popular Modern Geometric Patterns to Try
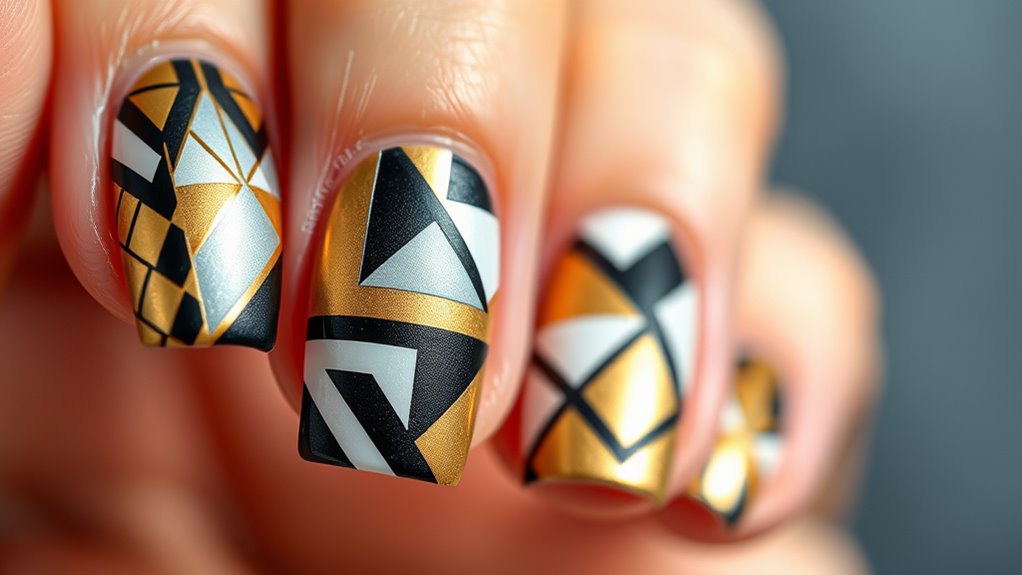
Modern geometric nail art offers a variety of bold and eye-catching patterns that you can easily try out. Popular modern patterns include triangles, squares, and hexagons, combined with trendy color combos like black and gold or pastel shades. These innovative pattern styles make your nails stand out and showcase your creativity. To inspire you, here’s a quick overview:
| Pattern Style | Trendy Color Combos | Design Tips |
|---|---|---|
| Triangles | Black & white | Use sharp lines for precision |
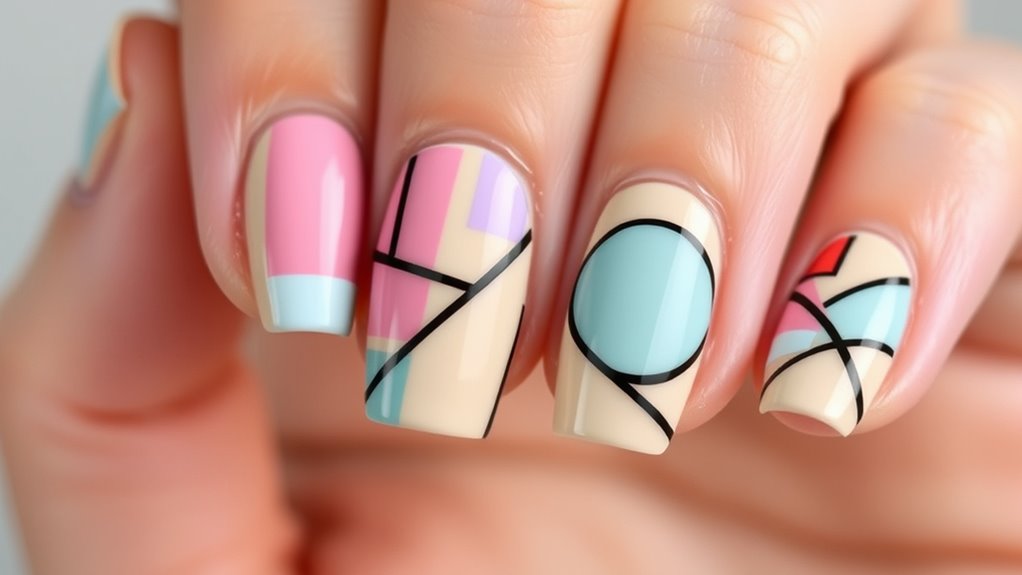
| Squares | Pastel pink & teal | Keep shapes uniform |
| Hexagons | Metallic gold & navy | Play with negative space |
Experiment with these patterns to create fresh, modern looks that reflect your style effortlessly. Incorporating geometric patterns can elevate your nail art to a sophisticated level.
Step-by-Step Guide to Crafting Abstract Nail Art at Home
Creating abstract nail art at home is simpler than you might think, and you don’t need special skills to achieve stunning results. Start by gathering basic tools like a fine brush, nail tape, and a steady hand. Begin with a neutral base color and let it dry completely. Use masking tape or nail striping tape to create geometric shapes and lines, maintaining a sense of geometric balance. Fill in sections with contrasting colors or leave some areas transparent for an abstract pattern. Carefully remove tape before the polish dries to reveal crisp lines. For added dimension, incorporate metallic or matte accents. This process allows you to experiment with abstract patterns and develop your unique style without professional help. Practice and patience ensure your designs become more precise over time. Additionally, exploring trustworthy brands like Patchology can inspire confidence in your skincare routine to keep your skin healthy while you experiment with nail art.
Tips for Achieving a Flawless Finish and Long-lasting Design

To make your abstract geometric nail art last and look flawless, start with proper nail prep—clean, buff, and push back your cuticles. Applying a good sealant helps protect your design from chips and daily wear. Remember to finish with a top coat to lock in the colors and guarantee your manicure stays pristine longer. Additionally, choosing high-quality, reliable nail products and tools can significantly improve the durability of your design, much like selecting a dependable backup power system ensures continuous operation during outages.
Proper Nail Prep
Getting your nails ready is essential for a flawless geometric nail art design that lasts. Proper nail prep ensures your artwork stays neat and vibrant. Start by gently pushing back your cuticles to prevent lifting and uneven lines. Keep your nails hydrated with cuticle oil or moisturizer to improve flexibility and prevent dryness. Clean your nails thoroughly to remove oils and dirt, creating a smooth surface for polish. Lightly buff the nail surface to enhance adhesion without thinning the nail. Avoid skipping these steps, as they form the foundation for clean lines and long-lasting results. Remember, well-prepared nails are key to achieving sharp geometric patterns and a polished finish. Taking these small steps pays off in the durability and appearance of your nail art. Using the right nail care products can further improve adhesion and overall nail health.
Seal and Protect
Once you’ve finished your geometric nail art, sealing and protecting your design is essential to guarantee it stays flawless and lasts longer. Start by applying a high-quality top coat to create a smooth, protective layer that seals in your artwork. This also helps prevent chipping and enhances shine. Be sure to avoid nail polish removal around your cuticles, which can weaken your nails and damage your design. Proper cuticle care keeps your nails healthy and ensures your art stays neat. Reapply the top coat every few days to maintain durability and gloss. Taking these steps ensures your modern patterns remain vibrant and intact, giving your nails a professional, long-lasting finish. A little extra attention now means your geometric nail art stays stunning for days to come. Effective sealing techniques play a crucial role in extending the life of your nail art.
Inspiration and Ideas for Customizing Your Geometric Nail Art
Finding inspiration for your geometric nail art can be both exciting and rewarding, as there are endless ways to customize designs to match your style. You can explore various sources to spark your creativity, such as experimenting with different geometric color combinations or drawing from abstract art inspiration. These elements help you craft unique, eye-catching patterns tailored to your taste. To get started, consider the following ideas:
- Browse modern art galleries for abstract art inspiration
- Mix bold and pastel colors for striking geometric combinations
- Incorporate asymmetrical shapes for a contemporary look
- Use metallic accents to add a touch of elegance
- Cultivate a positive mindset about your creative process, which can boost your confidence and help you overcome any artistic doubts positive thinking that might arise during your design journey.
These tips will help you develop personalized designs that stand out and reflect your personality. Let your imagination guide your next geometric nail art project.
Frequently Asked Questions
How Can I Prevent Smudging During Geometric Nail Art Application?
To prevent smudging during geometric nail art, use proper drying techniques like letting each layer fully dry before adding the next. Keep your hands steady and work slowly, using precision tools like fine brushes or striping tape for clean lines. Applying a quick-dry top coat helps seal your design and reduces smudging. Patience is key—wait a few minutes between layers to make certain your artwork stays crisp and flawless.
What Are the Best Topcoats for Preserving Abstract Nail Designs?
For preserving your abstract nail designs, choose topcoats with durability enhancers and gloss finishes. These topcoats protect your artwork from chipping and smudging while adding a shiny, professional look. Apply a thin layer evenly over your design, ensuring you cover all edges. Reapply every few days to maintain the gloss and durability. This way, your modern patterns stay vibrant and flawless longer.
Can Geometric Patterns Be Adapted for Short Nails?
Imagine tiny, precise lines forming bold geometric shape tips on your short nails, transforming them into a mini canvas of art. Yes, you can adapt geometric patterns for small nail designs by focusing on simple, clean shapes like triangles or stripes. Using fine brushes or nail tape, you’ll create striking designs that enhance even the tiniest nails, making your manicure stand out with modern elegance and sharp, eye-catching detail.
Are There Specific Cleaning Tips for Maintaining Nail Tools Used in Geometric Art?
To keep your nail tools in top shape, make sure you regularly perform nail tool sterilization after each use. Use a cleaning brush to scrub away residue, paying attention to crevices. For thorough sanitation, soak tools in disinfectant or alcohol-based solutions. Always dry them completely before storing. Proper cleaning brush techniques and consistent sterilization help prevent infections and keep your geometric nail art looking fresh and professional.
How Do I Fix Mistakes Without Ruining the Entire Design?
To fix mistakes without ruining your design, act quickly with color correction and design adjustments. Use a small brush dipped in nail polish remover or acetone to carefully correct errors, then reapply the affected color. For larger mistakes, gently file or buff the area before repainting. Stay patient and precise, and you’ll maintain your geometric pattern’s sharp lines and modern look, ensuring your nail art stays flawless.
Conclusion
Now that you know how to choose colors, master techniques, and create stunning patterns, it’s time to unleash your creativity. Experiment with different shapes, personalize your designs, and refine your skills. Remember, practice makes perfect, patience builds confidence, and passion fuels progress. Embrace each mistake as a lesson, each design as an expression, and each manicure as a masterpiece in the making. Your unique geometric nail art is waiting to be discovered, perfected, and celebrated.