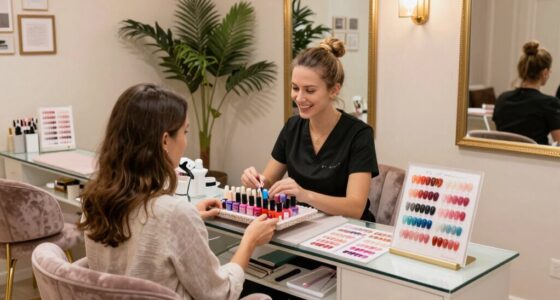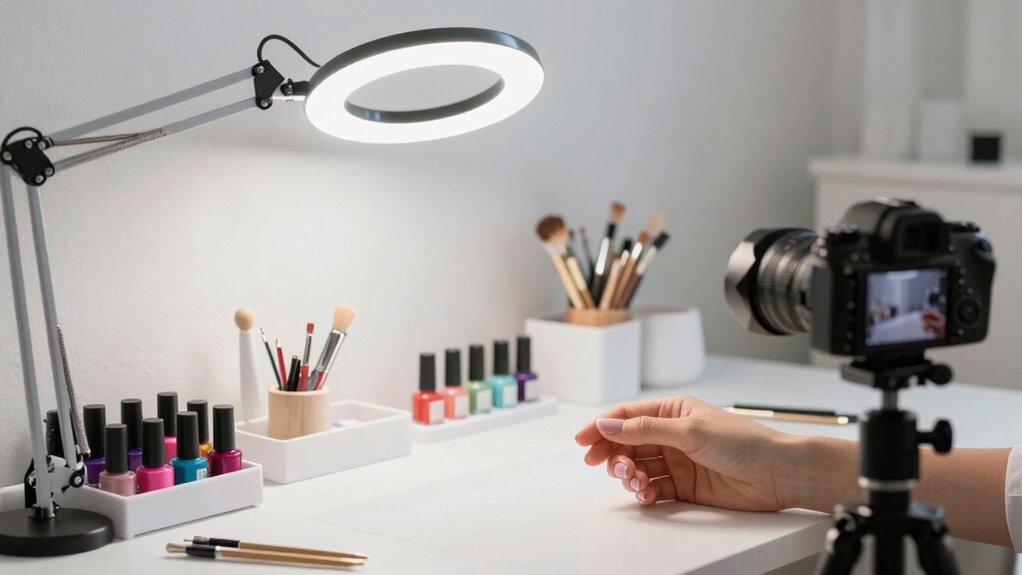
To upgrade your workspace for better nail photography, create a dedicated, clutter-free area with a neutral background to keep distractions away. Invest in good lighting like natural light or softboxes, and use reflectors to distribute light evenly. Set up your camera or smartphone on a tripod for stability and fine-tune focus on the nails. Organize your space ergonomically, and experiment with light angles. Keep exploring tips to make your photos stand out even more.

Get beauty and skincare favorites delivered free with Prime
- Fast, free delivery on millions of items
- Prime Video, Amazon Music and more included
- Member-only deals all year
Key Takeaways
- Designate a dedicated, clutter-free area with neutral backgrounds for consistent, distraction-free nail photography.
- Invest in adjustable, diffused lighting such as softboxes or ring lights for even illumination.
- Use a sturdy tripod and stable surface to ensure sharp, blur-free images.
- Incorporate reflectors or bounce cards to enhance light distribution and minimize shadows.
- Organize tools and props efficiently to streamline workflow and maintain setup consistency.
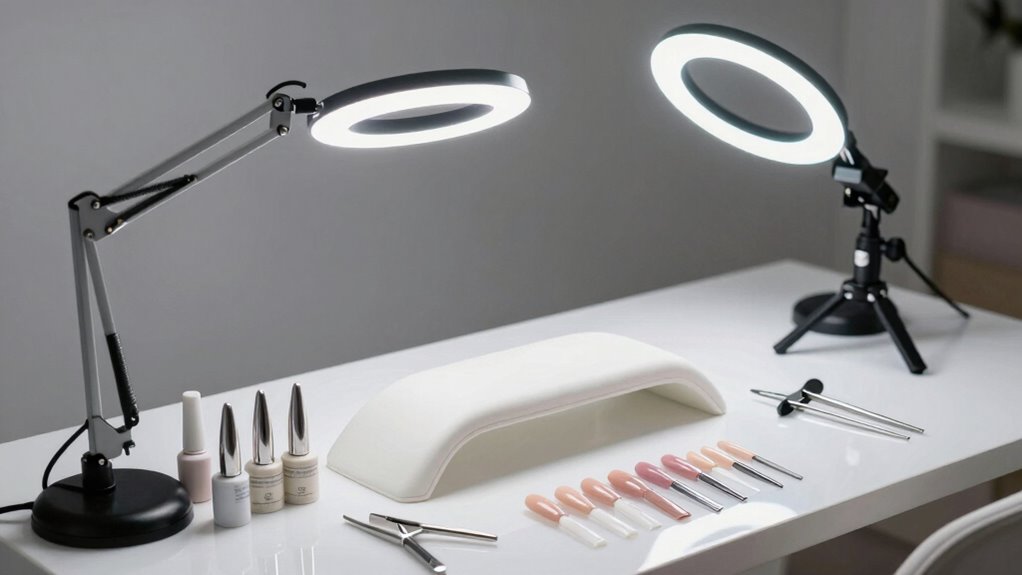
Ever wonder how to elevate your nail photography skills? The key often lies in your workspace setup, especially when it comes to lighting techniques and camera settings. Creating a dedicated, well-organized space where you can control every element makes a significant difference in capturing sharp, vibrant images of your nail art. Start by investing in good lighting; natural light is ideal, but if that’s not enough or inconsistent, supplement it with softbox lights or ring lights. These provide even, diffused illumination that minimizes harsh shadows and highlights the details of your nail designs. When using artificial lighting, experiment with different angles and distances to find the most flattering and true-to-color results.
A well-organized workspace with quality lighting and camera adjustments transforms your nail photography.
Adjusting your camera settings is equally important. Use a camera with manual controls, or even a smartphone with good manual mode options, to fine-tune your shots. Set a low ISO to reduce graininess, and choose a narrow aperture (like f/8 or higher) to increase depth of field, ensuring your entire nail is in sharp focus. Use a tripod or stable surface to keep your camera steady, especially when working with slower shutter speeds in lower light conditions. This stability prevents blurring and helps you capture crisp, detailed images. Take the time to lock in your focus carefully, especially on the nail art itself, so that every detail pops in the final shot.
Organizing your workspace around your camera and lighting setup also improves your workflow. Keep your camera or smartphone at the same height and distance from your nails for consistency. Use a neutral-colored background that won’t distract from your artwork—white, black, or pastel shades work well. Having a dedicated space with a clean, clutter-free surface allows you to work efficiently and reduces distractions. You might also consider adding reflectors or white bounce cards to direct light onto your nails and eliminate shadows, which enhances the overall clarity of your images. Additionally, understanding the importance of lighting techniques plays a crucial role in achieving professional-looking results. Incorporating light positioning strategies can further optimize your lighting setup for the best results. Moreover, learning about color correction and editing can further enhance your photos post-shoot. A well-designed workspace that considers ergonomics can also help prevent fatigue during long shoots, making it easier to maintain consistent quality. Furthermore, paying attention to lighting consistency ensures your images have a uniform appearance across different shoots.
As an affiliate, we earn on qualifying purchases.
Frequently Asked Questions
What Camera Settings Are Best for Nail Photography?
To capture stunning nail photos, set your camera to macro mode for close-up detail. Use a small aperture like f/16 or higher to increase depth of field, ensuring your nails are sharp. Adjust your white balance to match your lighting, and perform color correction in post-processing for true nail colors. Keep your ISO low to prevent grain, and use a tripod to stabilize your shot for crisp, professional results.
How Do I Choose the Right Background for Nail Shots?
You should choose a background that complements your nail design through color coordination, making the nails pop without overpowering them. Opt for neutral or solid colors to keep the focus on your nails, or use subtle textures to add depth without distraction. Consider texture options like matte or glossy surfaces to enhance the visual appeal. Keep the background simple and consistent, ensuring it highlights your nail art effectively.
What Are the Best Lighting Techniques for Detailed Nail Photos?
To capture detailed nail photos, focus on lighting techniques that enhance color contrast and highlight intricate details. Use natural or soft diffused light to avoid harsh shadows, and experiment with angle variation to find the best illumination. Position your light source at different angles to create depth, which makes the nail art pop. Consistent, well-placed lighting guarantees your photos showcase every detail clearly and vibrantly.
How Can I Prevent Reflections on Shiny Nail Polish?
Imagine your nails like tiny mirrors, reflecting unwanted glare. To prevent reflections on shiny nail polish, apply a matte topcoat to reduce gloss or use anti-reflective sprays that create a smooth, matte surface. These tools help diffuse light evenly, eliminating harsh reflections. As a result, your nail photos look clearer and more professional, showcasing intricate details without distracting glare.
What Tools Help Stabilize Nail Photography Setups?
To stabilize your nail photography setup, you should focus on tripod stability and grip accessories. Use a sturdy tripod with adjustable legs to keep your camera steady, preventing blurriness. Add grip accessories like rubberized mounts or clamps to secure your hand or nail props, minimizing movement. These tools guarantee your shots stay sharp and consistent, making your nail photos look professional and well-focused every time.
As an affiliate, we earn on qualifying purchases.
Conclusion
Think of your workspace as a garden, where each upgrade is a carefully planted seed. When nurtured with good lighting, a tidy background, and the right tools, your nail photography blossoms into something truly beautiful. With each enhancement, you create a haven that invites your creativity to flourish, turning simple shots into stunning works of art. Embrace these upgrades, and watch your photography grow brighter, more vibrant—like a garden in full bloom, ready to captivate every viewer.
As an affiliate, we earn on qualifying purchases.
reflector bounce card for photography
As an affiliate, we earn on qualifying purchases.
As an affiliate, we earn on qualifying purchases.
Fall Picks
fall essentials
As an affiliate, we earn on qualifying purchases.