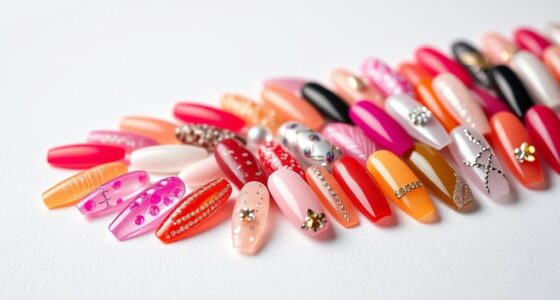
To get better nail photos, focus on good lighting. Natural light, especially mid-morning or late afternoon, provides soft, true-to-life results, while harsh midday sun can cause glare. If natural light isn’t enough, use artificial lighting like ring lights or softboxes, which offer consistent, adjustable brightness and color. Experiment with angles and distances to reduce shadows and enhance details. Keep exploring these lighting tips to take your nail photography to the next level.

Get beauty and skincare favorites delivered free — and shop member deals
- Fast, free delivery on millions of items
- Access to Prime Big Deal Days deals on October 6–7
- Prime Video, Amazon Music and more included
Key Takeaways
- Use natural light during mid-morning or late afternoon for soft, true-to-life nail art photos.
- Ensure even, diffuse lighting to prevent glare and highlight details effectively.
- When natural light isn’t available, employ softboxes or ring lights for consistent, controlled illumination.
- Experiment with light angles and distances to enhance nail color accuracy and surface detail.
- Adjust lighting temperature and intensity to match the desired mood and improve overall image quality.
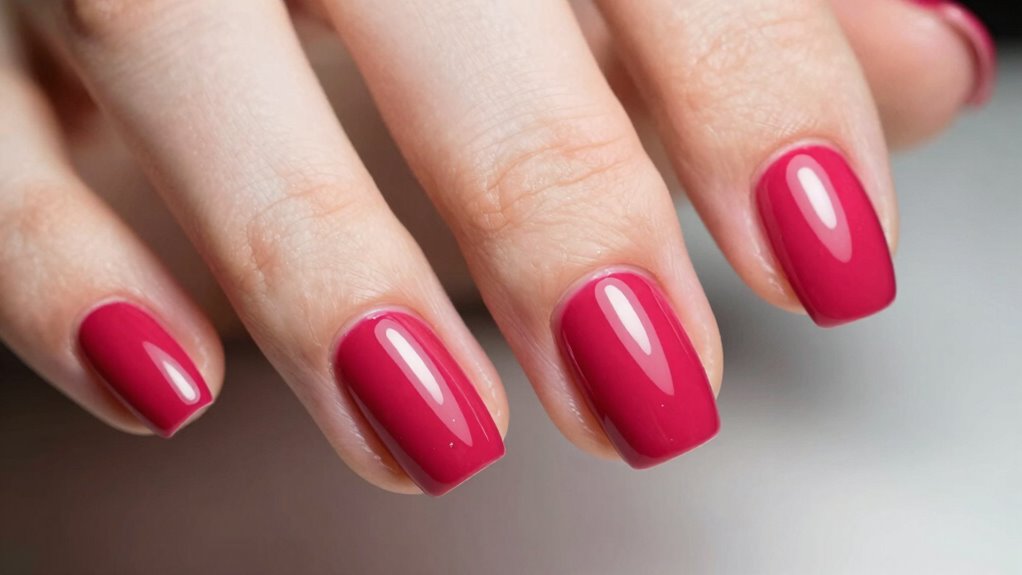
Lighting plays an essential role in showcasing nail art and ensuring your work looks its best. When you’re capturing photos of your designs, the type of light you use can make all the difference. Natural light is often the top choice because it provides a soft, even glow that enhances color accuracy and highlights intricate details without creating harsh shadows. If you’re outdoors or near a large window, you’ll find that natural light makes your nail art pop with vibrant clarity, allowing viewers to see every detail as if they were inspecting the nails in person. Just be mindful of the time of day; mid-morning or late afternoon sunlight tends to be softer and more flattering, whereas midday sun can be too harsh, creating unwanted glare and shadows.
On the other hand, artificial lighting is a reliable option when natural light isn’t available or consistent. When you’re indoors, using a good-quality ring light or softbox can help you achieve consistent, bright illumination that minimizes shadows and evenly lights your nails. Artificial lights allow you to control the brightness and color temperature, which is essential for capturing true-to-life colors and fine details of your nail art. You want to avoid overly warm or cool tones that can distort the look of your work, so opt for neutral white lighting. Combining artificial lighting with reflectors or diffusers can help soften any harsh spots and create a balanced, professional appearance in your photos. Additionally, understanding light temperature can help you select the right lighting setup for natural and accurate results. Knowing how to manipulate lighting angles can further improve the clarity and appeal of your photos. Adjusting your lighting intensity can also help you achieve the perfect exposure and highlight your nail art exactly as you envision it. Experimenting with different lighting positions can reveal the most flattering and detailed views of your designs. Moreover, paying attention to the distance between light and nails can significantly impact the softness and spread of light, enhancing your overall photo quality.
Whichever lighting source you choose, pay attention to how it interacts with your nails. Natural light tends to be more forgiving and dynamic, but it’s less predictable and varies throughout the day. Artificial lighting offers consistency, which is especially helpful if you’re photographing multiple designs or building a portfolio. Always aim for even, diffuse light to prevent glare and highlights that can obscure your nail art. Experiment with different angles and distances to find the ideal setup—sometimes, moving your light source slightly to the side or above can drastically improve your photo quality. Remember, the goal is to showcase your work accurately and attractively, so understanding how natural and artificial lighting influence your photos is key to elevating your nail content.
As an affiliate, we earn on qualifying purchases.
Frequently Asked Questions
How Do Different Light Colors Affect Nail Photos?
Different light colors, influenced by color temperature, markedly impact your nail photos. Warm lights (low color temperature) create cozy, inviting tones but can distort true nail colors. Cool lights (high color temperature) give a crisp, clean look, enhancing details. Using light diffusion softens harsh shadows and evenly spreads light, ensuring accurate color portrayal. Adjusting these elements helps you capture nail colors authentically, making your photos more appealing and professional.
What’s the Ideal Distance Between Light and Nails?
Think of your lighting as a guiding hand for perfect nail photos. Keep the light about 12-16 inches away from your nails, adjusting based on the lighting angles and power settings. Too close, and you risk harsh shadows; too far, and the light becomes too diffuse. Experiment with different distances until you find that sweet spot where your nails shine flawlessly, highlighting every detail with balanced brilliance.
How Can I Prevent Glare on Shiny Nails?
To prevent glare on shiny nails, adjust your lighting setup by using lights with a softer color temperature, around 5000K, to reduce harsh reflections. Incorporate light diffusion with softboxes or diffusers to evenly spread light and minimize glare. Position your light source at an angle rather than directly overhead, allowing the shine to highlight your nails without creating unwanted reflections. This approach guarantees a balanced, glare-free photo.
Which Lighting Setup Is Best for Natural Nail Colors?
Think of it as hitting two birds with one stone—you want natural nail colors to look true and vibrant. The best setup uses a soft, daylight-balanced light with a color temperature around 5000K to 5500K. Position the light at a 45-degree angle to evenly illuminate your nails without harsh shadows or glare. Adjust lighting until the colors look authentic, highlighting their natural beauty for stunning photos.
How Do Shadows Impact Nail Photo Clarity?
Shadows can considerably affect your nail photo clarity by creating uneven lighting and reducing detail. Using proper color temperature helps guarantee your nails’ true colors stand out, while light diffusion softens harsh shadows, making images clearer. When shadows are minimized or evenly distributed through diffuse lighting, your nail photos appear more vibrant, sharp, and professional. Adjusting these elements helps capture the perfect shot with balanced illumination and accurate color representation.
softbox lighting kit for photography
As an affiliate, we earn on qualifying purchases.
As an affiliate, we earn on qualifying purchases.
Conclusion
Mastering nail content lighting isn’t just about knowing the basics—you’re on the brink of uncovering how the right light can transform your photos from good to unforgettable. But here’s the catch: one small change could drastically alter your results, revealing secrets you never expected. Are you ready to experiment, push boundaries, and access lighting secrets that could elevate your nail photography forever? The next shot you take might just change everything—if you dare to discover what’s possible.
portable LED ring light for selfies
As an affiliate, we earn on qualifying purchases.
As an affiliate, we earn on qualifying purchases.
diffuser for photography lighting
As an affiliate, we earn on qualifying purchases.
As an affiliate, we earn on qualifying purchases.
Halloween Picks
halloween
As an affiliate, we earn on qualifying purchases.