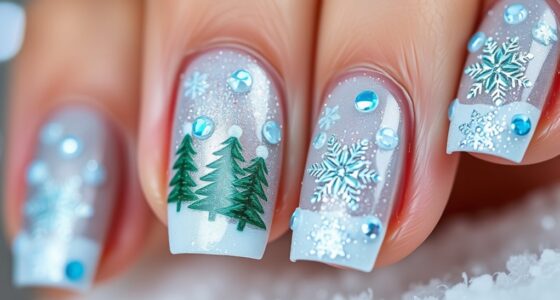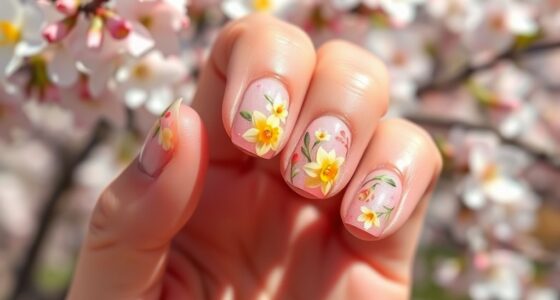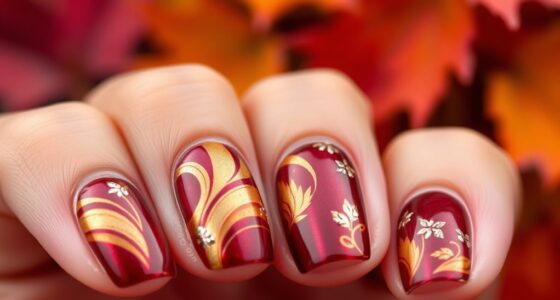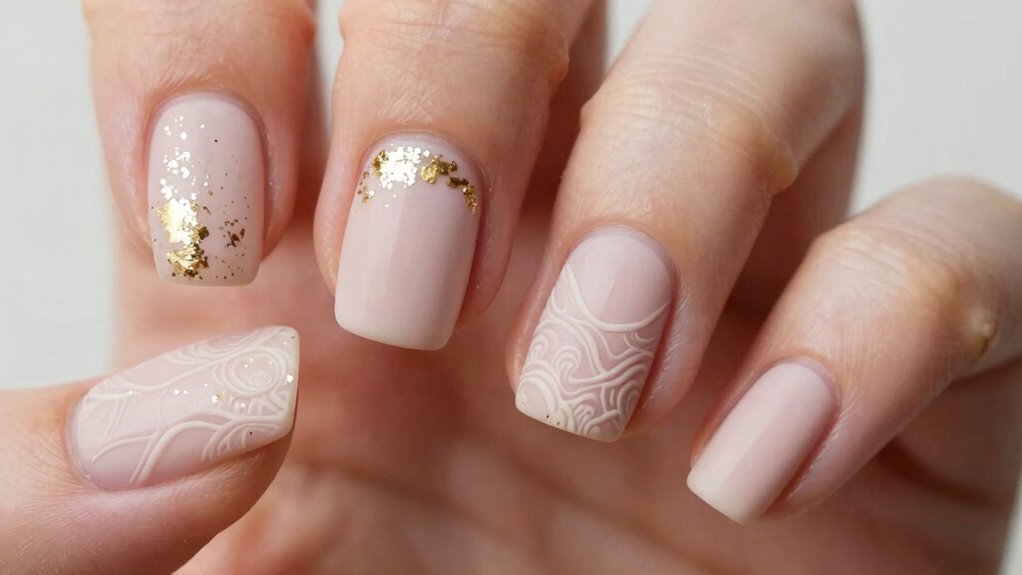
To use texture in nail art without overcrowding, focus on creating a clear focal point by choosing one nail or design element to feature textured details. Keep the other nails simple with smooth, glossy finishes to provide contrast. Limit the use of multiple textures on a single nail and use embellishments sparingly. Balancing bold textured accents with understated backgrounds helps maintain harmony, and exploring different tools can elevate your design. Keep experimenting, and you’ll discover how to blend textures seamlessly.
Key Takeaways
- Choose a single focal nail with textured design, keeping other nails smooth for contrast.
- Limit textured elements to one or two nails to avoid visual clutter.
- Use subtle textures like matte or small embellishments instead of heavy 3D effects.
- Pair bold textures with neutral or monochrome colors for balance and harmony.
- Incorporate embellishments sparingly, focusing on enhancing rather than overpowering the design.
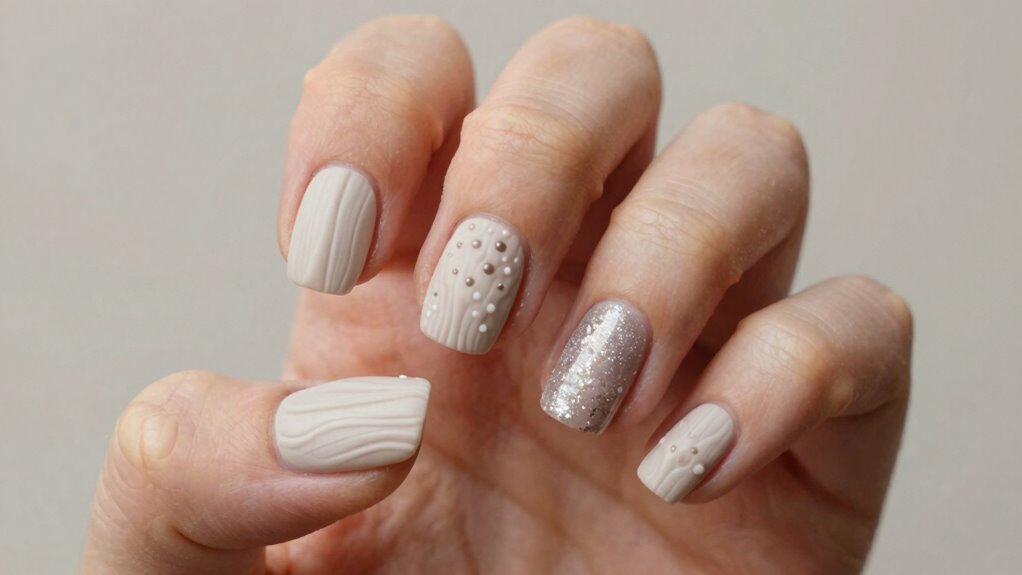
Texture can transform a simple nail design into a stunning piece of art, adding depth and dimension that catch the eye. When you explore the history of nail art, you’ll see that texture has always played an essential role in elevating designs beyond flat colors. From the intricate, embossed patterns of ancient civilizations to the modern use of 3D embellishments, nail art history reveals a continuous desire to experiment with surface effects. Today, texture techniques like matte finishes, gels, and embellishments allow you to create dynamic styles that stand out. However, incorporating texture without overcrowding your design requires careful planning and restraint.
Texture elevates nail art by adding depth and dimension, blending history and innovation for stunning surface effects.
To maintain balance, start by choosing a primary texture as your focal point. For example, if you want a textured accent nail, keep the rest of your nails simple with a smooth, glossy finish. This contrast enhances the textured element, making it pop without overwhelming. When applying texture techniques, use tools like sponges, brushes, or even silicone stamps to create subtle effects. For instance, a sponge can add a soft, marbled texture, while a fine brush can create intricate patterns. Remember, less is often more; a single textured element can be enough to add interest without cluttering your overall look.
Color plays a key role in managing texture. Stick to a cohesive palette to prevent your nails from looking chaotic. If you’re working with bold textures like studs or 3D floral designs, keep the color scheme muted or monochrome to avoid visual overload. Conversely, if you prefer more vibrant colors, limit the use of multiple textures on a single nail. For example, you could combine a matte base with a glossy accent or a glitter overlay on just one part of the nail. This layered approach adds depth while keeping the design clean and sophisticated. Understanding the importance of visual balance helps in achieving a harmonious look. Additionally, considering color theory can help in selecting shades that complement each other and enhance the overall design.
When working with embellishments such as rhinestones, pearls, or metal accents, apply them sparingly. Use small amounts of nail glue and precise placement to ensure they enhance rather than dominate your design. Incorporate these elements into textured backgrounds carefully, so they don’t compete with each other visually. The key is to create a harmonious balance—your goal isn’t to fill every inch but to highlight the beauty of each texture. Recognizing that the history of nail art demonstrates a continuous evolution of surface effects can inspire you to explore new and innovative ways to incorporate textures. Exploring surface effects further can provide additional inspiration for unique designs.
In addition, using appropriate tools can make the application of textured elements more precise and professional-looking. Ultimately, mastering the art of using texture in nail design means understanding when to hold back and when to push boundaries. By thoughtfully selecting texture techniques and balancing them with simpler elements, you can achieve a striking, multidimensional look without overcrowding. Remember, subtlety often makes the most powerful statement, especially when it comes to textured nail art.

LIQWEI 4Pcs Clay Texture Tools, Spider Gel for Nails, Liner Brush for Nails Gel Dotting Tool Nail Art Air Dry Clay Tool, Sculpting Pottery Carving Tools Nail Art Line Painting Wire Drawing Pen
【Package Included】Receive 4pcs of 7-pin nail art tools, crafted from durable aluminum, perfect for clay texture tools and…
As an affiliate, we earn on qualifying purchases.
As an affiliate, we earn on qualifying purchases.
Frequently Asked Questions
What Tools Are Best for Applying Textured Nail Polish?
You should use a dense, flat brush or a silicone tool for applying textured nail polish. Flat brushes help spread the texture evenly, while silicone tools allow for precise placement and creating interesting textures through dabbing or stamping. Tool comparisons show that brushes give a more uniform look, whereas silicone tools are perfect for adding dimension. Both help you achieve textured effects without overcrowding, so choose based on your desired style and technique.
How Long Does Textured Nail Art Typically Last?
Textured nail art usually lasts about one to two weeks, depending on your daily activities. To boost durability, apply a quality top coat regularly and avoid harsh chemicals. Maintenance advice includes gentle hand care, avoiding excessive water exposure, and reapplying top coat every few days to prevent chipping. With proper care, your textured manicure stays vibrant and intact longer, giving you a stunning look without frequent touch-ups.
Can Textured Designs Be Removed Easily?
Removing textured polish is like gently peeling away a stubborn sticker—you can do it at home without much hassle. Simply soak a cotton ball in acetone, press it onto your nails, and let it sit for a few minutes. Then, strip nail art carefully, using a nail file if needed. With patience and gentle action, you’ll have your nails back to smooth in no time.
Are There Any Specific Base Colors Recommended for Textured Nails?
For textured nails, opt for neutral or pastel base colors like soft pinks, beiges, or light grays, as they highlight the texture without overwhelming the design. When choosing texture color coordination, consider contrasting shades for added depth or matching tones for a subtle effect. Base color choices matter because they set the tone, while thoughtful texture color coordination guarantees your nail art looks balanced and stylish without overcrowding.
How Do I Fix Mistakes in Textured Nail Designs?
Don’t panic if you make a mistake with textured patterns; you can fix it easily. Gently file down the rough spot with a fine-grit nail buffer, then reapply the textured polish or top coat. For small errors, use a clean brush dipped in acetone to carefully correct the mistake. Remember, patience is key—small adjustments can make your textured nail design look flawless and intentional.
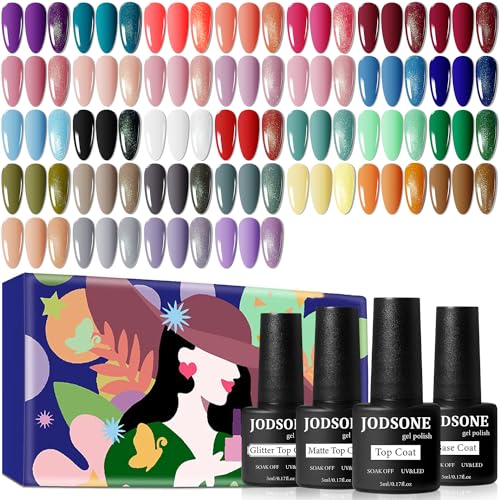
JODSONE 36 PCS Gel Nail Polish Set-32 Colors Gel Polish Kit Base Coat Glossy Matte and Glitter Top Coat Nail Polish Set Green Blue Red Pink Collection Gifts for Women
Gifts for Women: The gel nail polish kit has common classic colors such as green, nude, black, white,…
As an affiliate, we earn on qualifying purchases.
As an affiliate, we earn on qualifying purchases.
Conclusion
By mastering the art of texture, you can turn your nails into a stunning masterpiece that’s practically a work of art—without turning your fingertips into a chaotic mess! Remember, less is more; a subtle touch of texture can elevate your design to new heights, making it look sophisticated and eye-catching. So go ahead, experiment confidently, because with the right balance, your nails will become the envy of everyone—like tiny, gorgeous sculptures right on your fingertips!

Belleboost Silver Nail Charms and Gems, Half Round Flatback Pearl Nail Charms, Nail Pearls Rhinestones Kit Silver Beads for Nails with Pencil and Tweezer for DIY Nail Art, Face Makeup and Crafting
Package Contains — 1 Box of flat-back half round silver pearls; 1 Pcs of pick up pencil and…
As an affiliate, we earn on qualifying purchases.
As an affiliate, we earn on qualifying purchases.

Nail Art Stamper, Clear Silicone Stamping Jelly with Scraper, Transparent Visible Body, No Misplacement for DIY Nail Decor, Home Manicure Starter Tool Salon, French Tip Stamp, 200-Time Using (Clear)
Clear Jelly Stamper: clear for you to see the position where you want to place the pattern; Jelly…
As an affiliate, we earn on qualifying purchases.
As an affiliate, we earn on qualifying purchases.