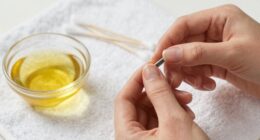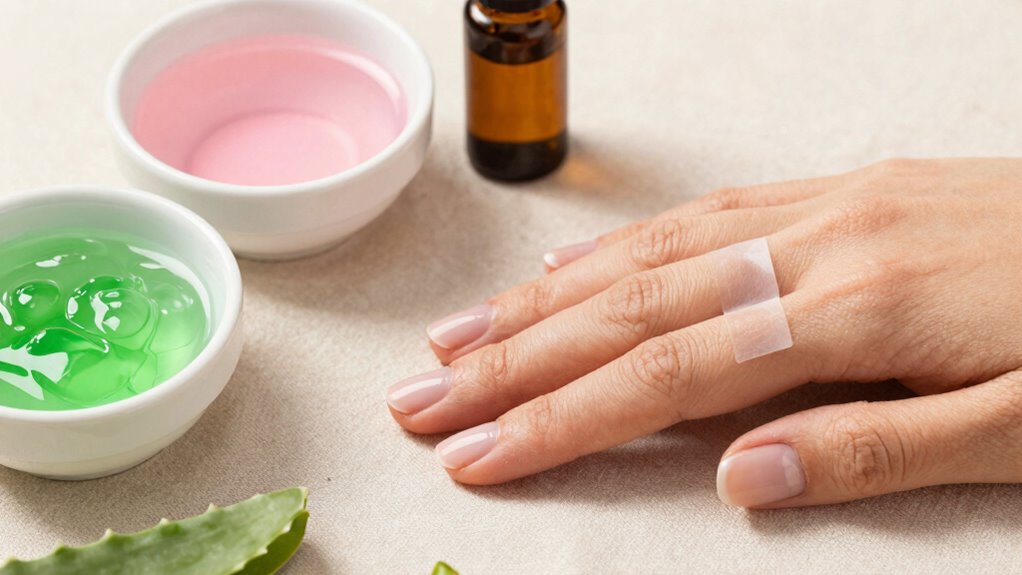

To patch-test DIY nail care ingredients, start by selecting a small patch of skin on your forearm or behind your ear. Mix a tiny amount of the ingredient, like a diluted essential oil or oil infusion, and apply it to this area. Cover it with a bandage if possible, and wait at least 24 hours. Look for signs of irritation, redness, or swelling. If nothing happens, it’s likely safe to use, but more tips await if you keep exploring.
Key Takeaways
- Choose a small skin area on the forearm or behind the ear for testing.
- Apply a tiny amount of the diluted ingredient and cover with a bandage.
- Wait at least 24 hours, observing for redness, swelling, or itching.
- Discontinue use immediately if any adverse reaction occurs during the test.
- Always dilute essential oils and natural extracts to minimize irritation risk.

Creating your own nail care products can be a simple and effective way to maintain healthy, beautiful nails without spending a fortune. Before you start applying any homemade remedies, it’s vital to perform a patch test to verify your skin won’t react negatively. This step is especially important when working with ingredients aimed at nail strengthening or cuticle hydration, as some natural substances can cause irritation or allergic reactions.
To begin, pick a small area of skin on your forearm or behind your ear—these spots are sensitive enough to reveal potential sensitivities without risking your nails or hands. Mix a tiny amount of your DIY ingredient, whether it’s a homemade oil blend, a citrus extract, or a herbal infusion, and apply a small dab to this patch. Cover the area with a bandage if possible, and wait at least 24 hours. This waiting period allows you to observe any redness, swelling, itching, or discomfort that might develop. If you notice any adverse reactions, avoid using that ingredient on your nails or cuticles altogether.
Test a small patch on your forearm or behind your ear before using new nail care ingredients.
When testing ingredients for nail strengthening, such as keratin or biotin-rich oils, or for cuticle hydration, like jojoba, almond, or castor oil, the patch test helps you identify whether your skin tolerates these substances. Incorporating color accuracy considerations when selecting ingredients can also improve overall results, ensuring products work harmoniously with your skin tone. Keep in mind that some ingredients may cause mild irritation initially but become tolerable over time, so if no symptoms appear within 24 hours, it’s generally safe to proceed. It’s also helpful to understand the natural properties of each ingredient to better predict potential reactions. Additionally, being aware of allergic reactions common to certain botanicals can help you choose safer options.
Understanding the potential risks associated with certain DIY ingredients can help you make more informed decisions. However, if you experience any irritation, redness, or burning, wash the area thoroughly with water and discontinue use.
It’s also wise to think about sensitivity to specific plant extracts or essential oils, which are common in DIY nail care recipes. Diluting these oils with a carrier oil, like coconut or olive oil, before applying them to your patch test area is a good practice. This not only minimizes the risk of irritation but also helps you gauge how your skin reacts to the diluted mixture. Additionally, understanding the safety precautions associated with DIY ingredients can help prevent adverse reactions and ensure a successful nail care routine.
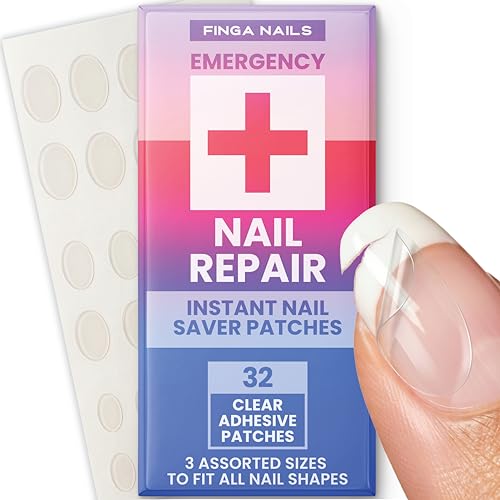
Nail Repair Patches – Clear Self-Adhesive Broken Nail Patches for Broken Fingernails – Split Fingernail Repair Sheet Instant Protection for Chips and Splits – 32 Pre-Shaped Tabs Manicure Saver Kit
Nail Repair Sheet; Quick broken nail repair for damaged nails, simply clean the cracked nail, choose your size…
As an affiliate, we earn on qualifying purchases.
As an affiliate, we earn on qualifying purchases.
Frequently Asked Questions
How Often Should I Perform a Patch Test?
You should perform a patch test at least 48 hours before applying any DIY nail care ingredients, especially if you have sensitive skin. Doing this helps guarantee your skin’s safety and reduces the risk of allergic reactions. Regular patch tests are essential for DIY safety, particularly if you use new or untested products. Always monitor for redness, itching, or swelling, and avoid using ingredients that cause adverse reactions.
Can Patch Testing Cause Skin Irritation?
Yes, patch testing can sometimes cause skin irritation—ironic, isn’t it? While you’re trying to protect yourself, you might trigger a flare-up, especially if you have allergy awareness or skin sensitivity. That’s why it’s essential to perform the test carefully, using small amounts and monitoring your skin closely. Remember, the goal is to prevent a full-blown reaction, not to invite one in the process.
What Is the Best Location for Patch Testing?
You should perform allergy testing on a small patch of skin that’s less exposed, like behind your ear or on your inner wrist. These areas are ideal because they’re sensitive enough to detect skin reactions while being less prone to irritation from external factors. By choosing these locations, you can accurately assess your skin’s sensitivity to DIY nail care ingredients without risking widespread irritation.
How Long Should I Wait After Applying the Ingredient?
Back in the day, patience was a virtue, and it’s still true now. After applying your DIY nail care ingredient, wait 48 hours before checking for allergy symptoms. This allows enough time for your skin to react if you’re sensitive. During this wait, monitor for redness, itching, or swelling. If no symptoms appear, your ingredient is likely safe, but always follow proper allergy testing procedures to avoid reactions.
What Should I Do if I Experience a Reaction?
If you experience a reaction, stop using the ingredient immediately. You should look for allergy symptoms like redness, itching, swelling, or blistering. Use testing methods like applying a small amount to your skin and waiting 24-48 hours to observe any reaction. If symptoms worsen, consult a healthcare professional. Always prioritize safety and consider patch-testing new ingredients to prevent more severe allergic reactions.

Cuccio Naturale Milk & Honey Revitalizing Cuticle Oil, Lightweight Fast-Absorbing Hydrating Nail & Cuticle Conditioner, Cold-Pressed Oils + Vitamin E, 2.30 Fl Oz
ADVANCED THERAPY FOR DRY HANDS; Give your cuticles some much-needed love and care; Our Vitamin-infused oil conditioner deeply…
As an affiliate, we earn on qualifying purchases.
As an affiliate, we earn on qualifying purchases.
Conclusion
When you patch-test your DIY nail care ingredients, you protect your nails, prevent reactions, and promote healthy beauty. You take control, you show care, and you build confidence. Patch-testing isn’t just a step; it’s a safeguard, a habit, a mindful practice. By respecting your skin’s signals, you nurture your nails, respect your health, and embrace your beauty. Because in caring for yourself, you discover strength, resilience, and the true essence of self-love.

Sally Hansen Nail Treatment Vitamin E Nail & Cuticle Oil™ | Enriched with Natural Essential Oils & Vitamin E | Deeply Nourishes & Conditions Dry Nails & Cuticles
Softens and conditions cuticles.
As an affiliate, we earn on qualifying purchases.
As an affiliate, we earn on qualifying purchases.
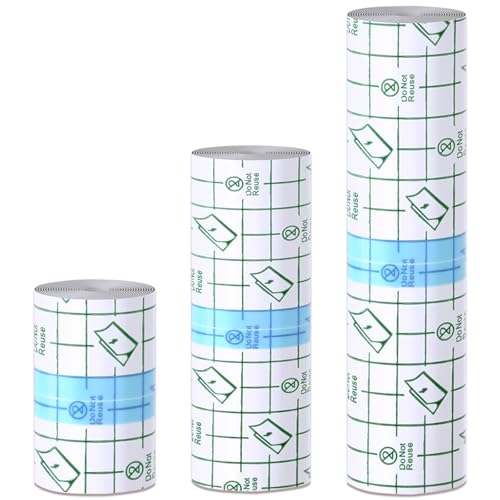
Emalla 3 Rolls Second Skin Tattoo Cover, Waterproof Tattoo Aftercare Bandage Breathable Tattoo Cover Up Patch Tape Tattoo Film 2", 4", 6" x 2.2 Yard Tattoo Supplies for Healing Wrap Swimming Shower
Triple-Size Value Pack for Every Tattoo Style – Get 3 full rolls of premium second skin tattoo cover…
As an affiliate, we earn on qualifying purchases.
As an affiliate, we earn on qualifying purchases.