To repair chipped builder gel without a full removal, start by gently cleaning the chipped area with alcohol to remove oils and debris. Lightly buff the spot with a fine-grit buffer to promote adhesion. Apply a thin layer of builder gel over the chip, feathering it outward to blend seamlessly. Cure under your UV or LED lamp, then shape and buff for a smooth finish. Finish with a top coat for extra protection. Following these steps will help you restore your nails effortlessly, and more tips follow if you keep going.
Key Takeaways
- Gently clean the chipped area with alcohol to ensure proper adhesion.
- Lightly buff the chip to create a rough surface for better bonding.
- Apply a thin layer of builder gel over the chip, feathering outward for seamless blending.
- Cure the gel under a UV or LED lamp as per instructions, using multiple thin coats if needed.
- Finish with a top coat to seal and protect the repair, then cure and buff for a smooth finish.
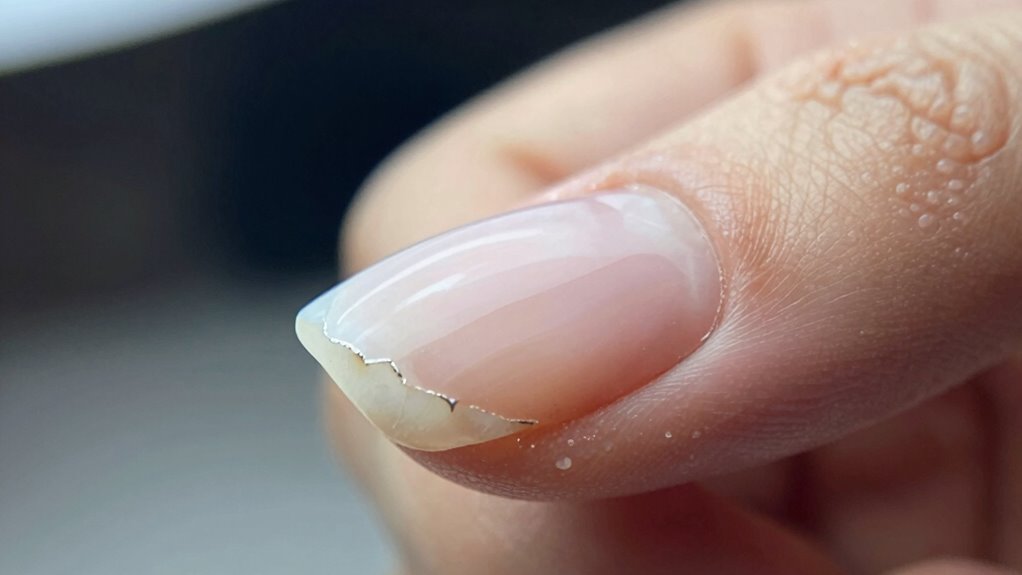
If your builder gel has chipped, don’t panic—repairing it is straightforward with the right steps. Chipping can be frustrating, but it doesn’t mean you need to remove the entire set. Instead, you can fix it efficiently, preserving your nail health and maintaining gel durability. The key is to act carefully to avoid damaging your natural nails and to ensure the repair blends seamlessly with the existing gel.
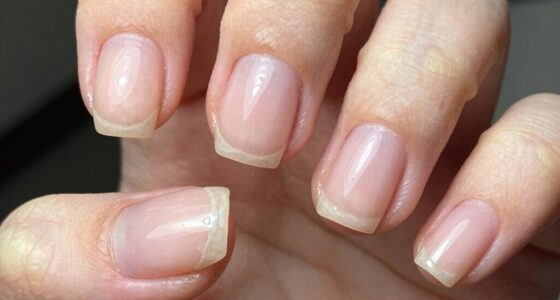
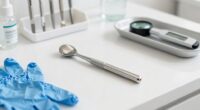
Start by gently cleaning the area around the chip with a lint-free wipe soaked in a gentle nail cleanser or isopropyl alcohol. This removes oils, dust, and debris, giving you a clean surface to work on. Avoid scraping or buffing too aggressively, as that could weaken the existing gel or harm your nails. Once clean, lightly buff the chipped area with a fine-grit buffer. This roughens the surface slightly, helping the new gel adhere firmly. Be gentle—over-buffing can compromise your nail’s health, making them more vulnerable to further damage. Proper nail preparation is essential for a seamless repair.
Gently clean and buff the chipped area to ensure a smooth, durable repair.
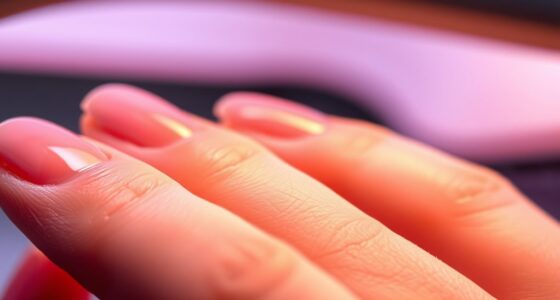
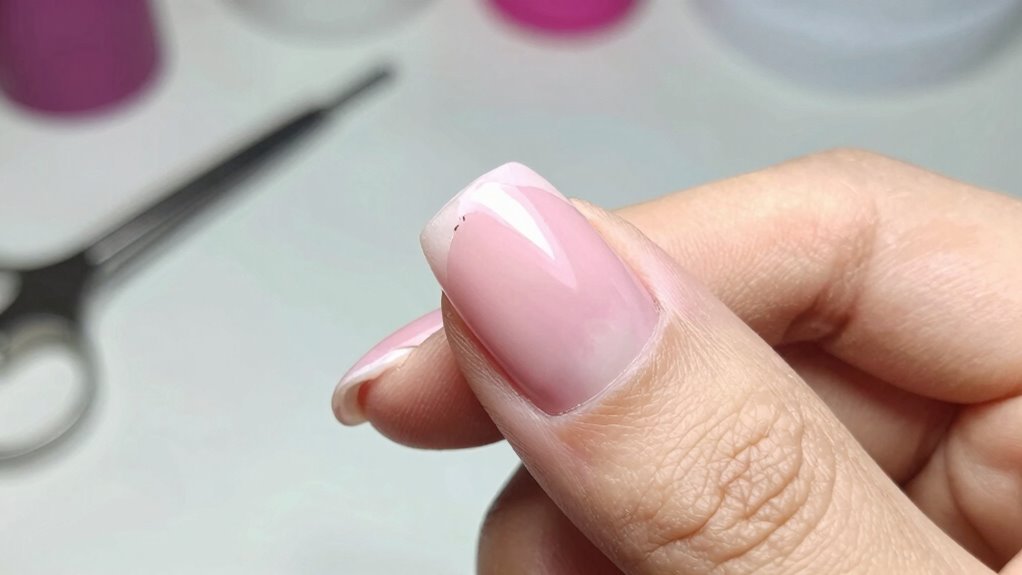
Next, apply a thin layer of builder gel directly over the chipped area. Use a small brush to feather the gel outward, blending it smoothly into the surrounding intact gel. Take your time to shape it neatly, ensuring it matches the rest of your nail’s surface. Cure the gel under a UV or LED lamp according to the manufacturer’s instructions—usually about 30-60 seconds. This step locks the repair in place, restoring the strength and look of your nails. Remember, the goal is to reinforce the gel and prevent further chipping, so don’t apply too thick a layer; multiple thin coats work best. Additionally, understanding gel nail repair techniques can help you achieve a more professional finish at home. Using proper nail adhesion methods can improve the longevity of your repair and prevent future chips.
After curing, gently file and shape the nail to smooth out any uneven edges caused by the repair. A light buff will help achieve a seamless finish. Finish with a top coat, sealing the repair and enhancing gel durability, which helps protect against future chips. This top coat also adds a glossy shine, making your nails look fresh and well-maintained. Regular maintenance, like avoiding harsh chemicals and wearing gloves during chores, will further support your nail health and keep your gel intact longer. Incorporating proper nail care routines can also prolong the life of your gel nails and prevent future damage.

JODSONE U V LED Nail Lamp, Nail Dryer for Gel Polish, Led Light with Automatic Sensor & 4 Timers
The Professional Nail Lamp and Drying Almost All Nail Gel: including led gels, hard gels, sculpture gel, gem…
As an affiliate, we earn on qualifying purchases.
As an affiliate, we earn on qualifying purchases.
Frequently Asked Questions
Can I Fix a Chip Without Professional Help?
Yes, you can fix a chip without professional help by trying DIY fixes. Start by cleaning the chipped area thoroughly, then apply a small amount of builder gel or clear top coat to fill in the chip. Cure it under a UV or LED lamp as instructed. If the chip is large or stubborn, seeking professional help is best to guarantee a durable, seamless repair and prevent further damage.
How Long Does the Repair Last?
Your repair can last up to a few weeks, depending on how well you follow the process. For example, if you carefully reapply gel and seal it properly, the repair’s durability improves markedly. Typically, a properly done repair offers good longevity, but daily activities may affect gel durability over time. With proper care, your fix can hold for 2-3 weeks, giving you a decent lifespan before a full reapplication might be needed.
Is It Safe to Use Overgrown Builder Gel?
Using overgrown builder gel isn’t recommended because it can compromise nail health and chemical safety. When builder gel grows out too much, it can cause lifting or cracking, increasing the risk of infections or damage. To keep your nails healthy, it’s best to have a professional remove or reshape the gel. Avoid using overgrown gel, and prioritize proper removal techniques to maintain nail safety and overall nail health.
Will the Repair Affect the Nail’s Strength?
Well, you might think your nails could turn into the next “Titanic,” but a proper repair won’t drastically compromise nail durability. Using effective repair techniques, like carefully filling the chip and sealing it, helps maintain strength. Just make certain you don’t over-buff or add too much product, as this could weaken the nail. With gentle, precise repair, your nails should stay strong and beautiful, even after fixing that pesky chip.
Should I File the Whole Nail Before Repair?
You should file the chipped area and lightly buff the surrounding nail to create a smooth surface for the repair. This nail prep guarantees good adhesion. You don’t need to file the entire nail, only the affected area. Gather your repair tools, like a small brush and builder gel, and carefully apply the gel onto the chipped spot. Proper prep and precise application help maintain nail strength during the repair.

Makartt Clear Gel Builder Kit: Self-Levelling, Long Lasting Extension Hard Gels for Strengthener, Broken Nails Repair Gel Kit with Paper Forms, Dual forms, Nail File and Dual-End Brush 1.06 oz
Makartt Builder Clear Nail Gel Kits contain: 1* 30ML clear builder nail gel, 1*dual-ended nail art brush(featuring both…
As an affiliate, we earn on qualifying purchases.
As an affiliate, we earn on qualifying purchases.
Conclusion
Just like fixing a small chip in a cherished painting preserves its beauty, repairing your builder gel keeps your nails looking flawless without a full redo. When I once carefully patched a tiny crack on my favorite mug instead of replacing it, I realized the value in simple repairs. With patience and the right tools, you can restore your nails’ integrity and elegance, proving that sometimes, a little touch-up can make all the difference—saving time, money, and your confidence.

4 Way Nail Buffer Block (4 Pcs), Nail Shine Buffers Blocks Files for Natural and Acrylic Nails Smoother Buffing Block Polisher Fingernail File Buffer 120/240/600/3000 Grit for Buffing Shinning
Achieve Glossy Nails Effortlessly: Our nail buffer block has four sides to shape, smooth, buff, and polish nails….
As an affiliate, we earn on qualifying purchases.
As an affiliate, we earn on qualifying purchases.

Beetles 2 Pcs 15ml No Wipe Gel Top Coat and Base Coat Set – Shine Finish and Long Lasting Soak Off LED Nail Lamp Gel Base Top Coat Stay Lock Shine Duo Finish Nail Art Design Manicure Gifts for Women
Beetles No Wipe Top Coat and Base Coat: Enjoy long-lasting wear for over 28 days with a perfect…
As an affiliate, we earn on qualifying purchases.
As an affiliate, we earn on qualifying purchases.