
To achieve a perfect salon-quality pedicure at home, start by gathering your supplies and setting up a comfortable, well-lit space. Soak your feet in warm water with added salts or oils, then gently exfoliate to remove dead skin. Shape and buff your nails, care for your cuticles, and apply a base coat before your favorite polish or nail art. Finish with a top coat, moisturizer, and massage. For detailed steps and tips, keep exploring — your dream pedicure is within reach.
Key Takeaways
- Prepare your space and gather tools for a clean, organized pedicure routine.
- Soak feet in warm water with relaxing additives to soften skin and cuticles.
- Exfoliate dead skin and shape nails for a smooth, healthy surface.
- Apply base coat, nail polish, and top coat carefully for a professional finish.
- Moisturize, massage, and maintain nails regularly to prolong salon-quality results.

36 in 1 Professional Pedicure Kit, Foot File & Callus Remover Set
【36 IN 1 Pedicure Kit】Get everything you need for complete foot and nail care with 36 professional tools,…
As an affiliate, we earn on qualifying purchases.
As an affiliate, we earn on qualifying purchases.
Gathering Your Supplies and Setting Up Your Space
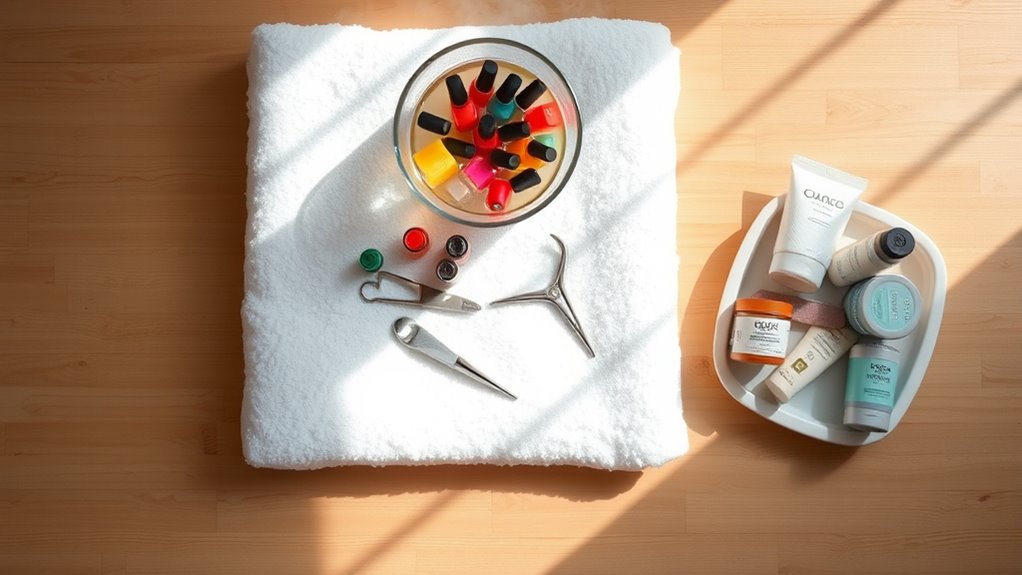
To start your at-home pedicure, gather all the necessary supplies beforehand. Begin with a foot soak basin filled with warm water and add calming ingredients like Epsom salts or essential oils to soften your skin. Make sure you have nail polish remover, cotton balls, and a nail file or buffer ready for nail polish prep. Keep your favorite nail polish nearby, along with a base coat and top coat for a professional finish. Don’t forget a small towel or clean cloth for drying and a cuticle pusher or orangewood stick to tidy up your nails. Setting up a well-lit, comfortable space will make the process easier. Having everything organized and within reach guarantees a smooth, stress-free pedicure session. Additionally, taking the time to properly prepare your nails and skin can enhance the overall results and longevity of your manicure.

Tea Tree Oil Foot Soak with Epsom Salt – For Toenail Repair, Athletes Foot, Softens Calluses, Soothes Sore & Tired Feet, Nail Discoloration, odor Scent, Spa Pedicure Care – Made in USA 16 oz
Spoil Your Feet & Toenails From the Comfort of Home: This tea tree oil foot soak will help…
As an affiliate, we earn on qualifying purchases.
As an affiliate, we earn on qualifying purchases.
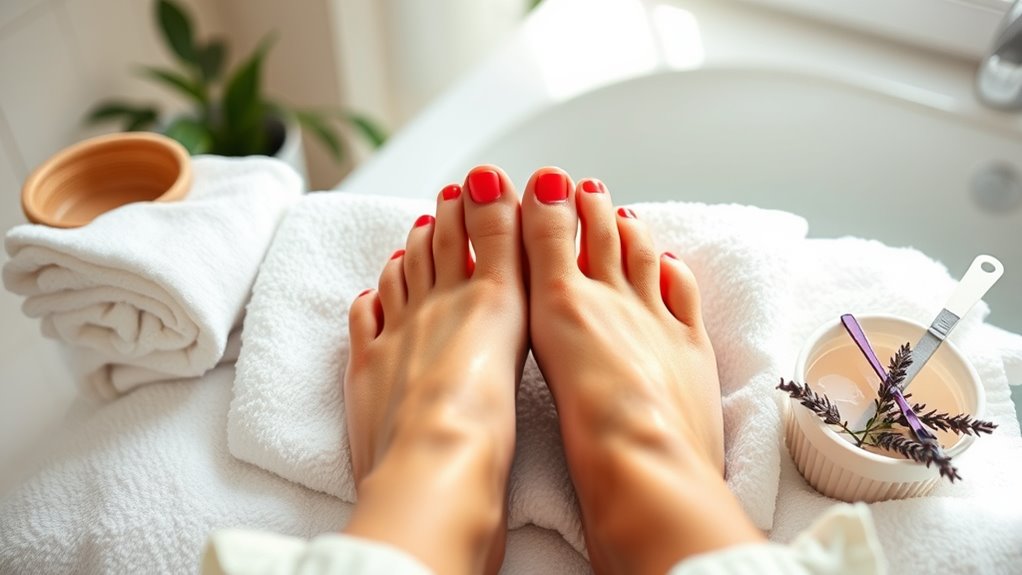
Soaking and Softening Your Feet

Start by filling your foot soak basin with warm water, ensuring it’s deep enough to submerge your feet comfortably. The right water temperature is key; it should be warm but not hot to avoid burns or discomfort. A comfortable, slightly warm foot soak helps relax tense muscles and softens the skin. Add any preferred soothing ingredients, like Epsom salts or essential oils, if desired. Soaking for about 10-15 minutes allows your feet to absorb moisture, making the skin more pliable and easier to work with later. During this time, you can relax and let the warm water do its magic. Proper soaking is essential for softening your skin and preparing your feet for the next steps in your pedicure routine.

Teenitor Nail File Nail Buffer, 6 pcs Nail Files and Buffers for Natural Nails, Emery Boards for Nails, Nail Buffer and Shine Kit Nail Filer, Nail Buffer Block 100/180 Grit Nail Files Fingernail Files
What A Professional Nail File Set: Teenitor 6pcs Nail File and Buffer Set contains up to 9 different…
As an affiliate, we earn on qualifying purchases.
As an affiliate, we earn on qualifying purchases.
Exfoliating to Remove Dead Skin
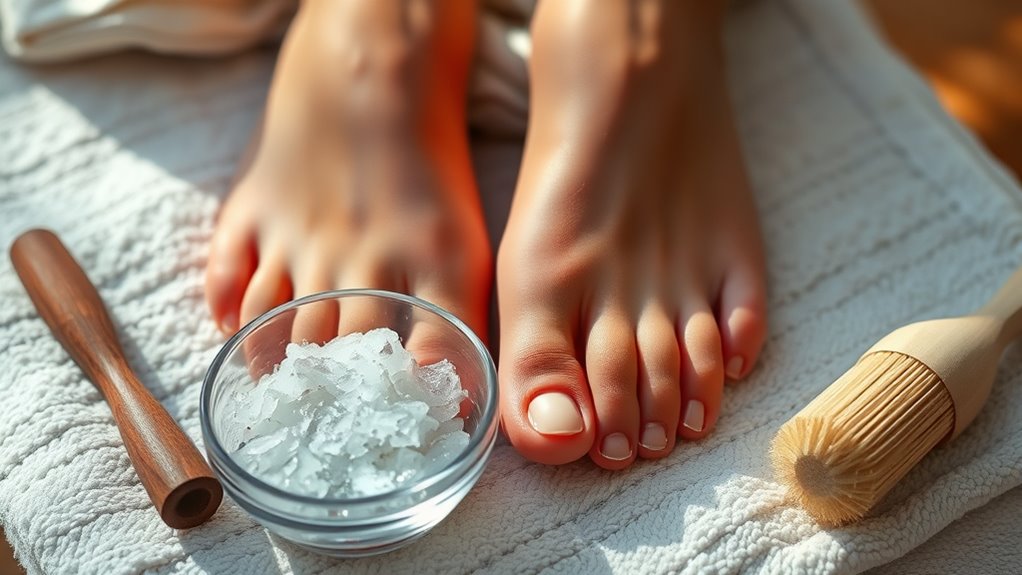
Exfoliating is an essential step in achieving smooth, soft feet by effectively removing dead skin. This process helps prevent callus buildup and reveals fresh, healthy skin. Use a pumice stone or foot scrub to target areas with thickened skin, focusing on callus exfoliation. Gently scrub in circular motions, paying attention to rough patches. For best results, follow with a moisturizer to lock in hydration. Here’s a quick guide:
| Tool | Area Targeted | Technique |
|---|---|---|
| Pumice stone | Heels, balls of feet | Light, circular motions |
| Foot scrub | Whole foot | Gentle, even pressure |
| Callus remover | Callused areas | Apply and scrub lightly |
| Exfoliating brush | Arch, sides | Use in gentle strokes |
| Moisturizer | Entire foot | Massage into skin |
This step ensures your feet stay smooth and prepared for the next stage. Regular exfoliation can also help improve circulation and promote healthier skin overall.

Maryton Foot Pumice Stone for Feet Hard Skin Callus Remover and Scrubber (Pack of 4) (Blue)
For Soft, Smooth Feet – Maryton professional foot pumice stone to remove calluses and rough skin for soft,…
As an affiliate, we earn on qualifying purchases.
As an affiliate, we earn on qualifying purchases.
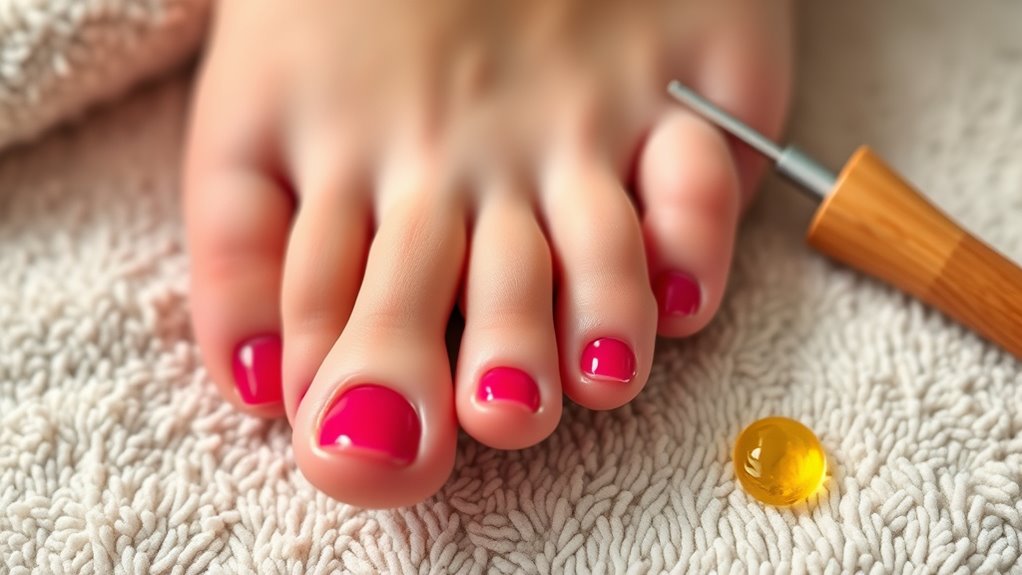
Shaping and Buffing Your Nails

To get your nails looking polished, start by shaping them with gentle, precise motions to create a clean, even edge. Next, use a buffing block to smooth out the surface, removing ridges and imperfections. When you master proper shaping and buffing techniques, your nails will have a flawless, professional finish every time. Incorporating proper techniques ensures your manicure remains durable and healthy.
Proper Nail Shaping Techniques
Proper nail shaping begins with selecting the right tools and understanding the desired look. Use a high-quality nail file or emery board to shape your nails, ensuring you choose the appropriate grit for your nail type. For a natural look, opt for gentle, sweeping nail shaping rather than aggressive back-and-forth motions. Follow your preferred nail shape—round, oval, square, or stiletto—by carefully filing from the sides toward the center. Remember to keep your file at a slight angle to avoid uneven edges. Buffer techniques also play a role in shaping; gently smooth out ridges and refine the edges for a polished finish. Consistent, gentle shaping not only enhances your nails’ appearance but also prevents splits and breaks, giving you a flawless, salon-quality pedicure at home. Incorporating mindful techniques such as proper nail shaping can also promote healthier nails and prevent damage.
Achieving a Smooth Buff
Achieving a smooth buff is essential for a flawless finish that enhances your nails’ natural shine. Begin by choosing a fine-grit buffing block or buffer to gently smooth out ridges and imperfections. Move the buffer in gentle, even strokes across each nail, avoiding excessive pressure that could damage the surface. Once your nails are smooth, lightly buff the surface to create a polished, shiny base. This step prepares your nails for polish application, ensuring it adheres evenly. If you want to add nail art techniques later, a well-buffed surface will make designs look more precise and professional. Keep your buffing gentle to prevent thinning your nails. Using the right buffing technique ensures your nails remain healthy and strong, providing the perfect foundation for your manicure. With a perfectly smooth surface, your pedicure will look polished and salon-quality every time.
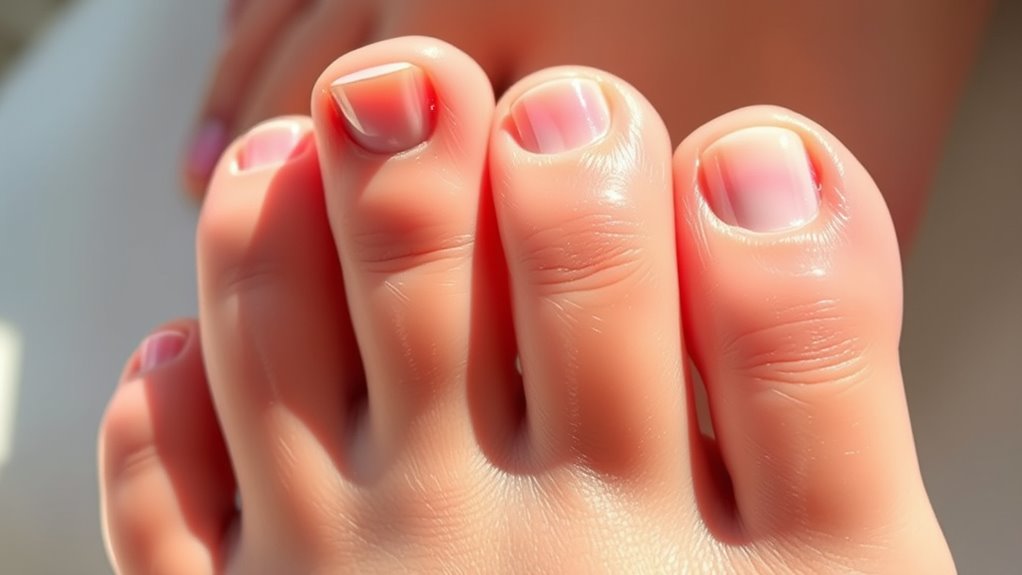
Cleaning and Caring for Cuticles
To keep your cuticles healthy, start by softening them with gentle techniques that won’t cause damage. Use proper pushing methods to carefully push back your cuticles without cutting or tearing. Finish with moisturizing to nourish your cuticles and maintain their overall health and appearance. Remember, a healthy father-daughter bond can inspire confidence and self-care routines that extend beyond grooming.
Gentle Cuticle Softening Techniques
Softening your cuticles is a crucial step in giving yourself a perfect at-home pedicure, and gentle techniques can make all the difference. When caring for your nail cuticle care, avoid harsh methods that damage your skin. Use warm, soapy water or specialized cuticle softeners to loosen stubborn cuticles, making callus removal easier and safer. Lightly massaging these solutions helps improve circulation and relaxes your skin, reducing the risk of tearing. Be patient—gentle techniques prevent irritation and promote healthy nail growth. Remember, patience and care are key to achieving salon-quality results. With the right approach, you’ll enjoy smoother, healthier-looking toes and a more confident finish. Incorporating gentle, non-abrasive methods aligns with proper maintenance and care practices for optimal results.
- Feel the soothing warmth as your skin softens, preparing you for easy callus removal
- Experience the gentle touch that protects your delicate cuticles and promotes healing
- Revel in the confidence of beautiful, well-maintained nails with essential cuticle care
Proper Cuticle Pushing Methods
Proper cuticle pushing is essential for a neat and polished pedicure, but it must be done carefully to prevent damage. Using the right cuticle pushing techniques ensures you clean and shape your cuticles without harming the nail bed. Start by softening your cuticles with a gentle cuticle remover or warm water soak. Then, gently push back the cuticles using a cuticle pusher, applying light pressure and working in small sections. Avoid digging or forcing the cuticles, which can cause tears or infections. Proper cuticle care involves maintaining a gentle touch and staying patient throughout the process. Finish by removing any excess cuticle debris with a soft brush or cloth. This careful approach guarantees a clean, tidy look and healthy nail growth. Additionally, understanding AI safety measures can help inform best practices in personal care routines, ensuring safer and more effective results over time.
Moisturizing and Nourishing Care
After carefully pushing back your cuticles, it’s important to focus on moisturizing and nourishing them to keep your nails healthy and strong. Use a rich moisturizer or nourishing oils to hydrate the cuticles daily. A gentle foot massage with moisturizing masks not only soothes your skin but boosts circulation, promoting healthier growth. Regularly applying cuticle oil can prevent dryness and cracking, making your nails appear more vibrant. Incorporate calming foot massages into your routine to relax tired feet and improve absorption of nourishing products. Remember, well-hydrated cuticles reduce hangnails and peeling, giving your pedicure a flawless finish. Keep your cuticles soft and nourished to enjoy a more polished, salon-quality look every time. Consistency is key to maintaining healthy, beautiful nails. Additionally, understanding Audi Tuning concepts can inspire you to customize your routine for optimal nail health and beauty.
Applying a Base Coat and Nail Polish

Applying a base coat and nail polish is the essential step that sets the foundation for a flawless pedicure. Start with a clean, dry nail surface, free from old nail polish and oils, ensuring proper nail polish removal. Apply a thin, even layer of base coat, which helps protect your nails and improves polish adhesion. Wait a few seconds for it to dry completely. Then, carefully apply your chosen nail polish, working from the center of the nail outward. Use smooth, steady strokes to avoid streaks. To keep your pedicure neat, incorporate a table like this:
| Step | Action |
|---|---|
| 1 | Nail polish removal |
| 2 | Base coat application |
| 3 | Wait for base coat to dry |
| 4 | Apply nail polish in thin layers |
| 5 | Let each layer dry fully |
Additionally, choosing high-quality skincare ingredients can enhance the durability and appearance of your nail polish.
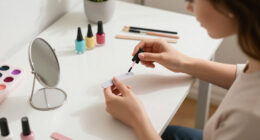
Adding Color and Nail Art (If Desired)
Once you’ve allowed your base coat and nail polish to dry completely, you can add a splash of color or create fun nail art if you like. Choosing the right nail polish choices can elevate your pedicure’s look, whether you opt for bold reds, soft pastels, or shimmering metallics. If you want to get creative, try simple nail art techniques like dots, stripes, or floral designs to add personality. Remember, patience is key—allow each layer to dry thoroughly before adding the next to prevent smudges. Nail art can boost your confidence and make your pedicure truly stand out. Experiment with colors and techniques to match your mood or outfit, making your at-home pedicure feel like a personal masterpiece.
Sealing With a Top Coat for Shine and Durability
Sealing your nail art with a top coat locks in the design and adds a beautiful shine that makes your pedicure pop. A good top coat enhances nail polish longevity, ensuring your pedicure stays fresh longer. When applying, use smooth, even strokes from the base to the tip of your nails, covering the entire surface. Be sure to seal the edges to prevent chipping. Allow the top coat to dry completely to achieve a glossy finish and maximum durability. This step not only protects your nail art but also gives your pedicure a professional, polished look. Regularly reapplying a clear top coat every few days can extend your manicure’s lifespan and maintain that salon-quality shine.
Moisturizing and Massaging Your Feet
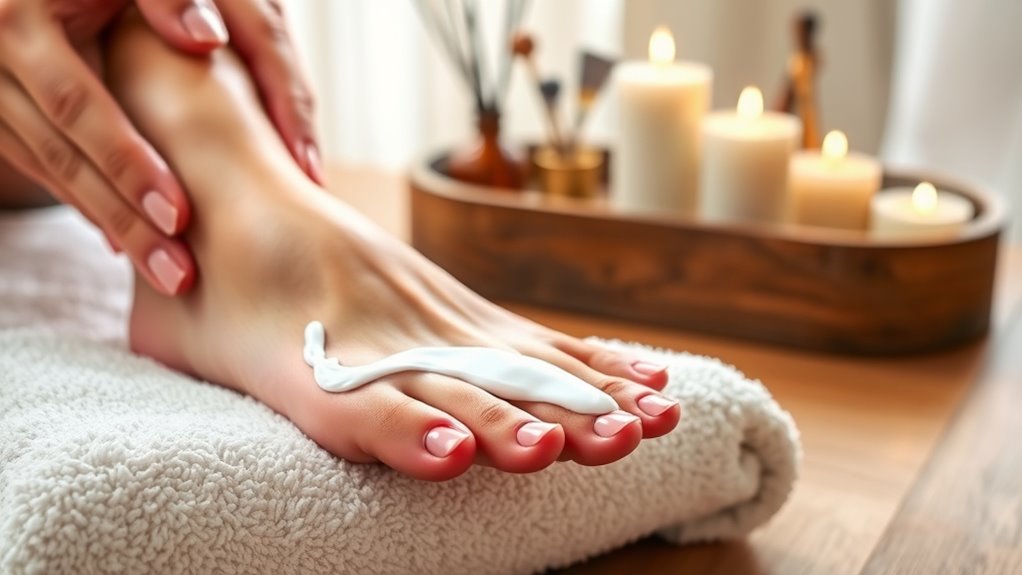
After sealing your nails, maintaining hydration and massaging your feet to keep them soft and relaxed is crucial. Use deep moisturizing techniques like applying rich cream and gently massaging your soles and arches. This not only nourishes your skin but also relieves tension and promotes circulation.
Deep Moisturization Techniques
To guarantee your feet stay soft and healthy, deep moisturization is essential, and massaging them helps improve circulation and absorb the moisturizer more effectively. Focus on techniques that give your skin a hydration boost, like an oil infusion, which penetrates deeply and nourishes your skin. Use warm oil or a rich moisturizer, massaging in circular motions to enhance absorption and relax tired muscles. This process not only restores moisture but also leaves your feet feeling silky and rejuvenated.
- Feel the soothing warmth as the oil infuses into your skin, melting away tension
- Visualize soft, smooth feet that radiate health and vigor
- Enjoy the calming ritual that transforms your pedicure into a spa-like experience
Relaxing Foot Massage
A relaxing foot massage not only feels soothing but also enhances the benefits of moisturization by increasing circulation and helping your skin absorb the lotion more effectively. Using gentle, firm foot massage techniques, you stimulate blood flow and relax tense muscles. Incorporate aromatherapy benefits by choosing essential oils like lavender or peppermint, which can promote relaxation and rejuvenation. As you massage, focus on key areas such as your arch, heel, and balls of your feet. This enhances absorption of moisturizer and leaves your skin soft and hydrated. Remember to apply gentle pressure and use smooth, flowing strokes. A well-executed foot massage boosts relaxation, improves circulation, and maximizes the moisturizing effects, leaving your feet feeling refreshed and pampered.
Tips for Maintaining Your Pedicure and Preventing Damage

Maintaining your pedicure and preventing damage requires consistent care and mindful habits. To keep your toes looking beautiful, prioritize footwear hygiene by wearing clean, breathable shoes and changing socks regularly. This prevents infections and keeps your pedicure intact longer. Stick to a regular pedicure scheduling, ideally every 4-6 weeks, to catch any issues early and maintain healthy nails. Be gentle when washing your feet, avoiding harsh scrubbing that can damage your polish. Also, resist the urge to pick or peel at your nails or polish, which can cause tears or infection.
- Feel confident knowing you’re caring for your feet with love and attention
- Enjoy the freedom of beautiful, healthy nails every day
- Protect your investment and keep your pedicure flawless longer
Frequently Asked Questions
How Long Does a Home Pedicure Typically Last?
A home pedicure typically lasts about 7 to 10 days, depending on your nail care routine. To extend pedicure longevity, follow maintenance tips like moisturizing regularly, avoiding harsh chemicals, and wearing comfortable shoes. Keep your nails clean and dry to prevent chipping or peeling. With proper upkeep, your pedicure stays fresh longer, giving you salon-quality results at home.
Can I Use Regular Household Products Instead of Salon-Grade Supplies?
Yes, you can use household substitutes for salon-grade supplies during your DIY pedicure. Household substitutes like olive oil or coconut oil work well for moisturizing, while baking soda can be a gentle exfoliant. For cuticle care, try petroleum jelly or a thick moisturizer. Just make certain these DIY alternatives are safe and effective, and avoid any harsh chemicals. With a little creativity, you can achieve great results at home using everyday household products.
What Are Common Mistakes to Avoid During a DIY Pedicure?
Think of your pedicure as tending a delicate garden; avoid rushing to prevent cuticle damage and uneven filing. Don’t cut or push cuticles aggressively, as it can harm the skin. Use gentle, even strokes with your file, and don’t over-file one spot. Skipping moisturizer can leave your skin dry, like a neglected garden. Take your time and treat each step with care to achieve beautiful, salon-quality results at home.
How Can I Fix Uneven or Smudged Nail Polish?
To fix uneven or smudged nail polish, start with nail polish touch ups by applying a small amount of polish to the smudged area using a fine brush or toothpick. Correcting smudges quickly with a corrector pen or a small brush dipped in remover helps clean edges. Allow the polish to dry completely before adding a top coat. If needed, reapply a thin layer for smooth, even results.
Is It Safe to Share Pedicure Tools With Others?
Sharing pedicure tools isn’t safe because of hygiene concerns. Shared tools can transfer bacteria, fungi, or viruses, increasing the risk of infections. To keep your feet healthy, always use your own set of sanitized tools. If you must share, thoroughly disinfect everything with alcohol or boiling water beforehand. Prioritizing hygiene safeguards you from potential foot issues and ensures a safe, enjoyable pedicure experience every time.
Conclusion
With your at-home pedicure complete, your feet are now a canvas of beauty and care, ready to dance through life’s adventures. Think of your freshly polished nails as tiny gems sparkling with confidence, while your soft, moisturized skin feels like a plush cushion beneath your steps. Regular touch-ups will keep your masterpiece shining bright, turning every stroll into a runway walk. So, keep pampering yourself—you’re the artist of your own footloose, fabulous journey.