
To make water marble nails easy, start by preparing your nails with a base coat and removing oils. Pick your colors wisely and thin them out if needed. Fill a cup with room-temperature water and carefully drop your polish to create concentric rings. Use a toothpick to swirl the pattern before dipping your nail. Finish with a top coat and clean up the edges. Keep going to find out more tips for flawless water marbling.
Key Takeaways
- Prepare nails with proper shaping, cuticle pushing, and cleaning for better water marble adhesion.
- Select and thin polish colors appropriately to ensure smooth, slow-spreading designs.
- Use room temperature distilled water in a small cup and apply a base coat before marbling.
- Carefully drop polish onto water, create patterns with a toothpick, then dip your nail to transfer the design.
- Clean excess polish, finish with a top coat, and ensure neatness for a professional look.
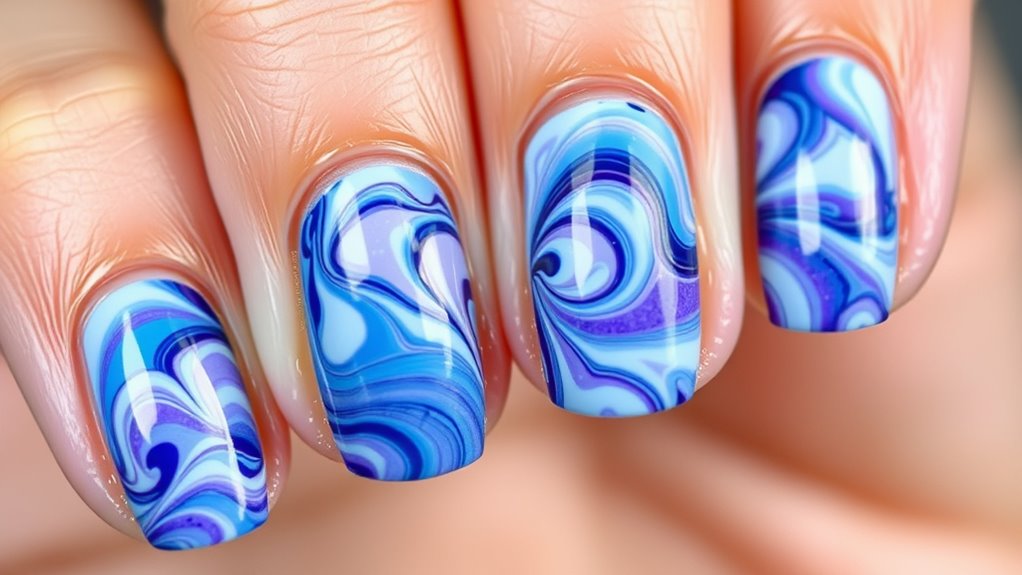
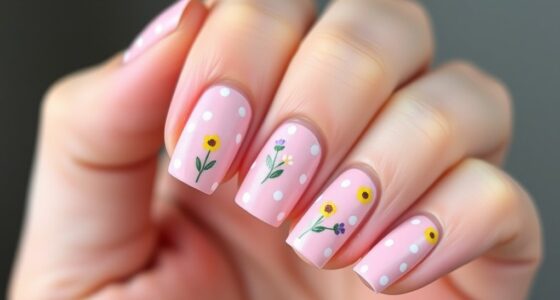
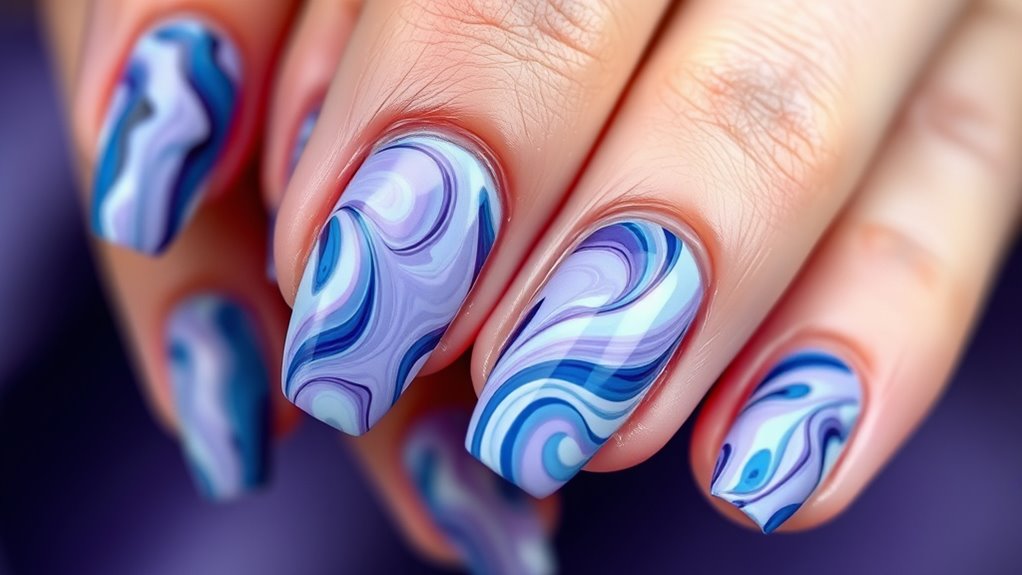
Water marble nails are a stunning nail art technique that creates unique, swirling patterns on your fingertips. If you’re new to this style, don’t worry—once you get the hang of the process, you’ll be able to craft intricate designs effortlessly. The key to a successful water marble is understanding the importance of color mixing and proper nail prep. These steps lay the foundation for neat, vibrant designs that last.
Before you start, you need to prepare your nails thoroughly. Nail prep is essential because it guarantees your designs will adhere well and last longer. Begin by removing any old polish and shaping your nails with a file. Smooth nails help prevent bubbles and uneven patterns. Next, push back your cuticles gently and clean your nails with a nail polish remover or alcohol to eliminate oils and residues. This step opens the way for better adhesion for your base coat and prevents smudging during the water marbling process. Proper nail preparation is crucial for achieving professional-looking results.
Proper nail prep ensures long-lasting, neat water marble designs by removing polish, shaping nails, and cleaning surfaces.
Once your nails are prepped, choose your polish colors carefully. Color mixing plays a crucial role in creating eye-catching water marble designs. You can stick to a monochromatic scheme for subtle swirls or combine contrasting shades for bold effects. When selecting colors, keep in mind that some polishes are thicker and more suitable for water marbling, like gel formulas or specialized nail art polishes. Thin your polish slightly with a few drops of nail thinner if needed to achieve a smooth, slow-spreading consistency. This will make the swirling easier and more controlled.
Now, apply a base coat to protect your nails and create a smooth surface for the design. Once dry, paint your nails with a white or neutral base if you want the colors to pop or stick with your chosen shade for a different effect. After the base coat dries completely, it’s time to prepare your water. Fill a small cup with room temperature, distilled water—warm water can cause the polish to spread too quickly or dry unevenly. Keep your polish bottles open and ready.
To create your water marbling, carefully drop different colors onto the water’s surface. Watch as the polish spreads and forms concentric rings. Use a toothpick or a thin tool to gently drag through the colors to create the swirling pattern you desire. When your design looks perfect, dip your finger into the water, submerging your nail into the pattern. Slowly lift your finger out, and you’ll see a beautiful, swirling marble pattern on your nail. Clean up the excess polish around your nail with a brush dipped in acetone or polish remover before finishing with a top coat.

Titoclar Water Marbling Paint Kit, DIY Arts and Crafts Kit for Girls & Boys 4-8 6-12, Creative Art Supplies, Birthday Gifts for Kids Ages 3+
【Magic water marbling paint】:Break away from the traditional painting mode on paper, now pick a refreshing painting way…
As an affiliate, we earn on qualifying purchases.
As an affiliate, we earn on qualifying purchases.
Frequently Asked Questions
Can Water Marble Nails Last More Than a Week?
If you want your water marble nails to last more than a week, you need to focus on nail durability. A long-lasting manicure depends on proper prep, like cleaning and applying a base coat. Using high-quality top coats and avoiding harsh chemicals also help maintain nail integrity. With these tips, you can enjoy your water marble nails longer, keeping them vibrant and durable beyond just a few days.
What Are the Best Tools for Water Marbling?
Imagine your nails as tiny canvases waiting to burst into color. To achieve stunning water marbling, you need the right tools. Choose brush types that allow precision and control, like fine detail brushes. Prioritize proper nail prep to guarantee your masterpiece adheres. With the right brushes and a clean surface, your water marbling will come alive, turning simple nails into a vibrant work of art you’ll be proud to display.
How Do I Fix Mistakes During Water Marbling?
When correcting smudges or removing excess polish during water marbling, act quickly. Use a toothpick or a fine brush dipped in acetone or nail polish remover to carefully fix mistakes on the water’s surface before they set. Gently lift or blend the polish to smooth out imperfections. This helps keep your design clean and precise, ensuring your water marble nails look flawless without ruining the overall pattern.
Are Water Marble Nails Safe for Sensitive Skin?
If you have sensitive skin, you might wonder if water marble nails are safe. To minimize reactions, look for polishes with hypoallergenic ingredients and do a skin patch test before applying. Avoid harsh chemicals and opt for gentle, fragrance-free formulas. If you experience irritation, rinse immediately and stop using the product. Taking these precautions helps protect your skin while enjoying creative nail art.
Can I Do Water Marbling on Gel or Acrylic Nails?
Did you know that 70% of nail enthusiasts experiment with artistic designs? You can water marble on gel polish or acrylic nails, but it takes some extra care. For gel, make sure to fully cure the polish beforehand, and for acrylics, ensure the surface is smooth. Use the right tools and avoid excessive water to prevent damage. With patience, you can achieve stunning marbled effects on both gel and acrylic nails.

SuperNail Gel Nail Polish Thinner for Professional Salons, Revives Thickened Lacquer and Restores Smooth Consistency, Acetone Alternative, 4 fl oz
Restores Fluid Texture: SuperNail Nail Polish Thinner brings thickened formulas back to a smooth, workable state, making polish…
As an affiliate, we earn on qualifying purchases.
As an affiliate, we earn on qualifying purchases.
Conclusion
Now that you’ve mastered water marble nails, you might wonder if this technique is truly worth the effort. Some say it’s just a fun trend, but research shows it’s actually a creative way to express yourself and boost your confidence. By experimenting with colors and designs, you access a world of artistry right at your fingertips. So go ahead—dive in, get creative, and enjoy the beautiful, one-of-a-kind nails you can craft yourself!

AIBEE Nail Art Brushes, 5pcs Double-Ended Acrylic Nail Brush Set with 5/7/10/12/15mm Nail Liner Brushes and Dotting Pens for French Nails
【Double-Ended Nail Kit】The nail brush includes 5pcs french nail tools, one side is 5pcs nail art liner brushes…
As an affiliate, we earn on qualifying purchases.
As an affiliate, we earn on qualifying purchases.

FANDAMEI Nail Care Kit, Nail Files 100/180, Nail Buffer Block, Cuticle Nippers, Cuticle Trimmer, Cuticle Pusher, Nail Tools, Nail Kit, Pedicure & Manicure Tools, Nail Prep Kit, Manicure Kit for Women
Professional Manicure And Pedicure Kit: What you will get: 3 x nail files 100/180, 2 x polishing files,…
As an affiliate, we earn on qualifying purchases.
As an affiliate, we earn on qualifying purchases.