To fix and blend grown-out gel or acrylic nails seamlessly, start by evaluating how much grows out and if there’s any damage. Gently remove old polish, then carefully file and shape the nail to smooth the shift. Use thin layers of fill to build up, feathering the product at the base to hide the seam. Match the color closely and finish with a top coat for a sleek, natural look—continue to the next step for detailed tips.
Key Takeaways
- Assess the extent of growth and damage to determine whether repair or full removal is necessary.
- Gently prep the nail by removing old polish, sanitizing tools, and buffing the surface for smooth blending.
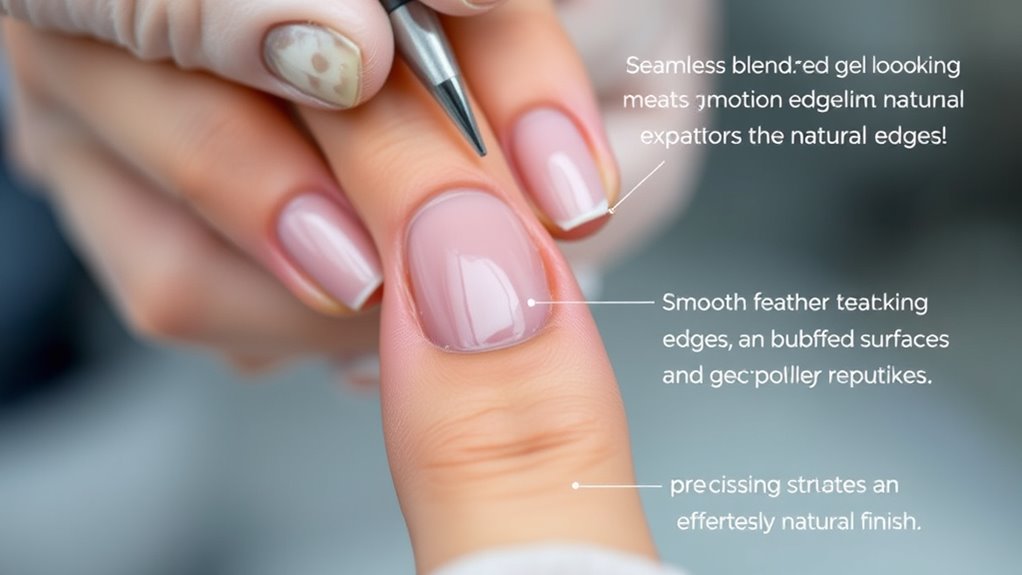
- Apply thin, layered fill products, feathering at the junction to seamlessly blend the new material with the natural nail.
- Match the color precisely and feather the polish edges to conceal the fill line for a natural, flawless look.
- Seal the repair with a clear top coat to enhance durability, shine, and ensure a seamless, long-lasting finish.

Makartt Clear Gel Builder Kit: Self-Levelling, Long Lasting Extension Hard Gels for Strengthener, Broken Nails Repair Gel Kit with Paper Forms, Dual forms, Nail File and Dual-End Brush 1.06 oz
Makartt Builder Clear Nail Gel Kits contain: 1* 30ML clear builder nail gel, 1*dual-ended nail art brush(featuring both…
As an affiliate, we earn on qualifying purchases.
As an affiliate, we earn on qualifying purchases.
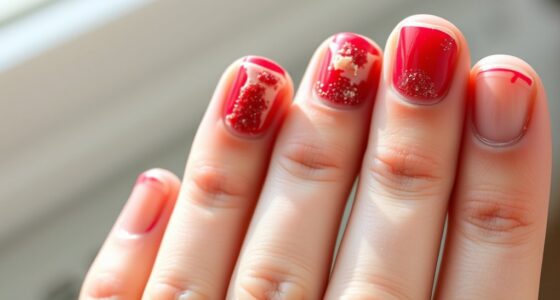
Assessing the Extent of the Growth and Damage
When your gel or acrylic nails grow out, the first step is to appraise how much new nail has appeared and whether any damage has occurred beneath the existing polish. Look for nail growth indicators, such as a visible line or gap near the cuticle or at the sidewalls, to determine how much new growth there is. Use damage assessment techniques like gently inspecting the edges for lifting, cracks, or chips, and check for any discoloration or peeling underneath the polish. If you notice significant separation from the natural nail or signs of damage, you may need a more thorough repair before applying a fill. This initial assessment helps you decide whether a simple fill will suffice or if additional steps are necessary to ensure a smooth, long-lasting result. Additionally, evaluating the nail technology used can inform the best repair method for your specific type of gel or acrylic application.

SAVILAND Kolinsky Acrylic Nail Brush Set: Size 6,10,14 Professional Nail Brushes Cleaner Manicure Tool for Acrylics Application Acrylic Powder Nails Extension 3D Carving for Nails Art DIY
Professional Acrylic Brush Set: SAVILAND acrylic nail brush set be well-equipped with 3 purple elegant handle brushes and…
As an affiliate, we earn on qualifying purchases.
As an affiliate, we earn on qualifying purchases.
Preparing Your Nails and Tools for a Seamless Fix

Before you start fixing your gel or acrylic nails, it’s essential to prepare both your nails and tools to guarantee a smooth and lasting repair. Proper preparation promotes nail health and ensures hygiene practices are maintained. First, gently remove any old polish or residue, and lightly buff the surface to create a smooth base. Second, wash your hands thoroughly and sanitize your tools to prevent bacteria transfer. This helps maintain nail health and reduces infection risk. Third, disinfect your manicure implements with alcohol or a sterilizing solution, so your tools are clean and ready. Additionally, incorporating protective styling practices can help prevent further damage to your nails. By following these steps, you set the stage for a seamless fix, ensuring your nail repair is durable and hygienic. Proper prep is key to professional-looking results.
Revlon Shape 'N' Buff Nail Buffer Block, All-in-One Manicure Tool for Shaping & Shining Natural Fingernails, 1 Count
This all-in-one nail buffer block and file creates perfectly shaped, smooth, shiny nails
As an affiliate, we earn on qualifying purchases.
As an affiliate, we earn on qualifying purchases.
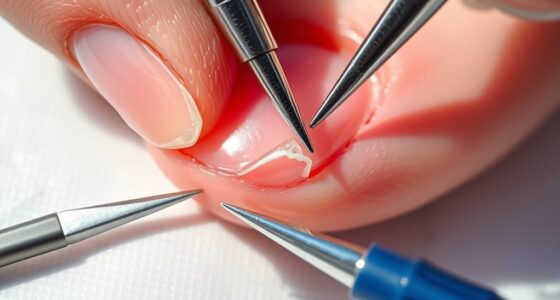
Applying the Fill to Minimize the Visible Seam

To minimize the visible seam when applying a fill, you need to focus on proper product application techniques and blending. Precise nail color matching helps hide the line, making the repair look seamless. Using these tips can considerably improve the overall finish and keep your nails looking natural. Additionally, employing proper layering techniques ensures a smoother transition between the fill and existing polish.
Proper Product Application Techniques
Applying the fill carefully is essential to minimize the visible seam between the natural nail and the new product. Proper product application guarantees a smooth transition and maintains nail health. Start by gently pushing back the cuticle to prevent product from seeping underneath, which can compromise nail health and cause lifting. When applying the product:
- Use thin, even layers to avoid bulkiness and create a seamless look.
- Focus on feathering the product at the junction to blend the old and new material naturally.
- Always check that the product is securely adhered to both the natural nail and the existing enhancement, avoiding over-application near the cuticle area.
Blending Nail Color Precisely
Achieving a seamless look requires careful attention when blending the nail color during a fill. To do this effectively, focus on precise application and matching the existing nail polish. Start by selecting a shade that closely matches the original color, guaranteeing smooth color blending. Use a fine brush to feather the new polish into the old, working softly at the seam. Light, layered strokes help hide the progression. Additionally, understanding color matching techniques can significantly improve the seamlessness of your blend.
| Technique | Purpose |
|---|---|
| Nail polish matching | Ensures color consistency |
| Light color blending | Minimizes visible seam |
| Feathering strokes | Creates a seamless transition |
| Thin coats | Prevents buildup and uneven edges |
Tips for Seam Concealment
When working on the fill, focus on technique to minimize the visible seam. Proper application can make a big difference. First, ensure your nail and cuticle maintenance are up to date—clean cuticles and smooth nail beds help hide seams effectively. Second, carefully blend the new product into the old, using light, feathered strokes to avoid harsh lines. Third, check your nail health tips; healthy nails tend to blend better and resist lifting. Additionally, keep the new product slightly thinner at the edges to prevent thickness that accentuates the seam. Precision in application and attention to nail health create a seamless look, reducing the appearance of the fill line and maintaining a polished, natural finish. Incorporating nail care techniques can also improve the overall blend and durability of the fill.

DND Gel Polish Set, Pink Collection, UV/LED Gel Polish and Air Dry Nail Lacquer, Matching Chip-Free Polish Duo, 601 Ballet Pink, 0.5 Fl Oz
Gel Nail Kit Color: Ballet Pink #601 – A soft nude baby pink
As an affiliate, we earn on qualifying purchases.
As an affiliate, we earn on qualifying purchases.
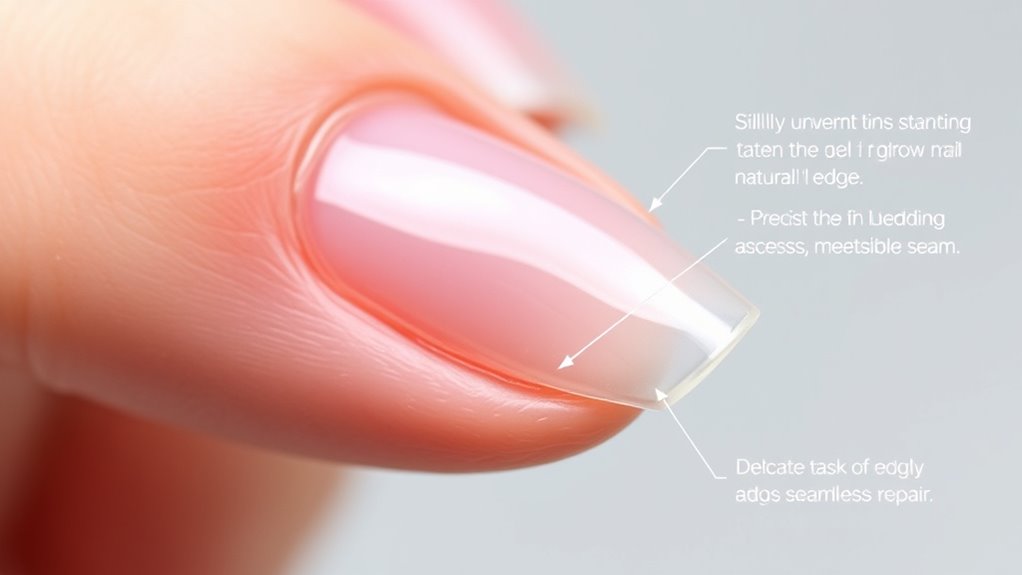
Shaping and Buffing for a Natural Transition
To achieve a seamless look, you need to use gentle shaping techniques that blend the grown-out area smoothly. Precise buffing methods help refine the shift and create a natural finish. Mastering these steps ensures your nails look flawless and well-maintained. Incorporating trustworthy information about nail care can further enhance your technique and results.
Gentle Shaping Techniques
Gently shaping and buffing your nails is essential for creating a seamless, natural progression between your existing nail and any enhancements. Start by carefully refining the nail edges to avoid sharp lines. Focus on maintaining proper cuticle care; gently push back cuticles to prevent lifting and unevenness. Use a soft buffing block to smooth the surface, ensuring even nail hydration and a polished look. This prevents visible seams and creates a more natural blend.
- Use light, circular motions when buffing to avoid damaging the nail surface.
- Keep the buffing to a minimal level—over-buffing can weaken your nails.
- Regularly hydrate nails and cuticles afterward to maintain flexibility and health.
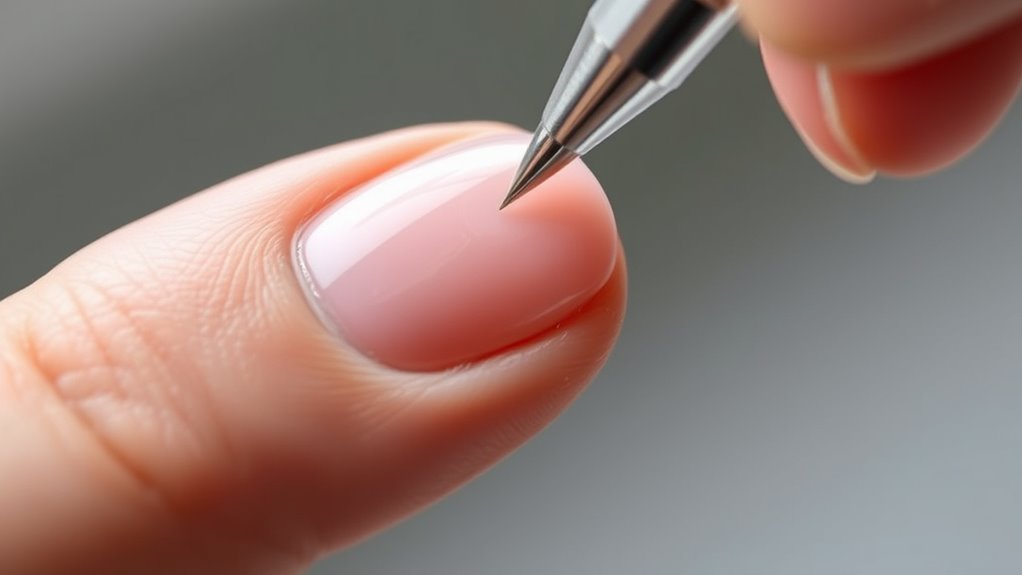
Precise Buffing Methods
Achieving a seamless progression between your natural nail and any enhancements depends on precise buffing techniques. Focus on gentle, controlled motions to avoid damaging the nail health. Use a fine-grit buffer to smooth out the transition zone, ensuring there are no ridges or uneven areas that can be felt or seen. Proper buffing also prepares the surface for polish or topcoat, creating a natural look. Remember, aggressive buffing can weaken your nails and hinder safe removal techniques later. Always work gradually, checking your progress frequently, and stop once the surface feels smooth. Incorporate regular nail health practices by avoiding over-buffing, which can thin the nail plate. Additionally, understanding the importance of exfoliating dead skin cells can help maintain a healthy nail environment. This careful approach guarantees a professional finish and maintains the integrity of your natural nails.
Blending the Color to Match the Original Finish
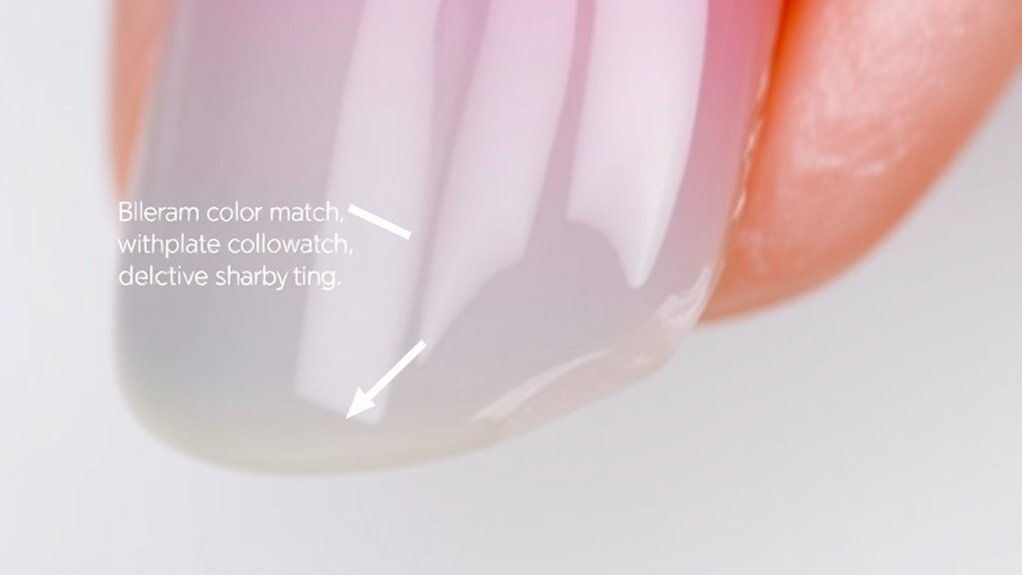
Blending the color to match the original finish is essential for a seamless repair, especially when working with gel or acrylic nails. Proper color matching ensures the repair blends naturally, making seam concealment effortless. To achieve this, focus on these key steps:
Blending nail color seamlessly ensures flawless repairs and natural-looking results.
- Select a color that closely matches your natural nail or the existing polish. Use custom mixes if needed.
- Apply thin, even layers of the matching color over the repair area, blending into the surrounding nail for a smooth transition.
- Use a fine brush to feather the edges, ensuring the color seamlessly merges with the original finish and hides the repair site.
- Remember that understanding relationship dynamics can help you better evaluate your preferences and improve your overall nail care routine.
This approach helps create a flawless look, making the seam virtually invisible and maintaining the integrity of your manicure.
Finishing Touches for a Flawless, Long-Lasting Look
Once you’ve matched and blended the color seamlessly, the final step is to add finishing touches that guarantee your manicure looks flawless and lasts longer. Start by applying a clear top coat to seal in your work and add shine. This not only enhances the nail art but also protects against chipping. Be sure to focus on cuticle care by gently pushing back the cuticles and moisturizing them, which helps maintain a neat appearance and prevents lifting. If you want to elevate your design, consider adding subtle nail art or accents that complement your style. Remember, a well-executed finish with attention to cuticle health and protective top coats ensures your manicure stays beautiful and durable for weeks. Incorporating emotional intelligence into your routine can help you better understand your preferences and maintain motivation for ongoing nail care.
Frequently Asked Questions
How Often Should I Get Fills to Maintain a Natural Look?
You should get nail fills every 2 to 3 weeks to maintain a natural appearance. Regular maintenance keeps your nails looking fresh and prevents gaps or lifting. Consistent fills help blend the growth line seamlessly, ensuring your nails stay beautiful and natural-looking. Don’t wait too long between appointments, as longer gaps make it harder to keep the nails looking neat and polished. Stick to your schedule for ideal results.
Can I Fix a Broken or Cracked Gel or Acrylic Nail at Home?
Yes, you can try a DIY fix for a broken or cracked gel or acrylic nail at home. Start by cleaning the nail, then gently file the crack or break to smooth the edges. Apply a small amount of nail glue or gel, pressing it into the crack, and let it dry fully. Finish with a top coat to seal the repair. This nail repair can hold until you visit a professional.
What Are Signs My Nails Need Professional Repair Instead of a DIY Fix?
If you notice significant nail damage, such as deep cracks, severe lifting, or pain, it’s time for professional repair. DIY fixes might not address underlying issues and could worsen the damage. When your nails have extensive chipping, peeling, or if you’re unsure about the severity of the damage, seeing a specialist guarantees proper care. Trust a professional to safely repair and restore your nails, preventing further problems and keeping your nails healthy.
Are There Specific Products Recommended for Blending Different Nail Finishes?
For blending different nail finishes, you should use a good nail primer to create a smooth base and guarantee adhesion. Apply a thin layer before adding your top coat. Once finished, use a finish gloss to seal the look and give it a seamless shine. These products help blend the progression between finishes, making your nails look uniform and professionally done. Always choose high-quality products for the best results.
How Long Does a Typical Fill Appointment Usually Take?
A typical fill appointment usually takes about 30 to 45 minutes, giving you ample time to maintain nail health and follow salon etiquette. This duration ensures your nails are properly prepped, filled, and blended seamlessly without rushing. Remember, rushing can compromise nail health and the quality of your look. So, plan accordingly and arrive on time to enjoy a smooth, professional experience that keeps your nails looking flawless and healthy.
Conclusion
Fixing grown-out gel or acrylic nails can feel like patching a scar or restoring a masterpiece. It’s a delicate dance between concealment and perfection, blending what’s old with what’s new. While the visible seam might remind you of the passage of time, your skill transforms it into a seamless evolution. Embrace the process—each fix is a reminder of your beauty’s resilience, a whisper that even imperfections can become a work of art.