If your gel polish isn’t curing properly, check your UV lamp wattage—ideally, it should be at least 36W—and verify it’s functioning correctly. Make sure your top coat is compatible with your gel and follow the recommended curing times carefully. Also, prep your nails thoroughly by removing oils and debris, and replace old or faulty lamps. For more tips to fix common curing issues, keep exploring detailed solutions to achieve a perfect finish.
Key Takeaways
- Ensure your UV lamp has at least 36W wattage and is functioning properly; older or low-wattage lamps may underperform.
- Verify that your top coat is compatible with your gel polish brand and follow the recommended curing instructions.
- Follow the manufacturer’s recommended curing times precisely; over- or under-curing affects proper hardening.
- Properly prepare nails by cleaning off oils and debris with alcohol to promote adhesion and effective curing.
- Regularly maintain and replace your UV lamp to ensure consistent UV light output and optimal curing results.
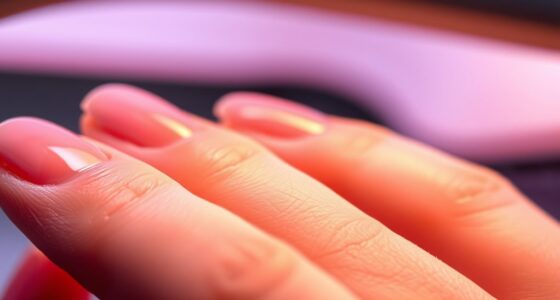
If your gel polish isn’t curing properly, it can be frustrating and time-consuming to fix. One common issue is the UV lamp wattage. Not all lamps are created equal, and using a lower wattage lamp can considerably affect your curing process. For ideal results, a UV lamp with at least 36 watts is recommended, as it provides sufficient energy to cure gel polish thoroughly. If your lamp is weaker, it might not emit enough UV light to fully harden the gel, leading to a sticky or soft finish even after the recommended curing time. Upgrading to a higher wattage lamp can improve curing efficiency, reducing the risk of incomplete curing and potential chipping or peeling down the line. Additionally, the quality and age of your UV lamp can impact its effectiveness, so replacing an outdated or malfunctioning lamp may be necessary.
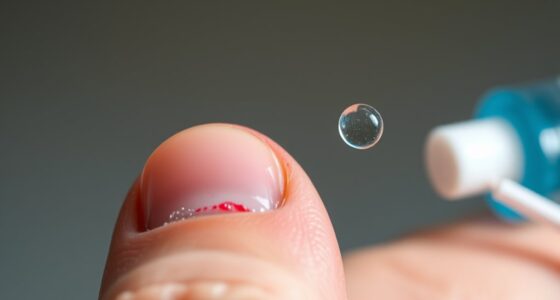
Another critical factor often overlooked is top coat compatibility. Not all top coats work well with every gel polish brand or type. If your top coat isn’t compatible with your gel polish, it can prevent the gel from curing properly or cause it to remain tacky after curing. Always check the label or product instructions to confirm compatibility. Some top coats require curing under specific light wavelengths or times, especially if they’re gel-based or formulated differently from standard gels. Using an incompatible top coat may also result in poor adhesion, lifting, or a glossy finish that doesn’t last. When troubleshooting, consider switching to a top coat recommended by your gel polish brand, and ensure you follow the curing instructions precisely.
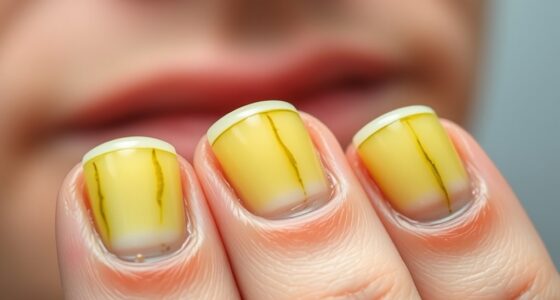
Other factors that influence proper curing include the duration of exposure and the cleanliness of your nails and tools. Over-curing can sometimes cause the gel to become brittle, while under-curing leads to a soft, tacky surface. Follow the manufacturer’s recommended curing time, and don’t rush the process. Make sure your nails are free of oils, lotions, or debris before applying gel, as these can interfere with curing. Use a lint-free wipe with alcohol to cleanse your nails thoroughly before starting. Proper lamp maintenance and regular replacement can also help ensure consistent curing results.
Frequently Asked Questions
Can Outdated Gel Polish Affect Curing?
Outdated gel polish can definitely affect curing, leading to poor adhesion and reduced gel polish longevity. When your gel is old, its chemical composition may break down, making it harder to cure properly. To improve results, focus on proper nail prep techniques like cleaning and de-greasing nails, and always check the gel’s expiration date. Fresh gel guarantees better curing, longer-lasting results, and a smoother application experience.
Does Ambient Temperature Impact Gel Curing?
You might notice that ambient temperature affects gel curing because of temperature sensitivity. If it’s too cold or hot, the curing process becomes inconsistent, leading to uneven results. Cooler temperatures can slow down the curing, while heat might cause over-curing or bubbling. To guarantee curing consistency, keep your workspace at a stable, moderate temperature, usually around 70-75°F, so your gel polish cures properly every time.
Are Certain Brands More Prone to Curing Issues?
They say “you get what you pay for,” and with gel polish, brand consistency and formula quality matter. Some brands may have curing issues due to inconsistent formulas or lower-quality ingredients. You might notice more problems with certain brands, especially if their products aren’t formulated for ideal curing. To avoid this, stick with reputable brands known for reliable curing performance, ensuring your manicure lasts longer and looks flawless.
How Does Humidity Influence the Curing Process?
Humidity levels can considerably influence your gel polish curing process. High moisture interference from excessive humidity slows down or prevents proper curing, leading to a tacky or uneven finish. To avoid this, make sure your workspace has controlled humidity, ideally between 40-50%. Using a dehumidifier or working in a climate-controlled environment helps maintain ideal moisture levels, guaranteeing your gel polish cures correctly and endures longer.
Can Using Expired Uv/Led Lamps Cause Curing Problems?
Using an expired UV or LED lamp can definitely cause curing problems. Over time, the lamp’s bulb lifespan diminishes, reducing its effectiveness. If your lamp is past its recommended usage, it might not emit enough UV or LED light to properly cure your gel polish. Remember, gel shelf life also matters; expired gel can resist curing even if your lamp is working fine. Always check both your lamp and gel dates for ideal results.
Conclusion
If your gel polish isn’t curing quite as flawlessly as you’d like, don’t worry—there’s always a gentle solution waiting to be discovered. Sometimes, a little tweak in your technique or equipment can turn things around, making your manicure experience more enjoyable. Embrace the process with patience and curiosity, and soon enough, your nails will shine with that perfect, professional finish. Remember, every challenge is just a stepping stone to mastering your beauty routine.