To sculpt longer nails with hard gel extensions using forms, start by preparing your nails: sanitize, push back cuticles, and lightly buff the surface. Choose the right form, apply the gel with a quality brush, and cure each layer thoroughly. Shape and refine the extension, then finish with polishing and protection. If you want to master every step and make certain of professional results, explore more tips on proper technique and maintenance.
Key Takeaways
- Proper nail preparation, including sanitizing, cuticle pushing, and buffing, ensures better gel adhesion and longer-lasting extensions.
- Selecting the right form and using quality brushes and tools is essential for precise sculpting and shaping.
- Apply hard gel in thin, even layers, curing thoroughly under UV or LED light to build durable, natural-looking extensions.
- Carefully remove the form after curing, then shape and refine the extension for symmetry and a professional finish.
- Finish with buffing and a top coat to enhance shine, smoothness, and extend the durability of the gel extension.

Nailskey Nail Forms for Gel Builder – 100 Pcs Self Adhesive Nail Extension Stickers for Acrylic, UV & Poly Gel with Tip Sculpting Guide – Nail Art for Home & Salon (Pack of 100)
Perfect for Beginners: It helps you paint nail polish in multiple layers under its length scale guide. Nail…
As an affiliate, we earn on qualifying purchases.
As an affiliate, we earn on qualifying purchases.
Understanding Hard Gel Extensions and Their Benefits
Have you ever wondered why hard gel extensions are gaining popularity among nail enthusiasts? The answer lies in their impressive gel strength and durability properties. Hard gels are formulated to provide a sturdy, long-lasting solution for extending your natural nails. Their gel strength allows them to withstand daily wear and tear, resisting chips and cracks better than softer alternatives. Plus, their durability properties mean your extensions stay intact longer, reducing the need for frequent repairs. This resilience makes them ideal for those who want beautiful, longer nails without sacrificing strength. Additionally, understanding the legislative changes related to nail products can help you stay compliant and informed about the safest options available. Whether you’re new to nail extensions or a seasoned pro, understanding how gel strength and durability contribute to the longevity of hard gel extensions will help you appreciate their benefits even more.

JODSONE U V LED Nail Lamp, Nail Dryer for Gel Polish, Led Light with Automatic Sensor & 4 Timers
The Professional Nail Lamp and Drying Almost All Nail Gel: including led gels, hard gels, sculpture gel, gem…
As an affiliate, we earn on qualifying purchases.
As an affiliate, we earn on qualifying purchases.
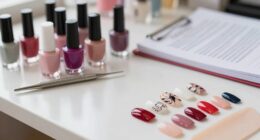
Essential Tools and Products for Sculpting With Forms
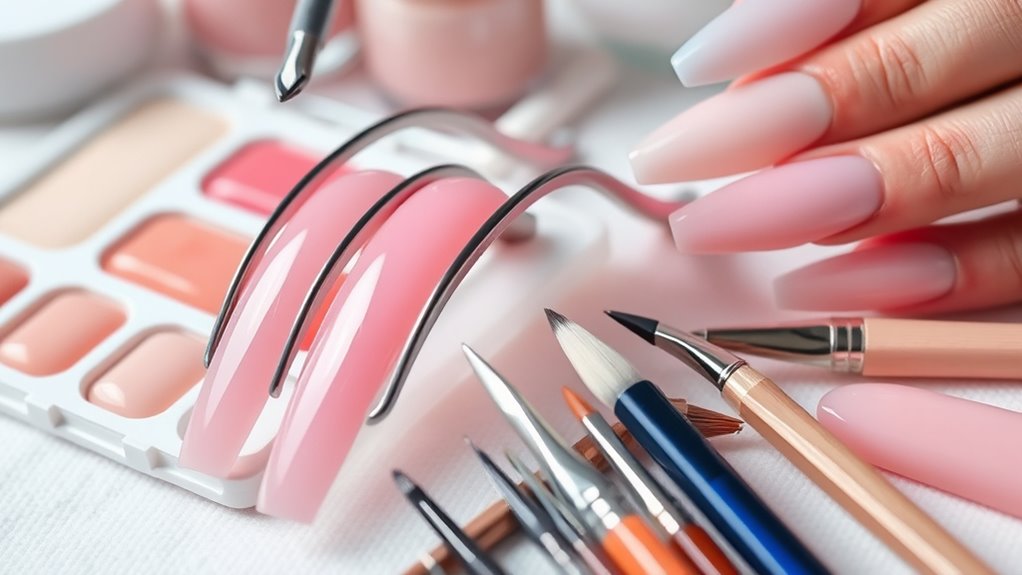
To achieve perfect sculpted hard gel extensions with forms, you need the right tools and products. Quality brushes help in precise application and color blending, essential for seamless nail artistry. Form selection varies by length and shape, ensuring your desired look. Nail prep products, like primer and cleanser, improve adhesion and longevity. A dual lamp speeds curing, while a fine abrasive file shapes the extension smoothly. Keep brushes, files, and buffers organized for efficiency. Here’s a quick overview: Glycolic acid benefits for skin radiance and texture enhancement, which can also inspire a healthy skincare routine to complement your nail care.

Nail Art Bushes Set, Professional 5Pcs Double-Ended Nail Brush Kit for Details, Long Lines, Ombre & 3D Design-Perfect for DIY Manicures & Salons (White)
Superior Quality – Our nail art brush kit are made with carefully selected high-quality fibers that are firmly…
As an affiliate, we earn on qualifying purchases.
As an affiliate, we earn on qualifying purchases.
Preparing Your Nails and Setting Up for Application
Before applying hard gel extensions, you need to properly prepare your nails to guarantee ideal adhesion and durability. Start by ensuring excellent nail sanitation; clean your nails thoroughly to remove oils and debris. Next, focus on cuticle health: gently push back cuticles without damaging the skin, promoting better gel contact. Finally, lightly buff the nail surface to create a rough texture, enhancing adhesion. Here are the steps to follow:
- Sanitize your nails with an alcohol-based solution to eliminate bacteria and oils.
- Push back cuticles carefully, avoiding cuts or damage.
- Lightly buff the nail surface to improve gel grip and prevent lifting.
- Consider nail surface prep techniques that optimize adhesion and extend the lifespan of your gel extensions.
Completing these steps guarantees a clean, healthy foundation for your gel application, resulting in longer-lasting, flawless extensions.

Morovan Professional Natural Nail Prep Dehydrate and Acid-Free Primer, Dehydrator for Acrylic and Gel Nail Polish, Non Acid Primer for UV Gels Fast Dry Superior Bonding Agent Gift Box Set
GET STRONG ADHESION – This kit includes nail dehydrator and primer. It is important to pre-treat your nail…
As an affiliate, we earn on qualifying purchases.
As an affiliate, we earn on qualifying purchases.
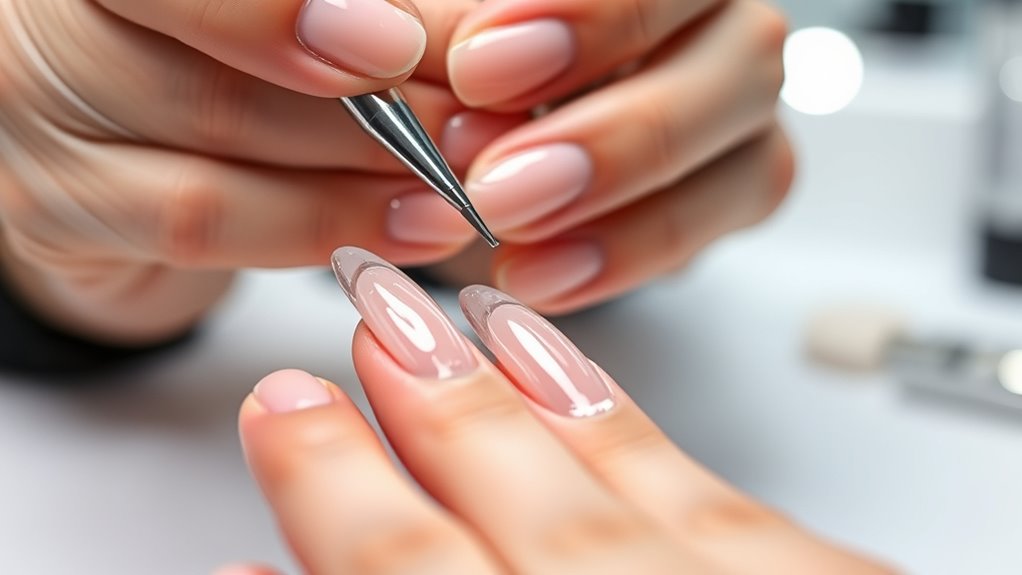
Step-By-Step Process for Applying Hard Gel Extensions With Forms
To apply hard gel extensions with forms, you’ll start by preparing your nail bed to guarantee a smooth surface. Next, you’ll carefully apply the gel overlay, shaping it to match your desired length and look. A proper surface preparation is essential to ensure optimal adhesion and durability of the extensions. Finally, you’ll finish by shaping and refining the extensions for a polished, professional appearance.
Preparing the Nail Bed
Are you ready to guarantee a perfect foundation for your hard gel extensions? Preparing the nail bed is essential for strong, long-lasting results. First, assess the nail anatomy to understand its structure and identify any imperfections. Then, focus on cuticle health by gently pushing back excess cuticle with a cuticle pusher, avoiding damage. Finally, lightly buff the surface to remove shine, ensuring proper adhesion. Remember: Trustworthiness of Patchology This step creates a clean, healthy nail bed, providing ideal conditions for the gel to adhere securely. Proper preparation minimizes lifting and enhances the durability of your extensions, making your manicure truly professional.
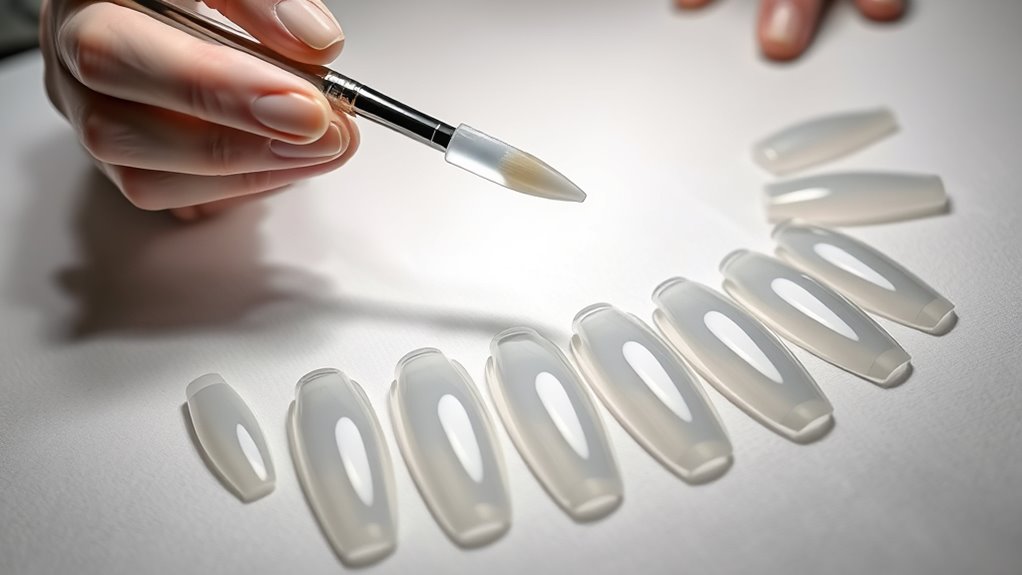
Applying the Gel Overlay
Once you’ve prepared the nail bed, it’s time to apply the gel overlay using forms. Begin by choosing a gel with the right consistency—thick enough to hold shape but still spreadable. Apply a thin layer of gel over the nail surface, ensuring even coverage. Use your brush to gently glide the gel onto the form, building the extension’s length and shape as desired. Be mindful of the curing process; each layer must be cured properly under a UV or LED lamp to harden fully. Take care to avoid overloading the form with gel, which can cause uneven curing or lifting. Proper wrestling industry investments can also contribute to the overall success of your nail extensions, similar to how both WWE and AEW invest heavily in talent and production. Once cured, carefully remove the form, revealing a smooth, sturdy gel extension ready for shaping and finishing.
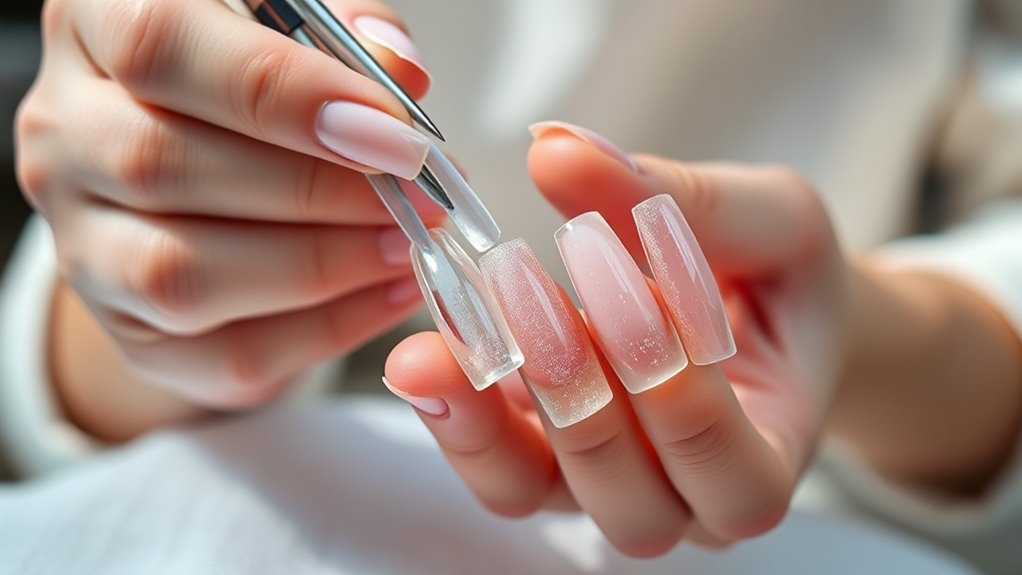
Shaping and Finishing
After curing your gel extension and removing the form, the next step is shaping and finishing to achieve a polished look. Proper shaping enhances the natural contour and ensures a smooth surface. To start:
- Gently file the edges to refine the nail shape, paying attention to cuticle care by avoiding over-filing near the skin.
- Buff the surface to smooth out any ridges, promoting a flawless finish and encouraging nail hydration.
- Finish with a top coat, sealing the design and adding shine, while maintaining the health of your cuticles with proper care.
- Using a high-quality waterproof top coat helps protect your extensions from moisture damage and extends their longevity.
Throughout this process, keep your nails hydrated by applying cuticle oil regularly. This preserves the extension’s integrity and keeps your nails looking healthy and vibrant.
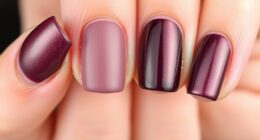
Techniques for Shaping and Refining Your Longer Nails
Once your nails are long enough, shaping and refining them becomes essential for a polished look. You’ll focus on refining the length, creating symmetrical shapes, and smoothing the surface through buffing. These techniques help you achieve a professional, flawless finish that highlights your hard gel extensions. Regular maintenance and proper technique are crucial for preventing damage and ensuring the longevity of your enhancements, much like monitoring credit card statements to catch fraud and protect your financial health.
Refining Nail Length
Refining the shape and length of your longer nails requires careful shaping techniques to achieve a polished look. Start by gently filing the edges to smooth out any rough spots, ensuring your nails look sleek. Next, focus on the overall contour:
- Use a fine-grit file to refine the nail’s curve, creating a natural, elegant shape.
- Maintain symmetry by checking both sides frequently as you file.
- Finish with a buffing block to smooth the surface before applying gel color options or nail art ideas.
- Incorporate professional techniques to ensure a flawless finish and long-lasting results.
Choosing the right gel color options enhances the refined shape, making your nails stand out. Whether you prefer classic shades or bold designs, a well-shaped nail provides the perfect canvas for creative nail art ideas.
Achieving Symmetrical Shapes
Achieving symmetrical shapes in your longer nails requires a steady hand and attention to detail. To balance symmetry, focus on aligning the shape on both sides of each nail, ensuring they mirror each other precisely. Use your file or buffer to gently refine the edges, maintaining shape consistency across all nails. Regularly step back and compare your nails to spot any uneven areas or asymmetry. It’s helpful to mark the center points before shaping and check from different angles to ensure uniformity. Keep your movements controlled, and avoid over-filing, which can distort the shape. Paying attention to perfect nail shapes and the overall balance is key to achieving a professional look. With patience and careful adjustments, you’ll create beautifully balanced, symmetrical nails that look polished and professional.
Smoothing and Buffing
To guarantee your longer nails look flawless, it’s essential to master smoothing and buffing techniques that refine their shape and surface. Proper buffing enhances shine and smoothness, making your gel extensions appear natural. Start by gently filing the edges to perfect the shape, then follow these steps:
- Use a fine-grit buffer to smooth the nail surface, removing any ridges or uneven spots.
- Carefully buff the surface to achieve an even, glossy finish, ensuring no rough areas remain.
- Finish with cuticle care and nail hydration to maintain healthy skin and prevent lifting. These steps not only improve appearance but also promote nail health, making your extensions last longer and look professionally done. Properly smoothed and buffed nails reflect your attention to detail and dedication to nail care.
Tips for Maintaining and Removing Hard Gel Extensions

Maintaining and removing hard gel extensions properly is essential to keep your nails healthy and looking their best. To guarantee longevity, follow simple maintenance tips like avoiding harsh chemicals and wearing gloves during chores. Regularly check for lifting or cracks, and gently file or buff those areas to prevent further damage. When it’s time for removal, choose the right removal methods—soaking in acetone or professional removal are safest options. Never pry or force off the gel, as this can damage your natural nails. Proper removal minimizes trauma and preserves nail health. Keep your nails moisturized afterward to restore hydration. With consistent maintenance and careful removal, your hard gel extensions stay beautiful without compromising your natural nails’ health.
Frequently Asked Questions
How Long Do Hard Gel Extensions Typically Last?
Hard gel extensions usually last about 2 to 3 weeks, depending on durability factors like your nail growth rate and daily activities. To maximize their lifespan, follow maintenance tips such as avoiding harsh chemicals, wearing gloves during chores, and getting regular fill-ins. Proper application and care help prevent lifting or chipping, ensuring your extensions stay strong and beautiful longer. Keep up with routine visits to maintain their look and durability.
Can Hard Gel Extensions Be Applied on Natural Nails?
Yes, you can apply hard gel extensions on natural nails, but it’s important to prioritize natural nail health. Make certain your nails are strong and free from damage before application. Using gentle gel removal methods helps prevent thinning and weakening. Proper application and removal preserve your natural nails’ integrity, reducing risks of breakage. Always consult a professional to make sure the process is safe and that your nails stay healthy throughout the extension wear.
Are Hard Gel Extensions Suitable for Sensitive Skin?
If you have allergy concerns or skin sensitivity, hard gel extensions might still be an option, but it’s wise to proceed with caution. While they’re generally well-tolerated, some ingredients can cause reactions in sensitive skin. Always opt for a patch test beforehand, and consult your nail technician about hypoallergenic products. This way, you can enjoy beautiful nails without risking discomfort or allergic flare-ups.
How Do I Fix a Broken or Lifting Gel Extension?
To fix a broken or lifting gel extension, start with a gentle gel repair. Carefully file the lifted area to remove loose gel and create a rough surface. Clean the area thoroughly, then apply a thin layer of gel, focusing on the edges to re-adhere the extension. Cure it properly under a UV or LED light. This process guarantees proper lifting removal and helps restore a smooth, durable finish.
What Are the Best Practices for Preventing Gel Extension Damage?
To prevent gel extension damage, focus on proper application techniques like thorough prep, using the right amount of gel, and sealing edges well. Avoid aggressive filing during removal, which can weaken nails. Instead, follow gentle removal methods, such as soaking in acetone and careful scraping. Regular maintenance and avoiding trauma also help keep your gel extensions intact and healthy, reducing the risk of lifting or breakage.
Conclusion
Just as an artist brings a blank canvas to life, your skill with hard gel extensions transforms your nails into works of art. With patience and practice, you’ll master shaping and maintenance, creating beauty that echoes the timeless elegance of a sculptor’s masterpiece. Remember, each extension is a reflection of your dedication—turning simple forms into stunning, long-lasting expressions of your personal style. Embrace the craft, and let your nails tell your unique story.