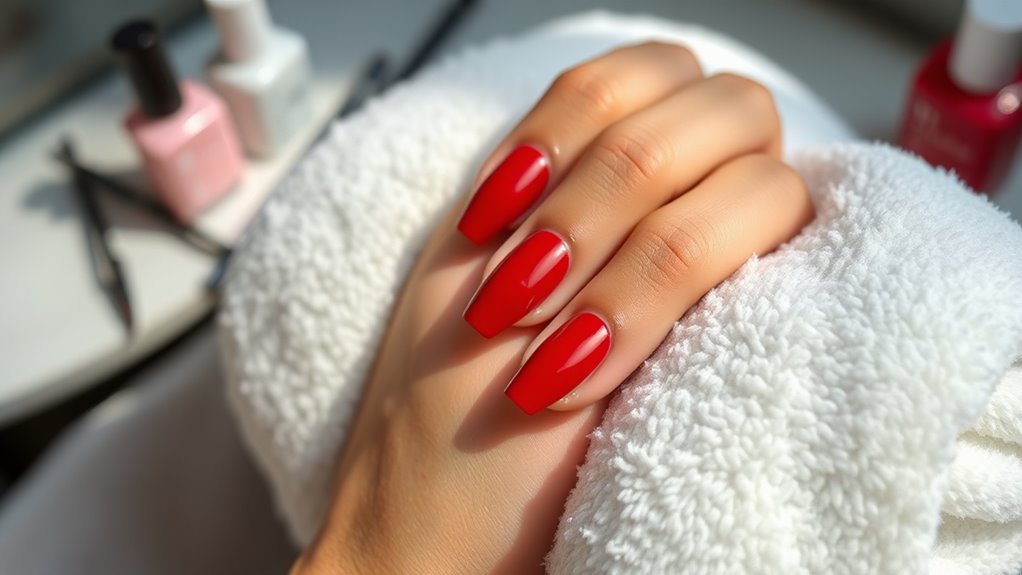

To achieve a salon-quality gel manicure at home with a lasting, shiny finish, you need to pick quality gel polishes and tools, prepare your nails properly, and maintain cleanliness. Apply thin coats of base, color, and top coat, curing each layer thoroughly under a UV or LED lamp. Fix common issues promptly, like peeling or bubbles, and keep your nails moisturized. For more helpful tips to perfect your gel manicure, keep exploring this guide.
Key Takeaways
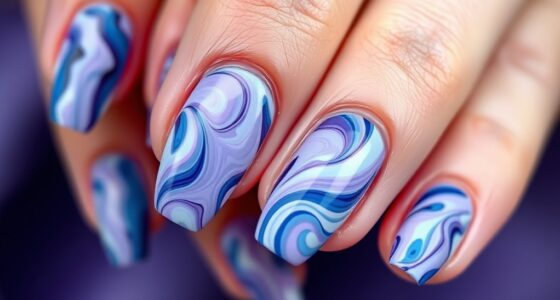
- Use high-quality gel polishes, proper application techniques, and thin coats for an even, long-lasting finish.
- Ensure nails are clean, dehydrated, and well-prepared with a base coat to enhance adhesion and durability.
- Cure each layer thoroughly under the correct UV/LED lamp settings to prevent peeling and ensure shine.
- Seal with a top coat, covering edges, and cure fully for a glossy, chip-resistant surface.
- Maintain your manicure with regular cuticle oil, gentle removal, and avoiding harsh chemicals to prolong shine and prevent lifting.
Top picks for "salon quality manicure"
Open Amazon search results for this keyword.
As an affiliate, we earn on qualifying purchases.
Choosing the Right Gel Polish and Tools

Selecting the right gel polish and tools is essential for achieving a flawless salon-quality gel manicure at home. Start by exploring trendy color palettes that suit your style and occasion, ensuring your manicure stays fashionable. Look for innovative gel formulas that provide better coverage, longer wear, and easy application. Quality brushes, a good LED or UV lamp, and a top coat are crucial for a smooth, shiny finish. Invest in brands known for their durability and rich pigmentation, which help prevent chipping and fading. Choosing the right tools also means picking a gentle nail cleanser and proper removal accessories. With the right combination of trendy colors and advanced formulas, you’ll set a solid foundation for a stunning, professional-looking manicure that lasts. Additionally, selecting proper nail prep techniques can greatly enhance adhesion and longevity of your gel manicure.
Preparing Your Nails for a Flawless Finish

Before applying gel polish, make sure your nails are clean and completely dry to guarantee proper adherence. Shape and buff your nails to create a smooth surface, and gently nourish your cuticles to promote healthy growth. Taking these steps helps you achieve a flawless, long-lasting finish. Incorporating proper preparation techniques can further enhance the durability and shine of your manicure.
Clean and Dry Nails
Ensuring your nails are clean and dry is a crucial first step to achieve a salon-quality gel manicure at home. Start by removing any old polish thoroughly, using a gentle, acetone-based polish remover to guarantee no residue remains. This helps improve nail hygiene and creates a smooth surface for the gel to adhere properly. After polish removal, wash your hands and nails with soap and water, then dry completely with a lint-free towel. Moisture or oils on your nails can cause the gel to lift or peel prematurely. Make sure your nails are dry and free of any oils or lotions before proceeding. Proper cleaning and drying set the foundation for a flawless, long-lasting gel manicure. Additionally, understanding color accuracy in your tools and products can ensure your manicure looks vibrant and true to the shade you desire.
Shape and Buff Nails
To achieve a professional-looking gel manicure, shaping and buffing your nails is essential. Proper nail shaping creates a smooth base, while buffing techniques remove ridges and add shine. Use a nail file to shape your nails into your preferred style, avoiding rough edges. Lightly buff the surface with a fine-grit buffer to smooth out imperfections and enhance adhesion. Focus on the center and edges, ensuring even coverage. Here’s a quick overview:
| Step | Purpose |
|---|---|
| Nail shaping | Create a clean, uniform look |
| Buffing techniques | Prep surface for polish |
| Final buff | Achieve a shiny, flawless finish |
Mastering these steps guarantees a sleek, long-lasting gel manicure with a flawless finish.
Nourish Cuticles Properly
Nourishing your cuticles is a essential step in achieving a flawless gel manicure because healthy cuticles support strong, smooth nails. To do this, incorporate a good cuticle oil into your hydration routine daily. Gently massage the oil into your cuticles and surrounding skin to boost moisture and elasticity. This helps prevent dryness and peeling, which can interfere with gel adhesion. Consistent use of cuticle oil keeps your nails looking neat and promotes faster growth. Avoid cutting or pushing back cuticles aggressively, as this can damage the nail bed. Instead, focus on gentle nourishment to maintain healthy cuticles that enhance the overall appearance of your gel manicure and contribute to a longer-lasting, shiny finish. Regularly hydrating and nurturing your nails supports overall nail health and improves the longevity of your manicure.
Proper Nail Cleaning and Dehydration Techniques
Before applying gel polish, it’s essential to properly clean and dehydrate your nails to guarantee long-lasting adhesion. Start by ensuring excellent nail hygiene; remove any oils, dirt, or residual products that could interfere with the polish. Use an alcohol-based nail cleanser or an acetone wipe to thoroughly de-grease your nails. Proper dehydration helps the gel adhere better and prevents lifting. Avoid over-roughening the nail surface—gentle buffing is enough. When it’s time to remove old gel polish, use effective removal techniques like soaking in acetone and gently pushing off the polish to avoid damaging your nails. Clean nails thoroughly after removal, ensuring no residue remains. Filtration systems, including HEPA filters, can help remove dust and allergens from your workspace, promoting a cleaner and healthier environment. Clear nail hygiene and dehydration set a solid foundation for a flawless gel manicure.
Applying Base Coat for a Smooth Start
Applying a thin, even layer of base coat is essential for creating a smooth foundation for your gel polish. This step helps the nail primer penetrate the nail surface, enhancing adhesion and preventing chipping. The base coat benefits include strengthening your nails and providing a sticky layer that helps the gel color adhere better. Make sure to apply the base coat in a smooth, consistent stroke, avoiding excess product or thick layers. Proper application ensures your manicure lasts longer and looks flawless. Allow the base coat to cure fully under the UV or LED lamp before moving on. Skipping or rushing this step can lead to uneven application or premature peeling, so take your time to prepare your nails properly for the best gel manicure results.
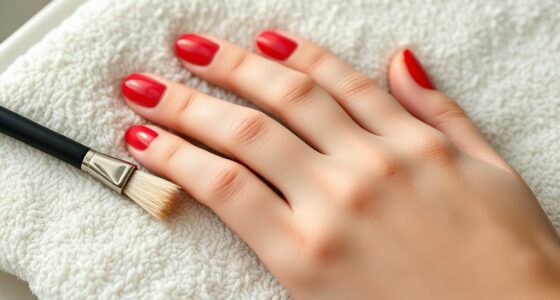
Applying Gel Color for Even Coverage

Once the base coat has cured completely, it’s time to add the gel color. Use a gentle brush technique to pick up a small bead of gel polish. Start by placing the bead near the cuticle, then gently stroke it down the center of your nail, spreading it evenly toward the tip. Repeat on each side, maintaining a consistent, smooth motion to guarantee color consistency across your entire nail. Avoid pressing too hard or dragging the brush, which can cause streaks or uneven coverage. Keep a light touch and work in thin coats—multiple thin layers will give you a more even, polished finish. Take your time, and check for any thin spots or streaks before curing. Proper application now assures a flawless, long-lasting gel manicure. Additionally, ensuring even coverage helps prevent lifting and extends the durability of your manicure.
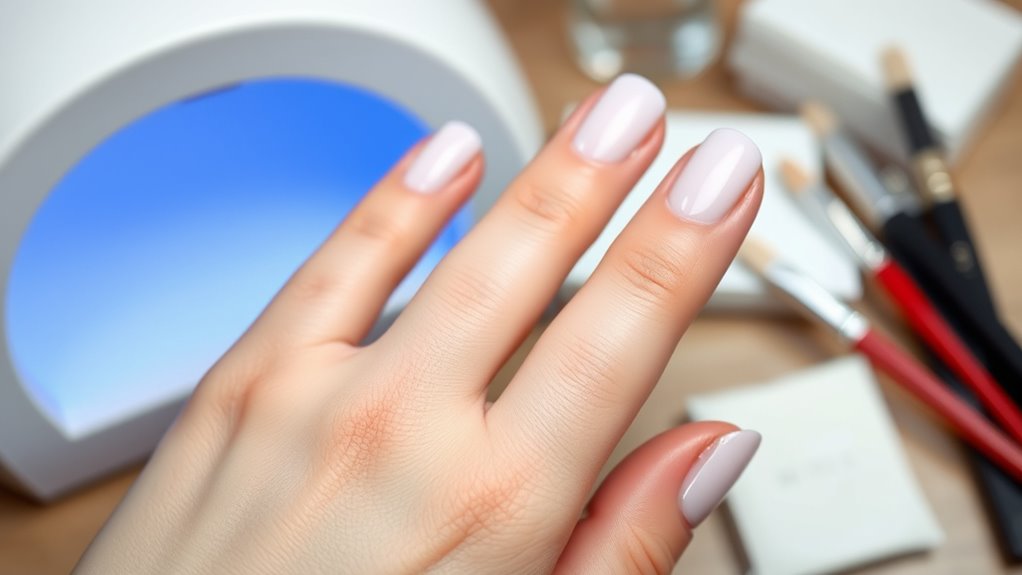
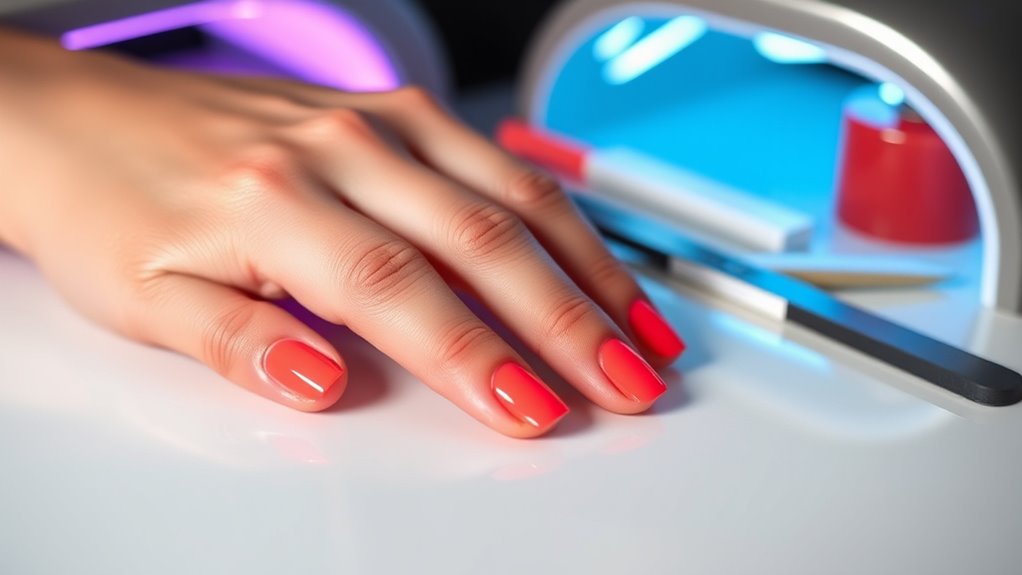
Mastering the Curing Process for Durability and Shine
Getting the curing process right is key to a long-lasting, shiny gel manicure. You need to follow the recommended curing times and make certain your lamp is set up correctly. Proper lamp positioning makes all the difference in achieving a durable, professional finish. Ensuring your lamp uses the appropriate curing times for your gel product can prevent issues like dullness or peeling.
Optimal Curing Times
To achieve a long-lasting, glossy gel manicure, mastering the ideal curing times is essential. First, verify your UV or LED lamp is properly calibrated, as inconsistent settings can result in under- or over-curing. Check the manufacturer’s recommended curing duration for your specific gel polish. Keep curing environment factors in mind—ambient temperature and humidity can affect curing efficiency, so work in a well-ventilated, controlled space. Avoid rushing the process; curing too briefly can weaken the bond, while over-curing may cause dullness or cracking. Use a timer to track exact curing times for each layer, and always follow the gel polish manufacturer’s instructions. Proper curing ensures your manicure lasts longer with a shiny, flawless finish. Additionally, understanding the effectiveness of eye patches can help inform how you incorporate proper skincare routines to maintain healthy, radiant skin that complements your polished nails.
Proper Lamp Positioning
Proper lamp positioning is essential for guaranteeing your gel layers cure evenly and thoroughly. To achieve this, focus on your lamp placement and curing angle. First, position the lamp directly above your nails, keeping it parallel to prevent uneven curing. Second, maintain a consistent distance, usually about 1-2 inches from your nails, to avoid under- or over-curing. Third, ensure the lamp’s curing angle aligns with your nails, so the light covers all areas evenly. Improper lamp placement can cause uneven curing, leading to chips or dullness. By paying attention to the curing angle and keeping the lamp steady and centered, you’ll achieve a glossy, durable finish that lasts. Additionally, understanding lamp curing efficiency can help optimize your process and ensure a long-lasting, shiny manicure. Proper lamp positioning is key for a salon-quality gel manicure at home.
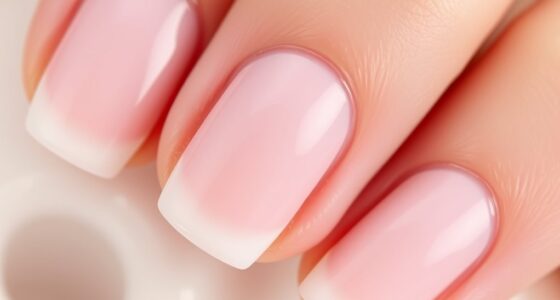
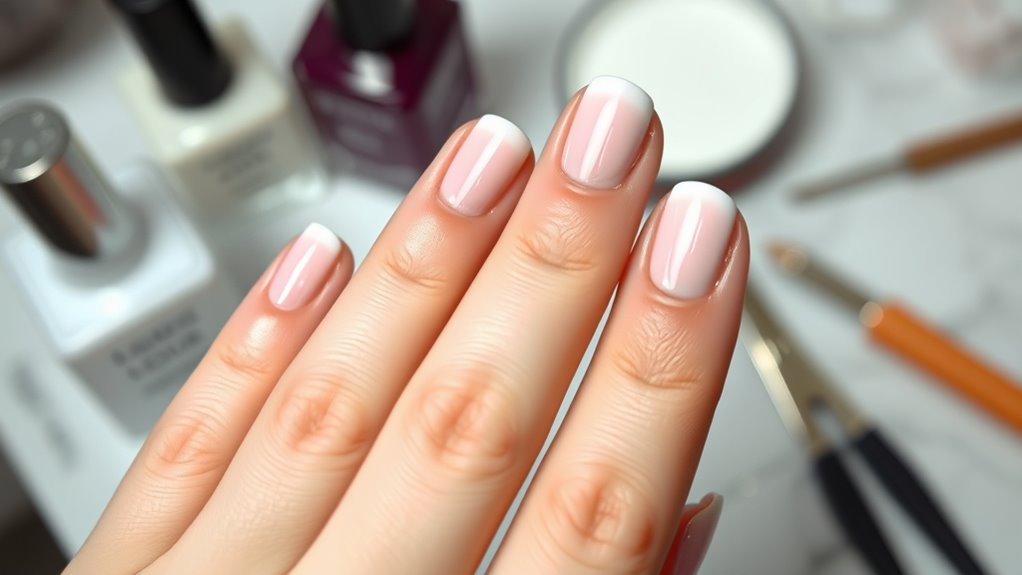
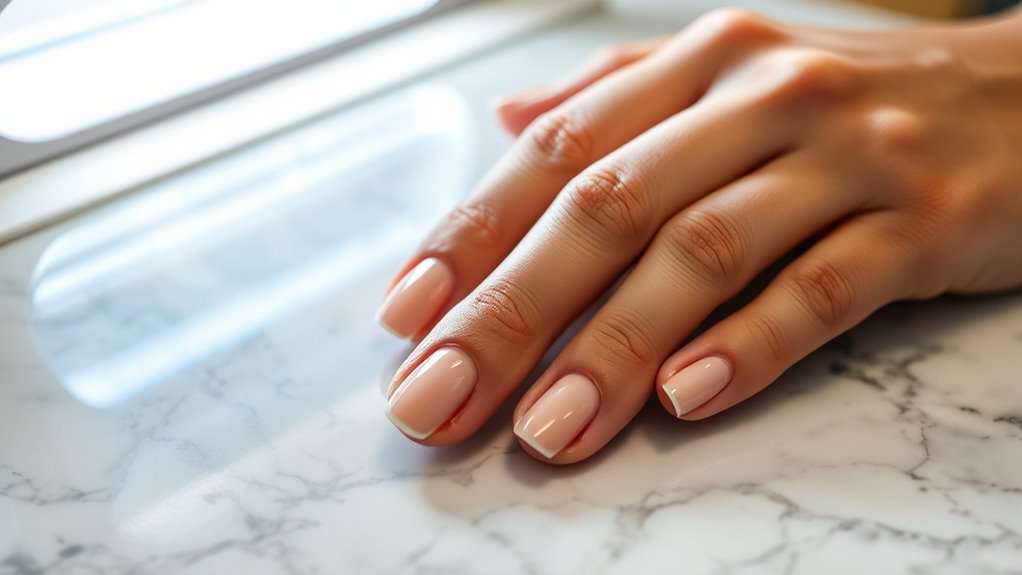
Finishing With a Top Coat to Seal and Protect

Applying a top coat is the final step that locks in your gel manicure, providing a glossy finish and extra durability. When choosing the right gel polish, opt for brands known for their long-lasting formulas. Selecting durable top coats is equally important to seal your color and protect against chips and scratches. Make sure to apply the top coat evenly over your nails, covering the edges to prevent lifting. This layer enhances shine and creates a protective barrier against daily wear. Take your time to cure the top coat thoroughly under the lamp, ensuring it bonds well. Proper application of a high-quality top coat guarantees your manicure stays vibrant, smooth, and chip-free longer, giving you that salon-quality finish at home. Incorporating a top coat with hydrocolloid technology can also help maintain the health of your natural nails by preventing damage.
Troubleshooting Common Issues and Fixes
Have you ever noticed your gel polish peeling, bubbling, or lifting sooner than expected? Common issues like these can be frustrating, but fixing mistakes is straightforward. Here’s what to do:
Noticing gel polish issues early? Simple fixes can keep your nails flawless longer.
- Peeling or Lifting: Gently buff the edges and reapply a thin layer of top coat to seal the area.
- Bubbling or Blistering: Cure the polish properly, ensuring your nails are clean and free of oils before application.
- Bubbles in the Polish: Avoid shaking the bottle—roll it instead—to prevent air bubbles from forming during application.
Maintaining Your Gel Manicure for Longevity
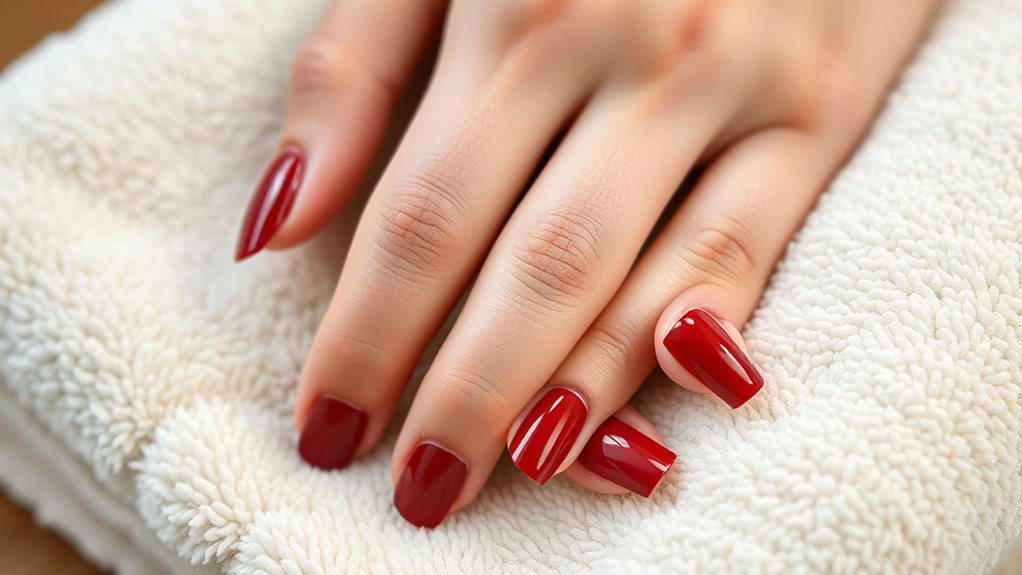
To keep your gel manicure looking fresh and chip-free for as long as possible, consistent aftercare is key. Protect your nail health by avoiding aggressive polish removal and sticking to gentle methods. When it’s time to change your polish, soak a cotton ball in acetone, place it on your nail, and wrap with foil for quick removal without damage. Proper maintenance prevents lifting and extends your manicure’s life. Imagine this:
| Nail Condition | Recommended Action | Tips |
|---|---|---|
| Healthy nails | Regular moisturizing | Use cuticle oil daily |
| Slight lifting | Reapply top coat promptly | Prevent dirt buildup |
| Chipped polish | Fix small chips ASAP | Use small brush for touch-ups |
| Nail damage | Allow nails to breathe | Take breaks between manicures |
Keep these habits in mind for long-lasting, shiny nails.
Frequently Asked Questions
How Can I Remove Gel Polish Without Damaging My Nails?
To remove gel polish without damaging your nails, follow gentle removal methods that prioritize nail health. Soak cotton balls in acetone, place them on your nails, and wrap with foil for 10-15 minutes to loosen the gel. Carefully lift the polish with a cuticle pusher—avoid scraping. This way, you protect your nails while effectively removing gel polish, ensuring they stay healthy and strong.
What Are the Best Techniques for Preventing Gel Chipping?
Think of your gel nails as a fortress; the stronger the walls, the fewer chips you’ll face. You prevent chipping by applying a high-quality base coat, ensuring your nail surface is smooth, and protecting cuticle care to prevent lifting. Regularly sealing the edges during application creates a barrier, while avoiding harsh chemicals and water exposure extends your manicure’s lifespan. Keep up these habits, and your gel will stay shiny and chip-free longer.
How Long Should Each Curing Session Last for Optimal Results?
For ideal results, you should aim for a curing time of 30 to 60 seconds per layer under your lamp. The lamp duration depends on the gel brand and the device’s strength, so always follow the manufacturer’s instructions. Usually, a 30-second cure for each layer is sufficient with a good LED lamp, but some gels may require up to 60 seconds. Adjust your curing time for a durable, shiny finish.
Can I Use Regular Top Coats Over Gel Polish?
Think of your nails as a work of art—would you paint a masterpiece with just a brushstroke and no varnish? Regular top coats aren’t compatible with gel polish layering, so using them over gel can cause peeling or dullness. For a smooth, shiny finish, choose a top coat specifically formulated for gel polish. This guarantees your design stays sleek, durable, and salon-quality, even at home.
What Ingredients Should I Avoid in Gel Polishes for Healthier Nails?
You should avoid gel polishes with harmful ingredients like formaldehyde, toluene, DBP, and formaldehyde resin, which can weaken nails and cause sensitivities. Be cautious with acetone safety, as frequent exposure can dry out nails. If you have chemical sensitivities, opt for brands labeled as 5-free or 7-free, indicating they lack many toxic chemicals. Always read labels to protect your nails and overall health.
Conclusion
With the right tools and techniques, you can achieve a salon-quality gel manicure at home that lasts like a diamond—bright, flawless, and resilient. Keep your nails well-prepared, apply each layer carefully, and don’t forget to seal with a top coat. With a bit of practice, you’ll find maintaining your gorgeous, shiny finish becomes second nature—like riding a bike. So, go ahead and give your nails that professional touch they deserve!