
To fix a broken nail with a gel overlay, start by sanitizing and shaping the nail carefully, removing any rough edges. Buff the surface to create a good grip and apply a primer to enhance adhesion. Build a thin gel base layer to reinforce the nail, then sculpt the gel to match your natural shape. Cure each layer thoroughly, then smooth and polish for a seamless finish. If you keep going, you’ll learn how to make your repair durable and beautiful.
Key Takeaways
- Carefully assess the break and clean the nail surface before preparing for gel application.
- Lightly buff the nail to create a rough surface and remove shine for better gel adhesion.
- Apply a thin layer of primer to enhance bonding and cure each layer thoroughly.
- Build the gel overlay in thin, even layers from cuticle to free edge, shaping for strength.
- Finish with a top coat, cure properly, and wipe with alcohol for a smooth, durable protective finish.

AZUREBEAUTY Nail Repair Kit Transparent Crystal for Broken Cracked Split Weak Nails, Ideal Solution Emergency Easy Quick Fix Dip Powder 28 g 1 Oz Quick-Drying Repair Glue 10 ml Nail File Nail Buffer
What U Get: Portable nail repair kit comes with 1* Clear Dip Powder(1 Oz/28g), 1*Quick-Drying Repair Glue(10 ml),…
As an affiliate, we earn on qualifying purchases.
As an affiliate, we earn on qualifying purchases.
Assessing the Damage and Preparing Your Nails
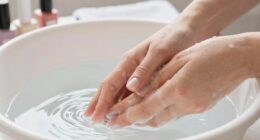
Before you start fixing your broken nail with gel, it’s important to assess the damage carefully. Check your nail’s health by examining whether the break is clean or jagged. If the damage is minor, such as a small chip, you can often use simple repair techniques. However, if the break exposes sensitive nail tissue or causes significant splitting, you might need to take additional steps before applying gel. Properly evaluating the damage ensures you choose the right repair approach and prevents further harm. Preparing your nails involves gently cleaning the surface, removing any oils or residue, and lightly buffing the area to create a rough texture. This preparation boosts adhesion and helps protect your natural nail during the repair process. Additionally, understanding the importance of nail health can help you avoid future damage and maintain strong, resilient nails.

Beetles 3Pcs 15ml Builder Nail Gel with No Wipe Top Coat Gel Nail Polish and Base Coat Set for Nails Shine Finish and Long Lasting Nail Protection UV/LED Lamp Needed Gifts for Women
Nail Protection Trio Set: Beetles Top and Base Coat Builder Nail Gel Set (3*15ml /3*0.51fl.oz): Long lasting for…
As an affiliate, we earn on qualifying purchases.
As an affiliate, we earn on qualifying purchases.
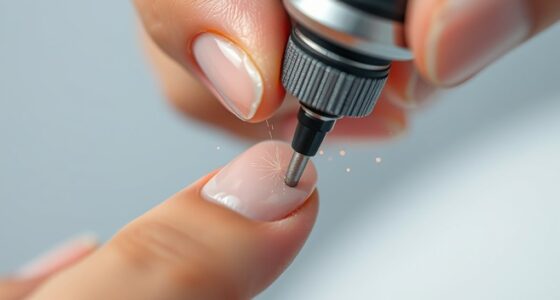
Sanitizing and Shaping the Broken Nail

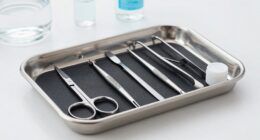
Start by thoroughly sanitizing your broken nail and the surrounding area to eliminate any bacteria or dirt that could cause infection. Proper nail hygiene is essential before you proceed, making sure the area is clean and safe. Use an alcohol wipe or disinfectant to clean the nail and your tools. Next, carefully shape the broken nail to prevent further splitting or snagging. Use a nail file to gently smooth rough edges, working in one direction to avoid damage. Be cautious and avoid over-filing, which can weaken the nail. Follow safety precautions by wearing gloves if needed and handling tools carefully. Maintaining nail hygiene and proper shaping sets a solid foundation for the gel overlay, helping ensure your repair is both durable and safe. Additionally, using the right nail tools can improve precision and reduce the risk of further damage.
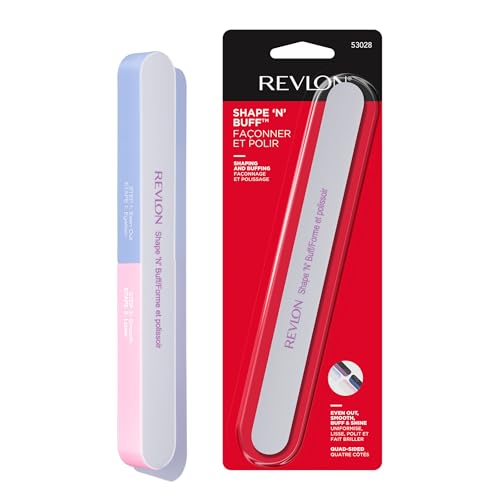
Revlon Shape 'N' Buff Nail Buffer Block, All-in-One Manicure Tool for Shaping & Shining Natural Fingernails, 1 Count
This all-in-one nail buffer block and file creates perfectly shaped, smooth, shiny nails
As an affiliate, we earn on qualifying purchases.
As an affiliate, we earn on qualifying purchases.
Applying a Nail Buffer and Primer for Better Adhesion

Before applying gel, use a nail buffer with proper technique to smooth the surface without over-roughening. Next, apply a thin layer of primer carefully to guarantee it sticks well. When done correctly, these steps boost adhesion and help your repair last longer. Additionally, ensuring your nails are free of oils and debris enhances the effectiveness of the rustic decor in creating a durable protective overlay.
Proper Buffering Technique
To guarantee your gel adheres strongly to the nail, proper buffering is vital. Start by gently filing the surface to remove shine and create a rough texture, which improves adhesion. Use a nail buffer with a fine grit to smooth out the nail, paying attention to the edges for better file maintenance. Be careful not to over-file, as this can weaken the nail. Proper buffering not only ensures a solid bond but also prepares your nail for nail art design, making it easier to work with and more durable. After buffing, wipe away dust with a lint-free pad. This step is essential for a clean surface, helping your gel overlay stay intact longer and preventing issues like lifting or chipping. Additionally, applying a primer can enhance adhesion and prolong the lifespan of your gel manicure.
Primer Application Tips
Applying a primer is an essential step to guarantee your gel adheres properly and lasts longer. It helps improve adhesion by creating a clean, slightly tacky surface while supporting cuticle health and nail hydration. To get the best results, gently buff your nail surface to remove oils and shine, then apply the primer sparingly. Avoid overuse, as excess primer can weaken the bond. Use the following tips to ensure proper application:
| Tip | Benefit |
|---|---|
| Use a lint-free wipe | Prevents contamination and debris |
| Light buffing | Enhances adhesion by smoothing surface |
| Apply sparingly | Avoids weakening the bond |
| Let it dry fully | Ensures better adhesion |
| Keep cuticles healthy | Prevents lifting and maintains nail hydration |
A proper application technique can make a significant difference in the durability of your gel manicure.
Ensuring Adhesion Success
Start by preparing your nails with a gentle buff to remove shine and oils, creating a smooth surface for better adhesion. Proper surface prep is essential for nail health and ensures the gel bonds securely. To maximize adhesion success, consider these steps:
- Choose a quality primer suited for your nail type to enhance product selection.
- Lightly buff the nail surface to eliminate any residual oils or shine.
- Apply a thin layer of primer, avoiding skin contact to prevent irritation.
- Wait a few seconds for the primer to dry before applying gel, ensuring ideal bonding.
- Incorporating proper preparation techniques can significantly improve the longevity of your gel overlay.
Using a nail buffer and the right primer improves adhesion, reduces lifting, and protects your nail health while making your gel overlay last longer.
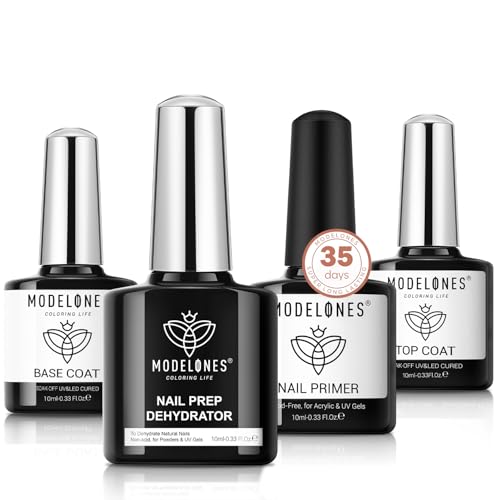
modelones Nail Dehydrator and Primer with Gel Base & Top Coat Set, Acid Free Acrylic Supplies Primer Glossy Gel Nail Polish Nail Thickening Solution Top Coat
The basic set of 35 days nail thickening solution art: Package include 1pc of 10ml nail dehydrator +…
As an affiliate, we earn on qualifying purchases.
As an affiliate, we earn on qualifying purchases.
Building a Base Layer With Gel for Reinforcement
Start by preparing your nail surface with a gentle buff and primer to guarantee good adhesion. Then, apply a thin, even layer of gel, making sure to cover the entire area for reinforcement. To enhance the strength of the overlay, consider incorporating a protective overlay layer of gel. Finally, cure the gel properly and finish with a smooth top coat to secure the base layer.
Preparing the Nail Surface
Before building the base layer with gel, it’s vital to thoroughly prepare the nail surface. Proper nail prep ensures the gel adheres well and lasts longer. Start by gently removing any old polish or residues. Next, lightly buff the nail surface to remove shine and create a rough texture for better adhesion. Follow with thorough surface cleaning to eliminate dust, oils, and debris. This step is essential for a clean, dry surface. Finally, wipe the nail with a lint-free pad soaked in alcohol or nail cleanser to remove any remaining oils and dust. These steps help create an ideal foundation for your gel overlay, reducing the risk of lifting or chipping. Utilizing proper surface preparation is crucial for a durable and long-lasting finish. Proper nail prep guarantees a smooth, durable reinforcement for your broken nail.
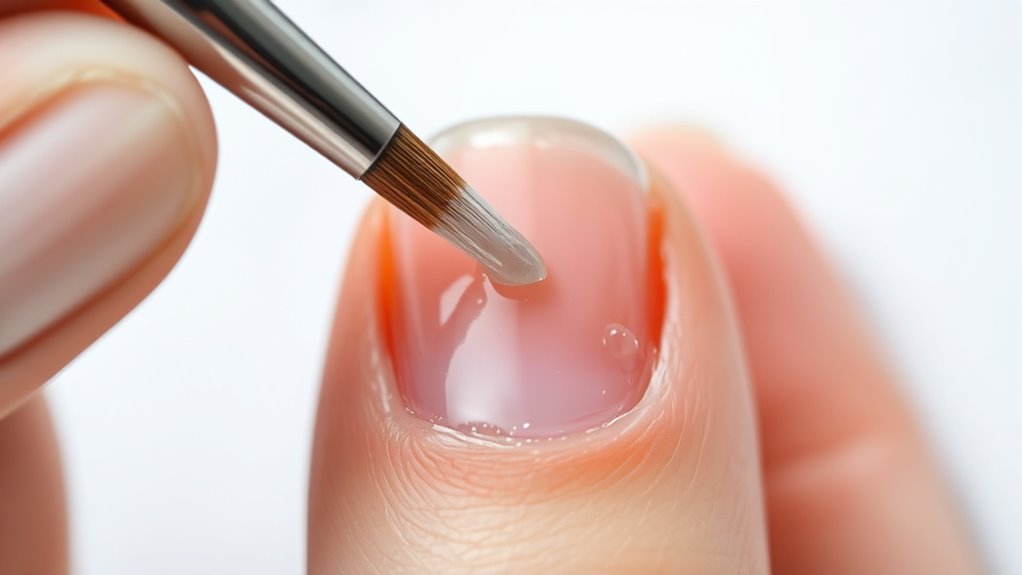
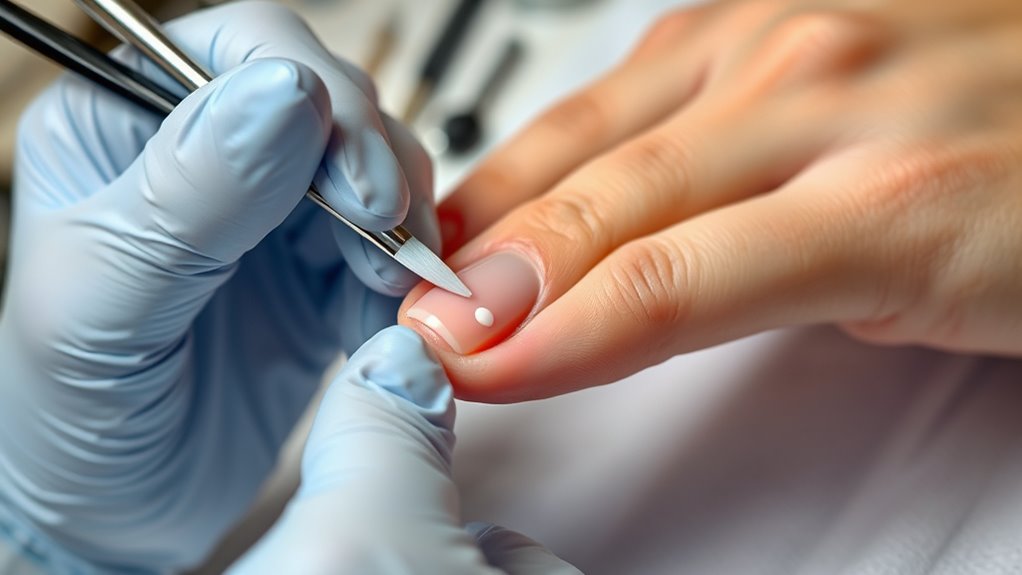
Applying Gel Properly
Applying the gel properly is essential for creating a strong, long-lasting reinforcement for your broken nail. Start by choosing the right gel type—whether builder gel or hard gel—to suit your nail health needs. Before applying, make certain your nail surface is clean, dry, and free of oils. Use a brush or applicator to spread a thin, even layer of gel over the damaged area, avoiding excess that could cause lifting or chipping. Be sure to leave a small margin around the edges to prevent lifting and to promote better adhesion. Proper application helps maintain nail health by reducing the risk of further damage or infection. Take your time, ensuring each layer is smooth and free of bubbles, setting a solid foundation for a durable protective overlay. Proper gel application is key to ensuring a secure and lasting repair.
Curing and Finishing
Once you’ve applied the gel layer, curing it properly is essential to guarantee a strong bond and durable reinforcement. Using a UV lamp, you’ll need to cure the gel thoroughly to activate its hardening process. Make sure to follow the gel curing time recommended by the product instructions, typically around 30-60 seconds per layer. Proper curing ensures the gel bonds well to your nail and prevents lifting or chipping. After curing, gently cleanse the surface with isopropyl alcohol to remove any sticky residue. Finish by applying a top coat for extra shine and protection. Here’s what to do:
- Place your hand under the UV lamp for the recommended time.
- Check that the gel is fully hardened.
- Wipe with alcohol to remove tackiness.
- Apply finishing top coat for durability.
- Keep your tools and workspace clean and sanitized to prevent contamination and ensure a long-lasting manicure.
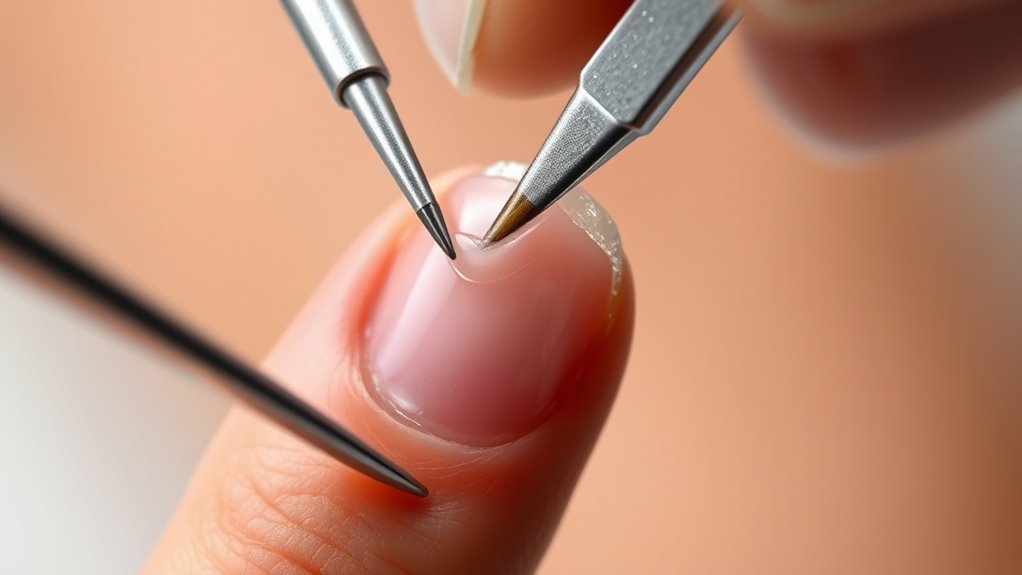
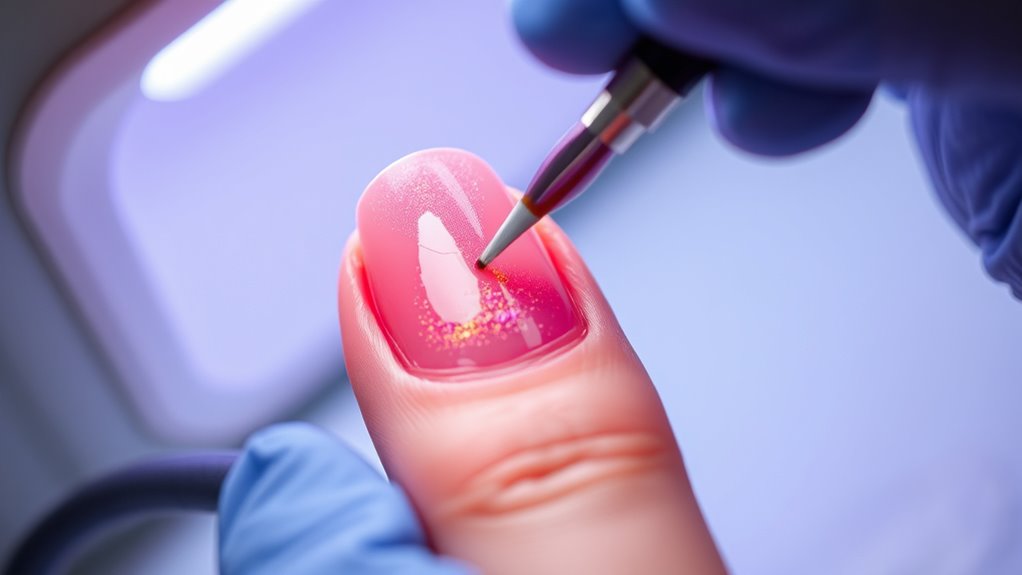
Sculpting the Gel Overlay to Match Your Natural Nail

To create a seamless gel overlay that matches your natural nail, start by shaping your nail and gently buffing the surface to remove any shine. This prepares your nail for a smooth application. When sculpting the gel, work in thin layers, building from the cuticle edge toward the free margin. Pay attention to cuticle care—avoid getting gel on the skin to prevent lifting and ensure a natural look. For the best results, incorporate nail art techniques if desired, adding subtle designs or accents that blend with your nail’s shape. Carefully sculpt the gel to follow your natural nail’s curve, maintaining even thickness for strength and flexibility. Properly matching your natural nail enhances the overall appearance and helps your gel overlay last longer.
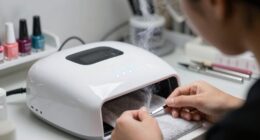
Curing the Gel Layers Properly in the UV/LED Lamp
Curing each layer of gel properly is essential to guarantee a durable and smooth finish. Incorrect curing can lead to lifting, smudges, or weak spots. To ensure ideal results, keep these tips in mind:
- Follow the recommended LED curing times for your gel product—usually between 30-60 seconds per layer.
- Always prioritize UV lamp safety; avoid looking directly at the light and use protective gloves if needed.
- Make sure the lamp covers your entire nail surface evenly to prevent under-curing.
- Check your lamp’s instructions, as LED curing times are generally shorter than UV ones, making your process more efficient.
Proper curing ensures a strong, glossy overlay, helping your nail repair last longer.
Finishing Touches: Smoothing and Polishing the Overlay

After the gel layers have fully cured, the next step is to smooth and polish the overlay for a flawless finish. Focus on gentle buffing to remove any ridges or uneven surfaces, ensuring your nail’s surface is smooth. Use a fine-grit buffer and work carefully around the cuticle area to avoid damage. Proper nail hygiene during this step helps prevent infections and maintains healthy nails. Finish with a high-shine top coat, then gently wipe with alcohol to remove residue. To help you stay organized, here’s a quick overview:
| Step | Tips |
|---|---|
| Buffing | Use light pressure, focus on rough spots |
| Polishing | Apply a shiny top coat for a smooth finish |
| Cuticle care | Keep cuticles moisturized; avoid overcutting |
| Nail hygiene | Regularly clean tools; keep nails clean |
Caring for Your Repaired Nail and Preventing Future Breaks

Proper care of your repaired nail is essential to guarantee it stays strong and minimizes the risk of future breaks. Maintaining good nail hygiene helps prevent infections and keeps your nails healthy. To support nail growth tips and overall strength, avoid using your nails as tools, and stay away from harsh chemicals. Here are four key tips:
- Keep your nails clean and dry to prevent bacteria buildup.
- Moisturize your cuticles regularly to promote healthy nail growth.
- Wear gloves when doing chores or using cleaning products.
- Schedule regular touch-ups with your nail technician for maintenance.
Frequently Asked Questions
How Long Does a Gel Overlay Repair Typically Last?
A gel overlay repair typically lasts about 2 to 3 weeks, depending on durability factors like your daily activities, nail care routine, and how well you follow aftercare instructions. To maximize repair longevity, avoid using your nails as tools, keep them moisturized, and schedule regular maintenance appointments. With proper care, you can enjoy a durable gel overlay that maintains its appearance and protection during this time frame.
Can I Apply Gel Over a Broken Nail at Home?
Yes, you can apply gel over a broken nail at home, but follow DIY tips carefully to protect your nail health. Start by sanitizing your hands, trimming and shaping the nail, and gently buffing the surface. Apply a thin layer of gel, cure properly under a UV or LED lamp, and add a second coat if needed. Be gentle during removal to avoid damaging your natural nail.
Is It Safe to Fix a Broken Nail With Gel Without Professional Help?
Think of fixing a broken nail with gel like mending a delicate glass sculpture—you need the right tools and skill. While DIY safety is important, attempting a professional repair at home can risk infection or further damage. Without proper technique, you might do more harm than good. It’s safer to seek professional help, ensuring your nail gets the proper care and avoiding unnecessary complications.
What Are Signs That My Gel Overlay Is Failing or Lifting?
You’ll notice your gel overlay is failing or lifting if you see any peeling, chipping, or air bubbles under the gel. It can also cause discomfort or nail health issues like redness or pain around the nail bed. To prevent damage, avoid improper gel removal techniques like peeling or forceful scraping. Regularly check your nails and gently clean them to keep the overlay intact and promote healthy nails.
How Can I Prevent Future Nail Breaks After Repair?
To prevent future nail breaks after repair, focus on nail strengthening and daily maintenance. Keep your nails moisturized and avoid using them as tools. Wear gloves when doing chores, and steer clear of harsh chemicals. Regularly apply cuticle oil to promote healthy growth. Also, consider taking biotin supplements and maintaining a balanced diet. These habits will help keep your nails strong, flexible, and less prone to breaking.
Conclusion
With your gel overlay in place, your nail becomes a resilient shield, ready to face everyday challenges. Imagine the gentle strength now supporting your natural nail, like a protective armor that gleams softly under the light. As you care for your repair and nurture your nails, you’ll watch them grow stronger and more beautiful each day. Embrace this newfound confidence, knowing your nail’s silent resilience is a demonstration to your care and patience.