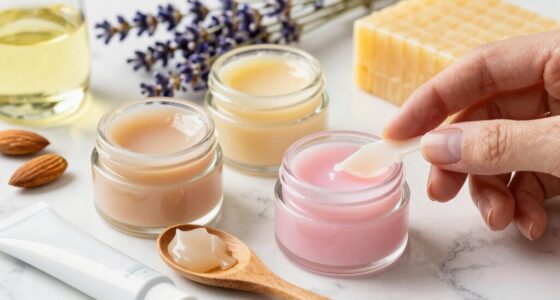
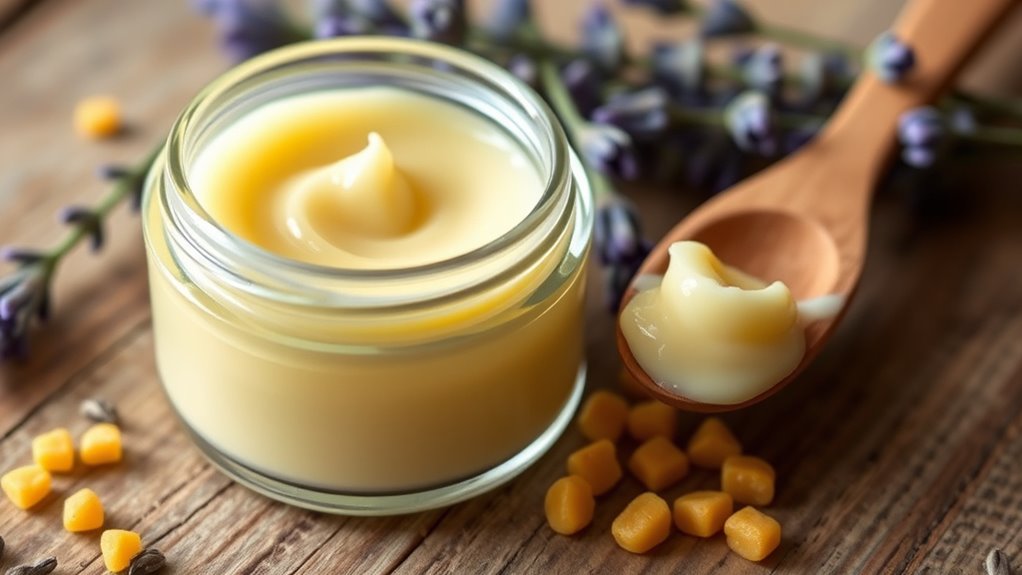
To make a DIY shea butter balm for nails and cuticles, start by gently melting shea butter using a double boiler, then blend in nourishing oils like jojoba, vitamin E, or argan for added benefits. Pour the mixture into clean containers and let it cool until solid. Apply a small amount to your cuticles and nails, massaging gently for best results. Keep practicing, and you’ll discover tips to personalize and optimize your balm further.
Key Takeaways
- Use high-quality, unrefined shea butter melted gently to create a nourishing, moisturizing balm for nails and cuticles.
- Incorporate essential oils like lavender, tea tree, or peppermint for added scent and skin benefits.
- Blend shea butter with carrier oils such as jojoba, argan, or vitamin E to customize hydration and nutrient delivery.
- Fill clean, airtight containers with the cooled balm and label for easy storage and longevity.
- Regular application of the balm promotes healthy cuticles, strengthens nails, and prepares nails for smooth polish.

butter LONDON Glass Cuticle Pusher, Signature Glass Collection
Signature Glass Cuticle Pusher: This 2-in-1 cuticle perfector cleans the underside of your nails and pushes cuticles back…
As an affiliate, we earn on qualifying purchases.
As an affiliate, we earn on qualifying purchases.
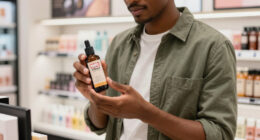
Gathering the Ingredients and Tools
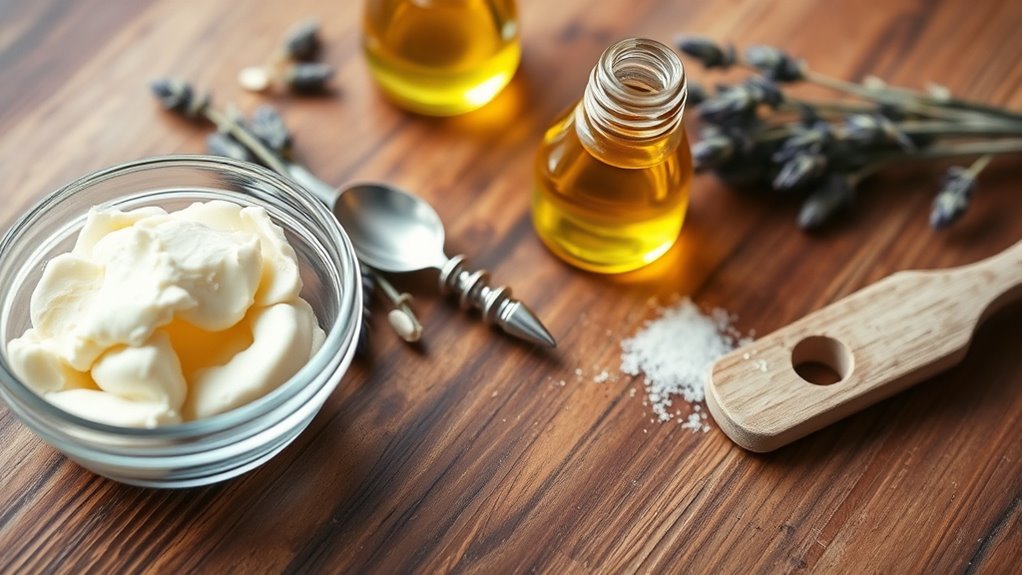
Before you begin applying shea butter to your nails and cuticles, it’s important to gather all the necessary ingredients and tools. Start by selecting high-quality shea butter, preferably raw and unrefined. Prepare essential oil blends that suit your scent preference and skin needs—lavender, tea tree, or peppermint work well. For packaging, choose small glass jars or tins, and design labels that clearly identify your homemade balm. A neat label design not only adds a professional touch but also helps you easily find your favorite blends later. Keep a small spatula or spoon for mixing and a clean brush or applicator for precise application. Having everything organized ensures a smooth DIY process and a beautifully crafted product you’ll be proud of. Additionally, understanding the subtopic of ethical hacking can help you recognize the importance of secure data handling during your DIY project, ensuring privacy and safety.

Bumobum 12 Pcs 5 Grams Small Glass Cosmetic Jars with Lids, Mini Lip Balm Containers Empty Refillable Tiny Sample Jars for Lotion Lip Scrub Makeup Eye Cream Travel
Multi-Use Small Jars – Versatile tiny glass jars with durable plastic wood-style lids, perfect for DIY lip balms,…
As an affiliate, we earn on qualifying purchases.
As an affiliate, we earn on qualifying purchases.
Preparing the Shea Butter Base
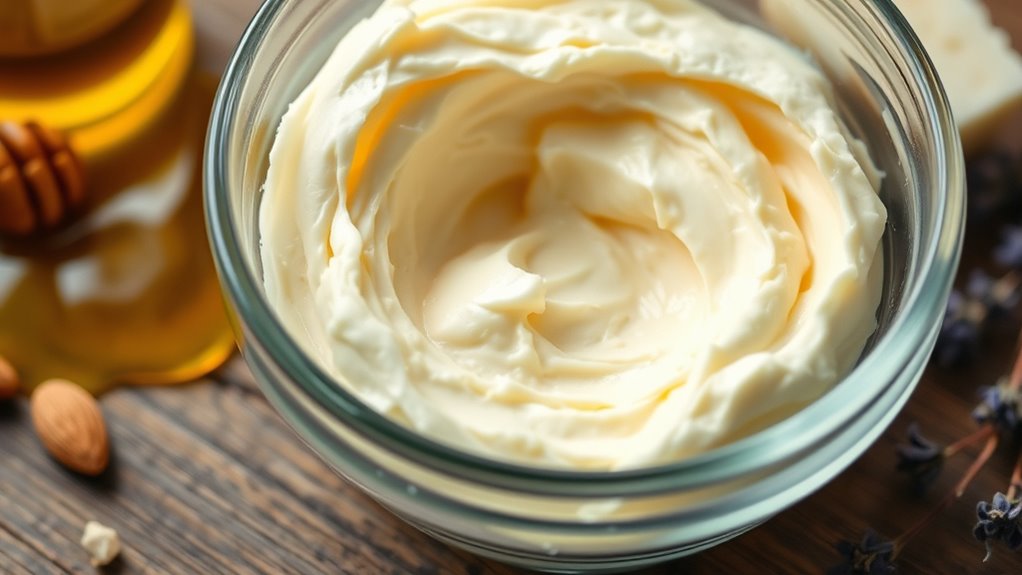
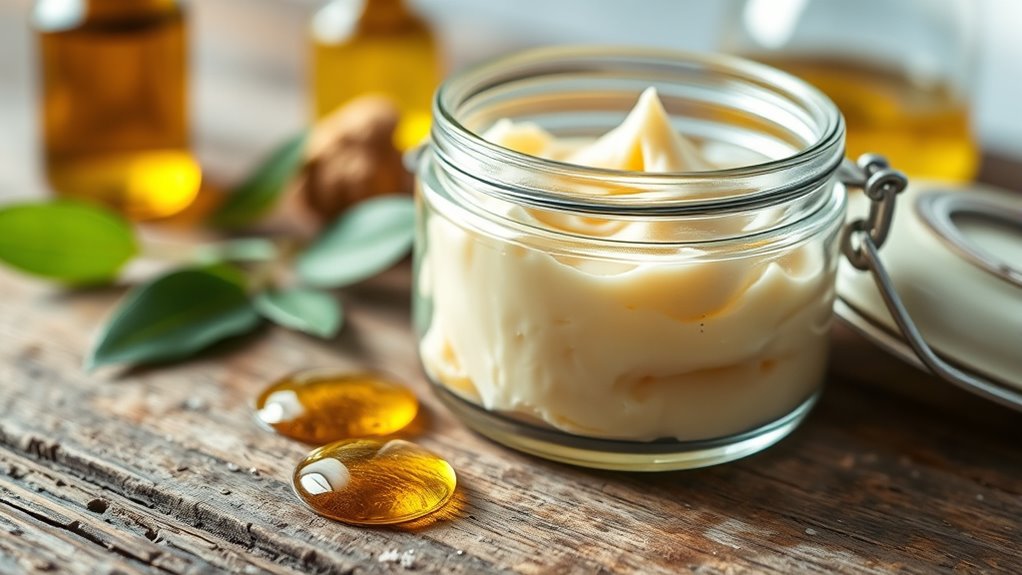
To prepare the shea butter base, start by scooping a desired amount of raw, unrefined shea butter into a double boiler or a heat-safe bowl set over simmering water. Gently melt the shea butter, stirring occasionally, until it reaches a smooth, creamy consistency. The shea butter consistency should be soft but not runny, making it easy to apply. Once melted, transfer the warm shea butter into clean, airtight storage containers to keep it fresh. Choose containers that are opaque or dark-colored to protect the shea butter from light, which can degrade its quality. Proper storage containers assure your balm stays fresh and maintains its nourishing properties longer. Additionally, storing your shea butter in dark-colored containers helps preserve its natural antioxidants and beneficial properties.

The Mani Pedi Essentials Nourishing Cuticle Oil enriched with Jojoba Oil, Vitamin E & Sweet Almond Oil. Manicurist's Choice for Healthy, Nourished Nails & Cuticles – 1 Fl Oz
Nourishing & Hydrating Formula: Infused with Vitamin E and Jojoba Oil, this revitalizing nail and cuticle oil deeply…
As an affiliate, we earn on qualifying purchases.
As an affiliate, we earn on qualifying purchases.
Choosing Additional Nourishing Oils
Choosing the right nourishing oils can boost your nail and cuticle care routine. You’ll want to take into account ideal options like jojoba, vitamin E, or argan oil, which each offer unique benefits. Mixing these oils in the right ratios ensures you get a customized treatment that’s both effective and easy to use. Incorporating antioxidants can further support overall health and improve the appearance of your nails and cuticles.
Ideal Oil Options
Adding nourishing oils alongside shea butter can boost your nail and cuticle care routine. When selecting ideal oil options, consider carrier oil choices that provide hydration and nutrients. Popular carrier oils include jojoba, argan, and sweet almond oil, each offering unique benefits. These oils can enhance your balm’s texture and effectiveness when combined with essential oil blends for added aroma and therapeutic effects. Here’s a quick comparison:
| Carrier Oil | Benefits | Best For |
|---|---|---|
| Jojoba | Moisturizes, mimics skin oils | Sensitive skin |
| Argan | Nourishes, softens | Dry, brittle nails |
| Sweet Almond Oil | Gentle, hydrating | All skin types |
| Coconut Oil | Antimicrobial, moisturizing | Deep hydration |
Choose based on your skin needs for ideal results. Incorporating natural ingredients into your routine can further enhance the overall health of your nails and cuticles.
Combining Nourishing Oils
Building on your selection of carrier oils, combining multiple nourishing oils can further enhance your nail and cuticle care. Think of it as creating a customized blend that maximizes benefits. You can incorporate ingredients like lip balm bases, which help provide a smooth, easy-to-apply consistency, or add cosmetic preservatives to extend shelf life and prevent spoilage. Mixing oils such as jojoba, argan, or vitamin E enriches your balm with antioxidants and nutrients that promote stronger nails and healthier cuticles. Just guarantee that the oils complement each other and suit your skin type. Avoid overusing preservatives; a small amount is enough to maintain freshness. Incorporating data privacy considerations into your formulation process ensures your DIY balm remains safe and effective over time. This way, your DIY balm becomes a potent, effective, and personalized treatment for your nails and cuticles.
Oil Ratios and Tips
Selecting the right oil ratios is essential to create an effective and balanced nail and cuticle treatment. Proper ratios help optimize oil absorption while maintaining shelf stability. Too much lightweight oil may absorb quickly but offer limited nourishment, while heavier oils provide lasting moisture but can affect shelf stability. To find the ideal balance, consider your needs and storage conditions. Incorporating proper maintenance practices, such as storing your balm in a cool, dark place, can also extend its shelf life.
- Use a blend of lightweight oils like jojoba or grapeseed for quick absorption.
- Include heavier oils like avocado or castor for long-lasting hydration.
- Keep ratios between 70-80% nourishing oils to ensure shelf stability.
- Test small batches first to monitor how oils interact over time and adjust accordingly.
These tips will help you craft a nourishing balm that’s effective, stable, and tailored to your needs.

100% Pure Tea Tree Oil – 4 Fl Oz Tea Tree Essential Oil for Hair, Skin, Diffuser, Aromatherapy & DIY Soap Making Scent
For Blemish-Prone Skin (93% positive effectiveness) –Contains terpinen-4-ol, verified by GC/MS testing as the active compound responsible for…
As an affiliate, we earn on qualifying purchases.
As an affiliate, we earn on qualifying purchases.
Melting and Combining the Ingredients
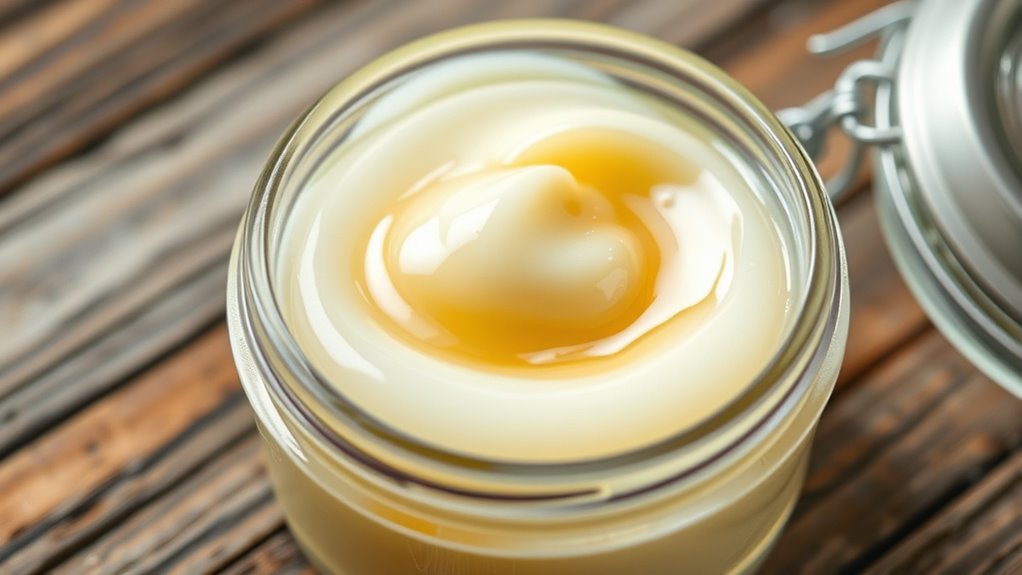
To guarantee your shea butter mixture comes together smoothly, start by melting the shea butter and any other solid ingredients gently. Use a double boiler or a heat-safe bowl over simmering water to control the melting point and prevent overheating. Stir occasionally to achieve a uniform texture consistency. Once melted, remove from heat and combine with liquid oils, stirring thoroughly to blend all ingredients seamlessly. This step assures your balm will have a smooth, even consistency once cooled. Here’s a visual to help you picture the process:
| Step | Action |
|---|---|
| 1 | Gently melt shea butter |
| 2 | Add other solids if needed |
| 3 | Stir until fully melted |
| 4 | Mix with liquid oils |
Additionally, ensuring proper temperature control during melting helps maintain the quality and effectiveness of your DIY balm.
Filling and Storing Your Balm
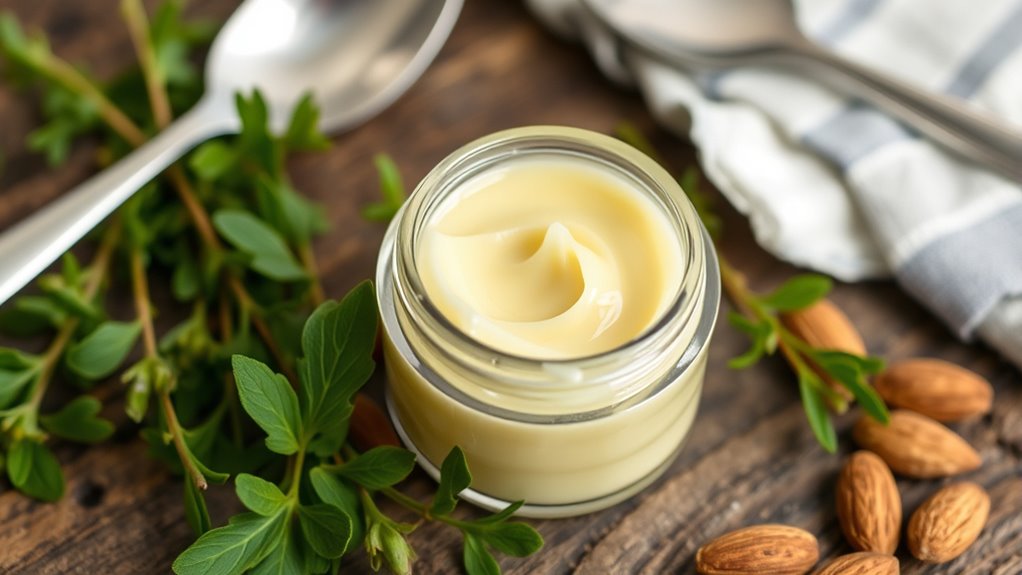
Once your shea butter mixture has cooled and solidified slightly, it’s time to fill your chosen containers. Confirm your storage containers are clean and dry to prevent contamination. Use a small spoon or spatula to transfer the balm carefully, avoiding spills. After filling, wipe away any excess around the container’s rim for a neat finish. Proper labeling labels are essential for organization; include the date made and ingredients for future reference. Store your balm in a cool, dark place to maintain its consistency and potency. Consider using airtight containers to prevent exposure to air and moisture. Keep your balm away from direct sunlight, which can cause melting or discoloration. Well-filled and labeled storage containers ensure your DIY balm remains fresh and ready for use. Additionally, choosing appropriate storage conditions helps preserve the quality of your homemade balm.
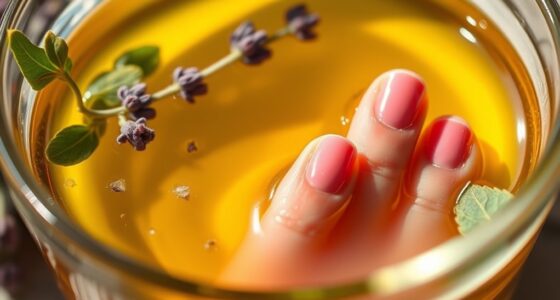
Applying the Balm for Best Results
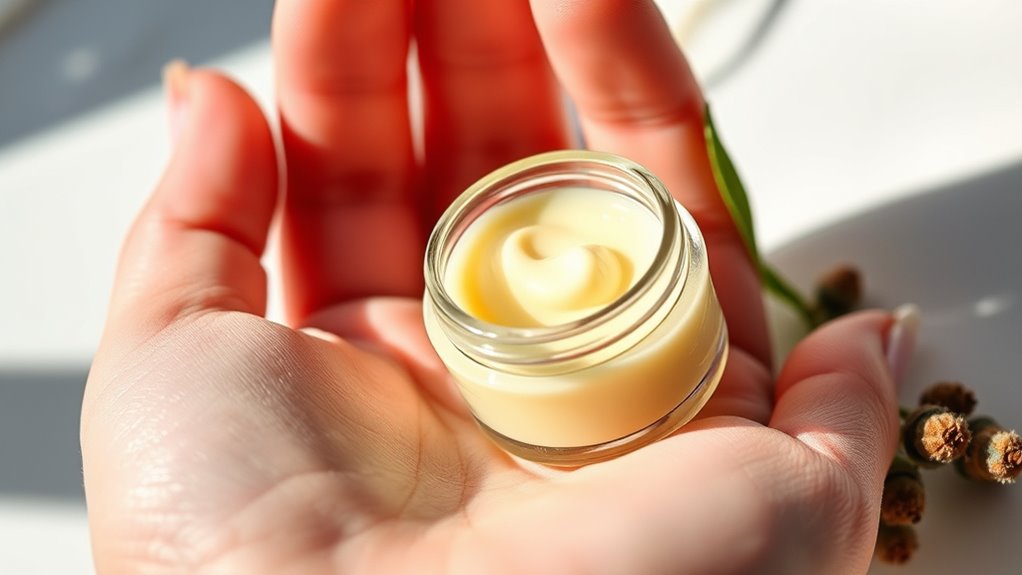
For the best results, start by washing and drying your nails and cuticles thoroughly to remove dirt and oils. Apply a small amount of the balm to your nails and cuticles, then gently massage the cuticles with your fingertips. Focus on a cuticle massage to boost circulation and absorb the moisturizer effectively. Before applying nail polish, verify the balm is fully absorbed and your nails are dry. Use the following table to guide your application process:
| Step | Action |
|---|---|
| 1. Prepare | Wash, dry, and remove old polish if needed |
| 2. Apply Balm | Dot on nails and cuticles |
| 3. Massage | Gently massage for absorption |
This routine keeps your cuticles healthy and prepares your nails for a smooth polish application. Incorporating proper skincare practices can further enhance the overall health of your nails and cuticles.
Tips for Customizing Your Nail and Cuticle Balm
Personalizing your nail and cuticle balm allows you to tailor it to your specific needs and preferences. To make it uniquely yours, consider adding essential oils for both scent customization and additional benefits. You can choose calming lavender, invigorating peppermint, or nourishing tea tree oil, depending on your mood or skin needs. Experiment with different combinations to find what works best for you. Incorporating essential oil safety guidelines ensures that your blends remain safe and effective.
Maintaining and Refreshing Your DIY Balm
To keep your DIY balm effective and fresh, it’s important to regularly assess its condition and make necessary updates. Over time, the balm can lose its consistency or become less effective at promoting nail growth and cuticle health. Check for separation or a change in smell or texture. If the balm has hardened, gently warm it to restore its smoothness. Store it in a cool, dry place to prevent spoilage. Refresh your blend every few months by adding a small amount of fresh shea butter or essential oils to boost its nourishing properties. This guarantees your balm continues to support healthy nail growth and keeps your cuticles soft, hydrated, and resilient. Proper maintenance maximizes the benefits of your DIY moisturizing balm.
Frequently Asked Questions
Can I Add Essential Oils to Enhance Scent or Benefits?
Yes, you can add essential oils to enhance scent or benefits. Use safe essential oil combinations like lavender and tea tree for soothing and antibacterial effects, or citrus and peppermint for a fresh fragrance boost. Add a few drops to your balm during the mixing process, but avoid overdoing it to prevent skin irritation. Properly chosen essential oils will give your moisturizing balm delightful fragrance enhancements and added therapeutic benefits.
How Long Does Homemade Shea Butter Balm Last?
Think of your homemade shea butter balm as a delicate flower that needs proper care. Typically, it lasts about 6 to 12 months if stored in a cool, dark place. To extend its shelf life, consider using natural preservatives. Proper storage duration and preservative use help maintain freshness, prevent spoilage, and guarantee your nourishing balm keeps working wonders for your nails and cuticles over time.
Is This Balm Suitable for Sensitive Skin?
Yes, this balm is suitable for sensitive skin, but you should still be cautious. Shea butter is known for its soothing properties, yet it can cause skin irritation or allergic reactions in some individuals. Before using, do a patch test on a small skin area. If you experience redness or discomfort, discontinue use. Always choose high-quality, pure ingredients to minimize the risk of skin irritation.
Can I Use This Balm on Other Skin Areas?
Absolutely, you can turn this balm into your skin’s best friend for multi-purpose use. Think of it as a gentle guardian, perfect for moisturizing rough patches or dry elbows, thanks to its skin compatibility. Just remember, while it works wonders on your nails and cuticles, test it first on a small area elsewhere to guarantee your skin loves it just as much. With this versatile balm, your skin stays soft and happy everywhere!
What Are Common Mistakes to Avoid in DIY Balm Making?
When making DIY balms, avoid common mistakes like neglecting ingredient substitutions, which can affect texture and effectiveness. Always measure ingredients precisely to prevent separation or spoilage. Use clean, airtight containers for storage tips, and keep your balm in a cool, dark place to prolong freshness. Don’t rush the process; patience guarantees a smooth, effective product. By paying attention to these details, you’ll create a nourishing, long-lasting balm for your skin.
Conclusion
Now that you’ve got your DIY shea butter balm ready, congratulations on mastering the art of nail pampering—no fancy spa required. Just remember, your nails aren’t going to thank you if you forget to apply it regularly or, worse, leave it sitting in the corner collecting dust. So, keep your cuticles happy, your nails thriving, and your homemade balm close. After all, who needs a professional when you’ve got this magic in a jar?