To create a DIY nail strengthening soak, combine natural oils like vitamin E, almond, or jojoba with nourishing ingredients such as tea tree oil or biotin. Soak your nails in warm water with these ingredients for 10-15 minutes, 2-3 times a week, then moisturize your cuticles afterward. Avoid over-soaking or harsh chemicals to prevent damage. Keep up this routine alongside good nail habits, and you’ll discover more tips to boost nail strength and thickness.
Key Takeaways
- Use natural oils like vitamin E, jojoba, and almond oil in a warm water soak to nourish and strengthen nails.
- Soak nails 2-3 times weekly for 10-15 minutes to promote growth and improve thickness.
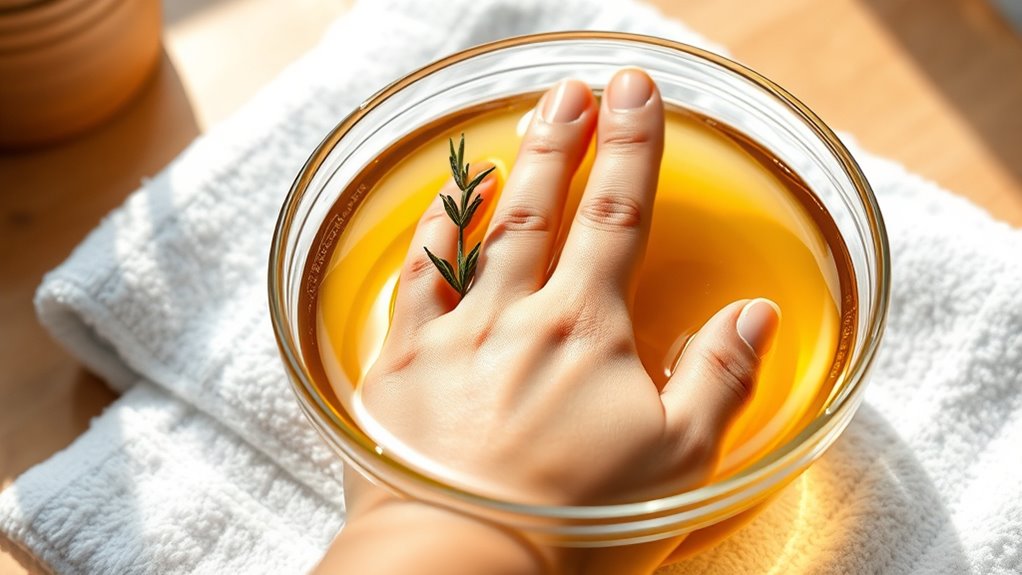
- Incorporate supportive ingredients such as biotin or herbal infusions like rosemary for enhanced nail health.
- Follow each soak with cuticle care and moisturizing to prevent dryness and brittleness.
- Avoid harsh chemicals, over-soaking, and nail damage habits for long-term stronger, thicker nails.
Top picks for "nail strengthen soak"
Open Amazon search results for this keyword.
As an affiliate, we earn on qualifying purchases.
Benefits of Using a Natural Nail Soak
Using a natural nail soak offers numerous benefits that can improve your nail health. It helps strengthen nails, making them less prone to breakage and splitting. Soaking also enhances cuticle care by softening and nourishing the cuticles, promoting healthier growth. When your nails are soaked in natural solutions, it’s easier to remove old nail polish without harsh chemicals that can weaken your nails over time. This process encourages better adhesion of new polish, giving you a smoother, longer-lasting finish. Additionally, a regular soak boosts circulation around your nails, providing essential nutrients that support overall nail strength. Overall, incorporating a natural nail soak into your routine helps maintain resilient, healthy nails while keeping your cuticles in excellent condition.
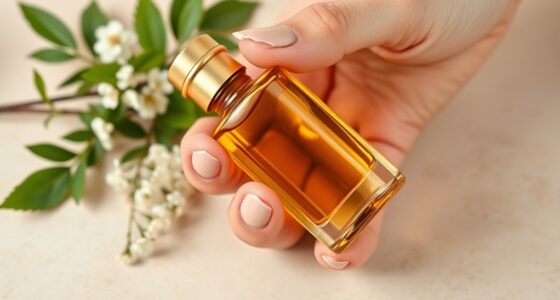
Key Ingredients for a DIY Nail Strengthening Solution

To create an effective DIY nail strengthening soak, selecting the right ingredients is essential. Focus on nourishing your nails and supporting cuticle care. Natural oils like vitamin E or almond oil help strengthen and moisturize, promoting thicker nails. Adding a small amount of nail polish remover or vinegar can improve absorption and remove residue. Incorporate biotin or keratin for added durability. Use ingredients that promote healthy cuticles, such as jojoba oil or tea tree oil. Here’s a quick overview: nail care tips
Preparing Your Own Nail Strengthening Mixture
Start by gathering all the essential ingredients for your mixture to guarantee it’s effective. Mix everything thoroughly to create a smooth, consistent solution. Once prepared, store the mixture properly to keep it fresh and ready for use whenever you need it.
Gather Essential Ingredients
Before mixing your own nail strengthening soak, gather all the essential ingredients to guarantee a smooth process. Having everything ready prevents interruptions and assures you follow the recipe accurately. First, choose a base like olive oil or vitamin E oil to nourish your nails. Second, pick a natural additive such as tea tree oil or aloe vera for healing and strength. Third, avoid using nail polish or artificial nails during treatment, as they can hinder absorption and effectiveness. Keep in mind that the right ingredients will promote stronger, thicker nails over time. Additionally, understanding the importance of color accuracy can help you select the best lighting conditions for applying your mixture and monitoring progress. Having these items prepared makes it easier to focus on the soaking process and achieve the best results. Once gathered, you’re ready to move on to mixing the ingredients properly.
Mix Ingredients Thoroughly
Once you’ve gathered all the ingredients, it’s time to combine them into a smooth, effective mixture. Use your mixing techniques to guarantee even distribution of each component. Pay close attention to ingredient ratios; too much of one can influence the soak’s effectiveness. Start by pouring liquids first, then gradually add powders or oils, stirring consistently. Mix thoroughly until the blend is uniform and free of lumps. Proper mixing assures that active ingredients work synergistically. Here’s a simple guide:
| Ingredient | Quantity | Purpose |
|---|---|---|
| Olive oil | 2 tablespoons | Moisturizes and strengthens |
| Vitamin E oil | 1 teaspoon | Promotes nail growth |
| Tea tree oil | 3 drops | Fights infection |
| Biotin powder | 1 teaspoon | Enhances nail thickness |
| Lemon juice | 1 tablespoon | Brightens and strengthens |
Store Properly for Use
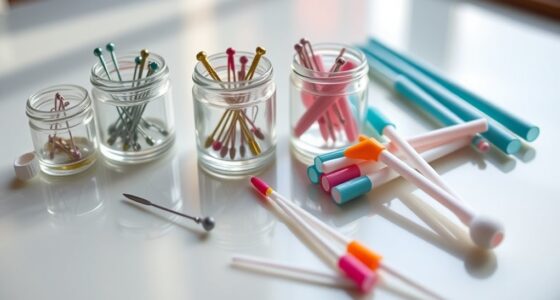
To guarantee your nail strengthening soak remains effective and safe, proper storage is essential. Keep your mixture in a clean, airtight container to prevent contamination. Store it away from direct sunlight and heat, as exposure can degrade the ingredients and reduce its efficacy on your nails, whether you have nail polish or acrylic nails. Here are some tips:
- Use a glass or plastic container with a tight lid.
- Label the container with the date of preparation.
- Store in a cool, dark place like a drawer or cabinet.
- Be aware that data privacy concerns are increasingly important when handling personal or sensitive information related to health and beauty routines.
Avoid leaving the mixture in damp or humid areas, which can cause spoilage. Proper storage ensures your DIY soak stays fresh and effective for regular use, helping strengthen your nails over time.
Step-by-Step Guide to Soaking Your Nails
To get the best results, you need to prepare your nails properly before soaking. Once your nails are clean and free of polish, you can focus on the proper soaking technique. Follow these steps carefully to guarantee your nails absorb the nutrients effectively. For optimal results, ensure your nails are free from spoiled lemon juice signs, which can affect nail health and absorption.
Preparing Your Nails
Before soaking your nails, start by removing any existing nail polish with a gentle remover to guarantee your nails are clean and free of residue. This ensures the soak penetrates effectively. Next, gently push back your cuticles using a cuticle pusher to promote healthy cuticle care and improve absorption. Finally, trim any hangnails or uneven edges to prevent tearing during the soak. Proper preparation creates a clean, smooth surface, allowing your DIY soak to work more efficiently. Taking these steps enhances nail health and ensures your nails are primed for nourishing treatment.
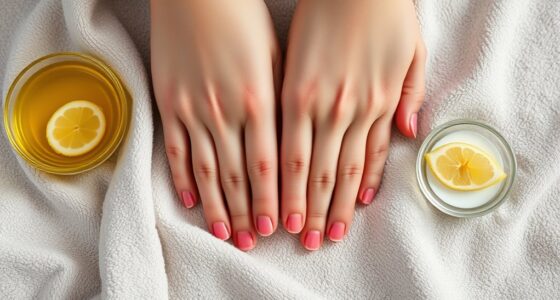
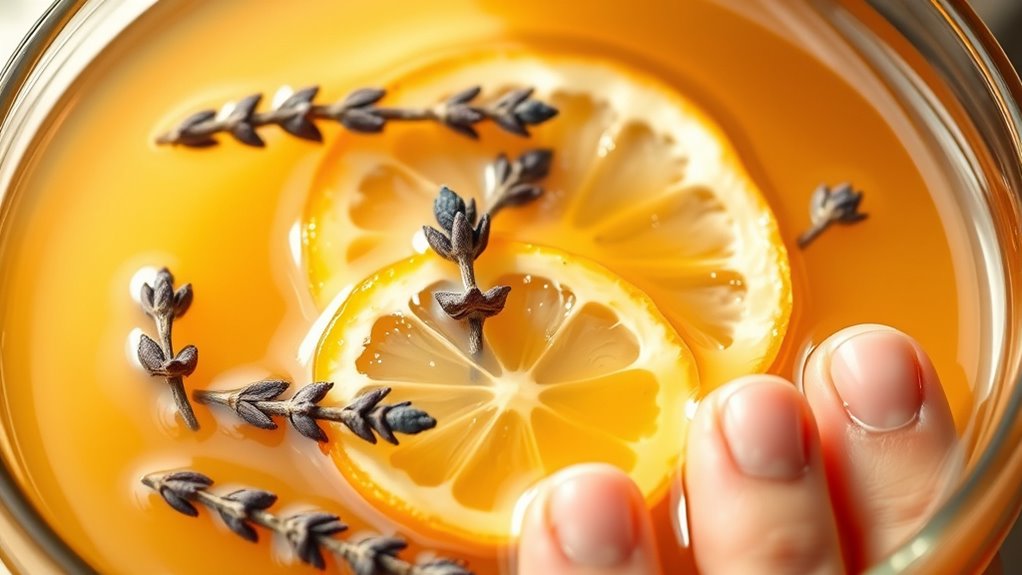
Proper Soaking Technique
Once you’re ready to soak your nails, fill a small bowl with warm water—around 100°F (38°C)—and add any nourishing ingredients from your chosen recipe. Before soaking, remove any nail polish using gentle nail polish removal to make sure your nails are clean and bare. Submerge your fingertips completely, making sure your nails are fully covered. Soak for 10-15 minutes, relaxing your hands during this time. Use hand massage techniques to enhance blood flow and improve absorption of nutrients—gently massage your cuticles and the skin around your nails. Keep your hands steady and avoid excessive movement. This proper soaking technique helps soften the nails and cuticles, preparing them for the strengthening treatment, while also promoting relaxation and better product penetration. Incorporating proper hygiene practices ensures a safe and effective nail care routine.
Frequency and Duration for Optimal Results
For best results, you should aim to soak your nails 2 to 3 times a week, allowing enough time between sessions for your nails to recover and strengthen. Consistent soaking helps improve nail health and prepares your nails for nail polish or nail art. Keep the duration moderate—about 10 to 15 minutes per session—to avoid overexposure. Over-soaking can weaken your nails or cause dryness. Incorporating proper storage solutions can help maintain nail tools and products, reducing the risk of bacteria buildup and promoting healthier nails. Consider these tips:
- Space out soaks evenly across the week to maintain nail strength.
- Use a gentle, nourishing soak to prevent damage from frequent nail polish removal.
- Limit each session to avoid overexposure while maximizing benefits for thicker, healthier nails.
Tips for Enhancing Nail Health Alongside Soaking

Incorporating additional tips alongside soaking can considerably boost your nail health. Before soaking, avoid nail polish removal that’s harsh or drying; opt for a gentle, acetone-free remover to prevent weakening your nails. After soaking, apply a nourishing hand moisturizer, focusing on your cuticles and nails, to lock in hydration and promote strength. Keep your nails trimmed and filed to prevent splitting and snagging. Wearing gloves during household chores protects your nails from harsh chemicals and water exposure. Also, avoid biting or picking at your nails, which can cause damage. Regularly moisturizing and protecting your nails complements the benefits of your soak, resulting in stronger, healthier nails over time. Proper nail care habits work synergistically for excellent nail health.
Common Mistakes to Avoid During the Process

To get the most benefits from your nail strengthening soak, you need to avoid common mistakes that can undermine your efforts. First, don’t over soak your nails, as prolonged exposure can weaken the nail bed and cause dryness. Limit soaking time to 10-15 minutes to prevent damage. Second, steer clear of using harsh chemicals, such as acetone or strong cleaning agents, in your soak or afterward, as they can strip natural oils and cause brittleness. Third, avoid applying the soak too frequently; giving your nails time to breathe and recover is essential. Overdoing it can lead to irritation and weaken your nails instead of strengthening them. Being mindful of these mistakes ensures your soaking routine remains effective and safe for healthier, stronger nails. Additionally, understanding the importance of nail health awareness can help you tailor your routine for better results.
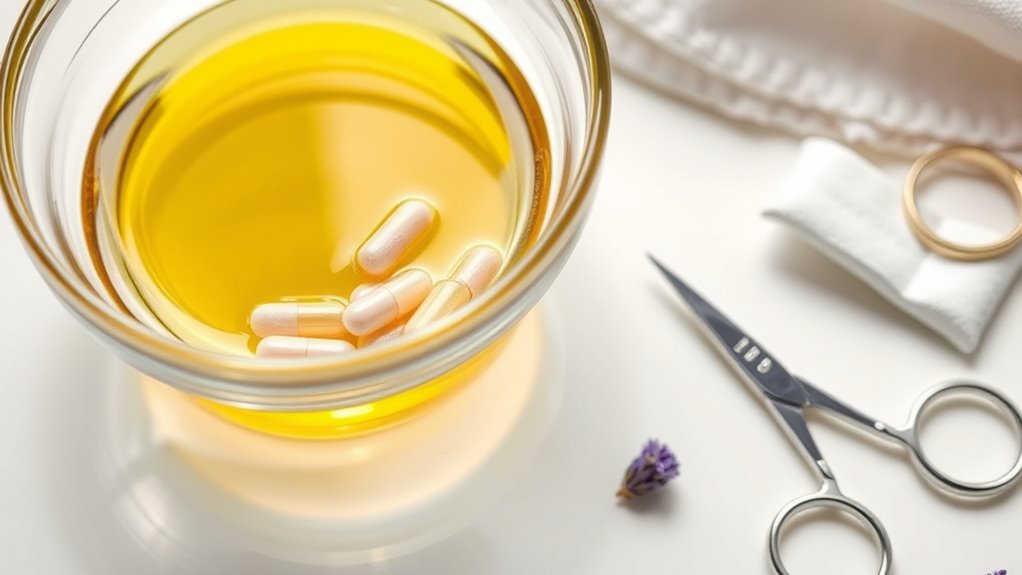
Additional Natural Remedies to Support Nail Growth

Have you considered natural remedies that can boost your nail growth alongside your strengthening soak? Herbal infusions like horsetail, rosemary, or chamomile can be applied as rinses or added to baths to stimulate growth and improve nail health. Incorporating dietary supplements such as biotin, silica, or vitamin E can also support stronger, thicker nails from within. These supplements promote keratin production and enhance nail resilience. Combining herbal infusions with nutritional support creates a holistic approach to nail care. Remember, consistency is key—use these remedies regularly for the best results. While topical soaks strengthen your nails externally, natural remedies help nourish them internally, fostering healthier, more durable nails over time. Additionally, choosing essential oils with skin healing properties can further support nail and cuticle health.
Long-term Care for Stronger, Thicker Nails

Wondering how to maintain the strength and thickness of your nails over time? Consistent care is key. First, be gentle when removing nail polish—use acetone-free remover to avoid drying out your nails. Second, prioritize cuticle care by applying nourishing oils regularly to keep them healthy and prevent cracks. Third, incorporate a balanced diet rich in biotin and vitamins to support long-term nail health. Additionally, avoid harsh chemicals and excessive filing, which can weaken nails. Regularly moisturizing your nails and cuticles helps prevent brittleness and breakage. By sticking to these practices, you create an environment for stronger, thicker nails to thrive over time, complementing your DIY soak routine and ensuring lasting results.
Frequently Asked Questions
Can I Use Essential Oils in My Nail Soak?
Yes, you can add essential oils to your nail soak. Essential oil benefits include nourishing your nails and improving overall nail health. They also allow for nail soak customization, giving you the chance to target specific concerns like brittleness or dryness. Just a few drops of oils like lavender or tea tree can enhance your soak, making it more effective and pleasant. Always dilute properly to avoid irritation.
Are There Any Allergies Associated With Common Ingredients?
Think of your nails as a delicate garden; some ingredients, like essential oils or herbs, can be like pollen, causing allergic reactions if you’re sensitive. You might experience ingredient sensitivities or allergic reactions, so always check for known allergies before using new ingredients. To keep your garden thriving, do a patch test first, and watch for any redness or irritation—these are signs to stop and consult a professional.
How Do I Store Leftover Nail Soak Mixture Safely?
You should store your leftover nail soak mixture in an airtight storage container to keep it fresh and prevent contamination. Keep it in a cool, dark place away from direct sunlight or heat sources. For ideal shelf life, use the mixture within a week or two, depending on ingredients. Always check for any signs of spoilage before reuse, and discard if it smells off or shows discoloration.
Can I Combine This Soak With Nail Polish Treatments?
Yes, you can combine your nail soak with polish treatments, but verify they’re compatible. Check nail polish compatibility to avoid damaging your nails or causing peeling. Use treatment layering techniques by applying the soak first, letting it absorb, then adding your polish. Wait for each layer to dry completely before applying the next. This method maintains the effectiveness of both treatments while giving your nails added strength and a polished look.
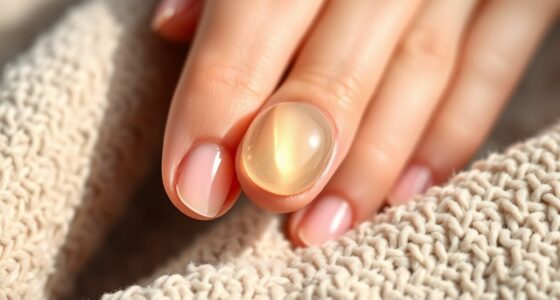
Is This Method Suitable for Brittle or Damaged Nails?
Don’t throw in the towel just yet—this method can help brittle or damaged nails, but with caution. It promotes nail repair and damage prevention when used consistently and gently. However, if your nails are severely damaged, consider consulting a dermatologist first. Using nourishing ingredients, you’ll strengthen your nails from the inside out, but avoid overdoing it to prevent further harm. Patience is key to seeing real results.
Conclusion
By regularly using this DIY nail soak, you can markedly improve your nail strength and thickness over time. Did you know that healthy nails grow faster and are less prone to breakage? Incorporating natural remedies into your routine not only saves money but also reduces chemical exposure. Stay consistent with your soak and overall nail care, and you’ll enjoy stronger, healthier nails in just a few weeks. Your nails will thank you for the extra care!