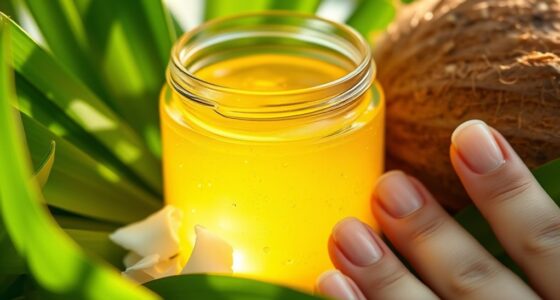

To create a nourishing DIY cuticle cream, start by melting natural oils like shea butter or coconut oil with beeswax. Add essential oils such as lavender or tea tree for extra benefits and fragrance. Pour the mixture into a small jar and let it cool. For best results, massage a small amount onto your cuticles twice daily, focusing on dry or cracked areas. Keep your cream stored properly to maintain its effectiveness and learn more tips as you continue exploring.
Key Takeaways
- Use nourishing carriers like shea or coconut oil combined with essential oils such as lavender or tea tree.
- Melt oils and beeswax, then mix with essential oils before pouring into containers to make your cream.
- Apply twice daily with gentle massage on clean, dry nails and cuticles for best results.
- Customize your recipe with herbal extracts or additional essential oils based on your skin needs.
- Store in airtight containers in a cool, dark place to maintain freshness and extend shelf life.
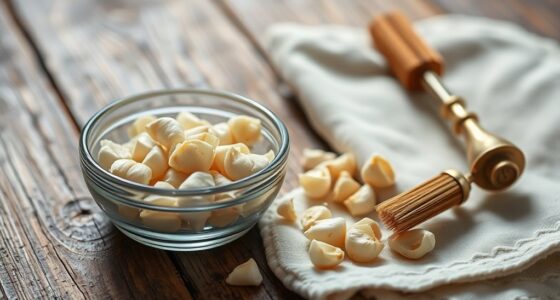
Gathering Ingredients for Your Nourishing Cuticle Cream
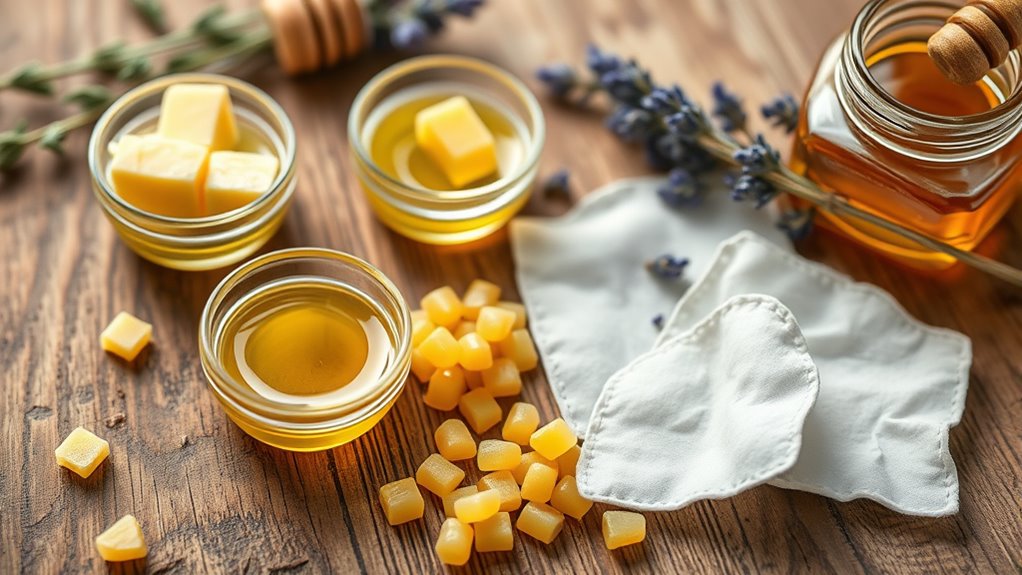
Before you start making your cuticle cream, gather all the necessary ingredients. You’ll want a good base like shea butter or coconut oil, which serve as nourishing carriers. Essential oils are key for added benefits and fragrance—consider lavender or tea tree oil, but feel free to explore ingredient substitutions like jojoba or almond oil if you prefer. Keep in mind, different essential oils provide unique properties, so choose ones that suit your skin needs. Measure everything carefully to ensure proper consistency. Having all your ingredients ready before beginning streamlines the process and prevents interruptions. Whether you’re customizing scents or substituting ingredients for allergies or preferences, collecting quality, fresh components now makes your DIY project smoother and more enjoyable later. Proper ingredient measurement is crucial for achieving the right texture and effectiveness in your homemade cream.
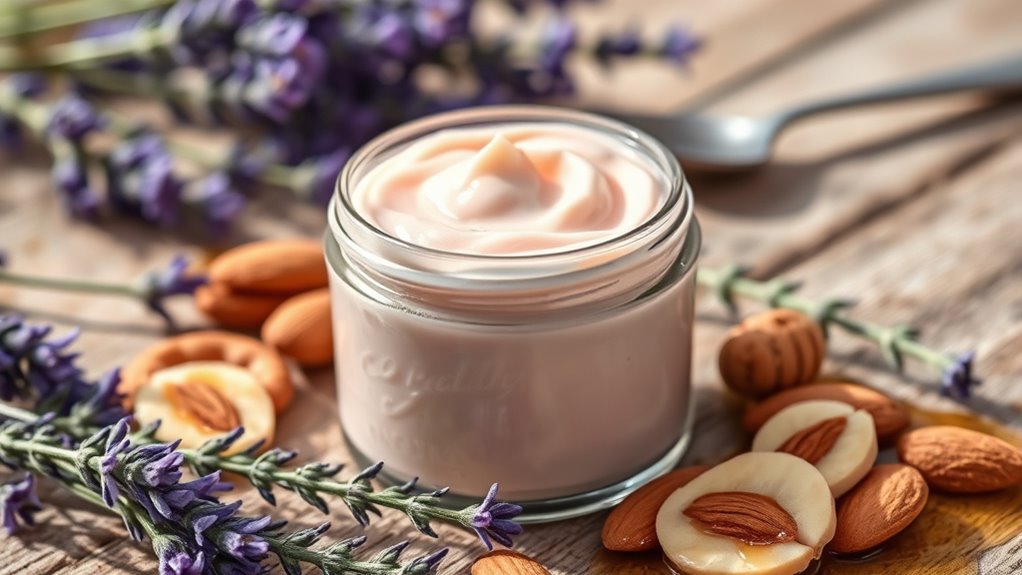
Step-by-Step Guide to Making Your Homemade Cream

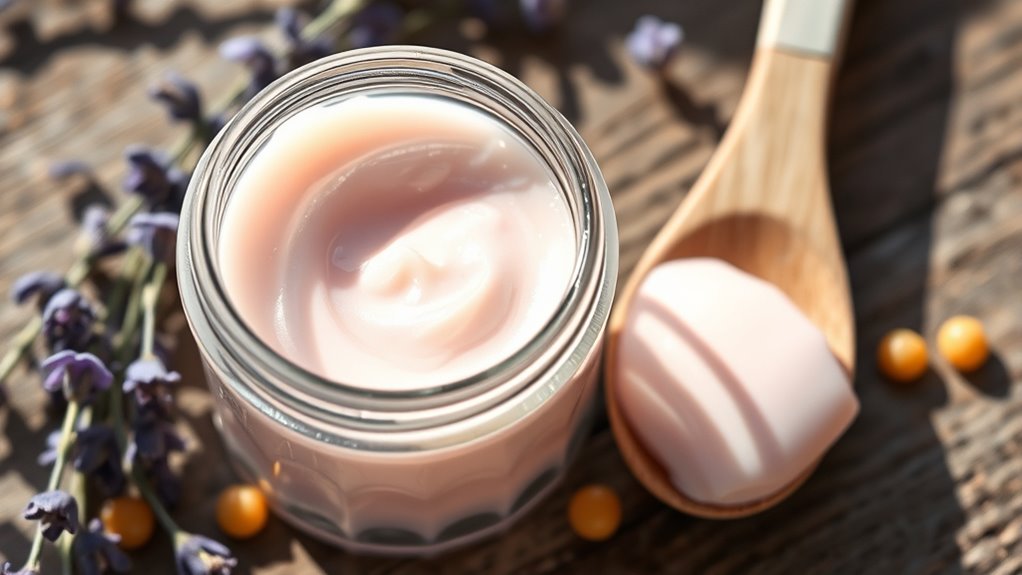
Once you have all your ingredients measured and ready, it’s time to start making your cuticle cream. Begin by melting your natural oils and beeswax in a double boiler until smooth. These natural oils are essential for nourishing cuticle health and provide deep hydration. Remove the mixture from heat and add a few drops of your favorite essential oils for added benefits. Stir well to combine everything evenly. Pour the liquid into a small container or jar, then let it cool and solidify at room temperature. This homemade cream is easy to make, effective, and free from synthetic additives. Incorporating hydration techniques into your routine can further enhance nail and cuticle health. Applying it regularly will help improve cuticle health and keep your nails looking healthy and well-maintained.
Tips for Applying and Using Your DIY Cuticle Treatment

To get the best results from your homemade cuticle cream, knowing how to apply it properly is key. Start by cleaning your nails and drying your hands thoroughly. Gently massage a small amount of the cream onto your cuticles and surrounding nail beds using circular motions; this encourages cuticle hydration and improves nail health. Focus on areas that feel dry or cracked, but avoid over-application. For ideal absorption, apply the cream at least twice daily—preferably after washing your hands and before bed. Consistency is essential for nourishing your nails and maintaining healthy cuticle hydration. Remember, gentle massage increases blood flow, enhancing the effectiveness of your treatment. Using eye patches can also help soothe tired eyes during your self-care routine. With regular use, you’ll notice healthier nails and more supple cuticles over time.
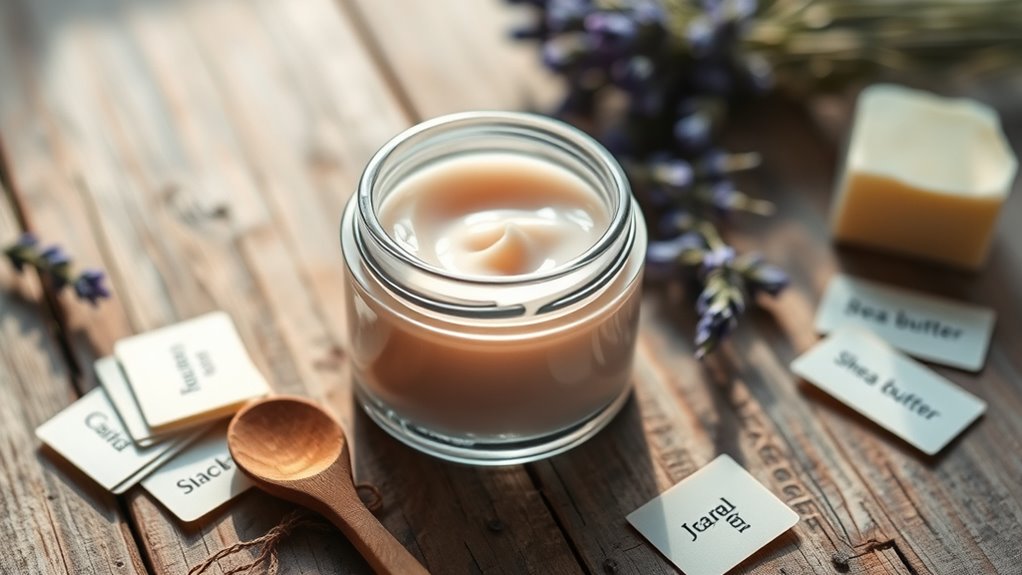
Customizing Your Recipe With Natural Additions
Adding natural ingredients to your DIY cuticle cream allows you to customize it to suit your skin’s needs and enhance its nourishing properties. Essential oils, like lavender or tea tree, can provide soothing, antimicrobial benefits, while herbal extracts such as chamomile or calendula boost healing and hydration. You can tailor your cream by selecting specific oils and extracts that target your skin concerns, whether dryness, irritation, or sensitivity. Just a few drops of essential oils go a long way, so add them gradually and test for reactions. Herbal extracts not only enrich the formula but also amplify the overall effectiveness of your treatment. Experimenting with these natural additions allows you to craft a personalized, potent remedy that keeps your nails healthy and your cuticles well-cared for. Incorporating proper usage techniques can further enhance the benefits of your DIY cream.
Storage and Longevity of Your Handmade Cuticle Cream
Proper storage is key to maintaining the effectiveness of your homemade cuticle cream. Choose container options with airtight lids, such as glass jars or metal tins, to prevent contamination and moisture exposure. These containers help preserve the quality of your ingredients by limiting air and light contact, which can cause spoilage or ingredient degradation. Store your cream in a cool, dark place away from direct sunlight and heat sources to extend its shelf life. Proper storage not only preserves ingredient potency but also prevents bacteria growth. Additionally, keeping your cream in temperatures consistent with remote work environments can help maintain its quality over time. Typically, your homemade cuticle cream will last about 3 to 6 months when stored correctly. Regularly check for changes in smell, color, or texture, and discard if you notice any signs of spoilage.
Frequently Asked Questions
Can I Use This Cuticle Cream on Sensitive Skin?
You can try this cuticle cream on sensitive skin, but proceed with caution. Test a small amount first to check for any ingredient allergies or irritation. If you notice redness, itching, or discomfort, wash it off immediately. Since sensitive skin reacts easily, use gentle, soothing ingredients and avoid harsh chemicals. If you’re unsure, consult a dermatologist to make certain it’s safe for your skin type.
How Often Should I Apply the DIY Cuticle Cream?
You should apply the DIY cuticle cream 2-3 times a day for ideal usage. Consistent application helps keep your cuticles moisturized and healthy. Focus on gentle, thorough coverage, especially after washing your hands or before bed. Avoid over-application, which can cause buildup or irritation. Stick to this recommended application frequency to nourish your nails effectively and support healthy, strong cuticles.
Are There Any Allergic Ingredients to Avoid?
Imagine your skin as a delicate garden needing gentle care. To avoid allergic reactions, steer clear of common irritants like fragrances, artificial dyes, and certain preservatives. Watch out for allergenic ingredients such as lanolin, beeswax, and nuts, which can trigger sensitivities. Always do a patch test before applying your DIY cuticle cream generously, ensuring your nails stay healthy without any unwanted irritation or allergic reactions.
Can I Substitute Coconut Oil With Another Oil?
Yes, you can substitute coconut oil with other oil alternatives in your cuticle cream. Popular options include jojoba oil, almond oil, or argan oil, which all provide nourishing benefits. When making ingredient substitutions, choose oils that suit your skin type and allergy concerns. Remember, each oil has unique properties, so select one that matches your needs for healthy, hydrated nails.
Is This Cream Safe for Pregnant or Breastfeeding Women?
This cuticle cream is generally safe for pregnant or breastfeeding women when it contains pregnancy-safe ingredients like shea butter, beeswax, and essential oils known for safety. However, you should always check individual ingredient labels and consult your healthcare provider, especially for breastfeeding considerations. Avoid essential oils or ingredients that might cause allergic reactions or pose risks, and opt for natural, gentle options to guarantee safety for both you and your baby.
Conclusion
Now that you’ve learned how to make, apply, and customize your own nourishing cuticle cream, you’re ready to pamper your nails naturally. Embrace the process of blending ingredients, enjoy the benefits of healthier nails, and experiment with new natural additions. Keep your creation fresh, keep your routine consistent, and keep your nails shining. With your homemade treatment, you’re not just caring for your cuticles—you’re celebrating your beauty, your health, and your creativity.