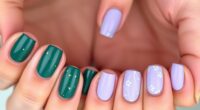
To create custom nail polish colors at home, start by gathering your supplies like brushes, mixing sticks, pigment powders, and glitter in your favorite shades. Choose base colors that suit your style or current trends, then blend small amounts to develop new hues. Add glitter or effects to personalize your formula, and test on swatches to make adjustments. Properly store your creations in labeled bottles for long-lasting results—continue to explore how each step *unleashes* your unique nail art potential.
Key Takeaways
- Gather high-quality base colors, pigment powders, and various glitters to customize shades and effects effectively.
- Use small mixing dishes and mixing sticks to blend colors precisely, noting ratios for reproducibility.
- Experiment with combining different shades and glitter types, testing on swatches to achieve desired effects.
- Apply mixed polish evenly on nails or test surfaces, adjusting consistency with thinner or thickening agents as needed.
- Store finished polishes in airtight bottles, label clearly, and keep in a cool, dark place to maintain quality.

HomTop Nail Art Tools 22-piece Set, Resin Nail Art Palette, 2-way Acrylic Silicone Engraving Pen Dotting Pen Tools Nail Art Kit for Nail Art DIY Home Salon Makeup Display Board, pink
【Package Includes】You will receive a nail tool set which includes 15 nail brushes, 5 double-ended mixed size dispensing…
As an affiliate, we earn on qualifying purchases.
As an affiliate, we earn on qualifying purchases.
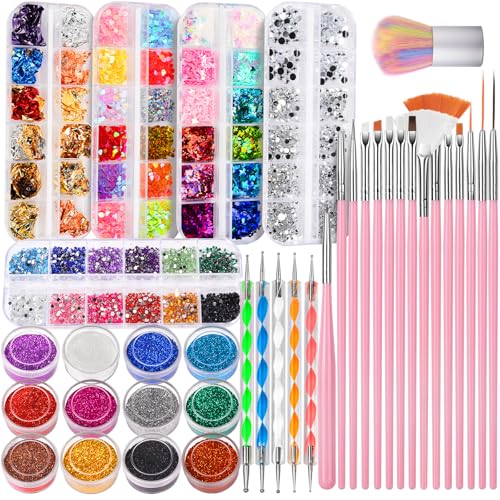
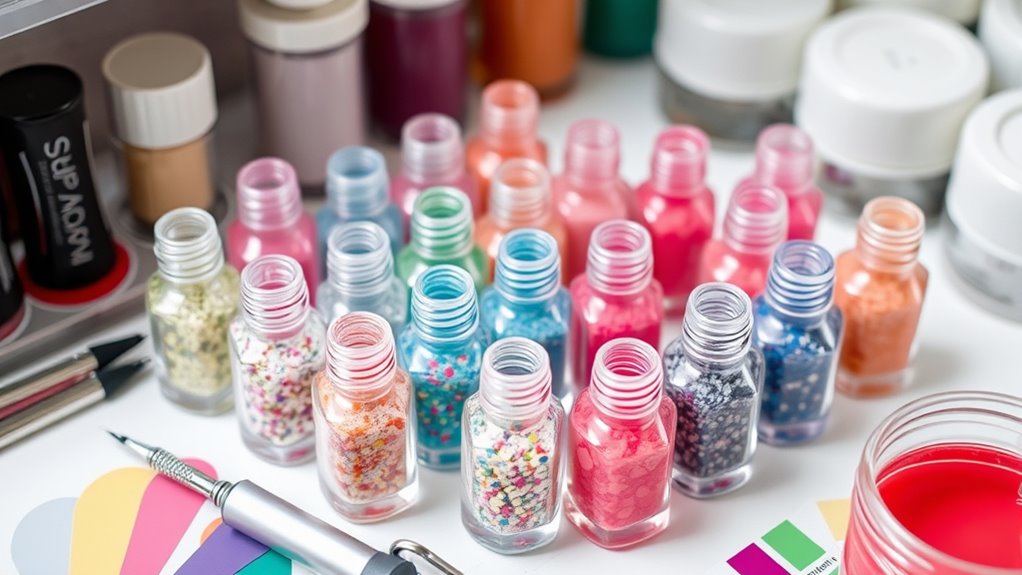
Gathering Your Supplies and Tools
Before you begin creating your custom nail polish colors, it’s important to gather all the necessary supplies and tools. If you’re into nail art, having a variety of brushes and dotting tools will help you achieve detailed designs and intricate patterns. To stay on top of seasonal trends, consider including colors and finishes that reflect current fashion, like pastel shades for spring or deep reds for winter. You’ll also want clear mixing jars or small bottles, pigment powders, and glitter to experiment with shades and add sparkle. Make sure to have nail polish remover, mixing sticks, and protective gloves ready for safe handling. Gathering these supplies beforehand guarantees a smooth process, allowing you to focus on blending unique colors that match your personal style and seasonal inspirations.

3 Pcs 5ml Empty Nail Polish Bottles with Brush and 3 Funnel, Clear Glass Nail Polish Containers with Mixing Balls, Refillable Small Vials for DIY Nail Oil, Cuticle Oil, Gel, Lacquer – Leakproo
3PCS Empty Nail Polish Bottles with Brush & Funnel (5ML Glass) – This set includes 3 reusable glass…
As an affiliate, we earn on qualifying purchases.
As an affiliate, we earn on qualifying purchases.
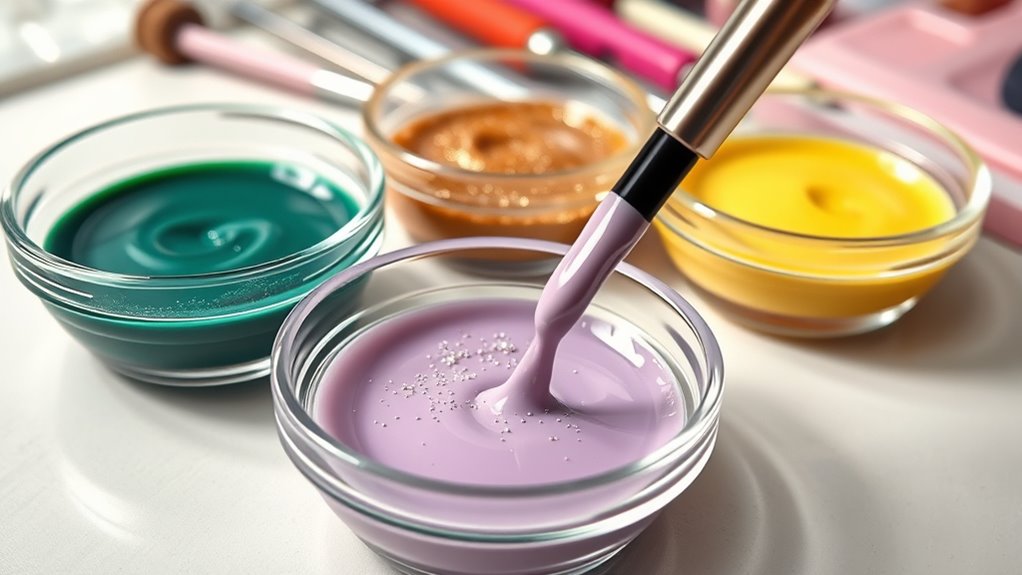
Choosing the Perfect Base Colors
Selecting the right base color is essential because it sets the foundation for your custom nail polish. To stay current, consider nail polish trends and seasonal color palettes, which influence popular shades. For example, during spring, soft pastels and fresh shades are in style, while bold, deep hues dominate winter collections. Think about your skin tone and personal style when choosing your base; warm tones complement golden undertones, and cool shades suit pinkish or neutral skin. If you’re experimenting, opt for versatile colors like nude, blush, or classic reds, which can easily adapt to added glitters and accents later. Remember, your base should be a color you love and feel confident wearing, as it will influence the overall look of your custom creation. Additionally, understanding color psychology can help you select shades that reflect your mood or personality, enhancing your nail art experience.
FANDAMEI Nail Art Kit, Nail Art Brushes Set, Nail Design Kit Dotting Tools, Fine Nail Glitter, Nail Decoration Butterfly Heart Glitter Sequins, Foil Flakes, Nail Rhinestones, Dust Brush
Nail Art Decoration Kit: The kit includes 15pcs pink nail art brushes, 5pcs nail dotting pen, 12 colors…
As an affiliate, we earn on qualifying purchases.
As an affiliate, we earn on qualifying purchases.
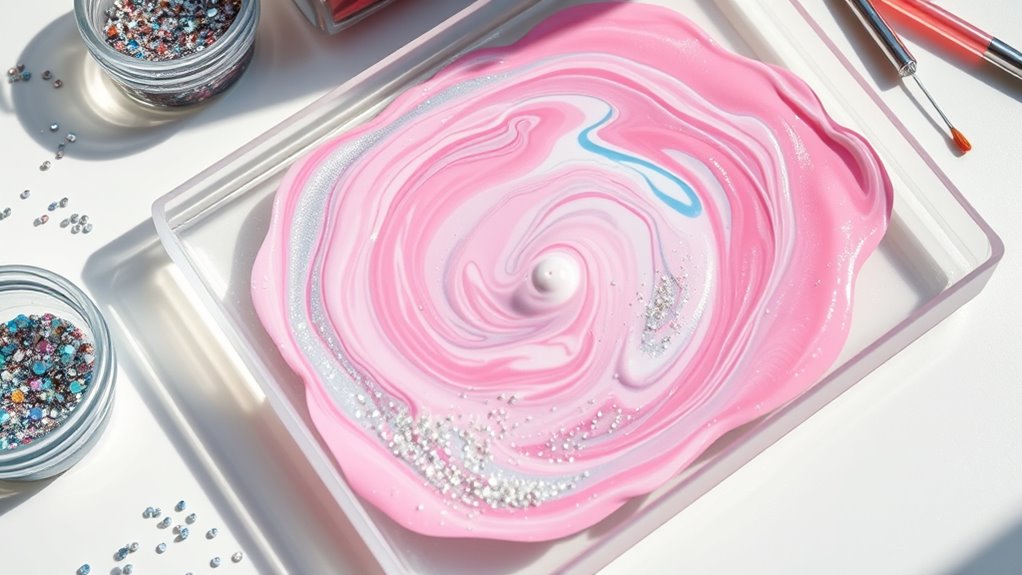
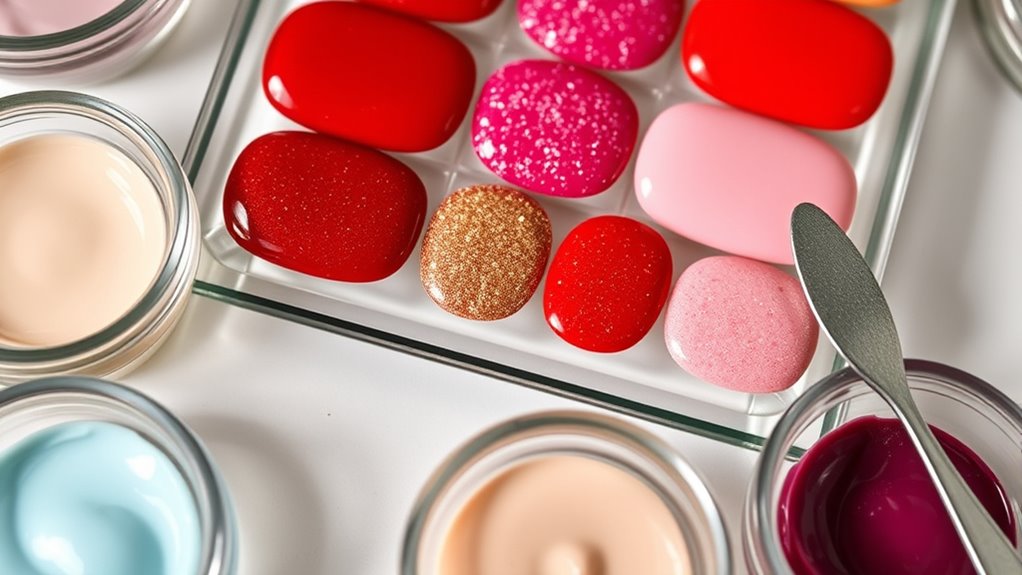
Mixing Basic Shades to Create New Colors
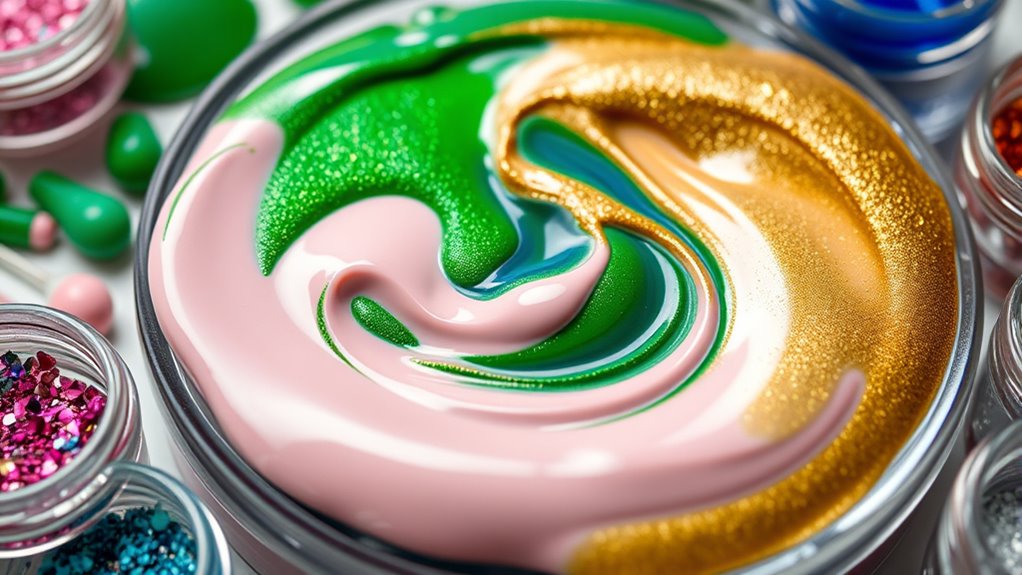
Mixing basic shades is a creative way to customize your nail polish and achieve unique colors that suit your style. By understanding the color wheel and shade matching, you can blend primary and secondary colors to create new hues. Start with small amounts to test your mixtures, and keep notes on your ratios for future reference. Using a palette or mixing dish helps keep your shades organized. Remember, adjusting the proportions allows you to lighten, darken, or change the tone of your custom color. Experiment with different combinations to discover endless possibilities. Keep in mind that mixing shades requires patience and precision, but the result is a one-of-a-kind polish tailored just for you. Familiarity with color theory can enhance your mixing success and inspire new creations.

MelodySusie 40 Colors Nail Powder Pigment Kit – Long Lasting for Easy Gradient Ombre Nail Art,Professional DIY Manicure Supplies for Beginners Home Salon Use
Vast 40-Color Palette:Unleash your artistry with our comprehensive set of 40 rich and vibrant colors. From dazzling brights…
As an affiliate, we earn on qualifying purchases.
As an affiliate, we earn on qualifying purchases.
Adding Glitter and Other Effects for Personal Flair
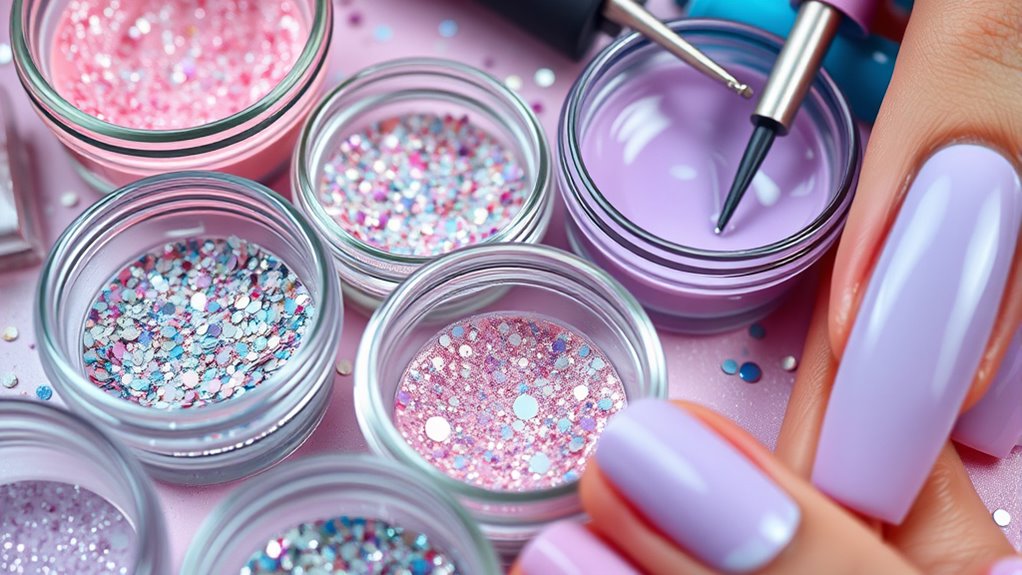
Adding glitter and effects can instantly elevate your nail design and showcase your unique style. You can choose from different glitter types, like fine shimmer or chunky pieces, to achieve various looks. Experimenting with creative techniques will help you create stunning, personalized nails that stand out. Incorporating personalized blends of colors and effects allows for even more customization and a truly one-of-a-kind manicure.
Glitter Types and Uses
Have you ever wondered how different glitter types can transform your nail designs? The variety of glitter types offers endless possibilities for adding personal flair. Fine glitter creates a subtle shimmer, perfect for a delicate look. Chunky or hexagonal glitter adds bold, eye-catching texture. Holographic glitter reflects multiple colors, giving a mesmerizing effect. Iridescent glitter shifts colors in different lights, enhancing depth. These glitter uses allow you to customize your nails for any occasion, whether you want understated elegance or a fun, standout style. Experimenting with glitter types helps you achieve diverse effects, from soft sparkle to dramatic glam. Mixing in WWE Raw’s financial impact can inspire ideas for bold, standout designs that make a statement. Mix and match different glitters to craft unique, eye-catching designs that truly express your personality.
Creative Effect Techniques
Creative effect techniques allow you to elevate your nail designs with dazzling glitter and other eye-catching elements. By adding unique effects, you can create personalized looks inspired by current nail art trends and trending color palettes. For example, layering different glitter sizes or combining metallic and matte finishes adds depth. You might also experiment with textured effects like matte topcoats or holographic powders. Incorporate these techniques to make your nails stand out and reflect your style. Consider the table below for ideas on effect techniques and their applications:
| Technique | Ideal for |
|---|---|
| Chunky Glitter Overlay | Bold, textured looks |
| Holographic Powder | Futuristic, shifting effects |
| Matte Topcoat | Elegant, muted finishes |
| Combining effects | Unique, personalized designs |
Additionally, exploring application techniques can help ensure your nail art stays flawless and vibrant throughout wear.
Testing and Adjusting Your Custom Mixture

Once you’ve mixed your nail polish, test a small sample to check the color accuracy. If it’s not quite right, adjust the hue gradually, adding small amounts of color until it matches your vision. Be sure to also check the consistency and tweak it carefully to guarantee smooth application. Monitoring the electric bike’s performance can help you refine your mixture for a more precise color match.
Test for Color Accuracy
To guarantee your custom nail polish color matches your vision, you need to test it accurately. Start by applying a small amount of the polish on a white paper or a nail tip to observe the true shade. This helps with effective color matching and shade verification. Allow it to dry completely before evaluating. Compare the color to your desired hue, noting any differences. If it’s too dark or light, adjust by adding small amounts of base or pigment. Keep testing after each adjustment until the shade aligns perfectly. Remember, lighting can affect perception, so check under natural light. Patience is key to achieving perfect color accuracy. Additionally, understanding basic color theory can help you create more precise shades through knowledge of color mixing.
- Test on white surface for clarity
- Use natural light for true color assessment
- Record your mixture ratios for consistency
- Make incremental adjustments
Adjust Consistency Carefully
After confirming your color matches your vision, it’s time to focus on adjusting the consistency of your custom nail polish. Consistency adjustment is essential for achieving a smooth, even paint texture that applies effortlessly. If your mixture feels too thick, add a few drops of nail polish thinner, mixing thoroughly until it reaches the desired fluidity. Conversely, if it’s too runny, incorporate a tiny bit more polish or a small amount of clear base to thicken the paint. Test the texture on a nail swatch or piece of plastic to ensure it spreads evenly without streaks or pooling. Carefully adjusting the paint texture helps you control how the polish flows and adheres, resulting in a professional-looking finish every time. Remember to monitor the paint consistency regularly to prevent uneven application during your manicure process.
Packaging and Storing Your Unique Nail Polishes
Proper packaging and storage are essential to keep your custom nail polishes fresh and vibrant. Using the right container options guarantees your colors stay consistent and prevent spoilage. Opt for small, airtight bottles to minimize evaporation and contamination. Store your nail polish in a cool, dark place away from direct sunlight, which can cause fading or thickening. Label each bottle with the shade name or formula to avoid mix-ups. Consider using clear containers to easily identify your colors at a glance. Additionally, avoid frequent temperature fluctuations, as they can affect consistency. Good nail polish storage practices help extend the life of your creations and keep your collection organized. Vetted storage methods are key to maintaining the quality of your DIY nail polishes. Proper packaging and storage make your DIY nail polishes both practical and visually appealing.
Tips for Achieving Professional-Looking Results
Achieving professional-looking results with your custom nail polish begins with attention to detail and technique. Use a clean, steady hand to guarantee smooth, even coats, and allow each layer to dry completely before applying the next. Consistent mixing and thorough blending of colors prevent streaks and uneven pigmentation. To elevate your nail polish branding, consider creating a signature shade or glitter combination that stands out. Good lighting helps you see imperfections and achieve precise application. Incorporate your unique style into your marketing strategies by showcasing high-quality images of your finished nails, emphasizing the professional finish. Practice regularly to refine your skills, and don’t forget to seal your work with a glossy top coat for a polished, salon-quality look. Proper color accuracy ensures that your custom shades appear vibrant and true to your intended design.
Frequently Asked Questions
How Long Do Homemade Nail Polishes Typically Last?
Homemade nail polishes usually last about 6 months, but their longevity depends on proper storage. To extend nail polish longevity, keep your bottles tightly sealed and store them in a cool, dark place away from sunlight and heat. Shake the bottles gently before each use to prevent separation. With these storage tips, your DIY nail polishes can stay fresh longer, ensuring vibrant colors and smooth application.
Are There Any Safety Precautions When Mixing Nail Polish at Home?
Yes, you should take safety precautions when mixing nail polish at home. Always work in a well-ventilated area to avoid inhaling fumes, and wear gloves to protect your skin from ingredient toxicity. Make sure to read ingredient labels carefully, as some chemicals can be harmful. Avoid mixing large quantities and store your custom polish safely, keeping it out of reach of children and pets.
Can I Use Non-Toxic or Eco-Friendly Ingredients in My Custom Polish?
Imagine you’re a modern alchemist, and yes, you can absolutely use eco-friendly ingredients and non-toxic options in your custom nail polish. These safer choices help protect your health and the environment while still allowing vibrant, creative shades. Look for natural or plant-based pigments, biodegradable glitters, and non-toxic solvents. By choosing eco-friendly ingredients, you’re making a stylish, responsible statement—your nails will look fantastic, and you’ll feel good about it!
How Do I Fix a Failed Color Mix or Mistake?
If your color mix fails or you make a mistake, you can fix it with color correction by adding small amounts of complementary shades or base polish to balance the hue. Use blending techniques by gently mixing the colors until you achieve the desired shade. Always test on a small piece or nail tip first to ensure the correction functions before applying to your nails, preventing further mishaps.
What Tools Are Best for Precise Color Blending and Glitter Application?
Did you know that 85% of professional nail artists prefer precision brushes for flawless blending? For perfect color mixing and glitter application, use fine precision brushes to control your shades accurately. Glitter applicators are ideal for even, mess-free glitter placement. Combining these tools helps you achieve salon-quality results at home, ensuring your custom nail polish looks just how you envision it.
Conclusion
Just like an artist shaping their masterpiece, your creative spirit can craft stunning, personalized nail polishes at home. With patience and a keen eye, you’ll open a world of endless possibilities, transforming simple pigments into dazzling works of art. Remember, your unique blend is your signature—an echo of your style and personality. Embrace the journey, and soon you’ll have a collection as distinctive as a Monet in full bloom.