To safely add bling to your nail designs, choose lightweight, hypoallergenic jewelry like metal studs or decals suited to your style and occasion. Prepare your nails by cleaning, shaping, and applying a base coat. Use quality gel or nail glue with precision tools to attach charms securely, then seal with a top coat for long-lasting wear. To avoid damage, remove jewelry gently and maintain nail health—continue exploring for detailed tips to elevate your nail bling game.
Key Takeaways
- Prepare nails by cleaning, shaping, and applying a base coat for optimal adhesion and protection.
- Use appropriate adhesives like gel or nail glue and precision tools to securely attach charms.
- Seal charms with a high-quality top coat to enhance durability and prevent lifting.
- Remove jewelry gently with acetone or a cuticle stick to avoid damaging natural nails.
- Regularly maintain and reapply top coats to prolong wear and keep your nail bling looking fresh.
Top picks for "nail jewelry charm"
Open Amazon search results for this keyword.
As an affiliate, we earn on qualifying purchases.
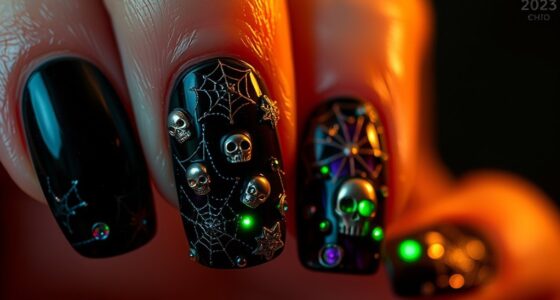
Choosing the Right Types of Nail Jewelry and Charms

When selecting nail jewelry and charms, it’s important to contemplate your personal style and the occasion. There are various types of nail charms to choose from, including tiny gemstones, metal studs, or decorative decals. Consider what suits your aesthetic—do you prefer glittery, minimalist, or bold designs? Jewelry material options also play a role; popular choices include lightweight metals like aluminum or stainless steel, which are durable and hypoallergenic, as well as plastic or acrylic for more colorful or flexible pieces. Think about comfort and ease of application when choosing the material. Whether you want subtle accents or statement pieces, selecting the right types of nail charms and jewelry material options ensures your nail art reflects your personality while remaining practical. Additionally, incorporating rustic decor elements can inspire unique and charming nail designs that complement a farmhouse-inspired style.
Preparing Your Nails for Jewelry Application
Start by making sure your nails are clean and dry to guarantee the jewelry sticks properly. Next, shape and buff your nails for a smooth surface that enhances the overall look. Finally, apply a base coat to create a strong foundation for your jewelry and charms. Incorporating a smooth surface can also improve color accuracy and overall appearance of your nail designs.
Clean and Dry Nails
Make certain your nails are clean and completely dry before applying nail jewelry or charms. Start by removing any old nail polish thoroughly with nail polish removal, guaranteeing no residue remains. This creates a smooth surface for better adhesion. Next, focus on cuticle care—gently push back or trim excess cuticles to prevent interference with jewelry placement. Clean nails prevent oils and dirt from causing lifting or tarnishing of the charms. Ensure nails are completely dry, as moisture can cause adhesives or settings to fail. If you notice any oils or lotions, wash your hands with soap and water, then dry thoroughly. Properly prepared, dry nails will help your jewelry stay secure and look flawless. Being aware of proper toilet maintenance and repairs can also help ensure your workspace remains clean and hygienic during your DIY projects.
Shape and Buff Nails
To guarantee your nail jewelry adheres smoothly and looks flawless, shaping and buffing your nails is essential. Start by choosing a nail shape that suits your style and complements your overall look. Use nail files to gently sculpt your nails into your desired shape, whether it’s round, square, or almond. Once your nails are shaped, apply buffing techniques to smooth out the surface. Use a fine-grit buffer to gently remove ridges and create an even surface. Proper buffing ensures the nail surface is perfectly prepared for jewelry application, preventing bumps or uneven spots that could cause jewelry to lift or look imperfect. Additionally, recognizing the importance of spiritual guidance in understanding timing and readiness can help you feel confident in your choices. Take your time during this step for the best results, and your nail jewelry will stay secure and dazzling.
Apply Base Coat
Applying a base coat is a crucial step in preparing your nails for jewelry application because it creates a smooth, adhesive surface that helps the jewelry stay in place. Start by choosing your favorite nail polish colors that complement your overall look, whether bold or subtle. Make sure your nails are shaped into trendy nail shapes like almond, square, or coffin, as a clean, even surface enhances the jewelry’s appearance. Apply the base coat evenly across each nail, covering the entire surface without flooding the cuticles. This layer not only protects your natural nails but also provides a tacky foundation that helps the charms and jewelry adhere securely. Additionally, vertical storage solutions can help you organize your nail art supplies efficiently, making your decorating process more streamlined. Allow the base coat to dry completely before proceeding to add your decorative elements.
Proper Tools and Adhesives for Safe Attachment
To attach nail jewelry and charms safely, selecting the right adhesive is key. You’ll want a suitable adhesive that provides strong hold without damaging your nails, like gel or nail glue. Using precision application tools ensures you place your charms accurately and avoid messes. Additionally, ensuring your nails are clean and free of oils before application can improve adhesion and longevity adhesion techniques.
Suitable Adhesive Types
Ever wondered which adhesives are best for attaching nail jewelry and charms securely? The right adhesive offers good adhesive durability and easy removal methods to prevent damage. For lightweight charms, nail glue or gel adhesive works well, providing strong hold without hassle. For heavier pieces, consider resin-based adhesives designed for long-lasting bond. Always check the product label for removal methods, ensuring they suit your comfort and safety. When selecting adhesives, consider the Kia Tuning modifications that involve detailed customization to ensure compatibility and safety with your nail designs.
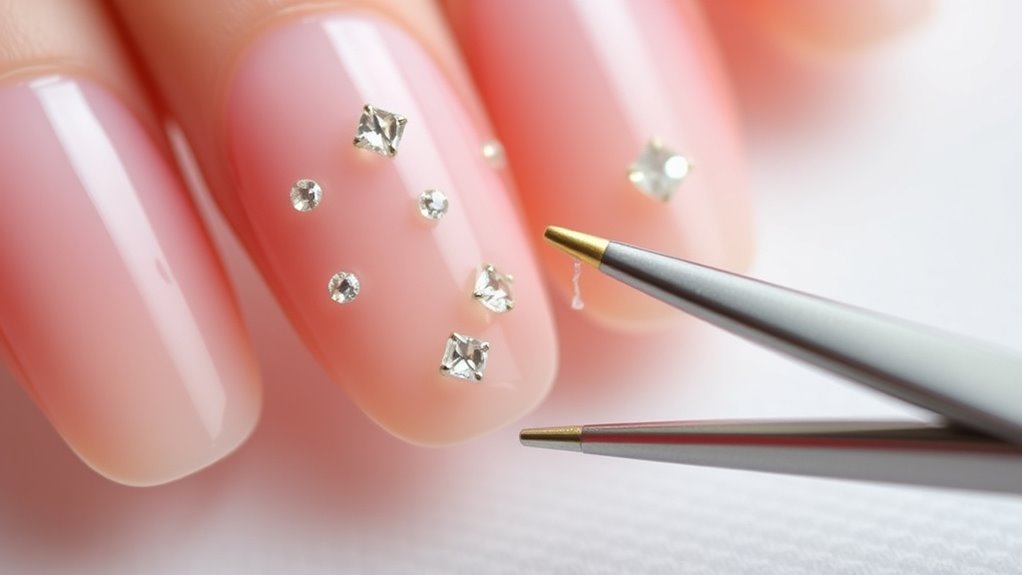
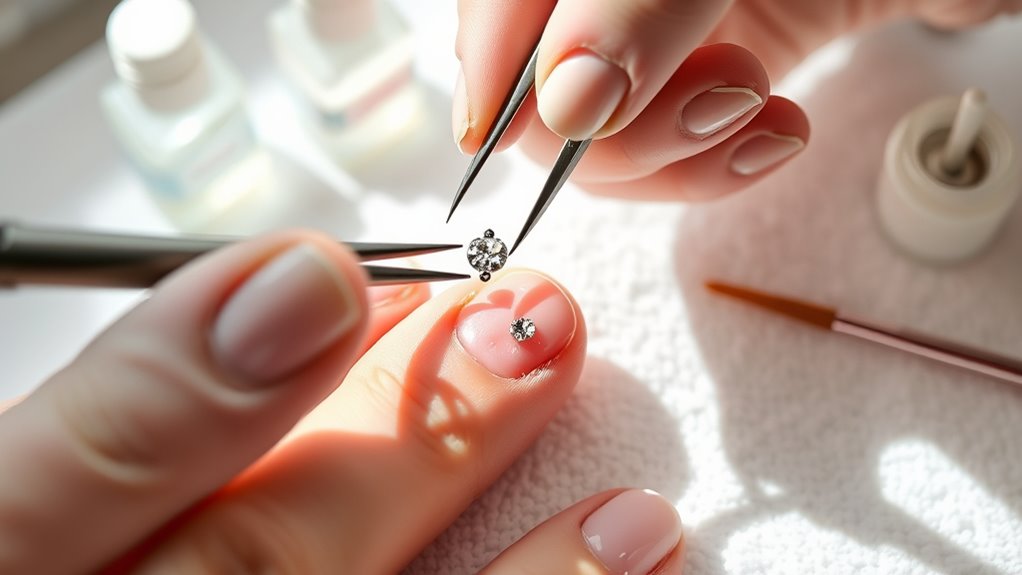
Precision Application Tools
Choosing the right tools is essential for precise and safe attachment of nail jewelry and charms. Use fine-tipped tweezers or a small dotting tool to handle tiny charms and nail decals accurately. When working with gel polish, verify your tools are compatible to prevent smudging or damage. A thin brush can help apply a clear gel or topcoat precisely around the jewelry, securing it without excess buildup. For nail decals, a dedicated applicator helps precisely position designs without tearing or misalignment. Always use sanitized tools to prevent infection and guarantee a clean application. Proper tools make it easier to place charms securely, reducing the risk of damage or lifting. Investing in quality, precise application tools guarantees your nail designs stay beautiful and safe. Additionally, understanding the importance of spiritual energy can enhance your overall well-being and creativity, leading to more inspired nail art designs.
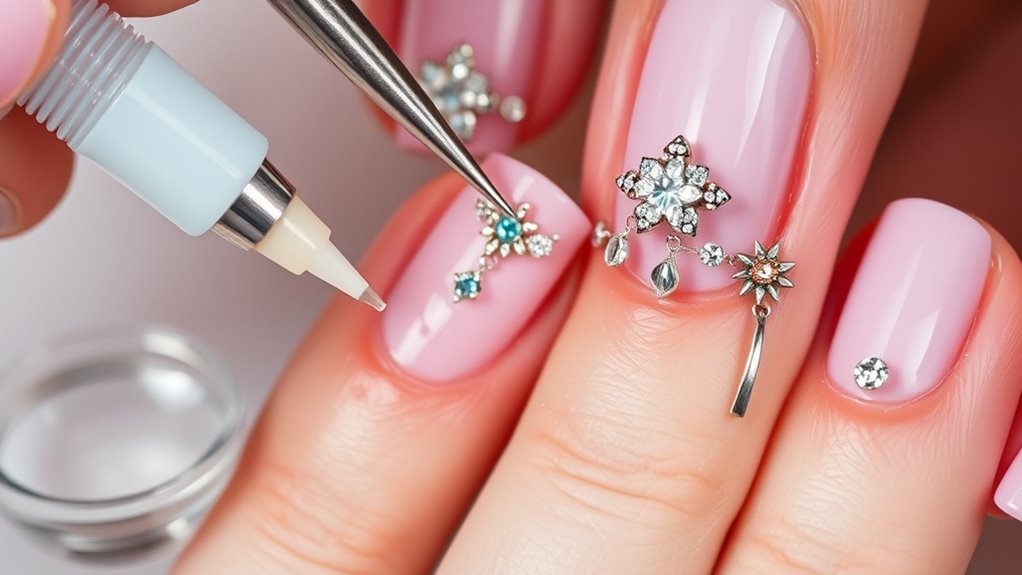
Techniques for Applying Nail Jewelry and Charms
Applying nail jewelry and charms requires a steady hand and the right techniques to guarantee they stay securely in place and look flawless. For DIY nail art, start by choosing the right adhesive or gel topcoat to assure durability. When adding charms or jewelry, use a fine-tipped applicator or tweezers for precision, placing each piece carefully onto wet or tacky layers. To follow seasonal trends, select charms that complement current colors and motifs, then secure them firmly in the desired position. Avoid excessive glue, which can cause uneven surfaces. Gently press the jewelry into the nail to set it properly, and cure with a UV lamp if using gel products. This method ensures your nail art remains stylish, secure, and perfectly aligned with seasonal trends. Additionally, understanding adhesive techniques can significantly improve the longevity of your nail jewelry.
Tips for Ensuring Long-Lasting Wear
To guarantee your nail jewelry and charms last as long as possible, start by preparing your nails properly. Clean and dry your nails thoroughly to remove oils and residue, ensuring better adhesion. Follow the latest fashion trends by choosing durable charms that suit your style, but also consider their cultural significance for a meaningful touch. Apply a strong base coat before attaching your jewelry to act as a protective barrier. Seal the charms with a high-quality top coat, especially around edges, to prevent lifting or chipping. Avoid activities that put excessive strain on your nails, like heavy cleaning or vigorous typing. Regular touch-ups with top coat can extend wear, helping your nails stay stunning and fashionable longer. For optimal durability, consider proper nail care techniques and materials that minimize damage and promote healthy growth.
Removing Nail Jewelry and Charms Safely
Removing nail jewelry and charms carefully is essential to prevent damage to your natural nails. Start by gently loosening the charms with a cuticle stick or a soft tool to avoid pulling or tearing. Use safe removal methods like soaking your nails in warm acetone or nail remover to dissolve glue or adhesive, making removal easier. Always follow safety precautions by working in a well-ventilated area and avoiding forceful removal, which can cause lifting or nail damage. If charms are stubborn, soak longer or gently lift them without scraping. Never pry aggressively, as this risks harming your natural nail surface. Taking your time and using proper removal techniques ensures your nails stay healthy and intact after removing nail jewelry and charms.
Maintaining Nail Health While Wearing Bling
Ever wonder how to keep your nails healthy while flaunting beautiful jewelry and charms? The key is prioritizing nail health and practicing jewelry safety. Avoid wearing heavy or ill-fitting charms that can cause pressure or damage to your nails and cuticles. Keep your nails moisturized to prevent dryness and cracking, especially around areas where jewelry touches the skin. Regularly clean your jewelry to prevent bacteria buildup, which can lead to infections. Remove nail jewelry periodically to give your nails a break and assess their condition. Always use gentle adhesives and avoid over-application, as excess glue can weaken nails. By paying attention to nail health and practicing jewelry safety, you can enjoy your bling without compromising the strength and appearance of your nails.
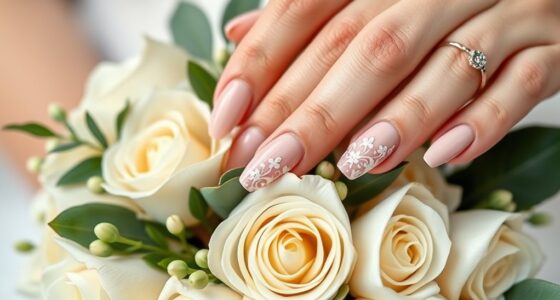
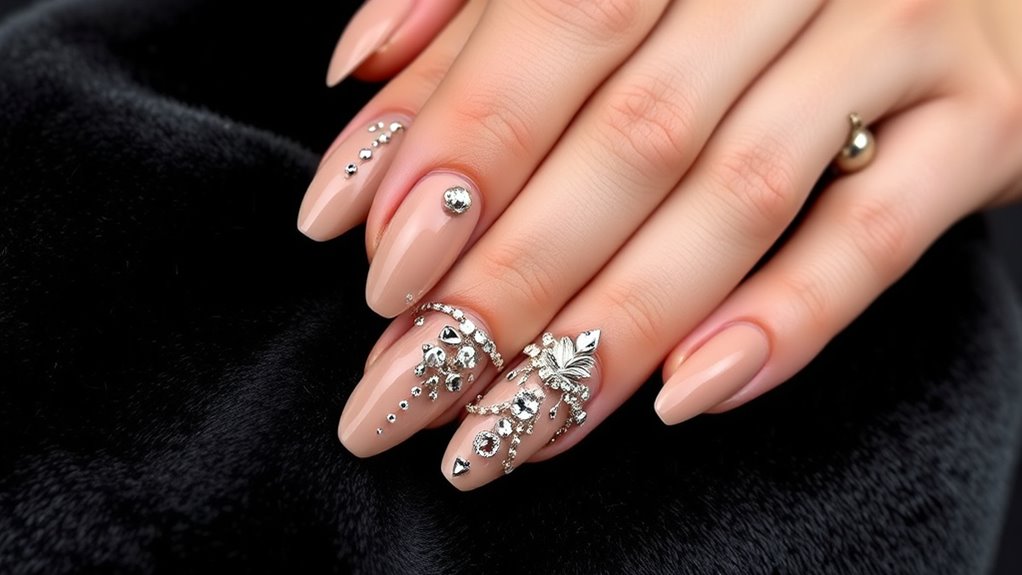
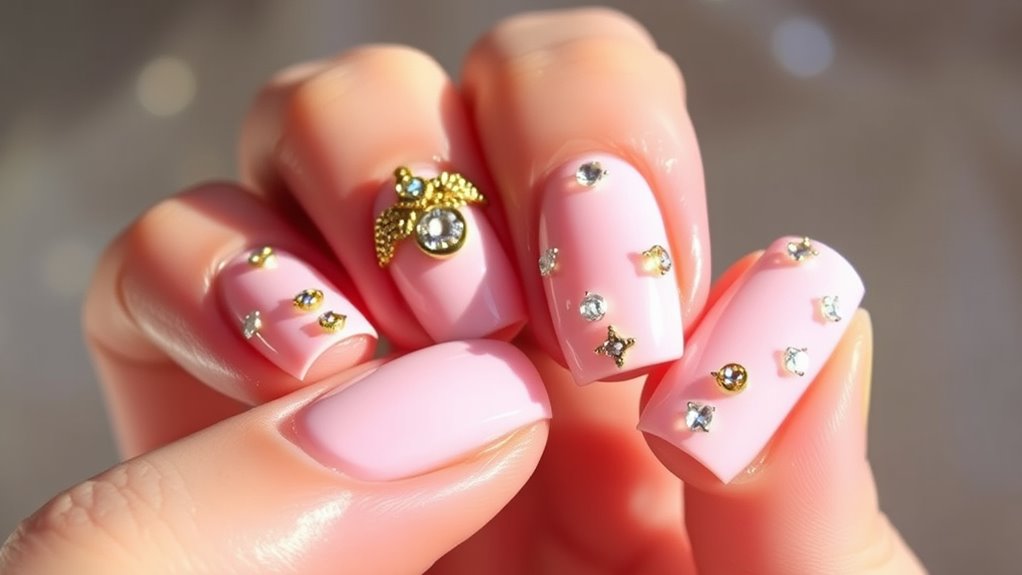
Creative Ideas for Styling Nail Jewelry and Charms
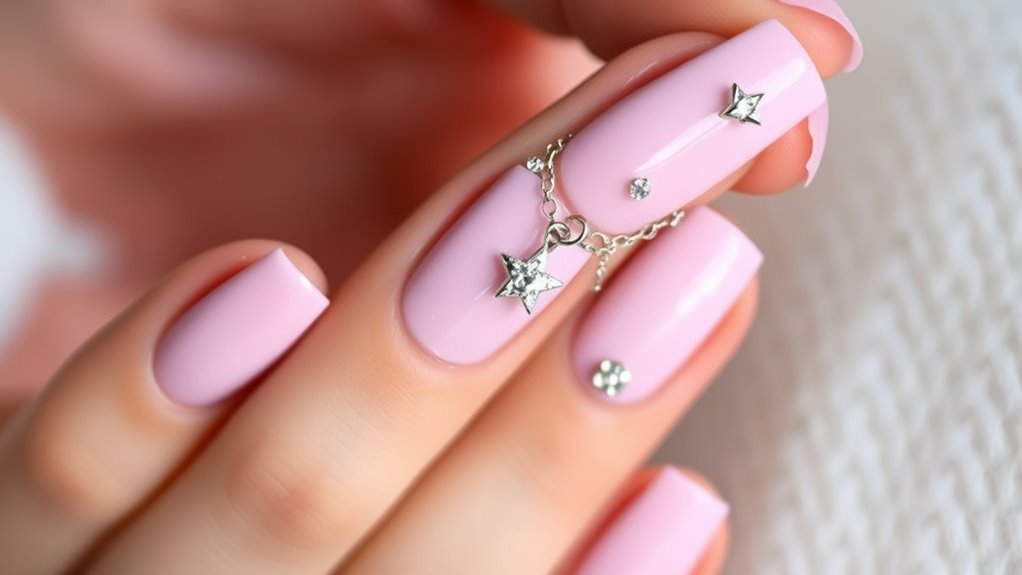
Showcasing your nail jewelry and charms creatively can elevate your overall style and make your manicure truly stand out. Try mixing and matching different charms to create unique looks that reflect your personality or mood. Incorporate seasonal accents, like tiny pumpkins for fall or snowflakes for winter, to stay trendy and festive. Use bold, contrasting colors to highlight your jewelry or keep it subtle for an elegant touch. Experiment with placement—cluster charms on one nail or spread them across multiple fingers. Here’s some inspiration:
| Style Idea | Description |
|---|---|
| Mix and Match | Combine different shapes and sizes for a playful look |
| Seasonal Accents | Use themed charms to celebrate holidays or seasons |
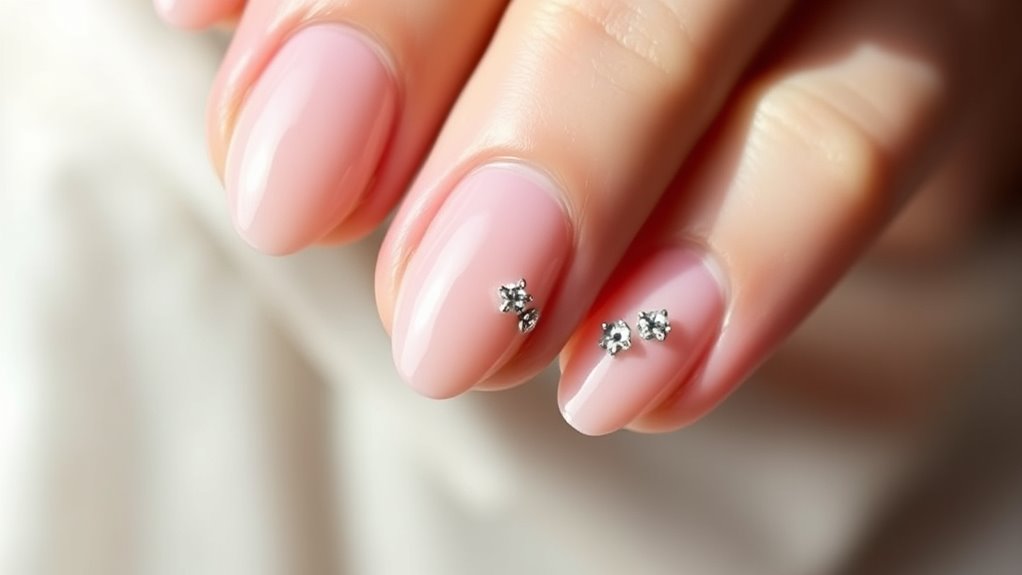
| Minimalist Elegance | Keep it simple with a single charm on each nail |
Frequently Asked Questions
Can Nail Jewelry Cause Damage to Natural Nails?
Nail jewelry can cause damage to natural nails if not applied properly, increasing the risk of nail damage and infection. You might experience weakened nails or even peeling if charms are glued or attached too tightly. To avoid infection risk, make sure your nails are clean before application, and remove jewelry carefully. Regularly check for any signs of damage or irritation, and give your nails breaks between decorations to keep them healthy.
Are There Hypoallergenic Options for Nail Charms?
Yes, there are hypoallergenic options for nail charms. You can look for allergy safe charms made from hypoallergenic materials like surgical steel, titanium, or high-quality acrylics. These materials reduce the risk of allergic reactions and skin irritation. Always check product labels or ask your nail technician to ensure the charms are specifically designed as hypoallergenic. This way, you can enjoy adding bling to your nails securely without worries.
How Often Should I Replace or Remove Nail Jewelry?
Think of your nail jewelry as a precious treasure that needs care. You should replace or remove your nail charms every 2-3 weeks or when they start to loosen or cause discomfort. Follow proper maintenance tips, like gentle cleaning and avoiding harsh chemicals. Use correct removal techniques—soaking in acetone or gentle prying—to prevent damage. Regular upkeep keeps your nails healthy and your bling looking fabulous!
Is It Safe to Wear Nail Charms During Activities Like Swimming?
Wearing nail charms during swimming isn’t entirely safe, as water can weaken waterproof protection and cause charms to loosen or fall off. Plus, hygiene considerations come into play—water and pool chemicals can harbor bacteria around the jewelry. To keep your nails healthy, remove charms before swimming, or ensure they’re securely attached and made from waterproof, durable materials. This helps prevent damage and maintains good hygiene.
Can Nail Jewelry Be Applied on Gel or Acrylic Nails?
They say, “If you want something done right, do it yourself,” and that’s true for applying nail jewelry on gel or acrylic nails. You can definitely add charms to gel polish or acrylic extensions, but make sure to use a strong adhesive designed for nails. Avoid overloading your nails with heavy jewelry, and always wait until your nails are fully cured or set to prevent damage or lifting.
Conclusion
Think of your nails as a canvas and jewelry as vibrant strokes of color. When you choose the right charms and apply them carefully, you create a stunning masterpiece that shines without damaging your nails. Keep your tools sharp and your techniques gentle, like a skilled artist, to guarantee your design stays flawless and healthy. With a little creativity and care, your nails will be a dazzling gallery of personal style, effortlessly catching everyone’s eye.